We Solved Our Entryway Shoe Pile with a Simple Storage Swap
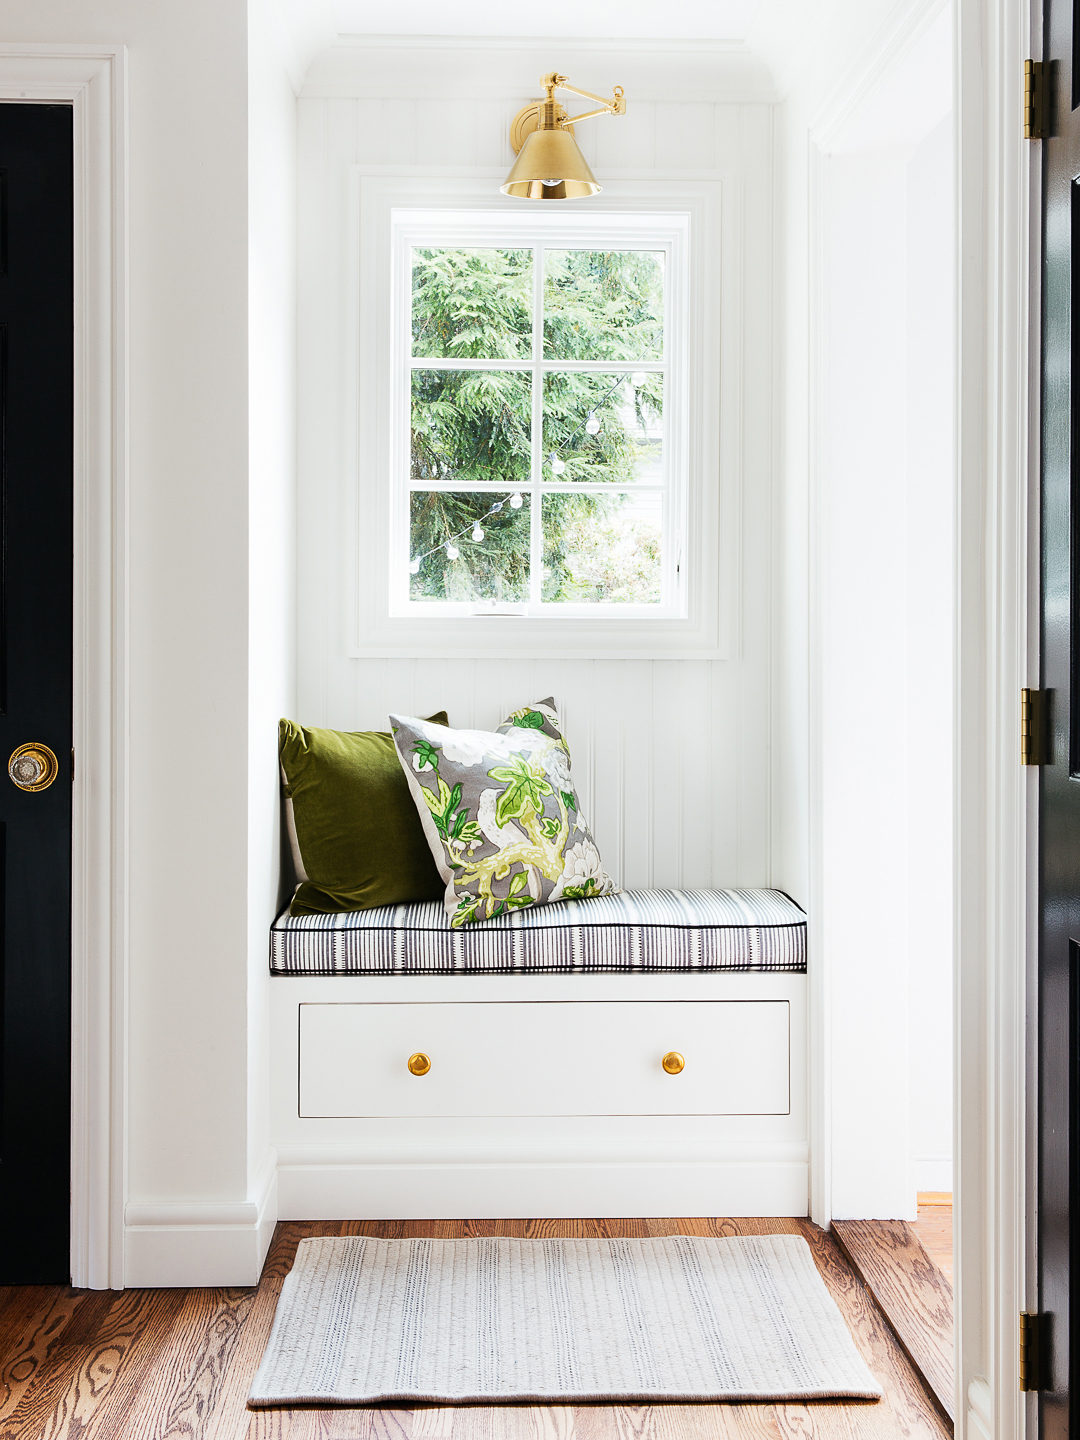
There's more to this window seat than meets the eye.
Updated Oct 10, 2018 5:17 PM
We may earn revenue from the products available on this page and participate in affiliate programs.
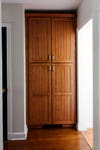
Erin Kestenbaum didn’t necessarily need more storage—she just wanted it to be smarter. The problem started at the front door: The Connecticut-based photographer and her husband, Cory, had a bad habit of leaving their shoes in the front hallway, which resulted in an unsightly and (slightly) dangerous pile of footwear. (The couple was constantly tripping over the mess.) Determined to get rid of their drop zone, Kestenbaum made a tough trade-off: a kitchen pantry cabinet for a mini mudroom.
The objective was to create a small, functional shoe and bench space to cut down on clutter, but the vision didn’t stop there. Once they opened up the walls, they decided to seize the moment and add a window, too. “I knew the idea was a bit dicey,” recalls Kestenbaum. “We had no idea if it was even going to make sense.”
Now the sun-drenched nook is super-functional and doubles as a hiding place for muddy boots and a spot to sit and sip coffee. The best part? The brand-new addition—window and all—cost only $1,600. Kestenbaum walks us through the transformation and shares a few key things she learned along the way.
A Custom Job Is Almost Always Worth It
At first, the shallow cabinet that previously housed kitchen items worried Kestenbaum—would there be enough depth for a proper seat? She was happily surprised when they discovered five inches of empty space behind it. With the bulky wood box out of the way, she began to look at the three walls with a fresh perspective. The interior was in major need of natural light and, from the outside, that part of the exterior looked like a “big blank wall.”
The couple had replaced windows before, but never added one. The first challenge was figuring out how to vertically align the new casement window with the existing ones. Because their needs were so specific, they ended up purchasing a custom size for $675. “That’s definitely one of the downfalls of adding a window—accommodating for what’s already there,” says Kestenbaum. But the end result was worth the splurge. The addition makes the interior and exterior look even brighter than before.
Cutting Is Surprisingly Easy
Once the framing for the window unit was finished, it was time for installation. “Making a hole in the side of your house is only slightly anxiety-inducing,” says Kestenbaum, laughing. The fact that their exterior was made of wood shingles (not brick or stone), though, made cutting into it with an electric Sawzall easy. “Think of it like carving a turkey,” she says. “It’s kind of crazy how simple it is.” Between cutting out the opening, shimming the frame, and nailing it in place, the job only took a few hours.
A Little Detail Goes a Long Way
There were two main reasons the couple decided to add tongue-and-groove paneling to the wall. For one, the feature added visual interest to the small corner and, second, it referenced the beadboard in the adjacent bathroom. As a finishing touch, they covered the paneling with white trim paint, which has a higher sheen than regular wall paint and doesn’t scuff (a crucial quality when you consider how much leaning and bumping goes on when you’re squeezing on a pair of sneakers).
Function Should Determine Your Measurements
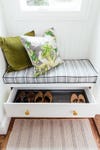
Kestenbaum and her husband had DIY-ed built-in benches before, but this was the first time they’d be incorporating a drawer. Once they drilled the supporting pieces of wood into the back wall and side walls (making the height and depth around 18 inches—the standard measurements of a bench), they cut a hole for the drawer opening, which was designed to fit the length of a boot tray that Kestenbaum already had on hand.
Next, they added sturdy drawer rails ($10) that would support any heavier boots that went inside it. The final touches: a coat of paint, fresh hardware ($60), and a cushion covered in Schumacher’s Moncorvo fabric (an eBay score Kestenbaum had been holding onto for ages) that cost $280 to have professionally upholstered.
The shoe drawer has had a positive impact on the couple’s day-to-day clutter. “It’s forced us to think about what stays downstairs and what belongs in the closet,” she says. “If it’s not in rotation enough to warrant being in the drawer, it needs to be put away.” No tripping hazard here!
See more stories like this: We’re Demystifying How to Paint Your Kitchen Cabinets The Most Intimidating Reno DIY Is Easier Than You’d Think This Easy DIY Proves That Faux Terrazzo Is as Cool as the Real Deal


