We may earn revenue from the products available on this page and participate in affiliate programs.

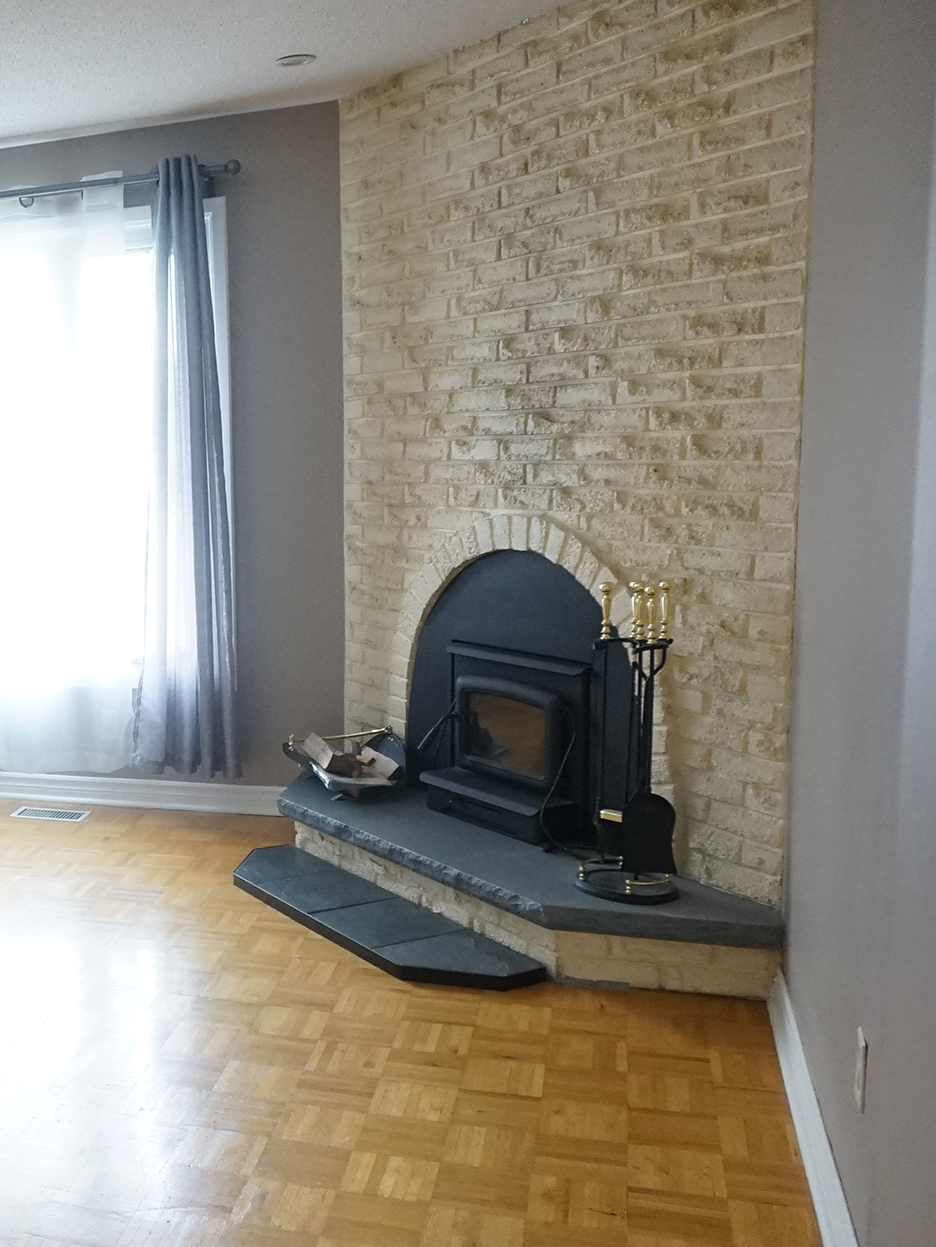
When you think of parquet flooring, your mind probably goes to herringbone (the most covetable pattern). The more common treatment, though, is a lot less charming: squares made up of tiny strips of multi-tone wood. That’s what Toronto-based lifestyle YouTuber Letitia Kiu and her long-term boyfriend, Stefan, were walking into when they bought their first home last summer.
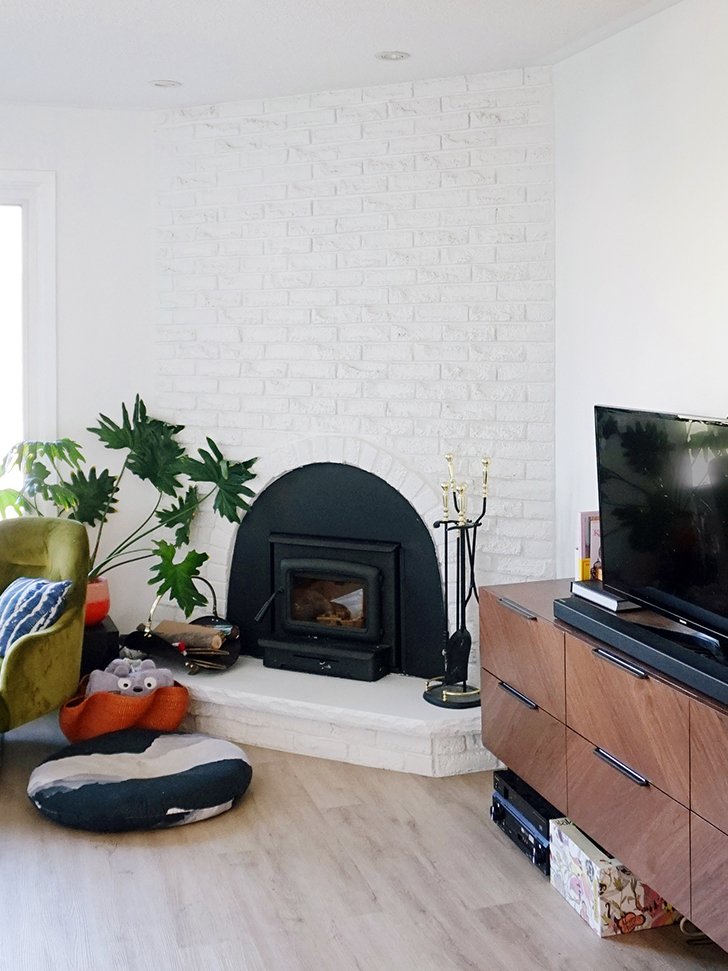
The interior of the house was in good condition, but the layers of wall paint, thin baseboards, and all-over parquet screamed 1970. Fortunately the pair had been hunting for a fixer-upper they could make their own. “It was very controversial,” says Kiu of their decision to switch up the flooring (friends and family told them to just sand it and stain it). “It was just not for us.” So prior to actually bringing all their furniture in, including that cool, wavy checkered rug, they moved forward with changing the dated feature—but they didn’t have to tear up the retro wood with a crowbar to do it. Here, Kiu reveals the genius behind the planks they used to cover it up.
The Product

Because this isn’t their forever home, Kiu wasn’t keen on splurging on a premium hardwood. Vinyl started to look a whole lot more appealing. “When people mention vinyl flooring, I picture linoleum-style tiles that you stick on the ground, but it’s really nothing like that,” she explains. With the help of a local female-run company, Decorner, she picked out faux planks in a sandy brown finish. “I was worried they’d look artificial, but when I saw the samples I realized it was the perfect option for us,” she continues. The best part: The boards cost $2.24 per square foot.
The Process
Before getting started, Stefan screwed nails into the floor joists in any spots where the parquet floors were creaking. “That way we wouldn’t hear the squeaking once the new floors were installed,” says Kiu. The vinyl planks feature a click-and-lock system, so attaching the pieces to one another is almost like putting together a puzzle (and not the complicated kind). The only tool you need on hand is a box cutter to slice the edges. “It’s very friendly for first-timers,” notes Kiu. The trickiest areas were where the boards meet the fireplace, because it’s on an angle and around the stair railing and doorjambs.
The Aftermath
Thanks to the protective pads underneath, the boards can float on top of the old parquet floors—no nailing or gluing involved. When the couple does eventually move, they can take the planks with them (all they have to do is unsnap the pieces). “I love that sustainable aspect of it,” says Kiu. See ya, parquet (for now).