We may earn revenue from the products available on this page and participate in affiliate programs.
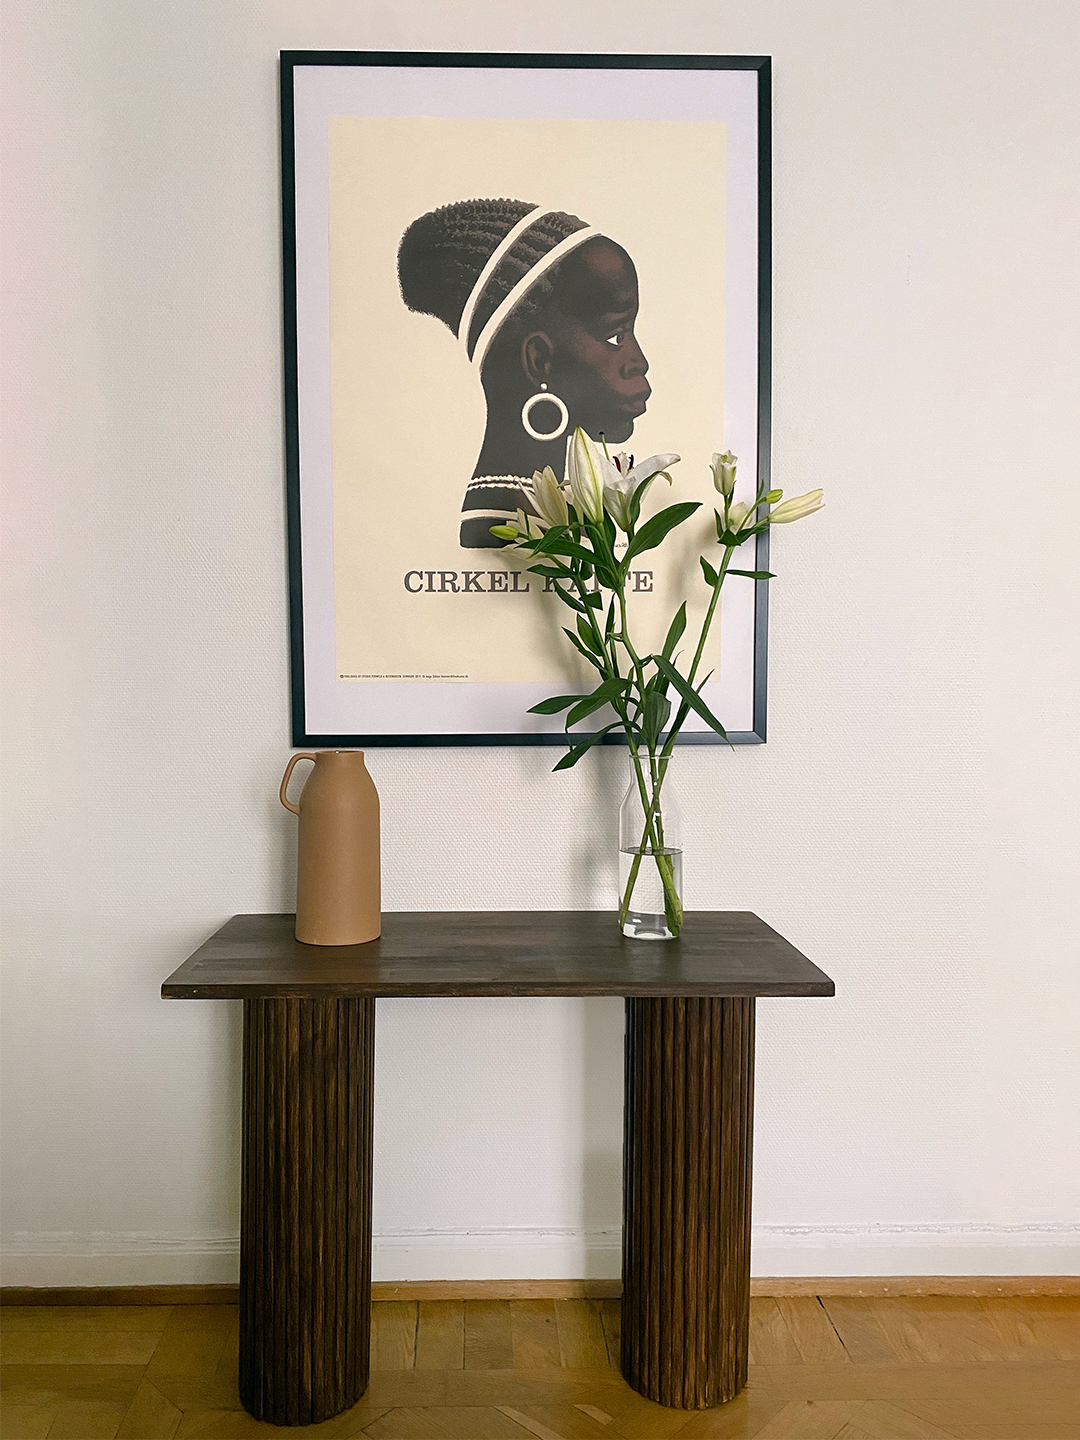
Stockholm-based blogger Lydia Tsegay already had almost all the accoutrements for a perfect vignette: a framed poster, a ceramic jug, and a simple vase she could fill with fresh flowers—the only missing piece was, admittedly, a large one. She needed a console table. Inspired by a desk with ribbed legs she had seen on Instagram, she stopped hunting for a new buy and decided to get crafty. “I’m glad I did, because it turned out to be exactly what I wanted!” says Tsegay.
In keeping with her Scandinavian surroundings, her living room—where she intended to install her creation—is full of natural materials and textured touches, so Tsegay planned accordingly: “I wanted something that would go well with that feeling and those colors.” She describes her style as minimalist with an earthy edge—think: a cream-colored sofa coexisting with a matte black Constance Guisset pendant lamp, with the occasional pop of green from a potted plant. A fluted, stained wood design would fit seamlessly into the mix.
Around $150 and a couple days later—Tsegay also decided to make a matching mini pedestal whose current resident is a peace lily—she had a brand-new item of furniture. Here’s how she made her dream piece.
The Supplies
- 40 to 50 dowels (hers were about 0.6 inches wide)
- 2 round tubes (hers were about 47 inches long)
- Construction adhesive glue
- Saw
- Hot-glue gun
- Paint of your choosing (she chose a brown hue to mimic a dark wood finish)
- Paintbrush
- Pencil
- A wide plank board (hers was about 47 inches long)
Step 1: Trim the Dowels


Measure the tubes so you know what size to cut each stick to, marking the cutoff point with a pencil. Carefully saw the dowels to the right length. (Tsegay ended up with about 20 for each cylinder.) Pro tip: If you’re undertaking this on your own and need something sturdy to cut against, try propping up the rod against the corners of a cardboard box—it will prevent it from rolling away.
Step 2: Glue the Ribbing

Using a hot-glue gun, trace a line on the backside of each dowel and stick them individually to the tube—be sure to use a strong enough adhesive, as hobby glue won’t be able to hold the pegs. Let it dry overnight.
Step 3: Slick On a Finish

Pick a smaller paintbrush so you can get into all the nooks and crannies, then begin layering a coat of color onto the legs. Tsegay used a deep chocolate brown to mimic darker wood.
Step 4: Add the Surface
After the paint fully dries, dot a wide plank with the same strong construction adhesive and stick it onto the legs. Wait 24 hours for the glue to set, then finish off the table with a final coat of paint on the board so it matches the base. Once that’s finished, it’s time for the fun part. Style away!
It’s hammer time: Follow @reno_notebook for easy rental updates, clever DIYs, and tips to nail your next project.