We may earn revenue from the products available on this page and participate in affiliate programs.
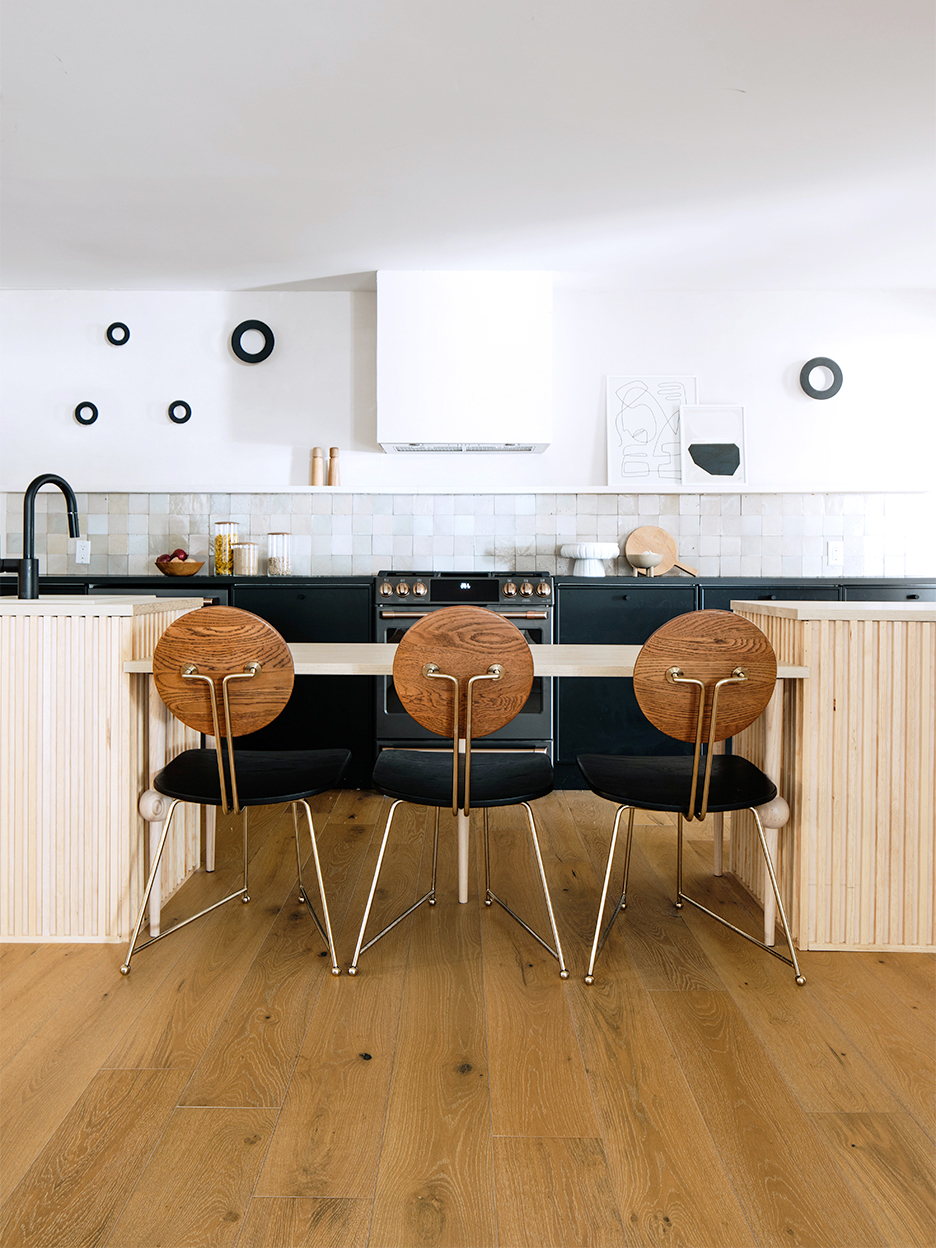
Since this is our second kitchen, I knew I didn’t need a monolith of an island. I actually already had a few of the materials: The table legs were the ones from the desk in my old office, and we had leftover ¾-inch wood pieces from the base and crown molding used throughout the house. Then there were the CB2 chairs—I love their detailed backs, and that’s where I got the idea of dropping the middle part of the island lower. It’s almost like a dining table within the island, and it shows off the room’s symmetry, too.
Honestly, everything fell into place pretty quickly; the main challenge with this project was the plumbing. The previous owners had installed a sink way off to the side, and because we were doing this renovation by ourselves, I didn’t want to have to rent a jackhammer to tear up the concrete floors—so we adjusted the island around the sink and installed IKEA cabinetry to conceal the plumbing. All in all, this DIY took just a couple of days.
Even though this isn’t our primary one, the kitchen is always going to be where you want to gather and talk. I liked the idea of having a space with normal-height chairs—our upstairs one has bar seating—where people can sit and even eat a snack while someone is cooking. We do family pizza movie nights down here all the time: We move the chairs to the other side so we can watch TV on the tabletop (with kids, it’s nice to have a real table instead of getting sauce and cheese all over a sofa). We even had our first guest recently. My sister came to visit from Wyoming and stayed for a week. She cooked a lot of macaroni and cheese down here for her children—the island is very much a family gathering space. Here’s how we made it:
The Supplies
- 2 IKEA 24-inch Sektion cabinets
- 2 4-by-8 sheets of ¼-inch plywood
- 2 IKEA countertops (I used the Ekbacken ones)
- 5 Pretty Peg table legs
- ¾-by-½-inch wood trim for slats (you’ll need enough to make approximately 90, each at 35 inches long)
- Drill
- Finish nail gun
- Finish nails
- Titebond wood glue
- Chop saw
- Table saw
- 2 2-by-4 wood planks for the bases
- L-shaped brackets and screws
- Clear polyurethane coat for the finish (I used this one from Varathane)

Step 1: Assemble the Base
Follow the instructions to put together the IKEA cabinets. Then create two rectangles out of the 2-by-4s (one for each cupboard) that sit flush with the width of the cabinets, but are recessed 3 inches from the front—this makes room for your feet when standing at the sink or in front of the cupboard. Use the drill to screw the small L-shaped brackets into the floor and inside the base to secure this foundation.
Then affix each cabinet on top of its respective 2-by-4 with screws, binding each one directly onto the base from inside the unit.
Step 2: Finish Off the Sides
Cut the plywood to size so it covers the sides and backs of the cabinets—fasten into place with glue and finish nails.

Step 3: Create the Middle “Table”
First, cut one of the counters to the exact distance between the cabinets. Then attach the legs to the surface and flip it over so it’s in place. To secure it to the end units and form the full island, screw it together from the inside of the cabinet going into the countertop.

Step 4: Add the Ribbed Detailing
Cuteach trim piece to match the measurements from the floor to the top of the cabinets (mine ended up being around 35 inches tall) to make about 90 each. Attach them one by one, using glue and the finish nail gun.
For the corner pieces, take one of the trim pieces that’s been measured to length, and use a table saw to carve an L-shaped slat on one side. This indentation should neatly cover the edges of each cabinet (you’ll have eight total). Continue adhering each wood piece all the way around the end units, cutting shorter pegs for the part above the table so it looks like it continues through the countertop.


Step 5: Pull It All Together
Attach the IKEA doors onto the cabinets using the hinges provided. We also added a sink (call a plumber to help attach water lines and drain if you’re doing this, too, but if not, you can just add the remaining countertops directly onto the cupboards—follow the instructions that come with the products). We sawed our second counter in half to have equal surfaces for both end fixtures. For the finishing touch, seal the wood with a matte clear coat, and you’re good to go.
As told to Elly Leavitt.