We may earn revenue from the products available on this page and participate in affiliate programs.
Designer and Domino columnist Sarah Sherman Samuel takes us behind the scenes of her latest project in a monthly series that tackles the nitty gritty of remodeling—from sourcing materials and fixtures to DIY’ing a kitchen island.
My first impression was that it was super dark. The previous owners of our Michigan home had ripped out the carpeting and left an unfinished floor except for tiles in the kitchen area, which was painted grey. The island was off-center. The range and refrigerator were right next to each other… it made no sense!
Thankfully, there wasn’t any pressure to transform it right away. Unlike the main upstairs kitchen, which I planned out to a T, the basement was designed on the go—we’d work on it a day here, a day there. It was a renovation in pieces. A subcontractor installed the tile for us, but otherwise, we did the whole thing ourselves. My husband and dad helped, and a friend came over to demolish the original floor—he was the (much needed) muscle. When we first moved in a year and a half ago, we laid the new hardwood and took the island out. Then we ripped out the cabinets about six months later.
When planning a renovation of any kind, you have to think about what’s going to happen to all the original stuff. Especially since this is our second kitchen, throwing all the fixtures away would be extra wasteful, so in the end, my dad took the old cabinets and reused them in his wood shop. My aunt came and got the range and the fridge, so we really didn’t trash much.

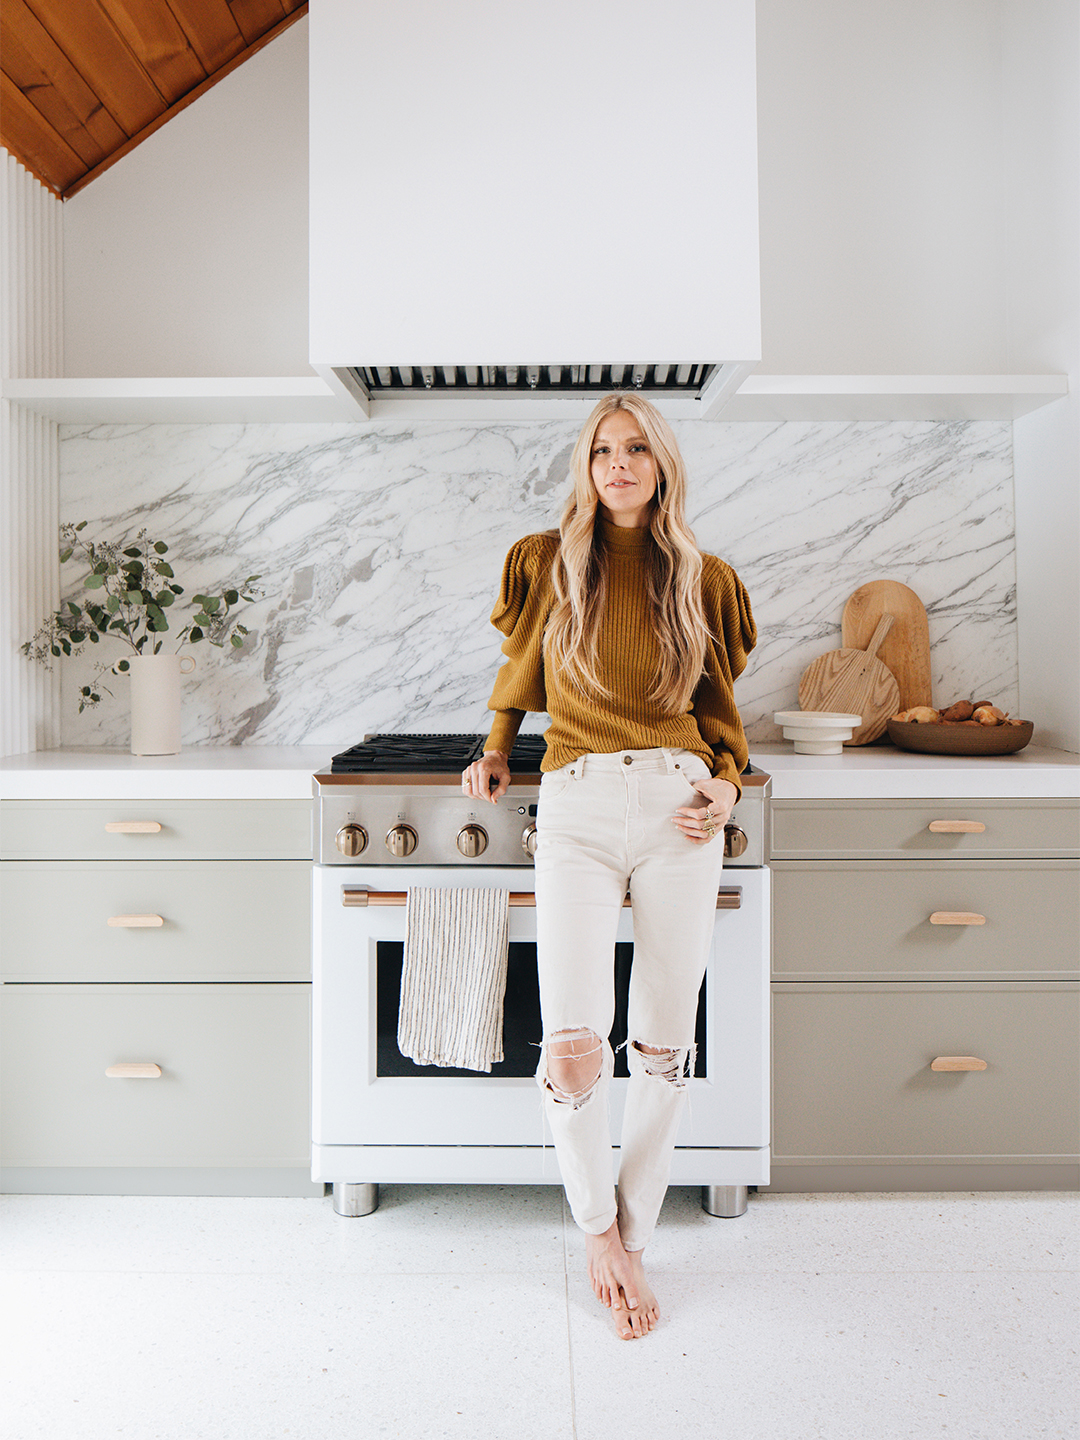
As a designer, the benefit of having two kitchens is getting to show two parts of my personal style: The upstairs one is bright and soft, whereas this one is super high-contrast; it’s a little bit like my dark side. I wanted this room to be a bonus kitchen, where I could experiment with moody tones and sleek finishes.
I was drawn to a Sharon Etgar painting as the inspiration. The warm ochre, black, white, and tan palette has been a favorite of mine for a while, and I love the layers and organic shapes. It’s a piece you want to reach out and touch. From there, I picked and pulled different things I liked into a Photoshop file, not knowing exactly what direction I was going to go in.

Typically, I start by designing without price in mind—then, once I get the moodboard to my ideal, I go back and apply my actual budget. I splurge on touch points and eye-level visuals. Here that’s tile on the backsplash and the appliances; the rest of the kitchen is actually one big save! I chose IKEA laminate countertops, because I knew they weren’t going to get heavy use, and cabinets that I upgraded with my new Semihandmade line for a higher-end look.
My biggest tip is to assume you’ll be spending around 20 percent more than your original budget. Don’t set out to use the whole thing, but have a cushion—you’ll probably need it. Prepare for the worst, but hope for the best.
The plan was to use this kitchen for entertaining, when we could prep big meals for Thanksgiving, the holidays, and for guests, so when families come to visit, they’d feel more at home. But right now, during the stay-at-home measures, my husband and I head down there every night after the kids go to bed because it feels different, like we’re going somewhere else. We hang out and watch TV with bowls of cereal.
As told to Elly Leavitt.
To celebrate the launch of Semihandmade’s new collection, we’re giving away $1,000 to shop the line—head to our Reno Notebook Instagram account to enter.