We may earn revenue from the products available on this page and participate in affiliate programs.
In Renovator’s Notebook, homeowners open up about the nitty-gritty of their remodels: How long it really took; how much it actually cost; what went horribly wrong; and what went wonderfully, serendipitously, it’s-all-worth-it-in-the-end right. For more tips to nail your next project, follow @reno_notebook.
Year built: 1964
Square footage: 80
Budget: $5,958
Top priority: Build a Scandi-cool cabin kitchen on a tight budget by getting creative with finds from IKEA, Amazon, and more.
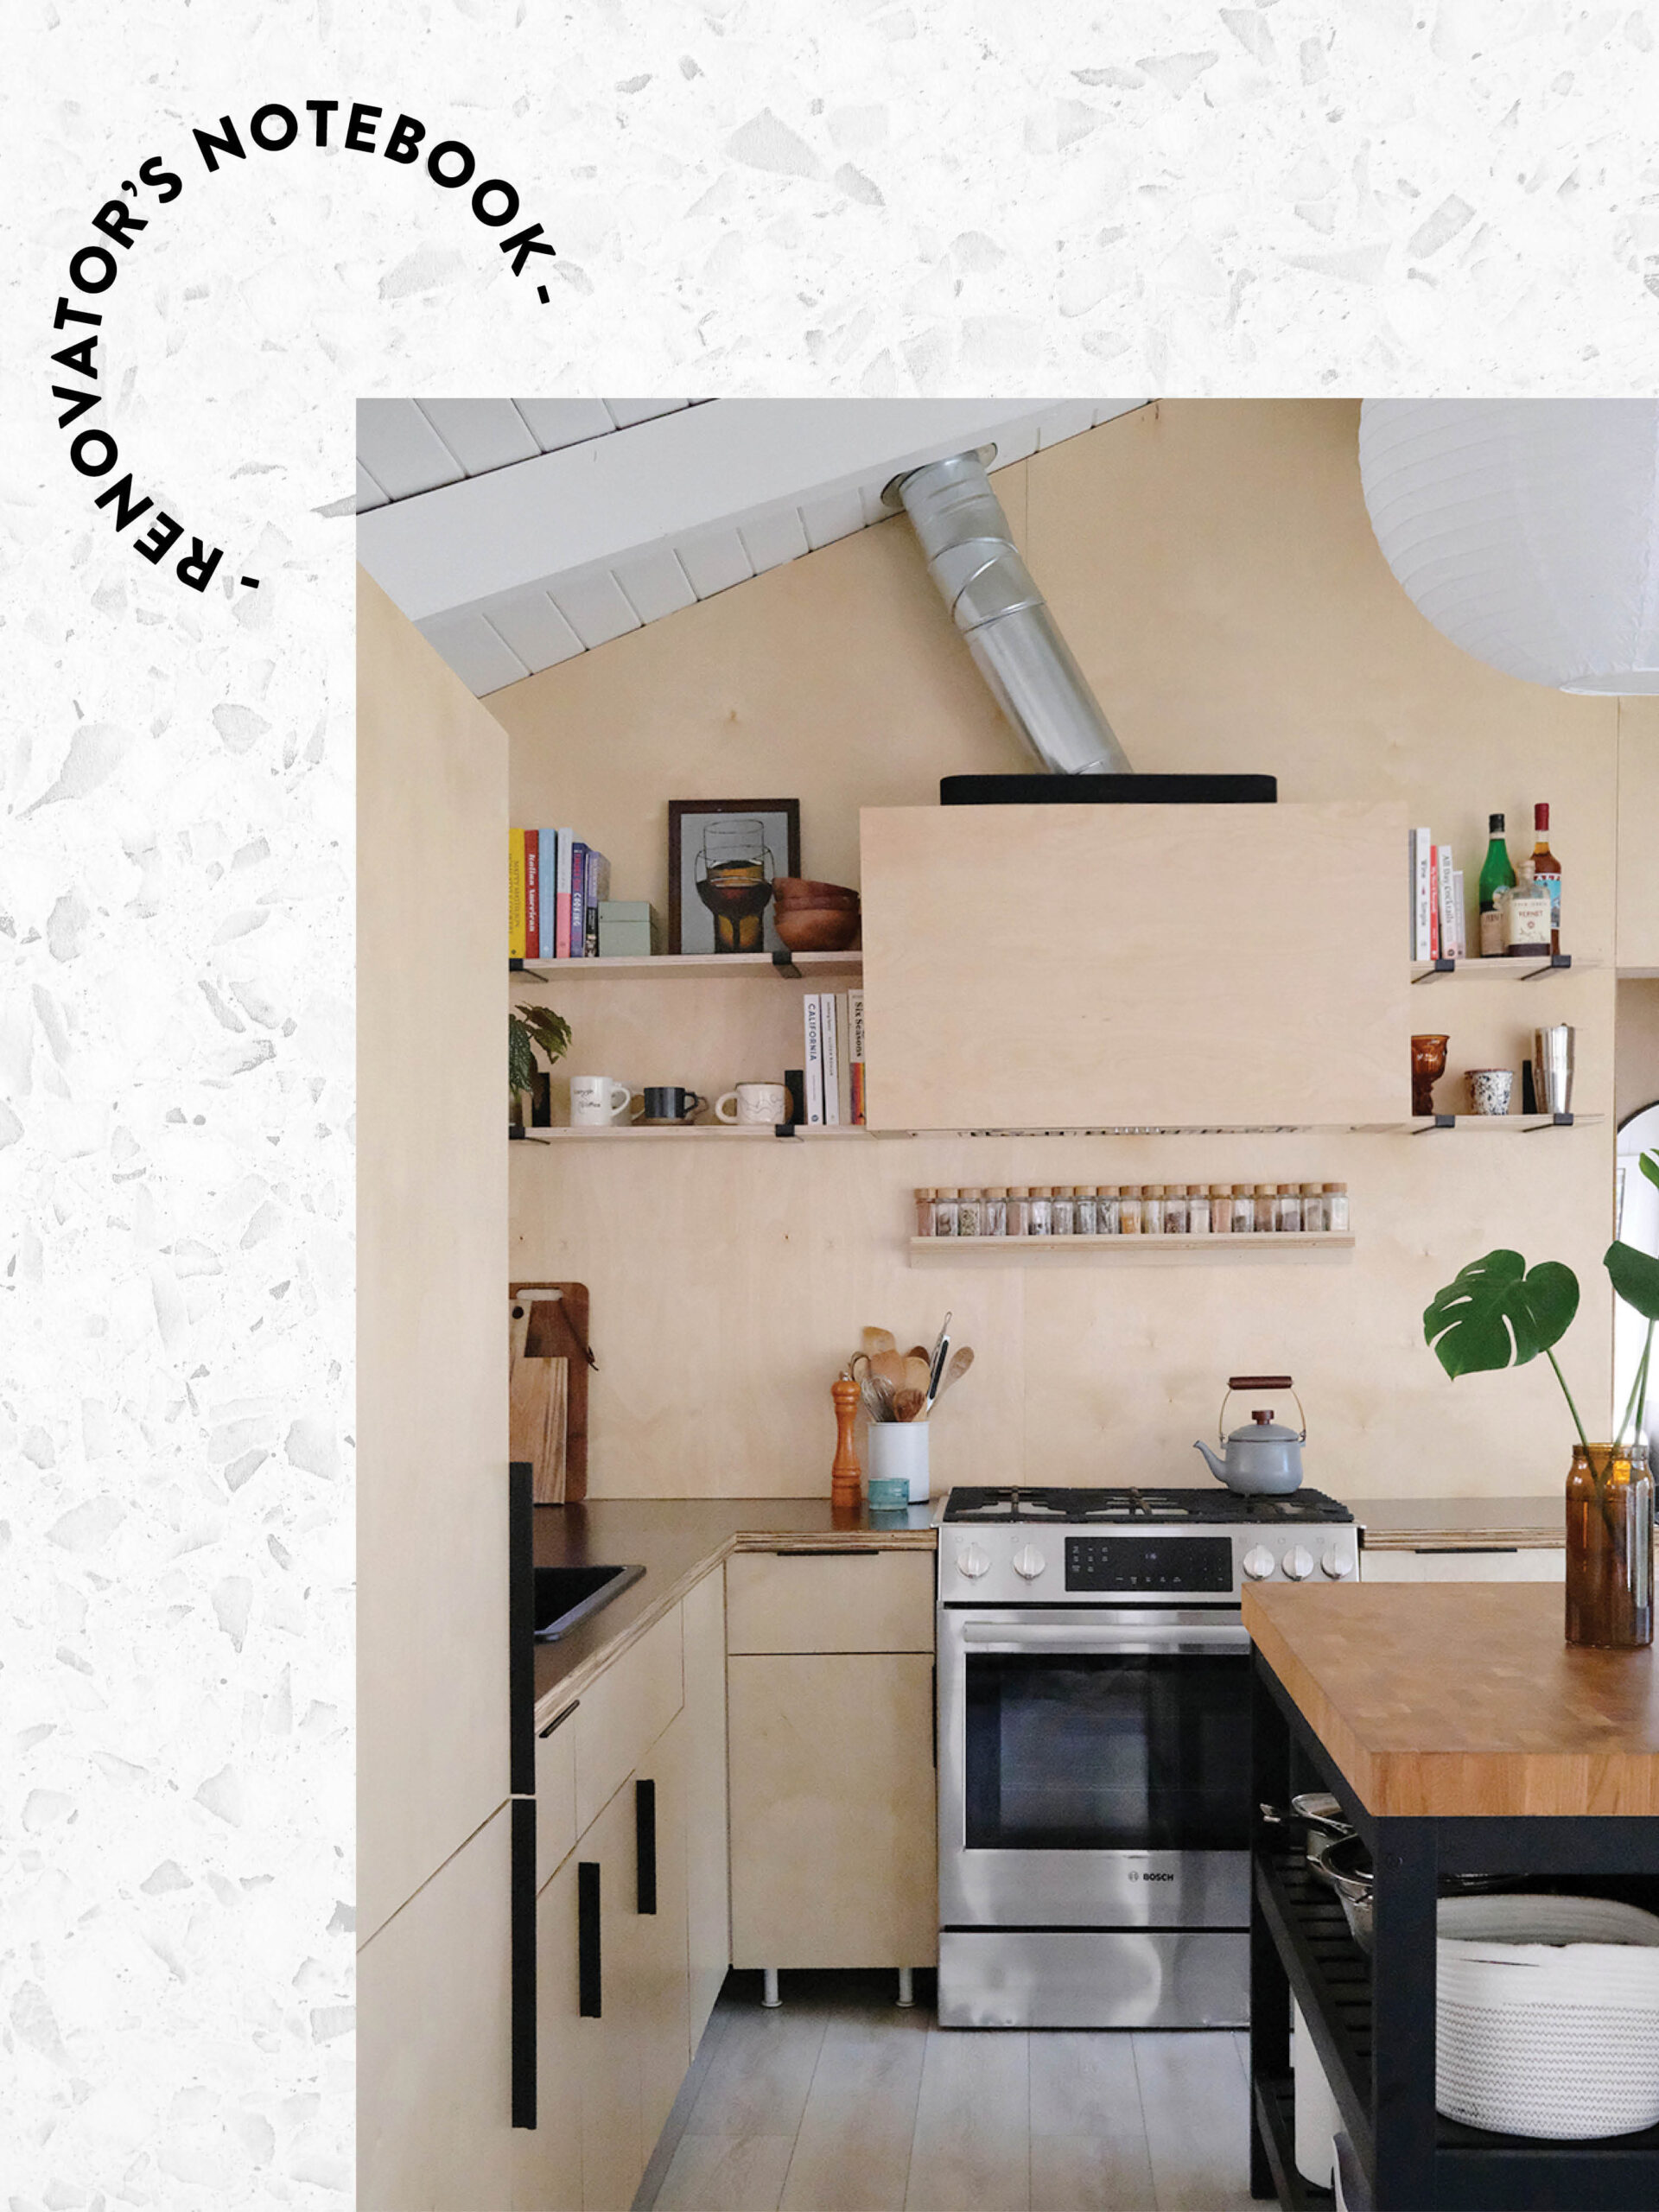
Paige Kershaw and Jake Hill assumed they would be landlords when they purchased their cabin in California’s San Bernardino Mountains in fall 2021. Specifically, Airbnb hosts. “We were looking at this [place] for a month, debating it, talking about how we could turn it into a rental and have another source of income,” recalls Hill. So the couple, both graphic designers who were renting in Newport at the time, purposefully bought the cheapest house they could find in the Running Springs area (the property was a steal at $179,000). But once they started spending weekends renovating the 512-square-foot interior, they couldn’t imagine giving it up. “All the faults were easy to ignore when looking up at the massive wood beams, the towering pines that surrounded it, and the views that reached the Pacific Ocean,” shares Kershaw.

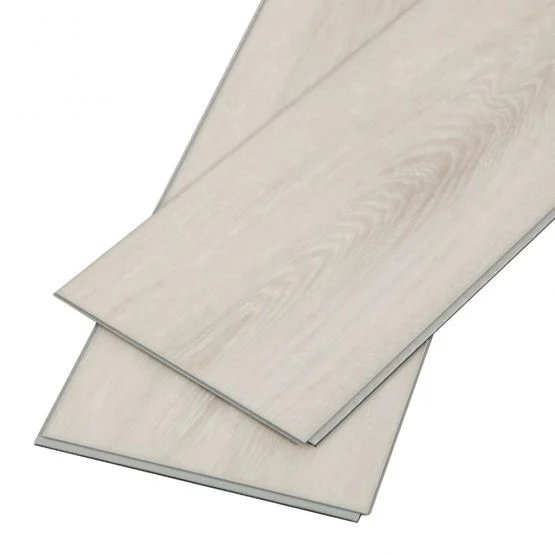
After spending two weeks gutting the property, the pair got to work on replacing the flooring with durable vinyl planks, adding a new wood-burning stove, and redoing the entire kitchen for a little less than $6,000. (Kershaw’s contractor dad lent a hand throughout the process, but for the most part the couple did all the work themselves.) In the interim, they relied on a temporary cooking setup that consisted of a freestanding sink with shelving, a Primus grill, and a mini fridge (although they mostly resorted to the grill outside and a nearby pizza joint when they got hungry).


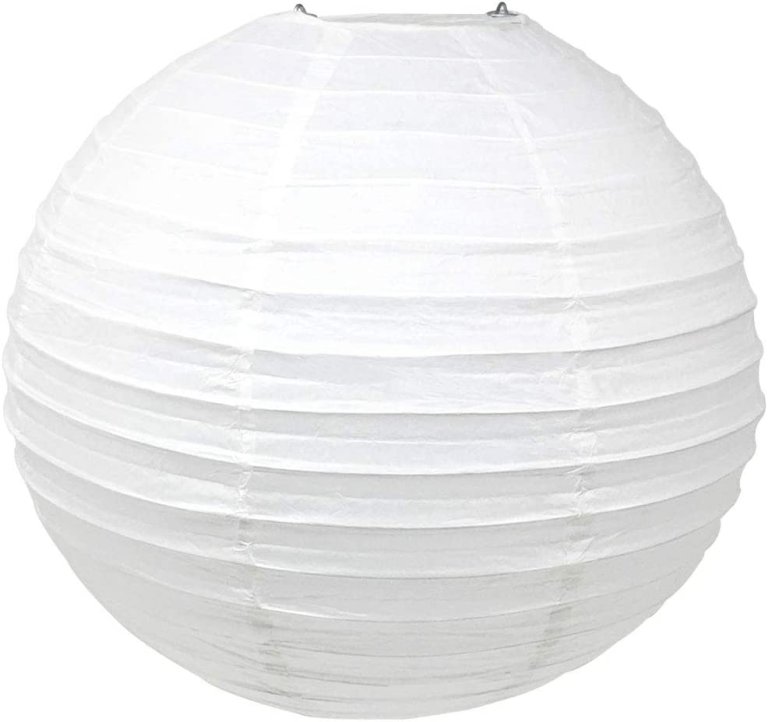
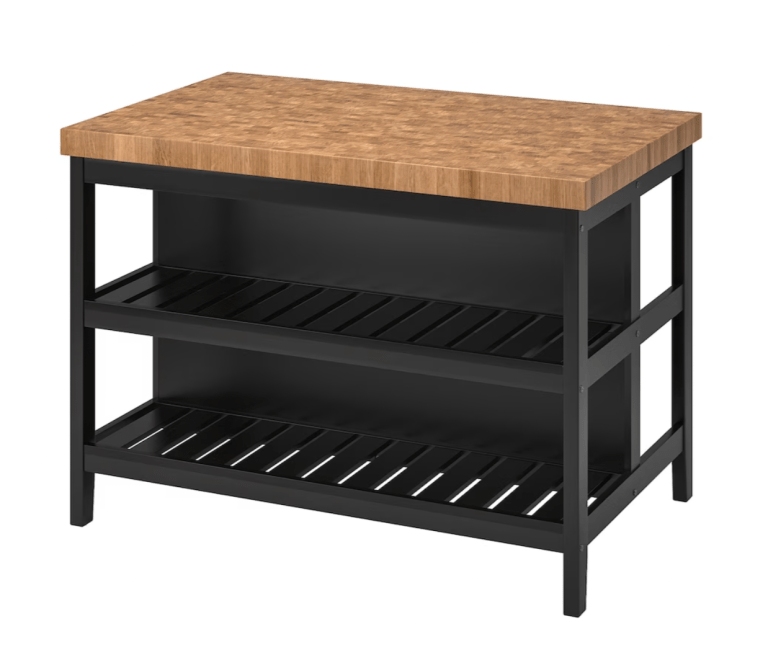
Their main priorities: incorporate an island with seating, open the space to the living room, and brighten things with loads of plywood. Budget-friendly was the name of the game for the project, with Hill and Kershaw mostly sticking to retailers like IKEA (the island was $570) and Amazon (the round paper lantern was a mere $100) for materials. Ahead, in their own words, the couple reveal where they splurged and where they saved on their now full-time getaway.
Splurge: Cabin-Chic Cabinets


Jake Hill: I didn’t want to build all the cupboards from scratch because my woodshop was our deck, so I was limited on space. We went with IKEA’s Sektion frames (the total was around $950) because they were the cheapest, lowest-effort option. Then I just had to figure out how to make the fronts. Pretty much all the Baltic birch plywood was sourced from a hardware store in Santa Ana for $768. We went with sheets that already had a finish on them so we didn’t have to coat them afterward. The rest was a bunch of measuring (and doubting myself very often). I used a track saw and a special tool called a jig drill that allowed me to carve out the holes for the IKEA hinges. We bought the door hardware on Amazon for $130—it has a clean, simple look that matched all the lines in the space.
Save: Counters That Are All Stick, No Peel


Hill: The counters are two sheets of plywood stuck together, sealed with a $120 laminate sheet. The material is stressful to use: You get one go at spreading it on with a roller because it bonds superstrong, and as you flatten it, you have to get all the air bubbles out. Fortunately, it has held up really well.
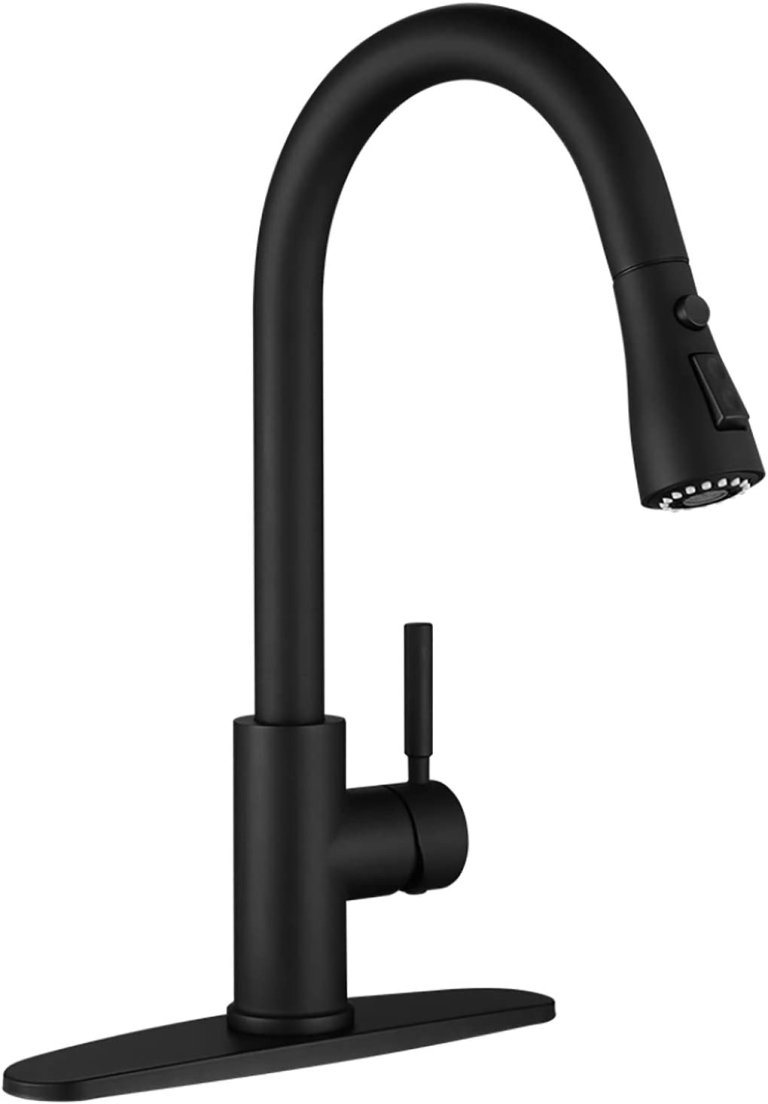
Paige Kershaw: The black sink is another IKEA product ($286). We had to wait a while for that to come back in stock, but we liked how it blended in with the countertops.
Splurge (But Also Save): Appliances That Survived a Few Accidents

Kershaw: We cut costs by finding scratch-and-dent appliances, including the kitchen range and panel-ready refrigerator.
Hill: I found the company that sold us the damaged pieces by scouring Facebook. It buys stuff from places like Home Depot that have fallen off the truck or were bumped with a forklift. Our stove has a little dent in the front, but the fridge was pretty spotless with the exception of a scratch, plus we knew we were going to cover it with plywood anyway. Both of them brand-new would have been $6,000, but we got them for closer to $2,000. We decided not to have a dishwasher and hand-wash everything.
Splurge: A Nook for Everything


Kershaw: The best organization element we incorporated into the design is our pantry, which you can’t see when the door is closed. It’s the corner cabinet, and we put a pull-out mechanism in there (like this) that allows us to make use of the depth.
Hill: The spice rack over the stove and the wine storage were fun projects I wanted to do just to mess around with my woodworking skills. I could have easily bought ready-made solutions, but it was an opportunity for me to play.