
We may earn revenue from the products available on this page and participate in affiliate programs.
In Renovator’s Notebook, homeowners open up about the nitty-gritty of their remodels: How long it really took; how much it actually cost; what went horribly wrong; and what went wonderfully, serendipitously, it’s-all-worth-it-in-the-end right.
Rooms: Back entry and guest bathroom
Size: 40 square feet and 84 square feet, respectively
Year built: 1905
Total cost: $2,655
Timeline: A few weekends for the entry; about a month for the bathroom
Top priority: “An expression of the things—and colors—I like.”
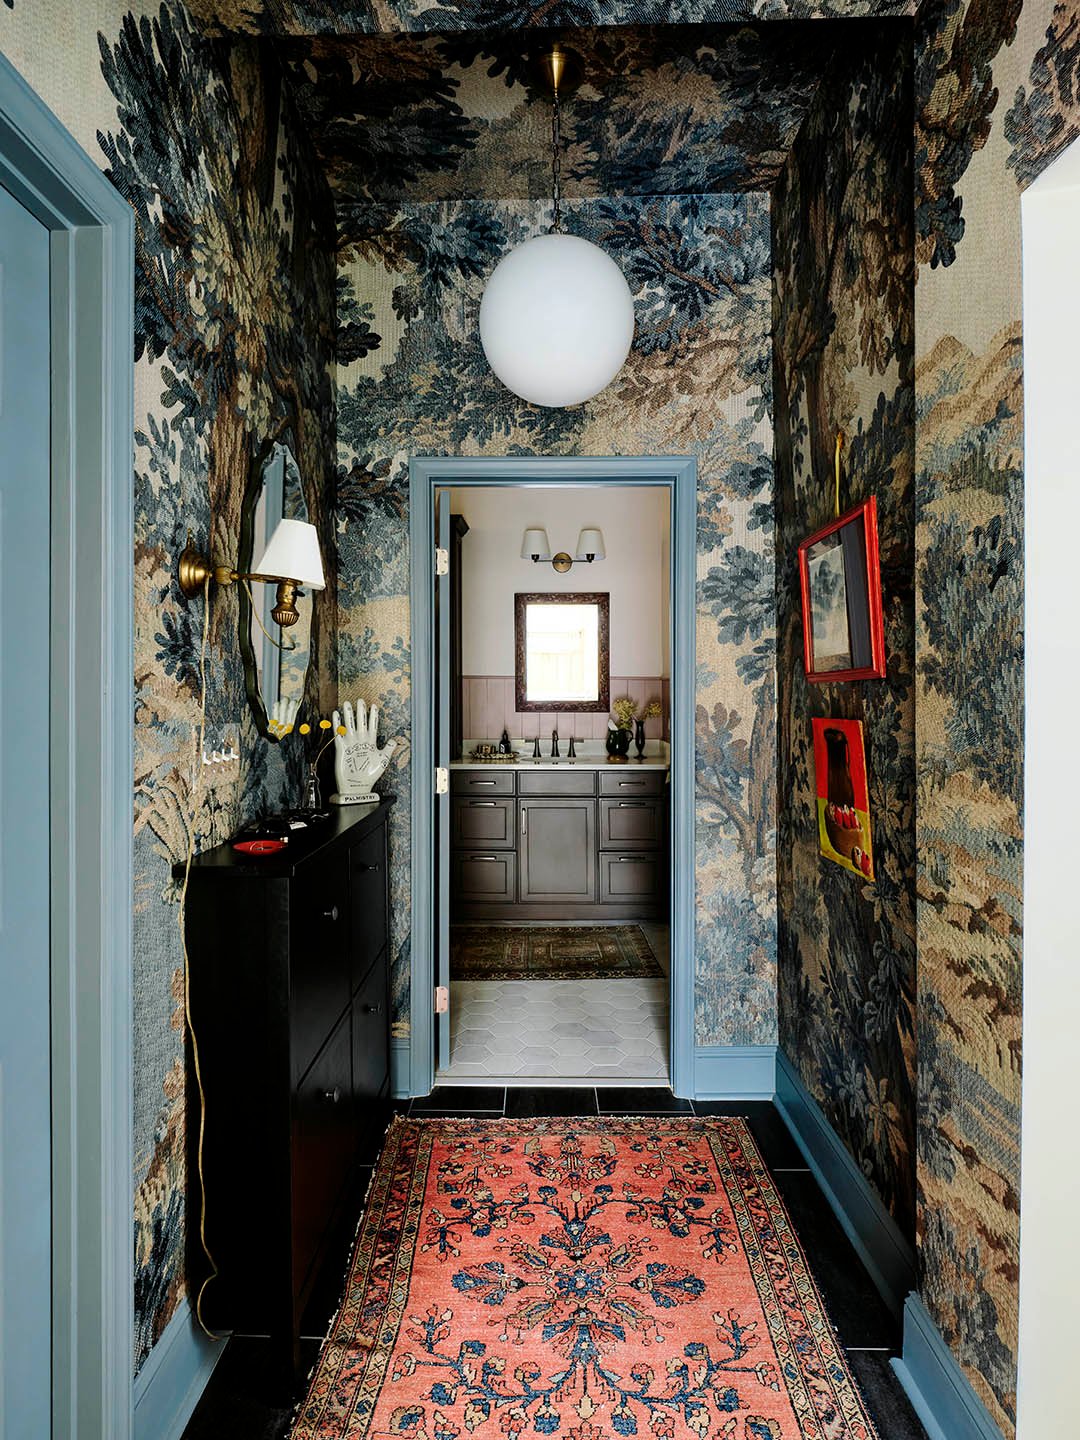
In Delaney Lundquist’s 1905 Charlotte, North Carolina home, the back entry and guest bath didn’t need gut jobs. They just needed a point of view. The small, self-contained spaces offered the creator behind Tremont Home something her open-plan living areas didn’t: a place to experiment.
For the entry, the jumping-off point was a five-figure antique tapestry that was decidedly not in the budget. “I have a fantasy of owning a huge verdure tapestry one day,” says Lundquist. When she spotted a look-alike wallpaper with a textured finish, she just needed somewhere to put it. The compact pass-through was painted a dark red she describes simply as “not my thing”—all the more reason to cover it up.
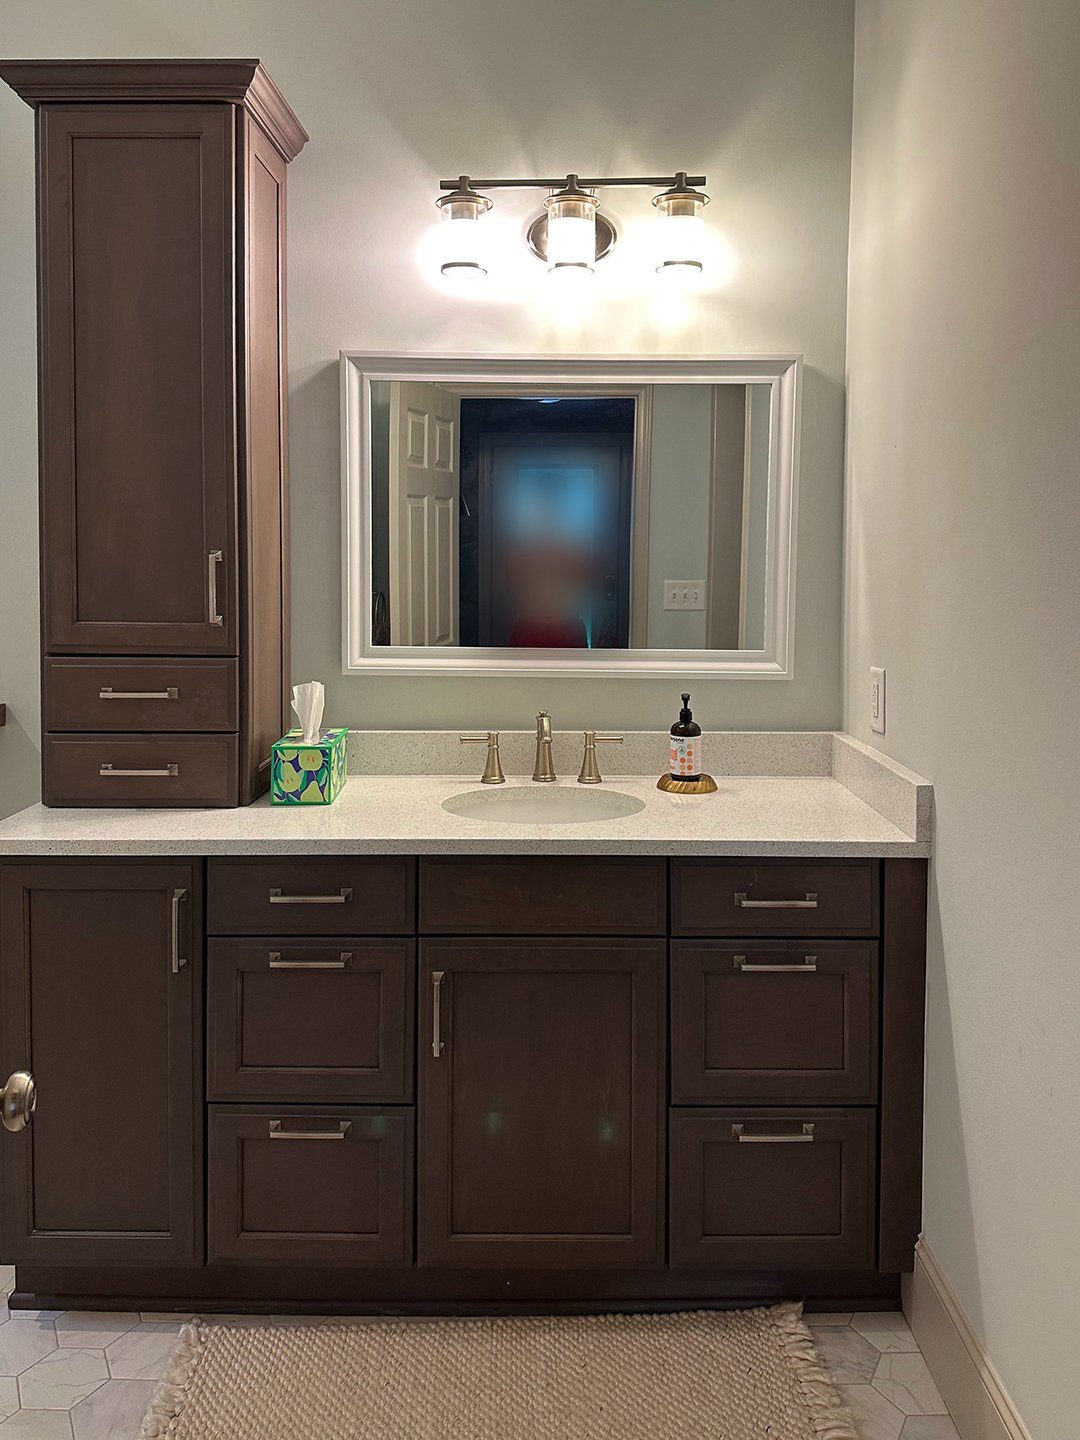
Lundquist hung the paper herself—her first-ever wallpaper install—then, a few months later, moved on to the adjacent guest bath. There, she pushed her DIY skills further with paneled walls, a rewired light fixture, and a vintage quilt top-turned-shower curtain. What she didn’t touch was just as important. The relatively new cabinetry, flooring, plumbing, and hardware were all perfectly serviceable, if not exactly what she would have chosen.
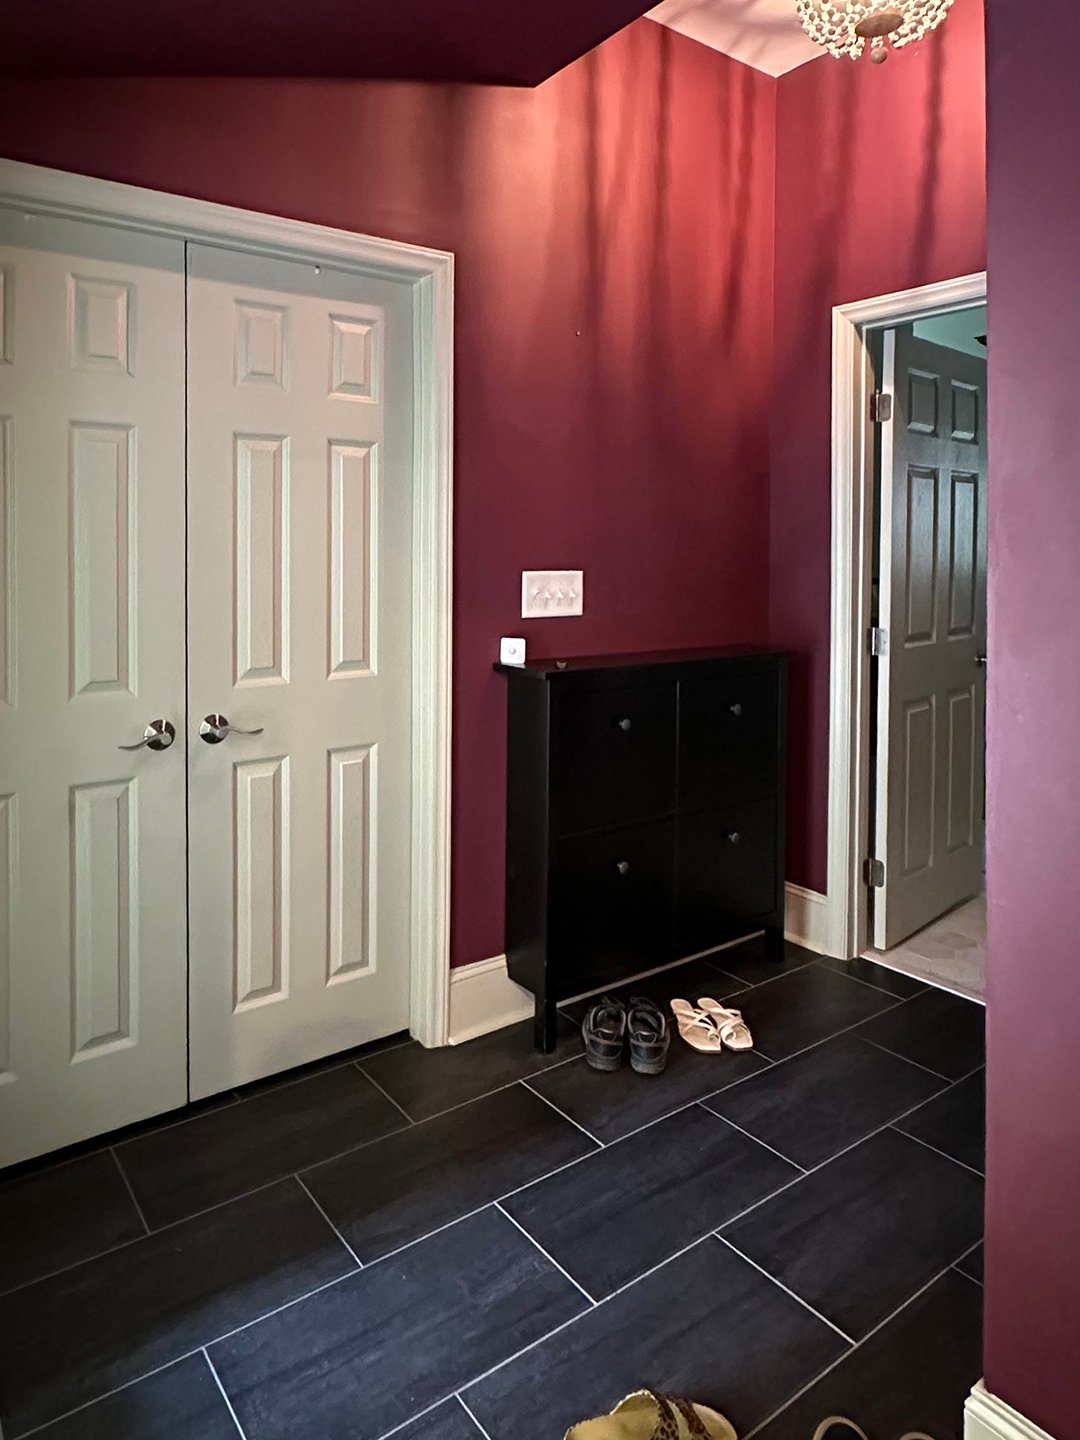
“I sold this project to myself as: Slowly beef up your skills,” she says. “Figure out what you can and cannot do. Figure out what is easy versus what just looks easy.”
The Receipts
Here’s where Lundquist spent—and saved—across the two rooms.
- Wallpaper: $1,200
- Wallpaper supplies: $55
- Back-entry pendant: $105
- Vintage back-entry sconce: $54
- Facebook Marketplace mirror: $75
- Bathroom paneling and paint: $424
- Vintage bathroom rug: $220
- Vintage quilt top turned shower curtain: $108
- Bathroom light fixture: $154
- Towels: $88
- Consignment-store mirror: $112
- Vintage footstool: $30
Choose Your Wallpaper Wisely
I thought, “The back entry is a small space; that’ll be easy to paper.” What I didn’t account for were all the corners and angles—a slanted bit, a juddy-uppy bit in the ceiling. There was a lot of heavy wallpaper falling back down on my head.
I did the whole thing single-handedly. At one corner, I tried to wrap the same sheet around, but because the wall isn’t plumb, it didn’t work. I ended up with a big gap that I had to patch.
What saved me was the pattern. The scale and visual texture are exceptionally forgiving. There is one big old mistake that you just cannot tell is there.
My advice for a first wallpaper project: Avoid anything that will make imperfect seams glaringly obvious. If I had chosen that kind of pattern, I would have hired someone else.
Mix Paint You Already Have
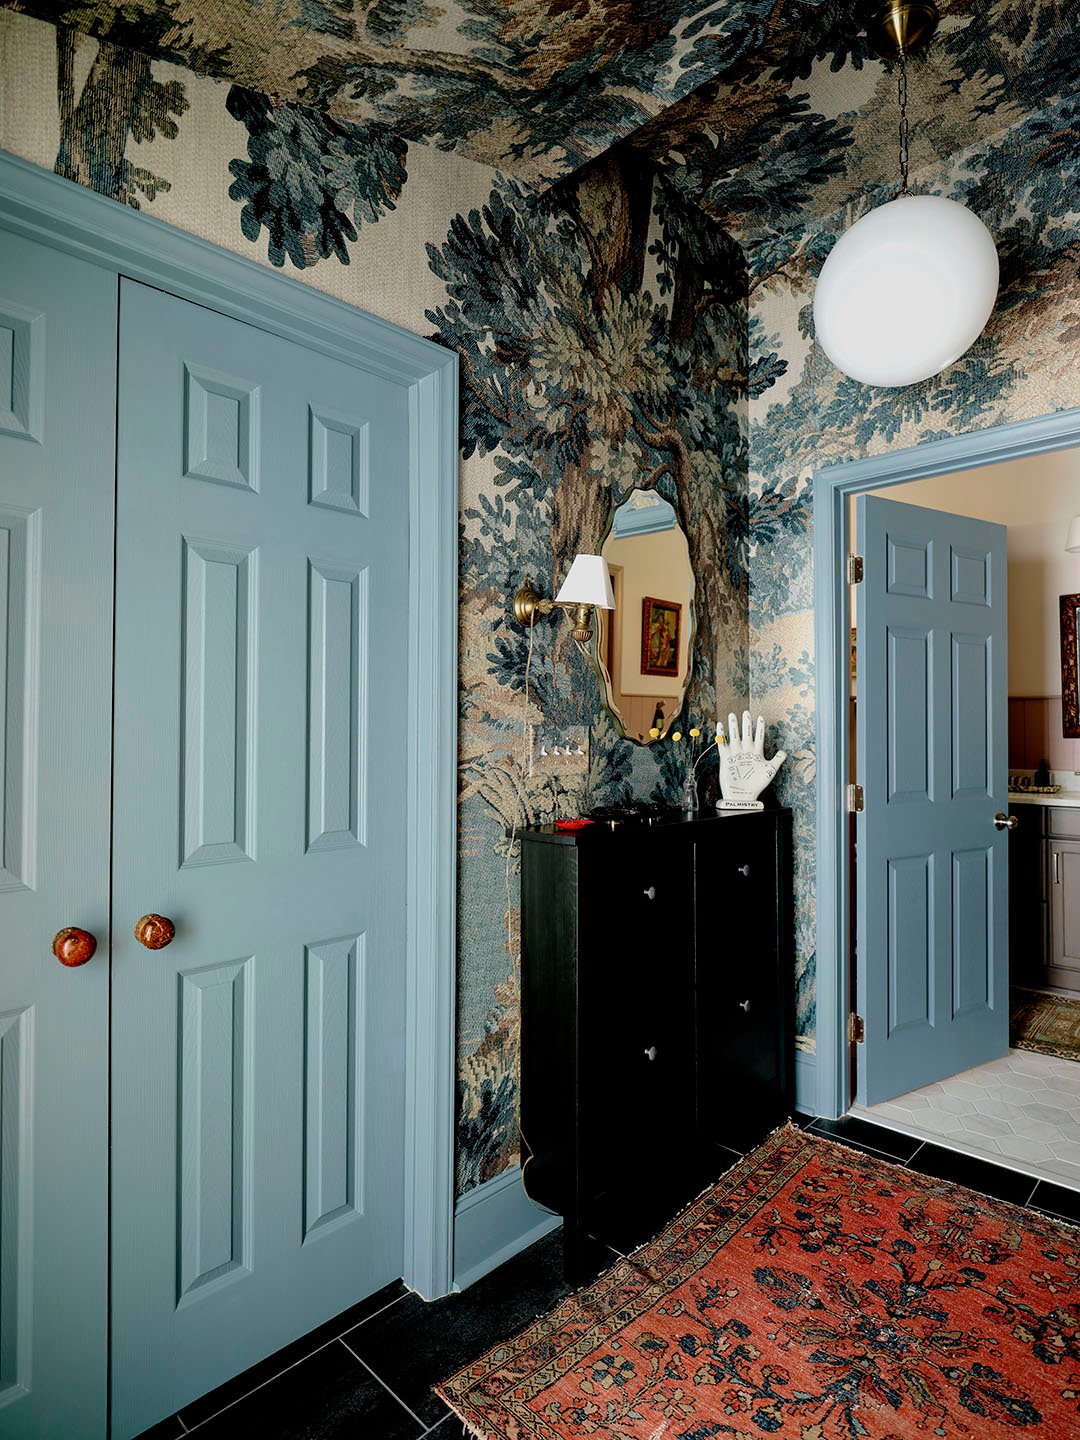
I lived with the wallpaper and off-white trim for about six months before finally admitting, “Oh yeah, I don’t like this.”
I sampled a bunch of greens first, but they clashed with the kitchen. Then I moved into blues and realized I already had plenty of leftover samples from other projects. Eventually, I thought, “Why am I buying another quart of paint I’m not going to finish?” So I mixed them together.
There’s no reason you have to use a premixed color. It’s all interior paint. Nothing bad is going to happen. The real trick was making enough, because I knew I’d never recreate the exact shade. There was no teaspoon of this, teaspoon of that—just dump it all in and stir.
Once the blue was on the trim, that was it: “Oh, now she feels done.”
Don’t Rip It Out Just Because You Don’t Love It
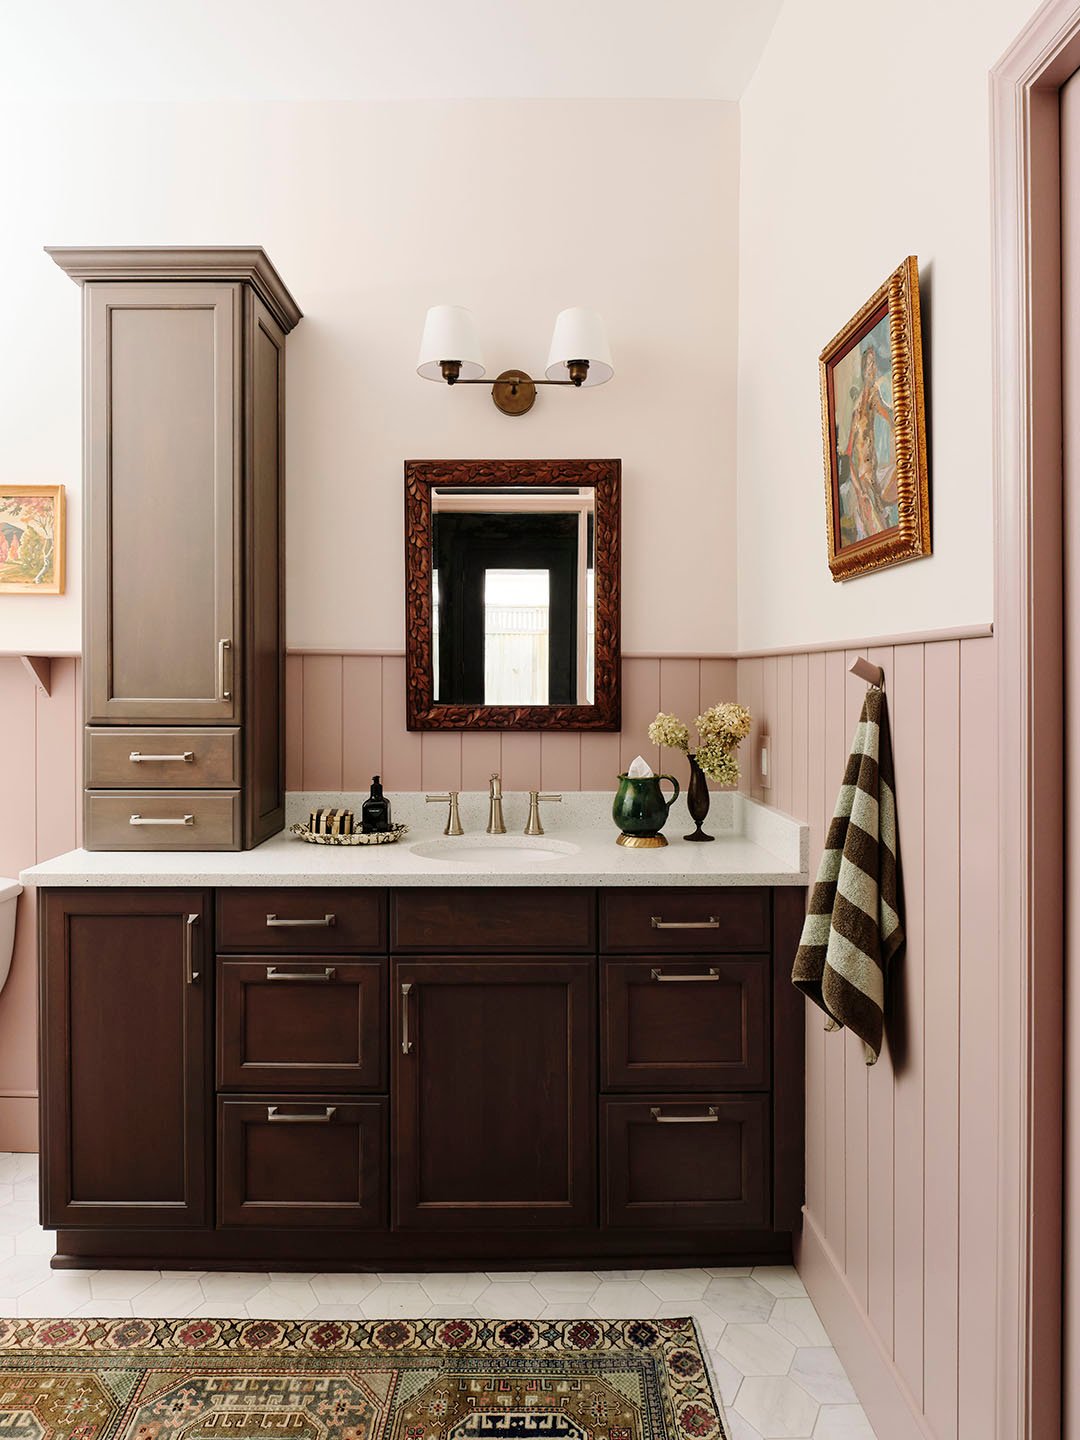
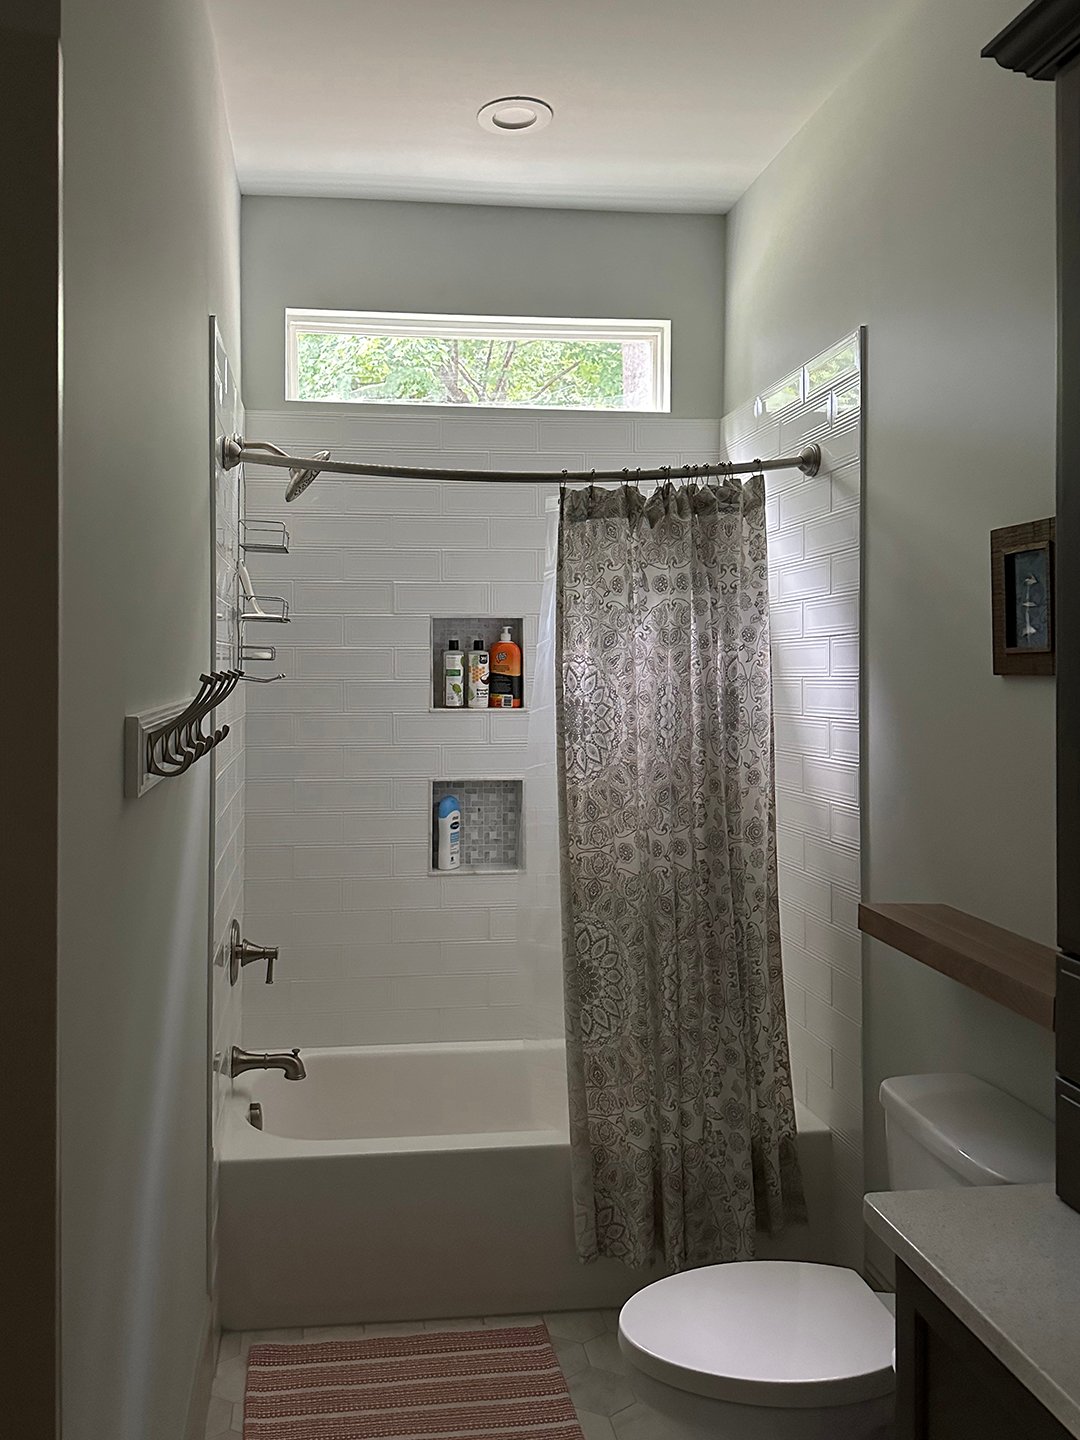
The bathroom had been renovated around 2017, so the cabinetry, flooring, plumbing fixtures, and hardware were all perfectly serviceable. I’m certainly not going to rip something out that’s in good condition just because it isn’t exactly what I would have picked.
I also knew that if I painted the vanity myself, I could end up with a finish that was inferior to what was already there—gritty, streaky, peeling, whatever. And I wasn’t going to pay a professional to refinish it.
Knowing the cabinetry was staying actually helped me choose the wall color. I experimented with other shades and realized this mauvy pink worked with the undertones of the cabinetry. The brushed nickel plumbing stayed, too, so I left the drawer pulls alone. They blend in, so I decided to let them be.
Buy the Right Saw and Make Friends With Bondo
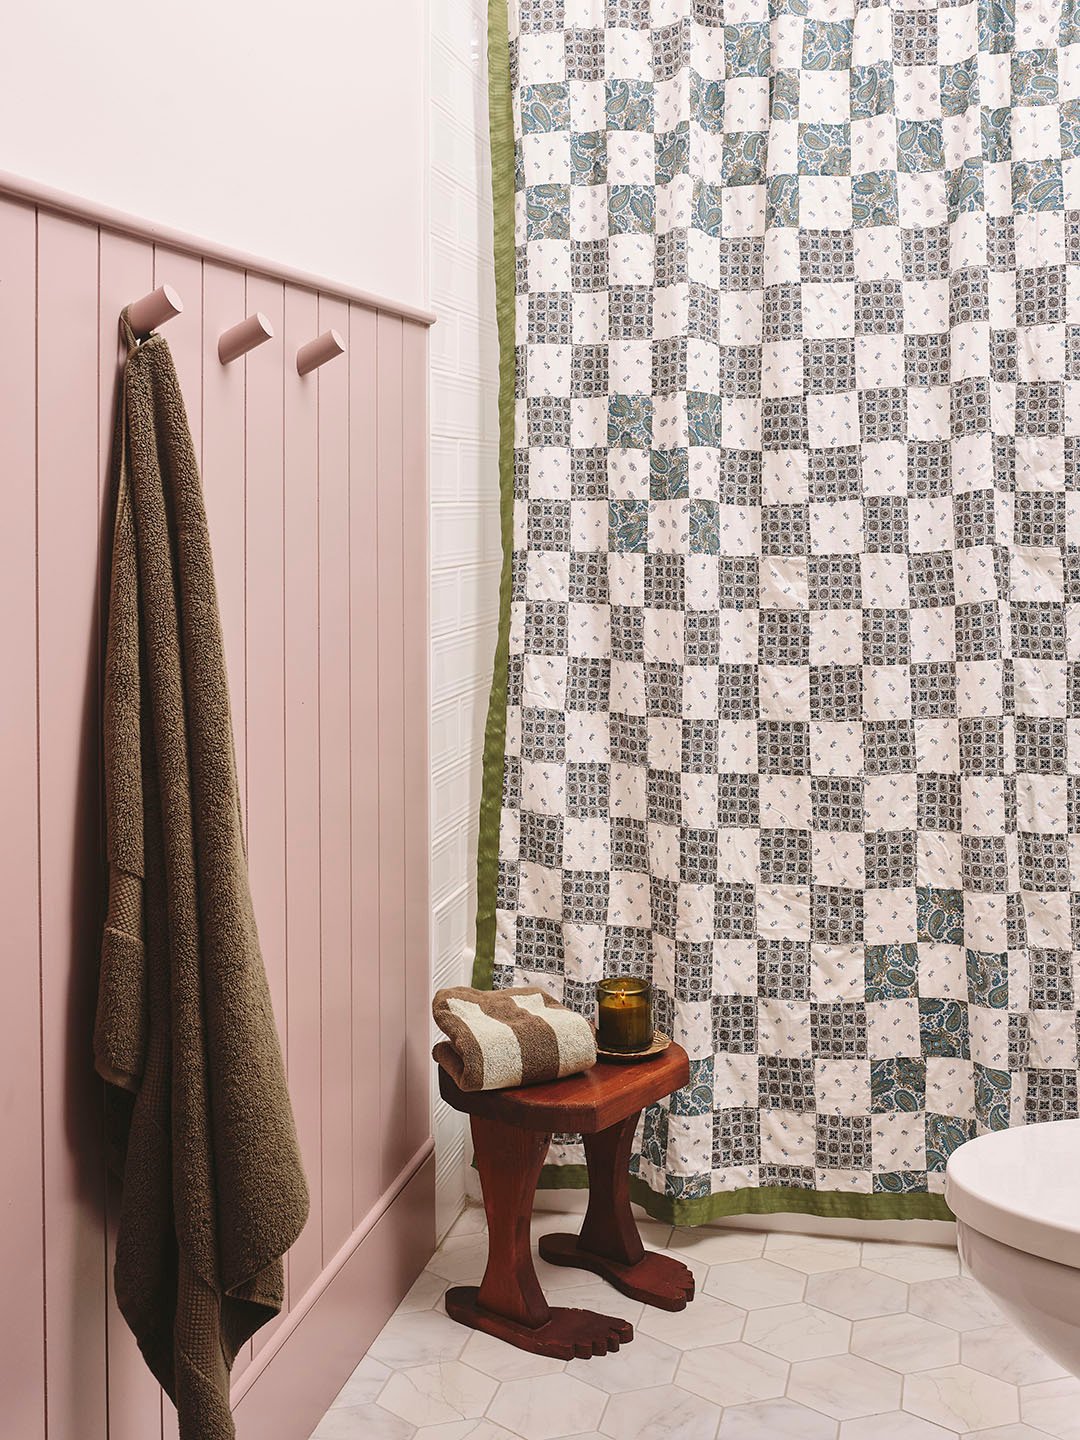
The paneling was my big skills-building project. I borrowed a bunch of saws from a friend, but I didn’t have a miter saw, so I did the 45-degree cuts for the trim by hand with a miter box. That was when I learned that just because you cut two perfect 45-degree angles does not mean your walls meet at a perfect 90 degrees.
I’d make the cuts, put the pieces together, and think, “Well, there’s a huge freaking gap here, isn’t there?” Bondo became my friend. Fill it in, sand it down, fill it in, sand it down.
Using power saws was still a huge level-up for me. I feel much more comfortable cutting things now. But the measuring is the hard part. All I want to do is eyeball it, make a mark, and cut. Unfortunately, that does not always work. If I do crown molding next, I’m getting a proper saw.
Look Beyond the Bath Accessories Aisle
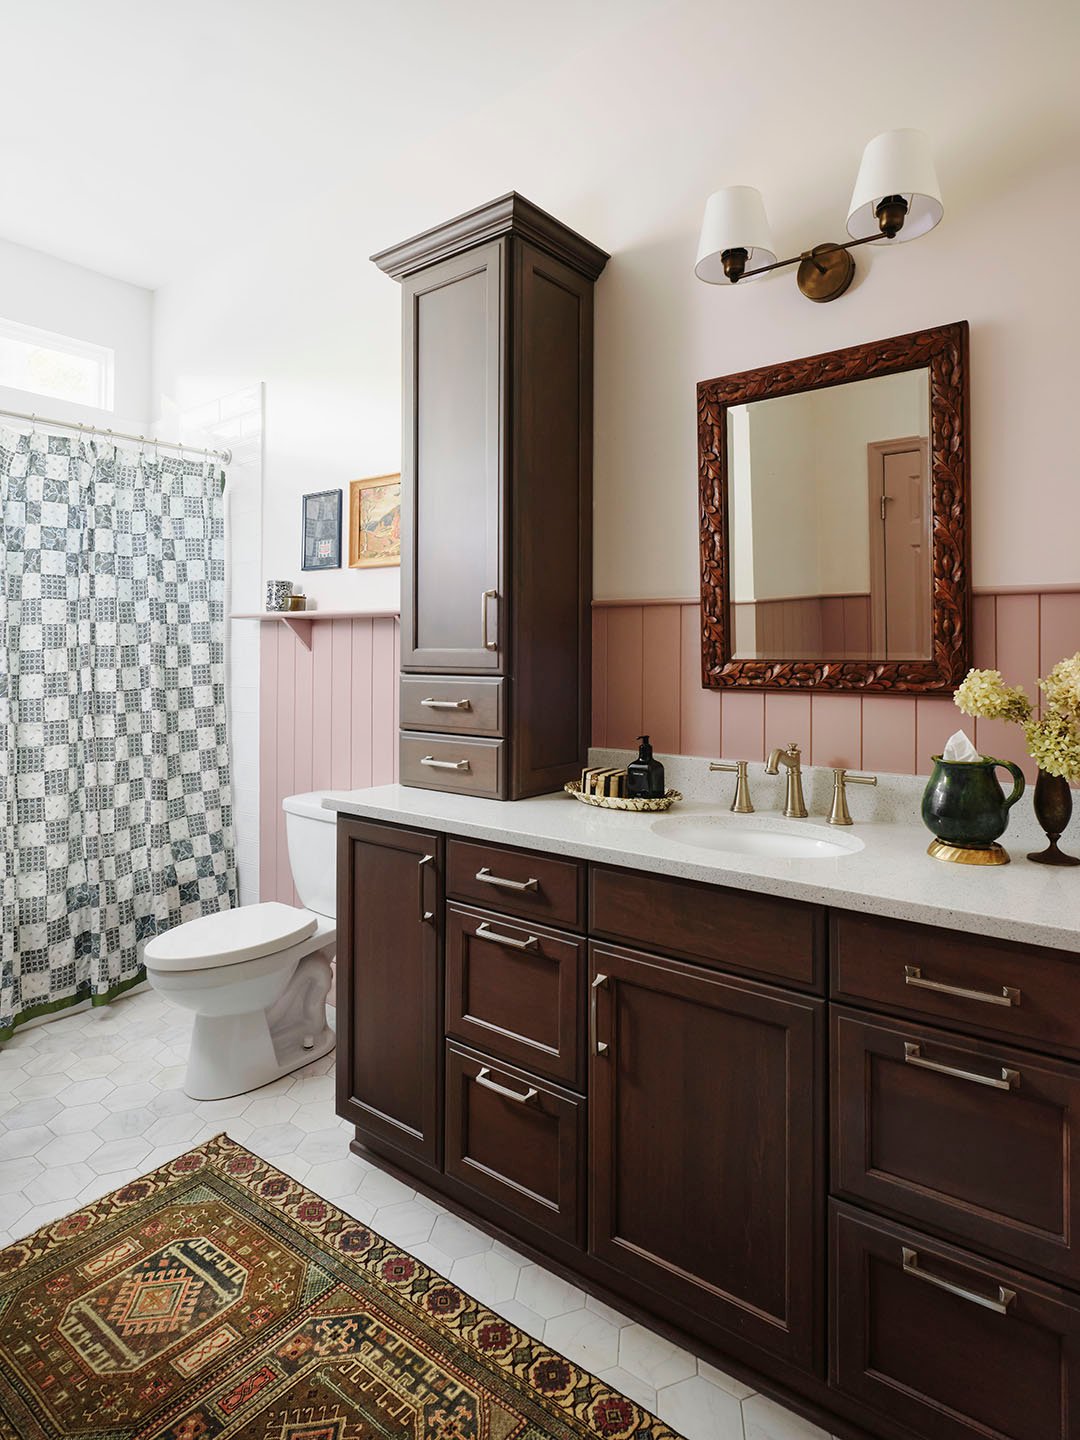
I found this beautiful unfinished quilt top on Etsy and thought, “What could I do with this?” Then: “Oh yeah, a shower curtain.” Because there are lots of ugly shower curtains out there.
Miraculously, it was almost the perfect width. I hemmed the raw edges and sewed grosgrain ribbon around the perimeter. My janky old sewing machine—a hand-me-down from a friend who’d had it since high school—had a buttonhole attachment. I originally thought I’d need to punch holes and add grommets, but the buttonholer was easier than expected.
I don’t know how to sew, but sewing in a straight line will get you so far. I’ve made cafe curtains. I’ve made pillowcases. Somehow I continue to produce an output.
There’s a clear waterproof liner behind the shower curtain. If I wanted to get really fancy, I could have added fabric to the back so you don’t see the unfinished side from inside the shower. But I kind of like seeing how it was made.
Let Old Stuff Do the Heavy Lifting
The vintage rugs are doing a lot of work in both rooms. I think an old rug gives a space instant character and age. All of our rugs are torn and have holes, and I honestly prefer them that way. It makes me less precious. I don’t care if someone walks on them with shoes or if they get another snag.
The rug in the entry was handed down from my husband’s parents. The bathroom rug came from eBay. A lot of the artwork was inexpensive or stuff I already owned. I framed a little orange juice label I saved from a trip to Japan. One painting was $5 at an estate sale.
One of my favorite things is a pair of old marbled doorknobs I found for $20 while shopping at an antique mall with my mom in Oregon. Antique knobs can be a beast to retrofit because of the latching mechanism, but the back-entry closet doors just push open. I realized I could make the knobs stationary, attach them to the backplates, and screw them right in. Every time I touch them, I think, “God, I love these.” Sometimes you get lucky.