
We may earn revenue from the products available on this page and participate in affiliate programs.
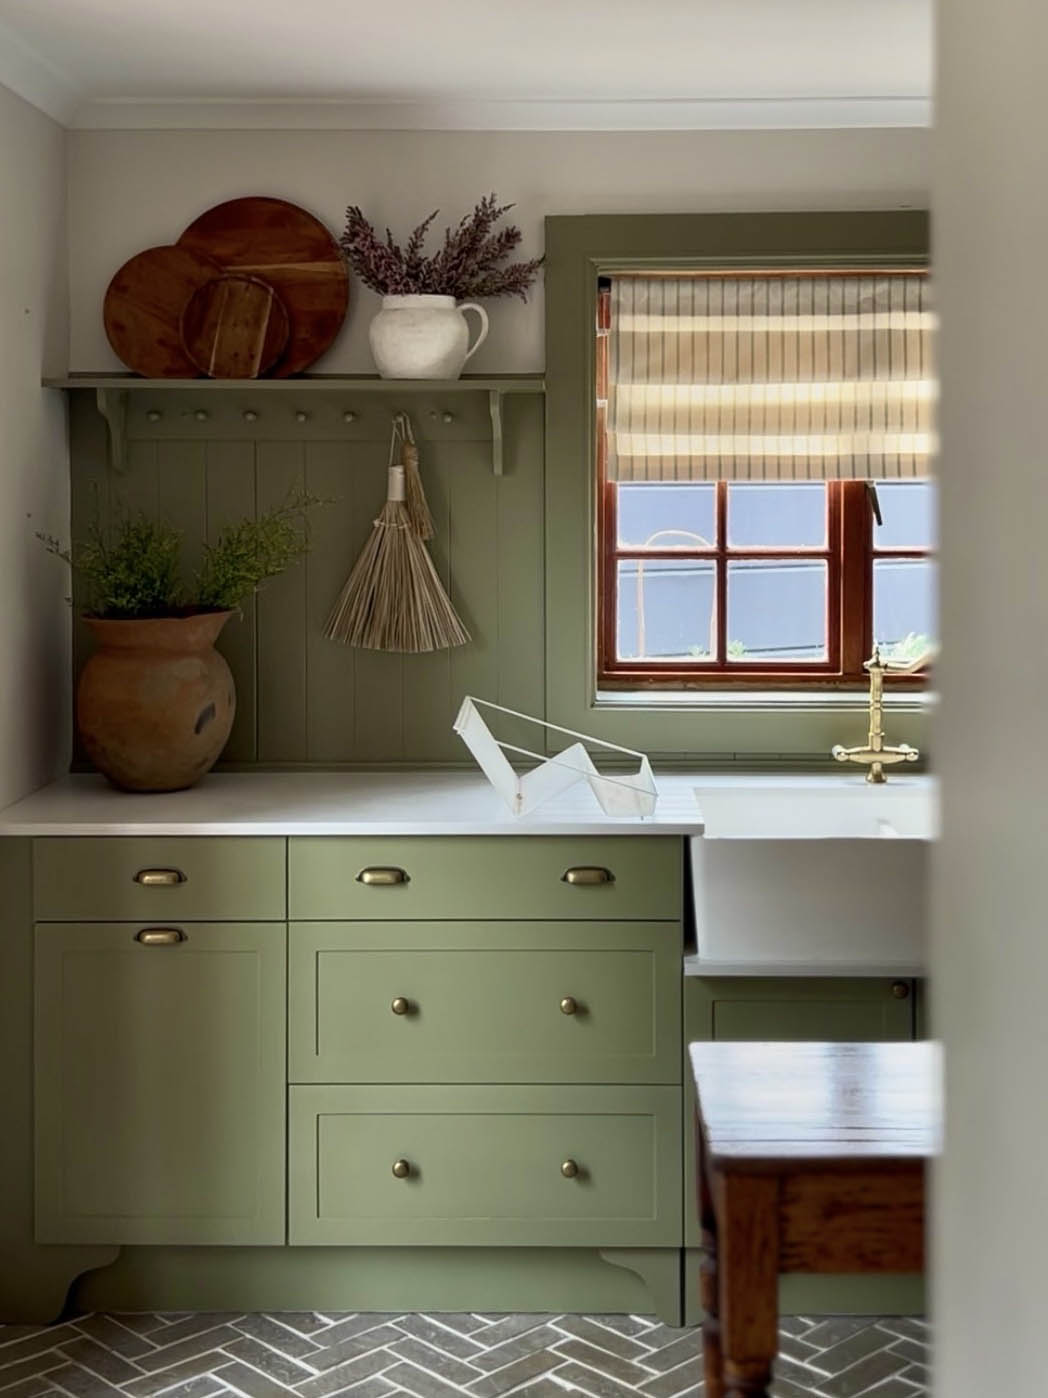
Custom Roman shades can be well worth the splurge if you plan to hoist them open and closed several times a day. A linen set from The Shade Store, lined with a blackout fabric, turns my children’s room into a cool, dark cave around bedtime and then back into a sunroom in the morning. Other windows call for a lighter touch: Roman shades that add a bit of softness and privacy while mostly staying put in one particular position. Anushca Dalton, a South Africa–based designer and content creator, came up with a DIY design that did just that for her kitchen window—and cost her a fraction of what a custom shade would.
Dalton’s window welcomes in soft light most of the day and a few hours of direct sunlight in the afternoon. Inspired by a design she saw on Pinterest, she tinkered with a big piece of fabric, iron-activated hemming tape, and a few tension rods to design a custom, folded shade that sits right at the top of the window and filters the harsh light when it tries to pour in. “I didn’t want to be doing a lot of drilling, and I can’t use a sewing machine. I want to do something that was possible for my skill set,” she explains. “It was a long shot, but when I tried it, it worked like a dream.” There’s no sewing and no drilling required at all, and the shade can be let down and drawn up with a little careful refolding. It’s perfect for temporary rental apartments (just unscrew the tension rod to remove) and even a forever home, if you’re decorating on a budget.
Here’s Dalton’s step-by-step method for creating the shade.
Procure Materials
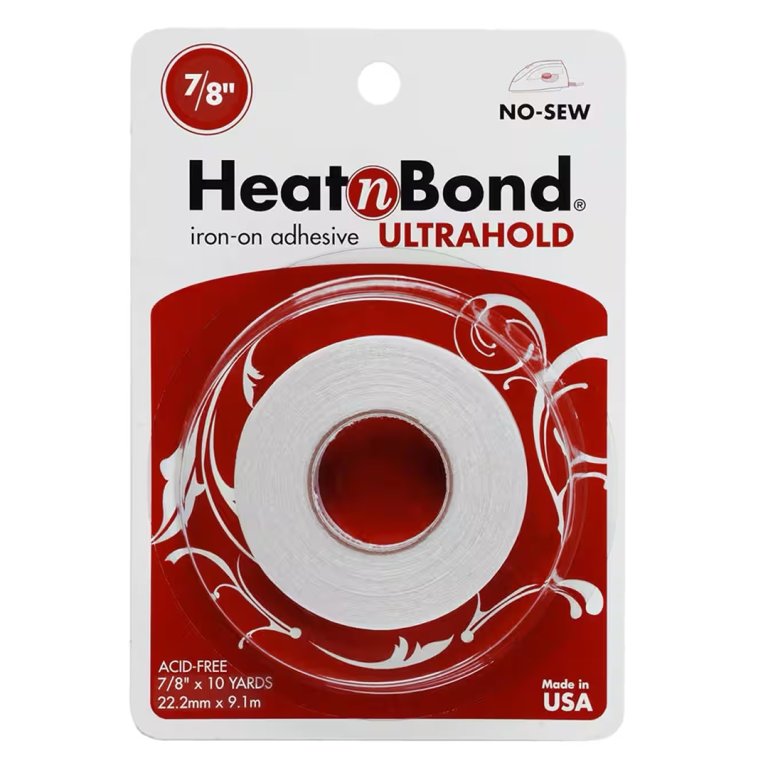
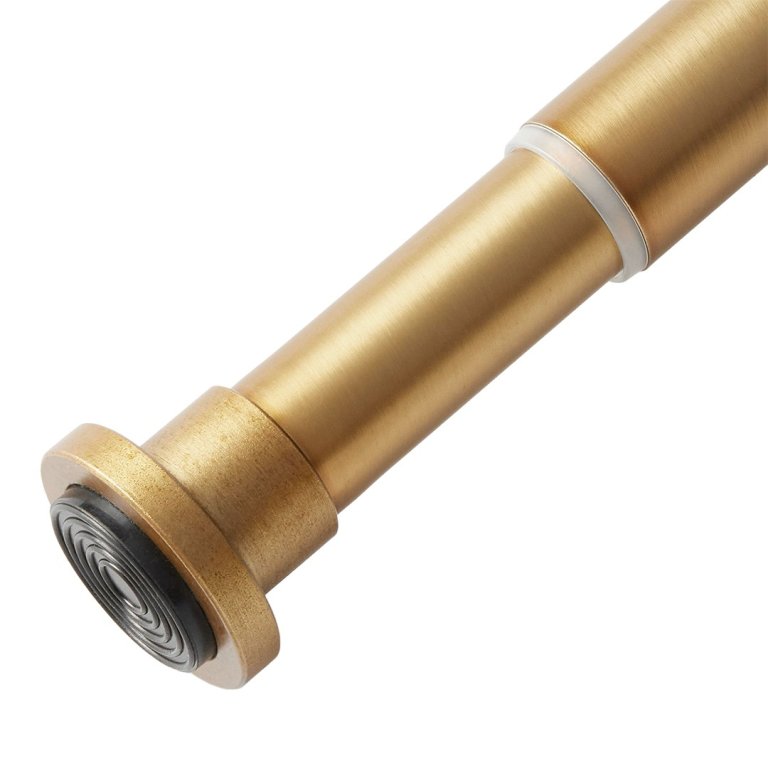
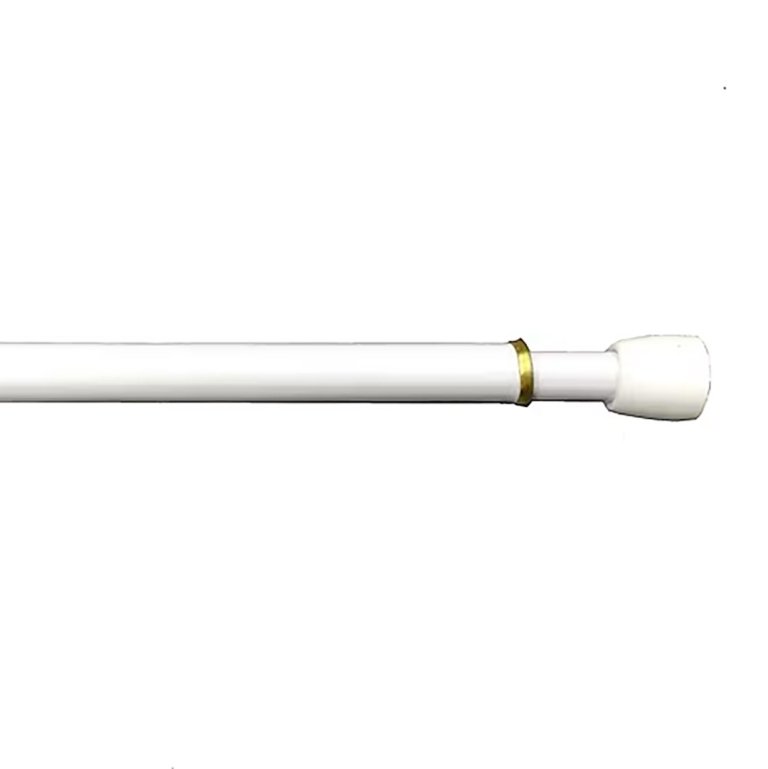
For this project, you’ll need a piece of fabric slightly larger than your window, three tension rods (one heavy-duty, two small), and a roll of hemming tape. Everything else you probably already have on hand: a measuring tape, scissors, and an iron.
Some notes on which fabric to choose: This DIY is for a simple light-filtering shade, not a blackout curtain. Choose a heavier, darker fabric to block more light. You can invest in heavy-duty drapery, like the Morris & Co. one below, or browse one of the countless budget fabrics offered on Etsy for something much more cost-effective. The good news is that you’ll only need a few yards, depending on the size of your window. (Read on to figure out that number before ordering.)

Measure the Window
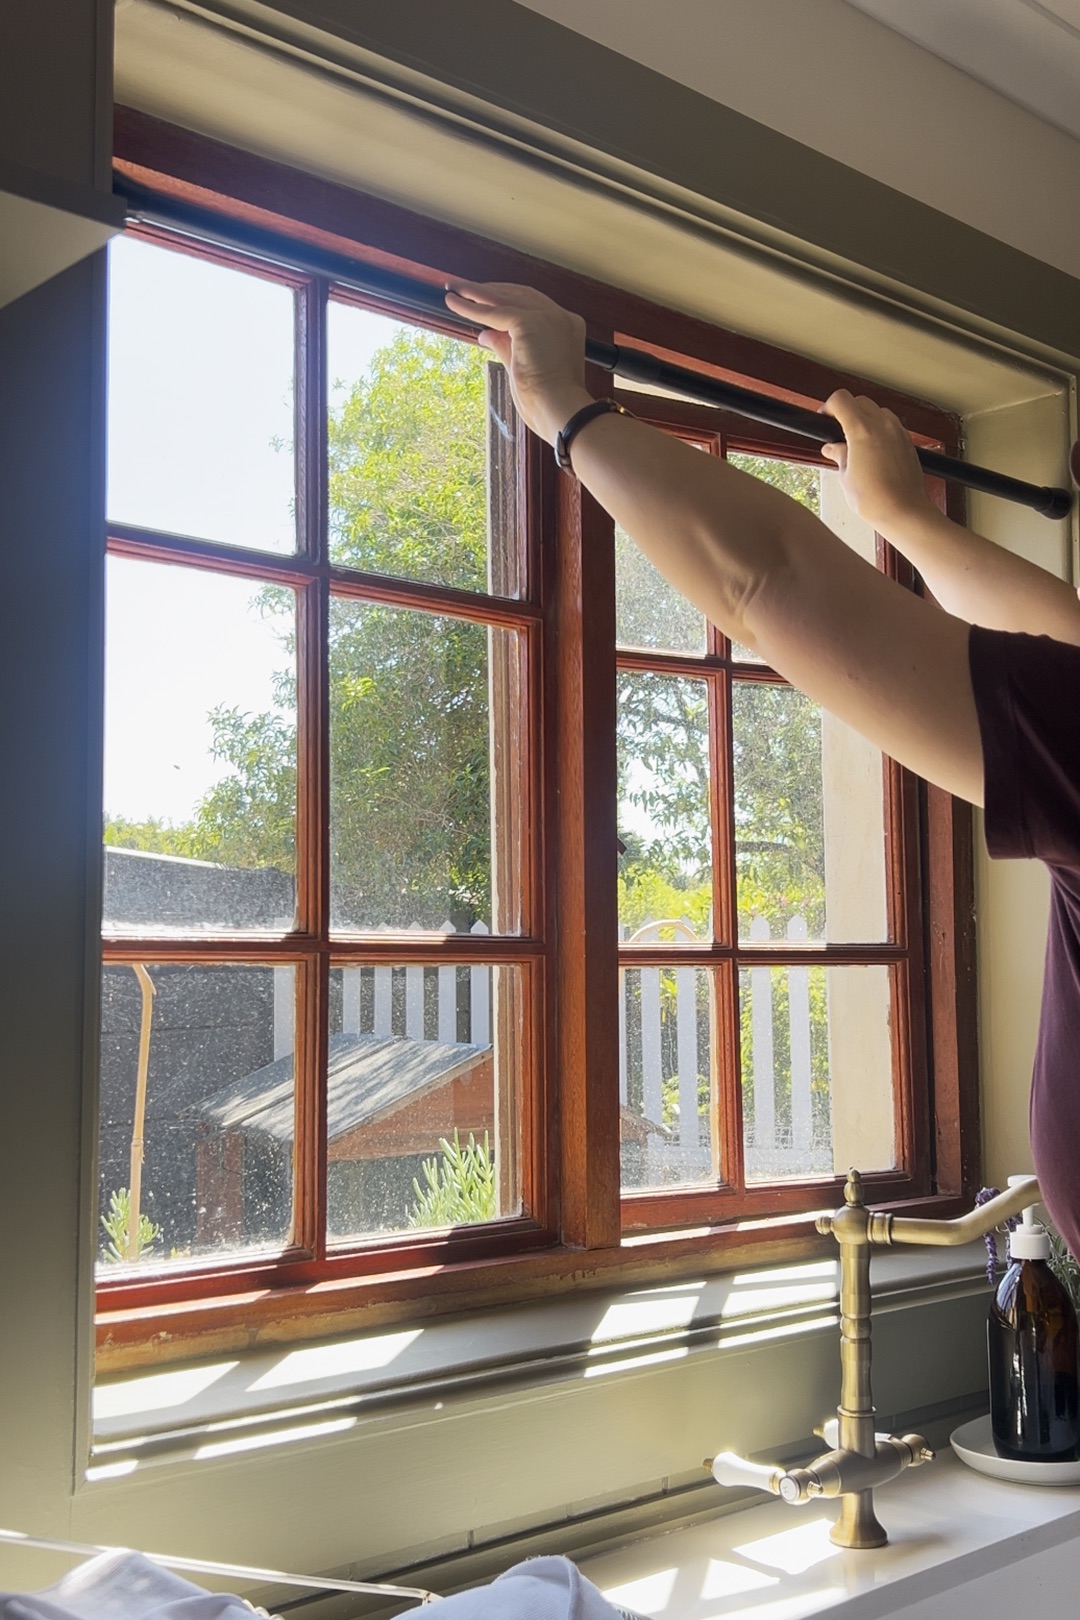
You’re ultimately going to hem a single piece of fabric on four sides so that it fits right inside the window frame. Twist the main tension rod into place, and measure its width between the two rubber end-caps. “You can’t put the fabric over them, because caps are a little bigger than the tension rod itself,” Dalton explains.
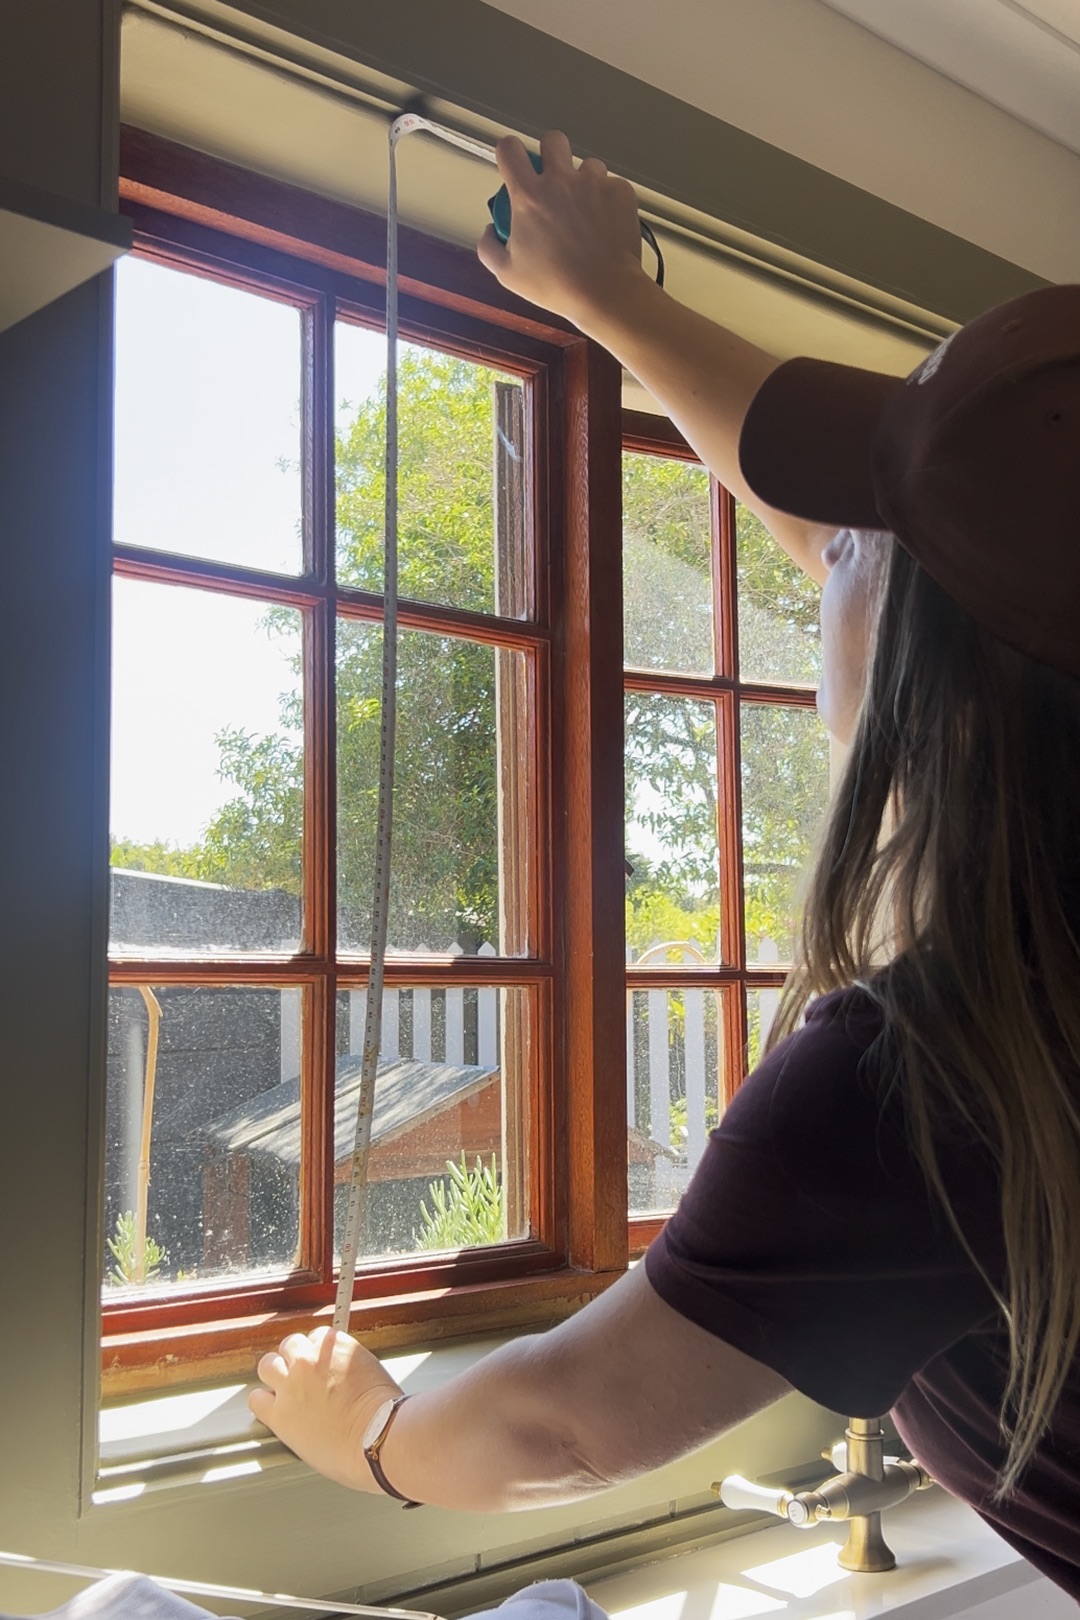
Measure the height of the window frame with a tape measure.
Measure and Cut the Fabric
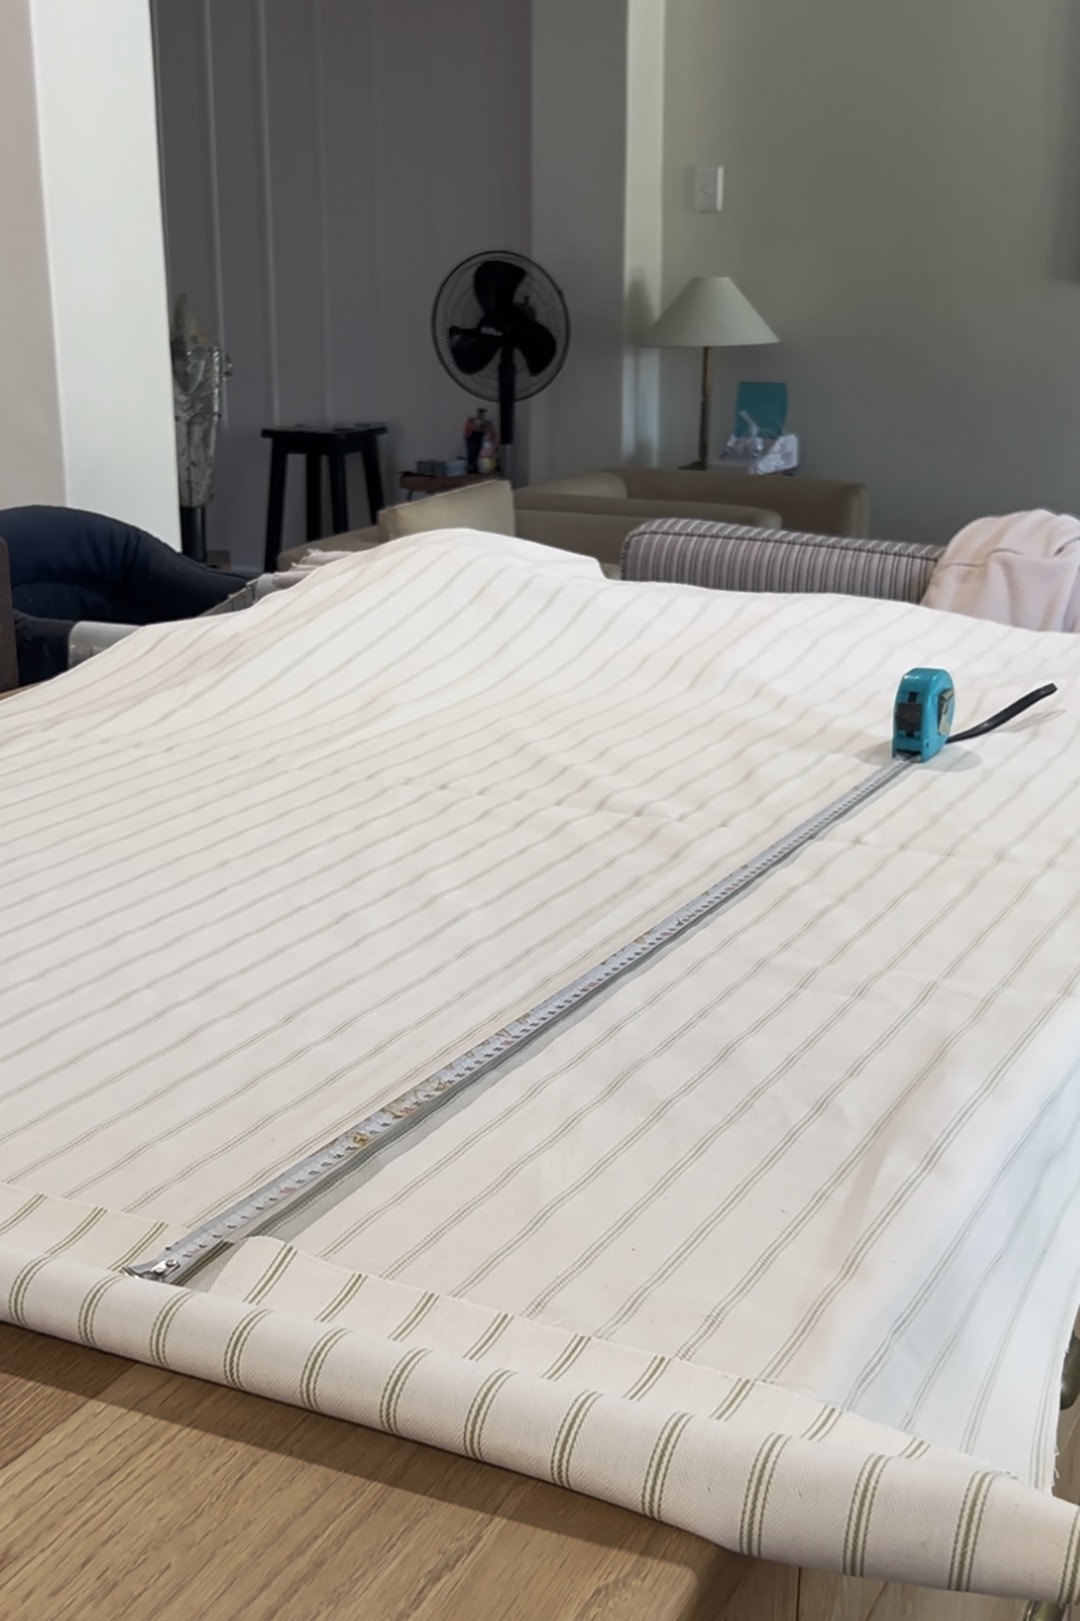
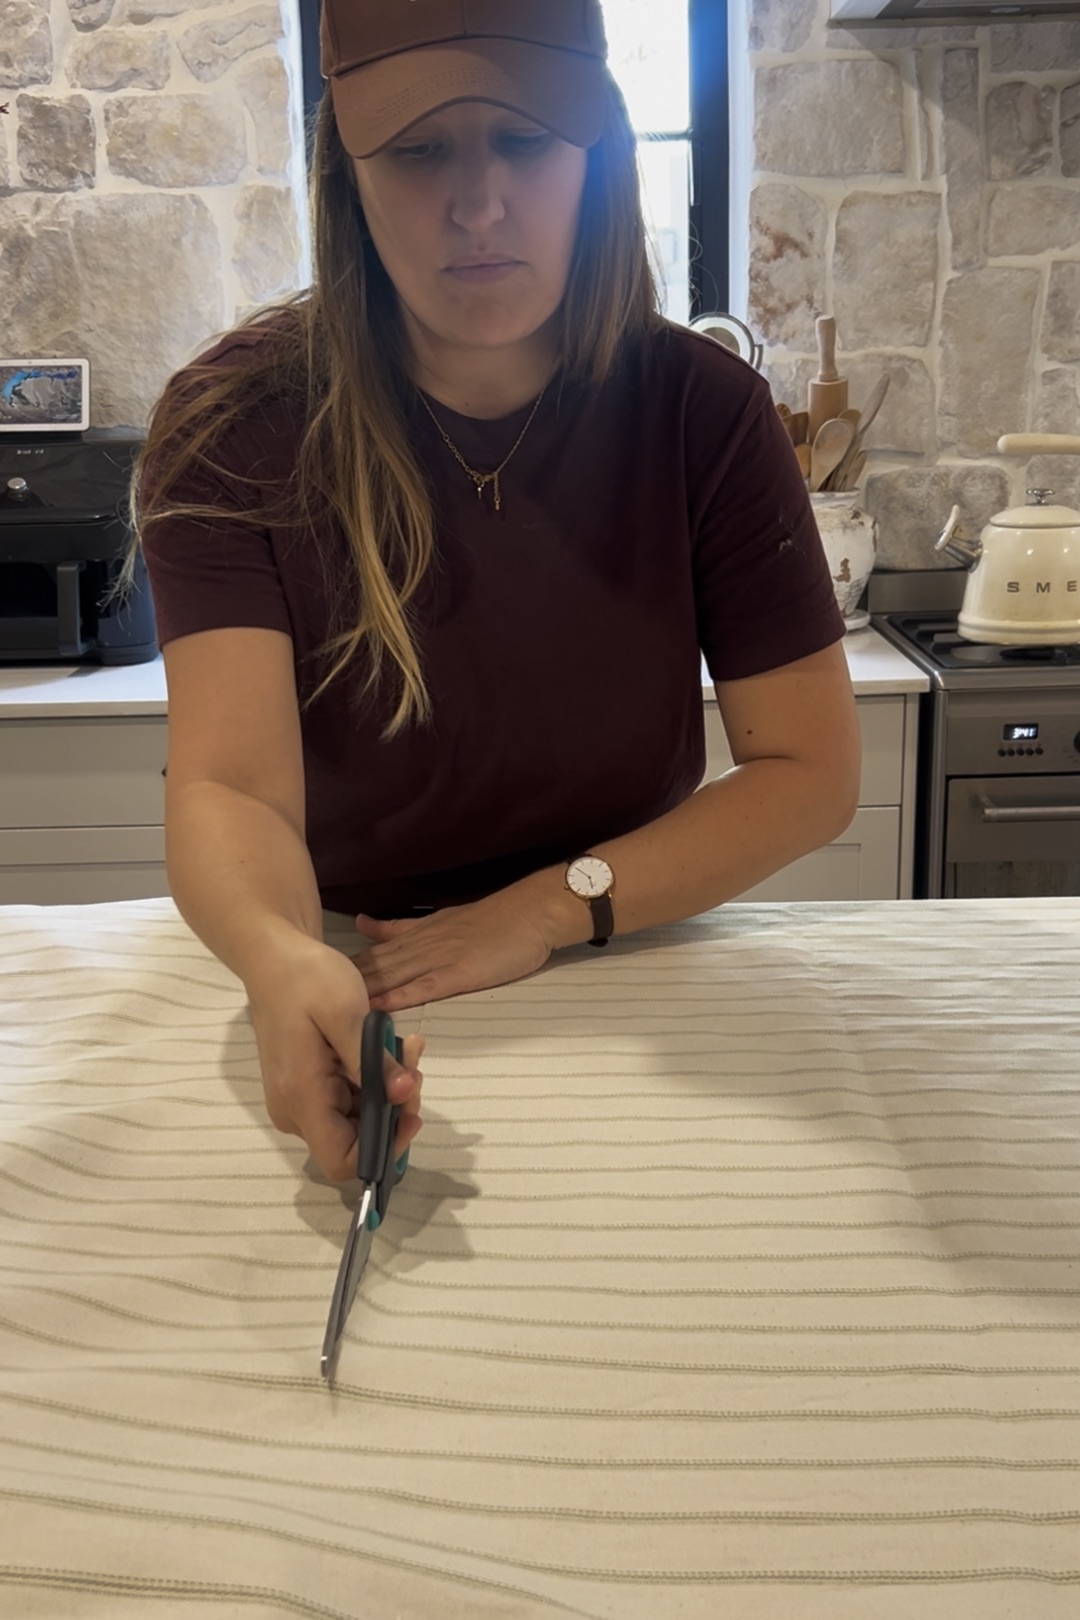
Add 2 inches to the tension rod measurement, which will ensure you have enough fabric to hem both sides. Cut the piece of fabric to this width.
Then lay the tension rod—still locked into its installed length—on top of the fabric. Flop the top end of the fabric over the rod, creating a long loop. Add 2 inches to the window height measurement, and cut the piece of fabric—measuring from the top of the tension rod loop to the bottom end of the piece—to this height. “You may want to take your Roman shade back to the window and check the length before cutting,” Dalton advises.
Hem the Sides Using Hemming Tape
Could you do this step with a sewing machine, creating proper hems? Yes. But using hemming tape, which essentially melts under the heat of an iron and glues the two sides of the fabric together, is far simpler.
You’ll want to hem all four sides of your fabric piece to create nice finished edges. Here’s how you do it.
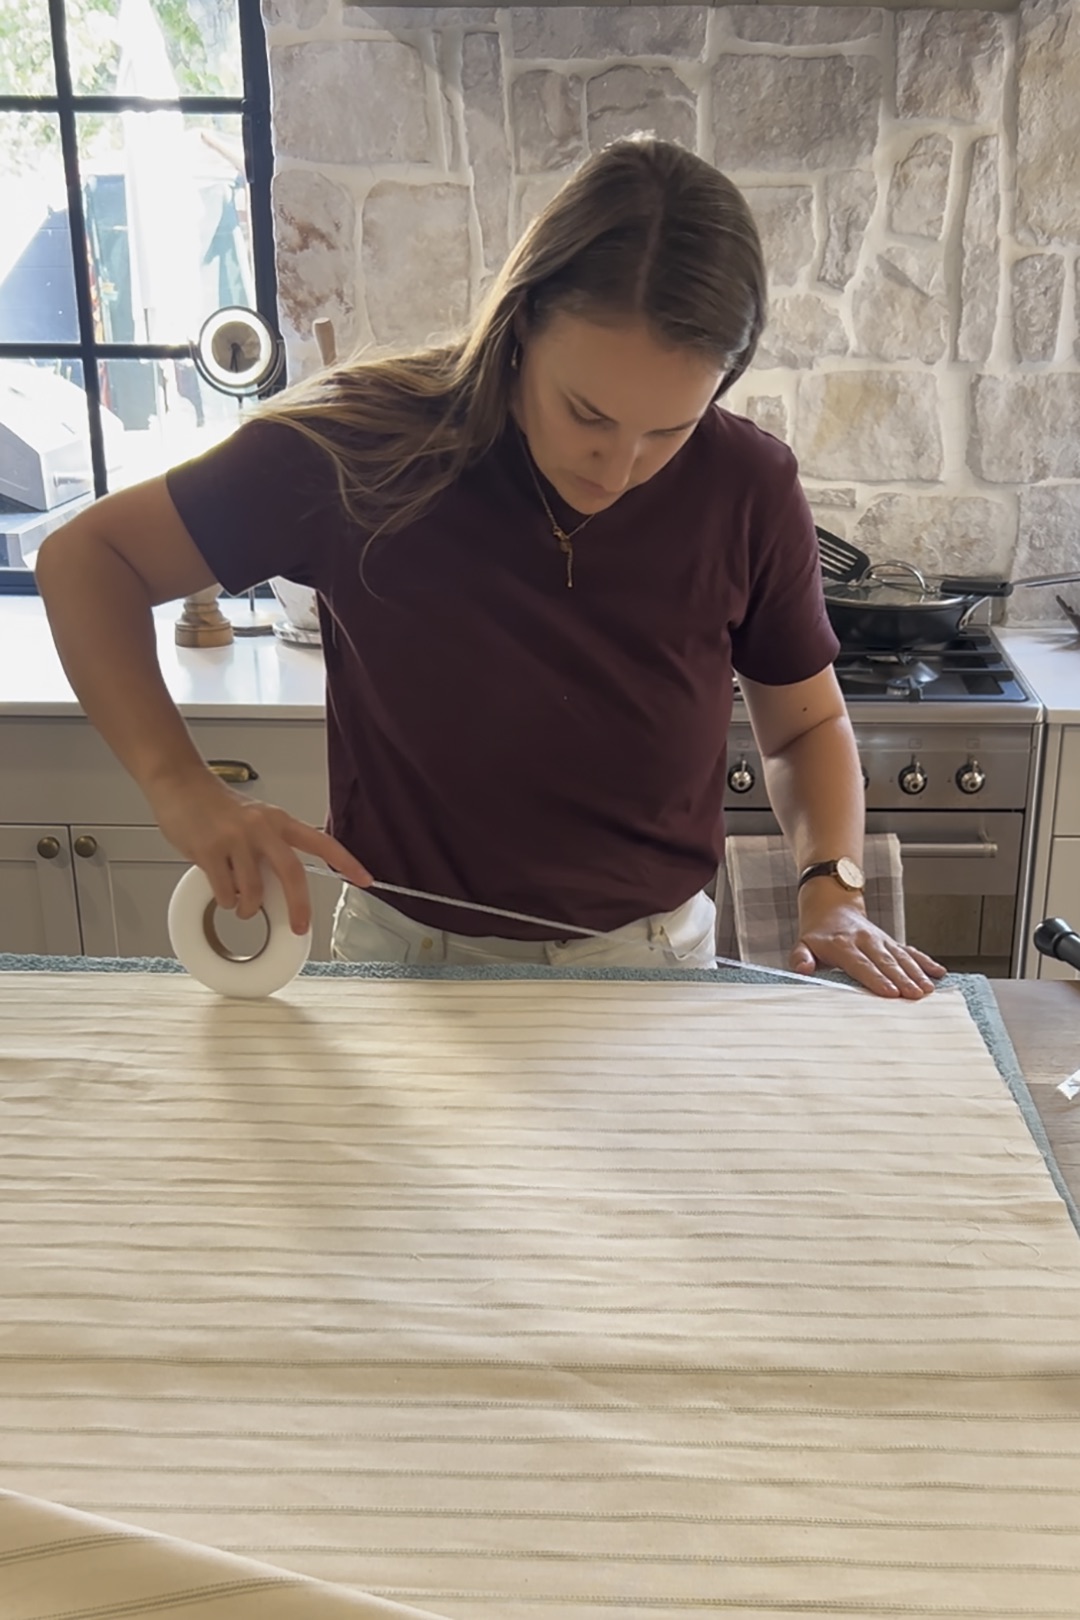
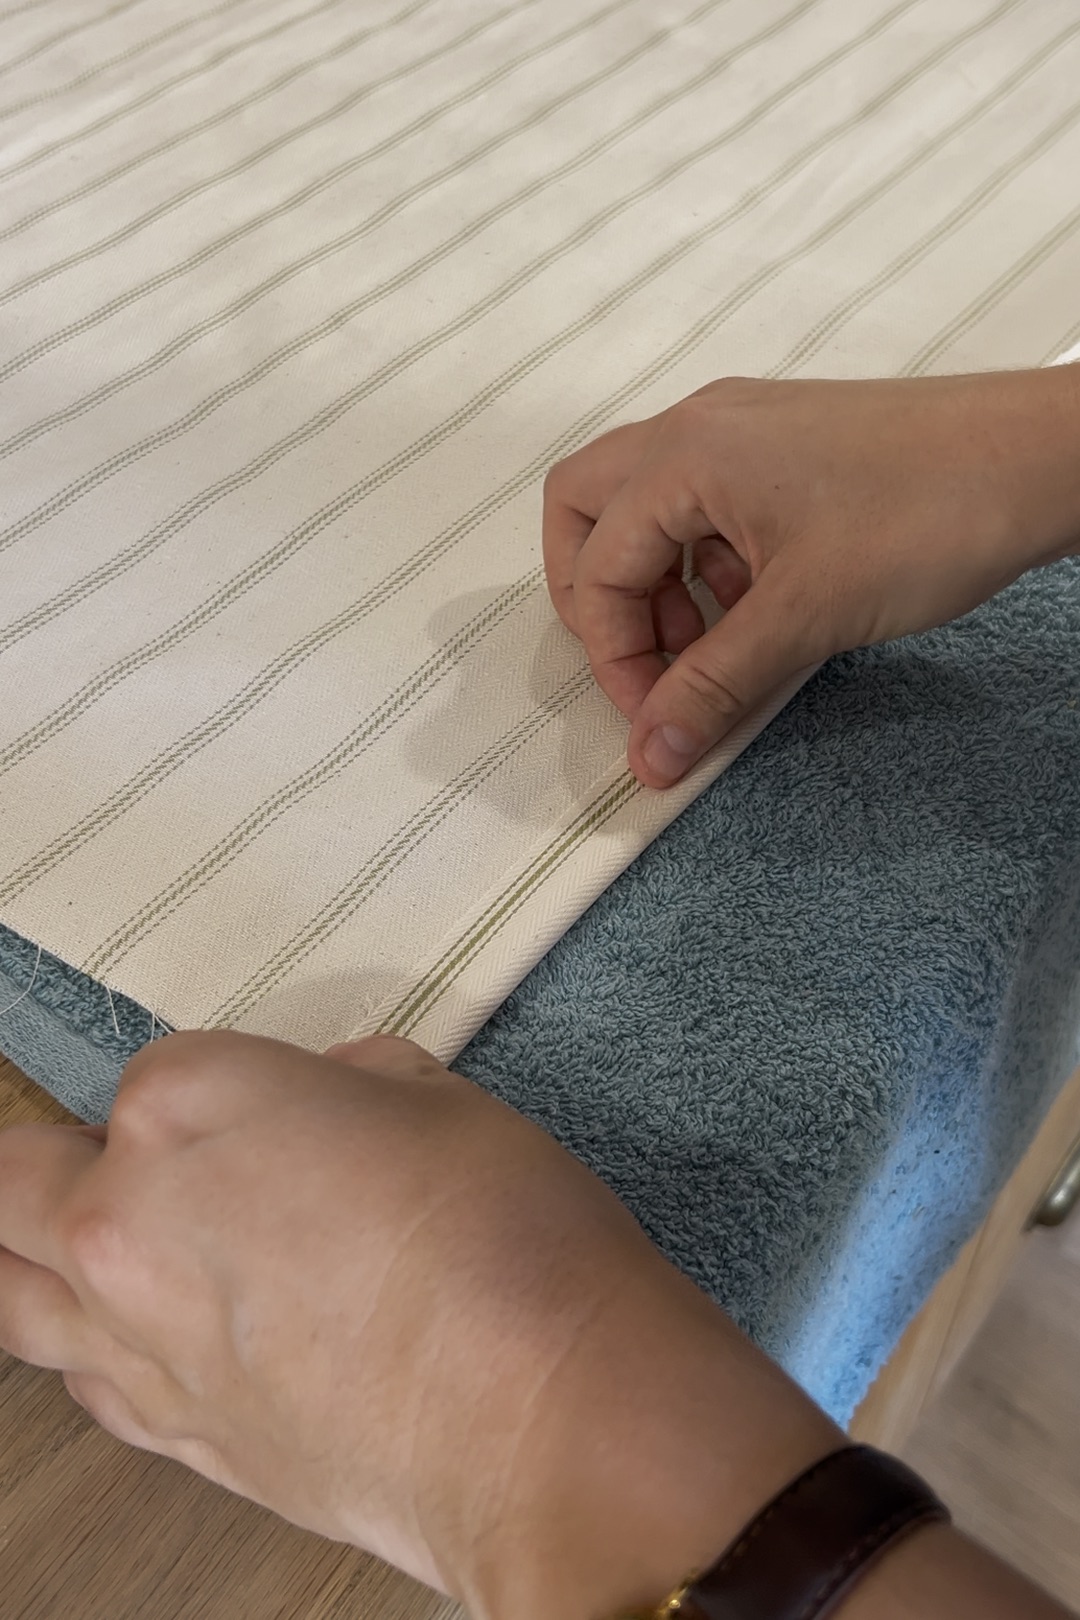
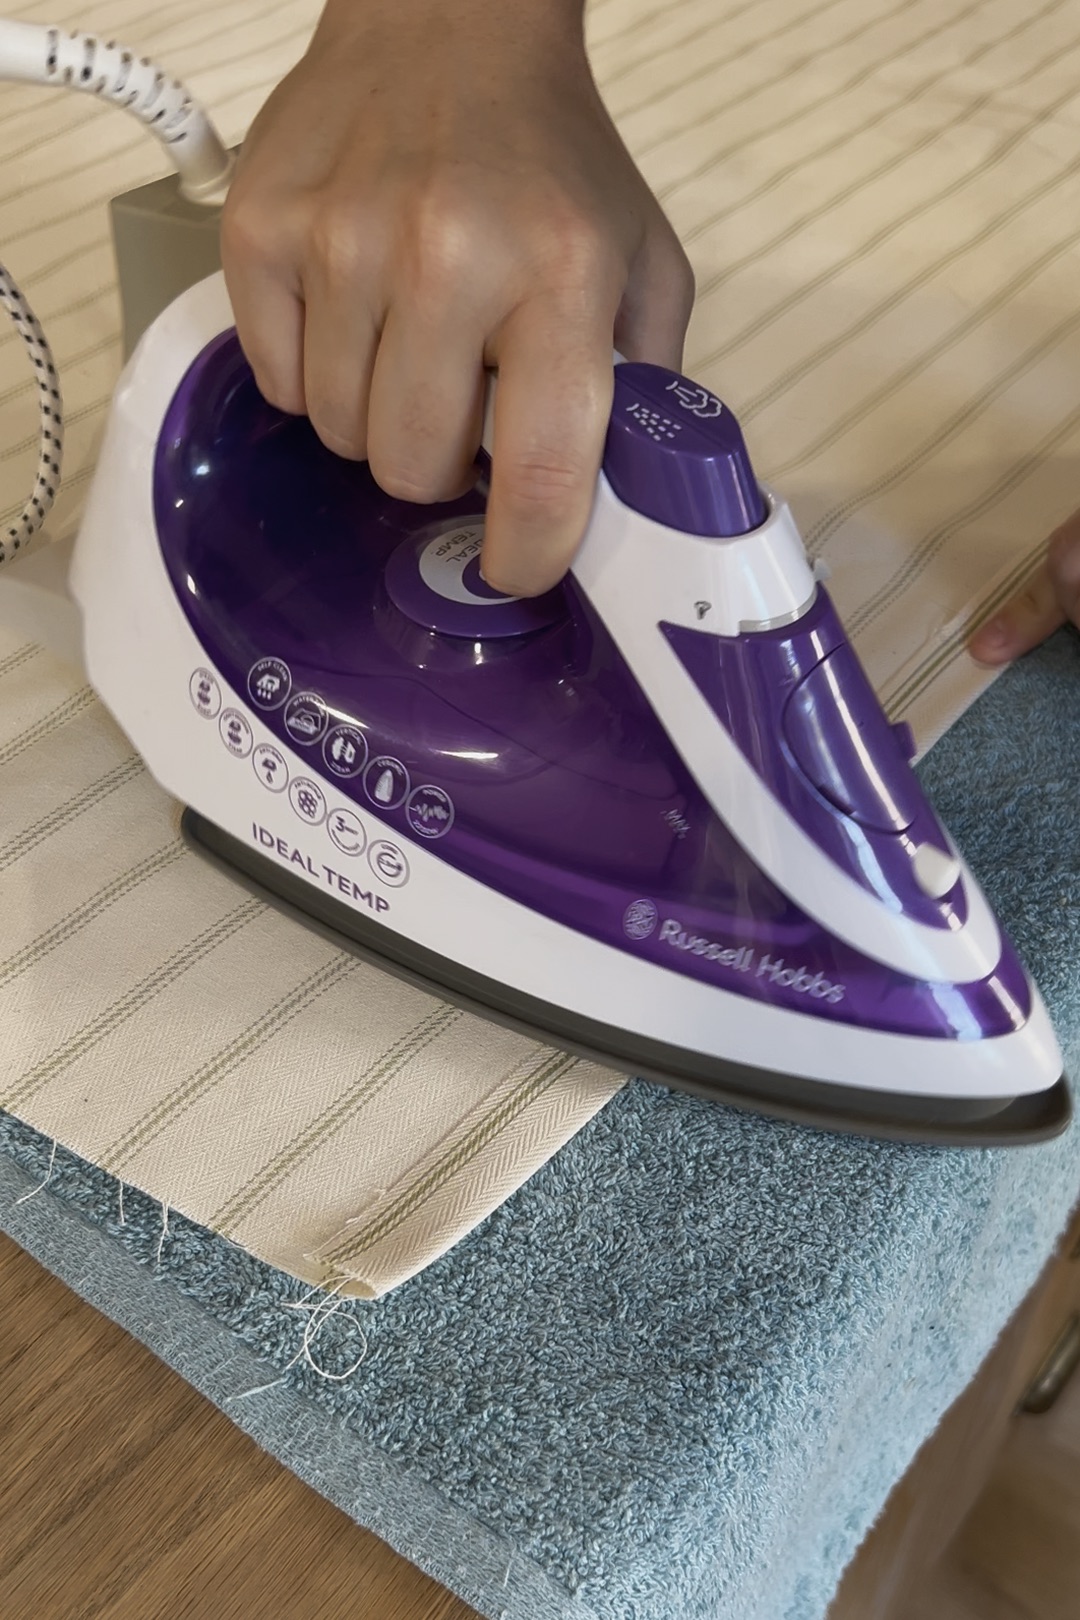
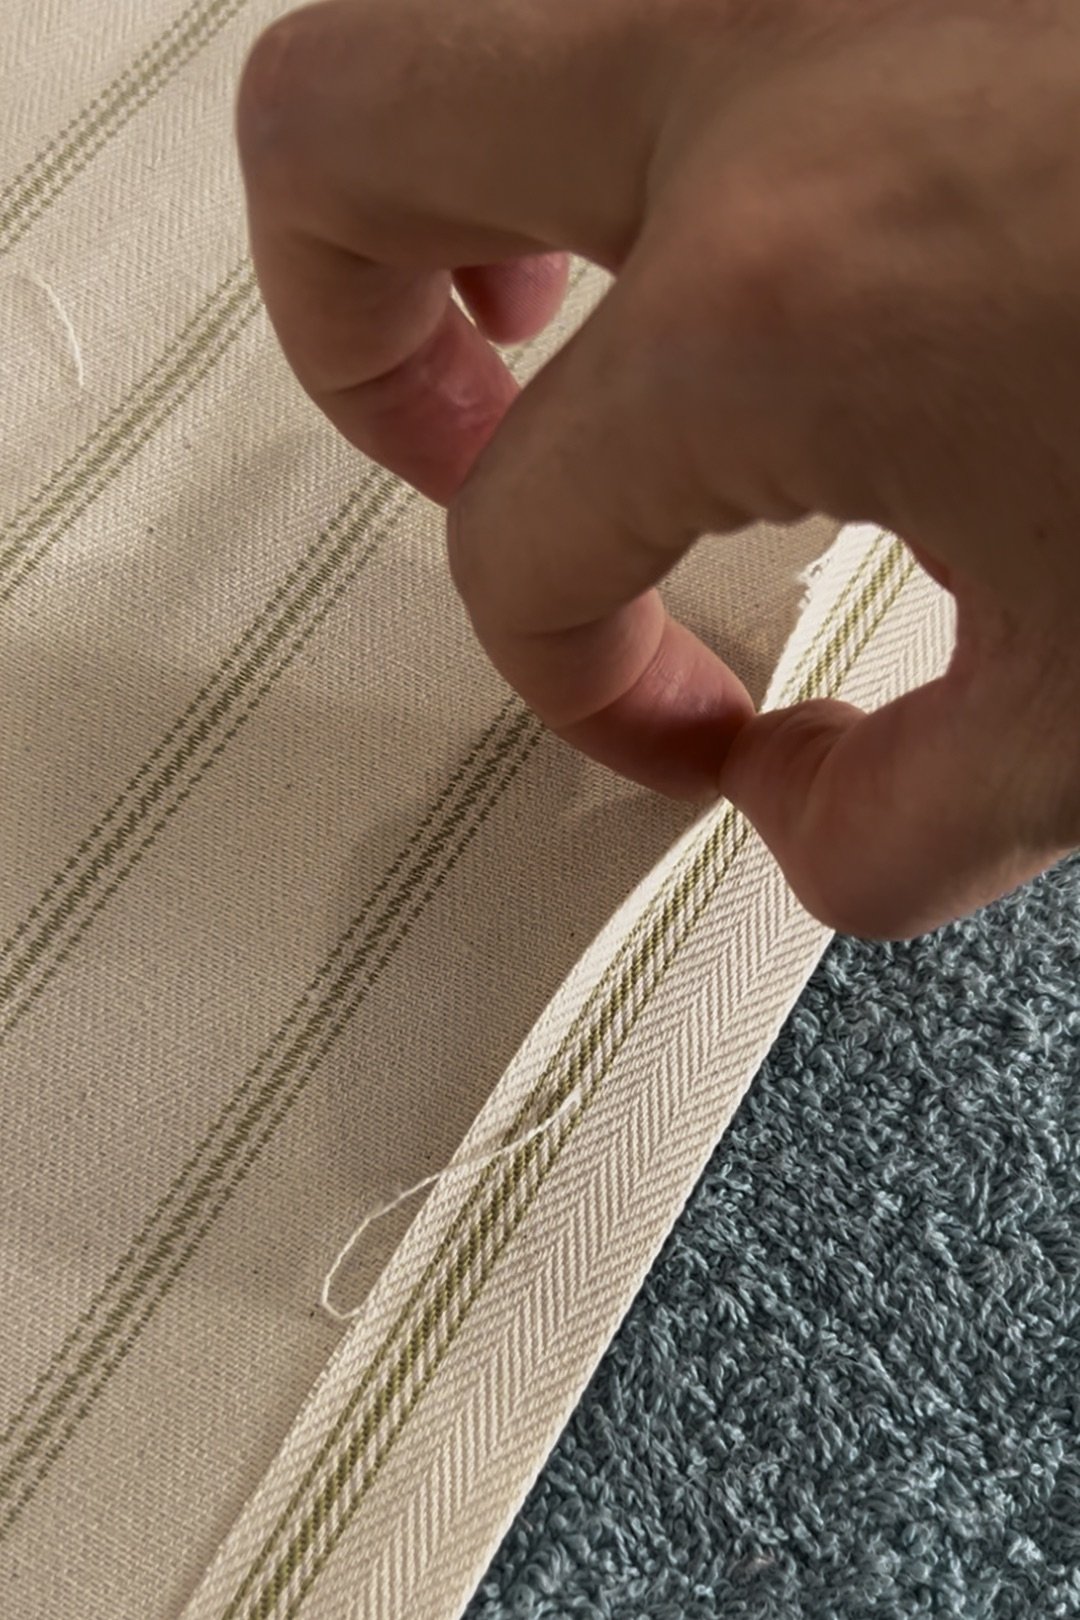
Hem the Top Loop Using Hemming Tape
Holding up your hemmed piece of fabric to the window, it should fit perfectly width-wise, and will seem a little too long for the height. That’s because you still need to loop it over the rod.
Lay the fabric flat on a table, backside up, and set the tension rod near the top side. Lay another piece of hemming tape across the fabric, press the end of the fabric over the rod and onto the hemming tape, and iron it to seal shut. Here again you might want to hold the rod up to the window to confirm the size of the loop before sealing it.
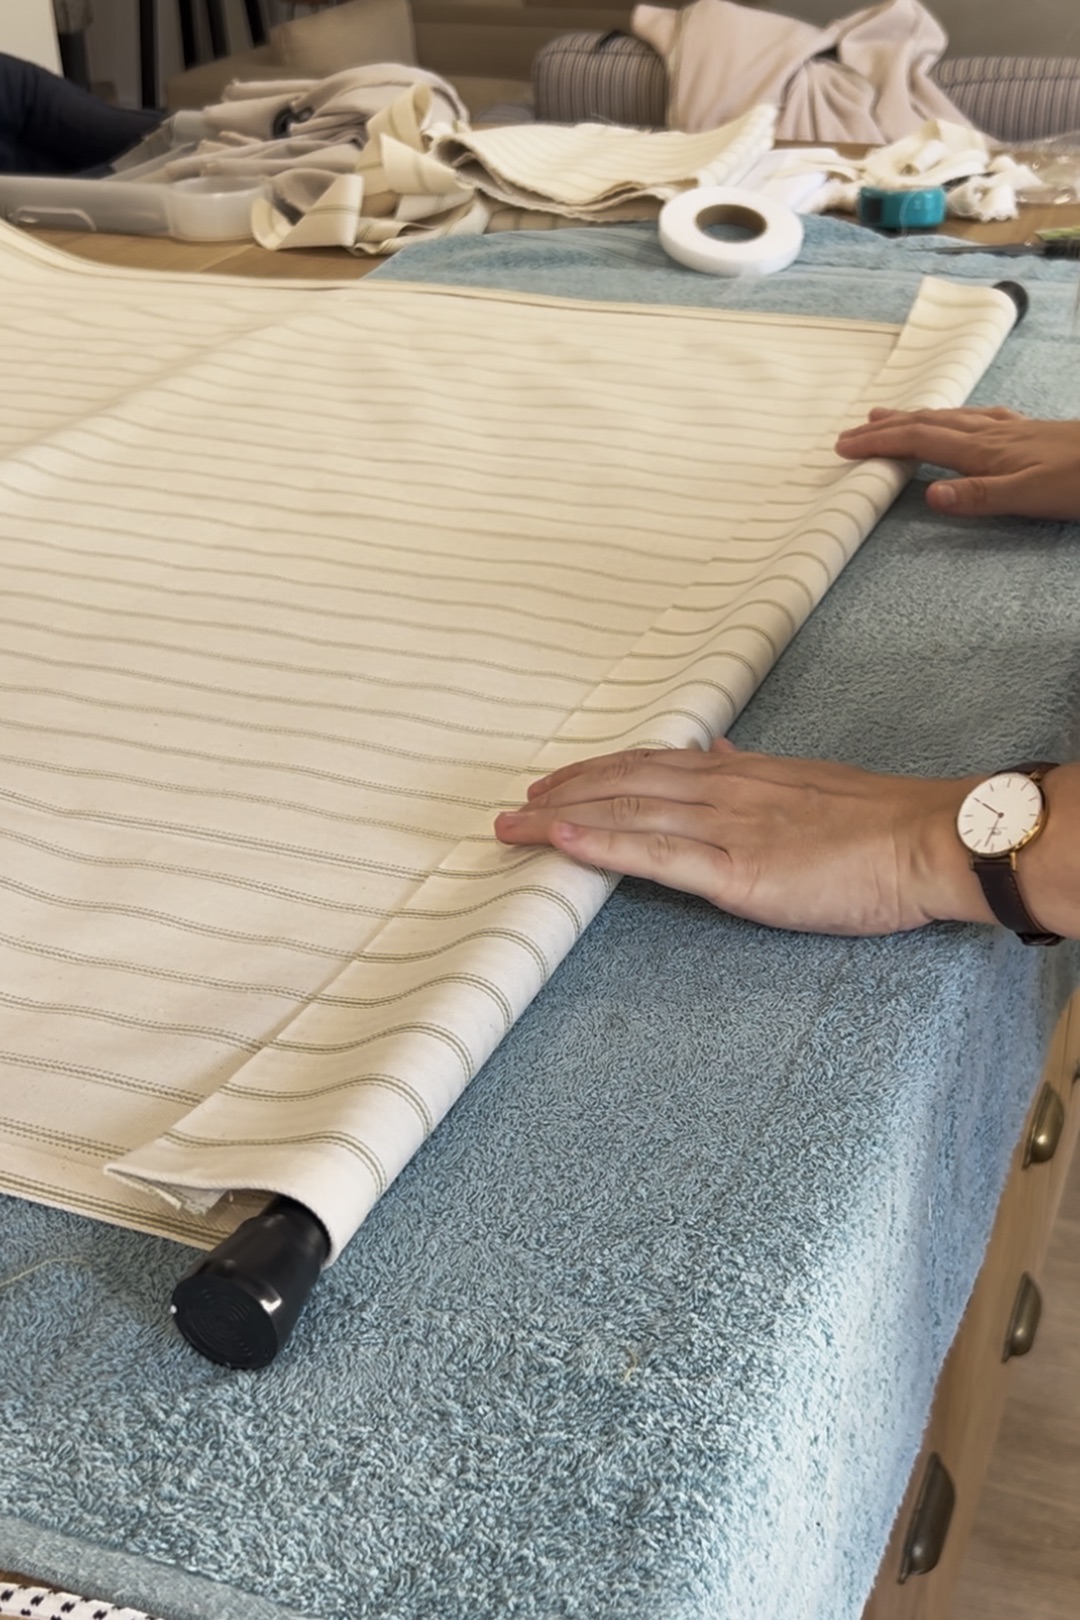
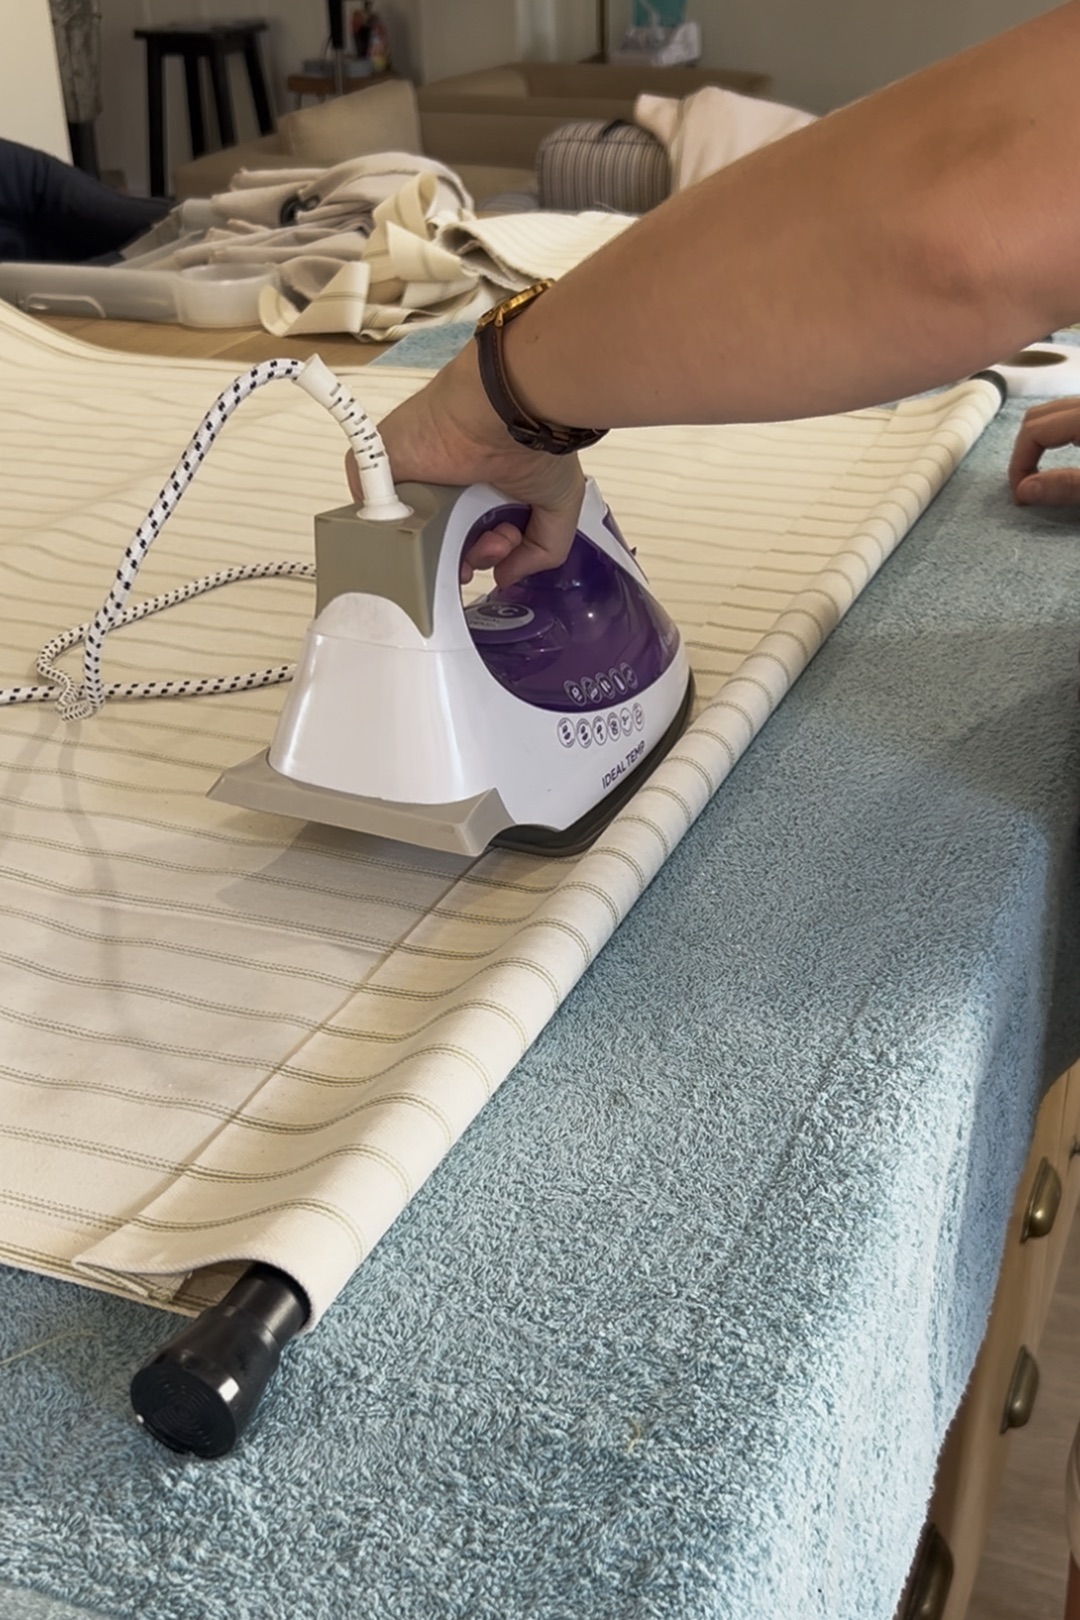
Hang the Curtain and the Rods
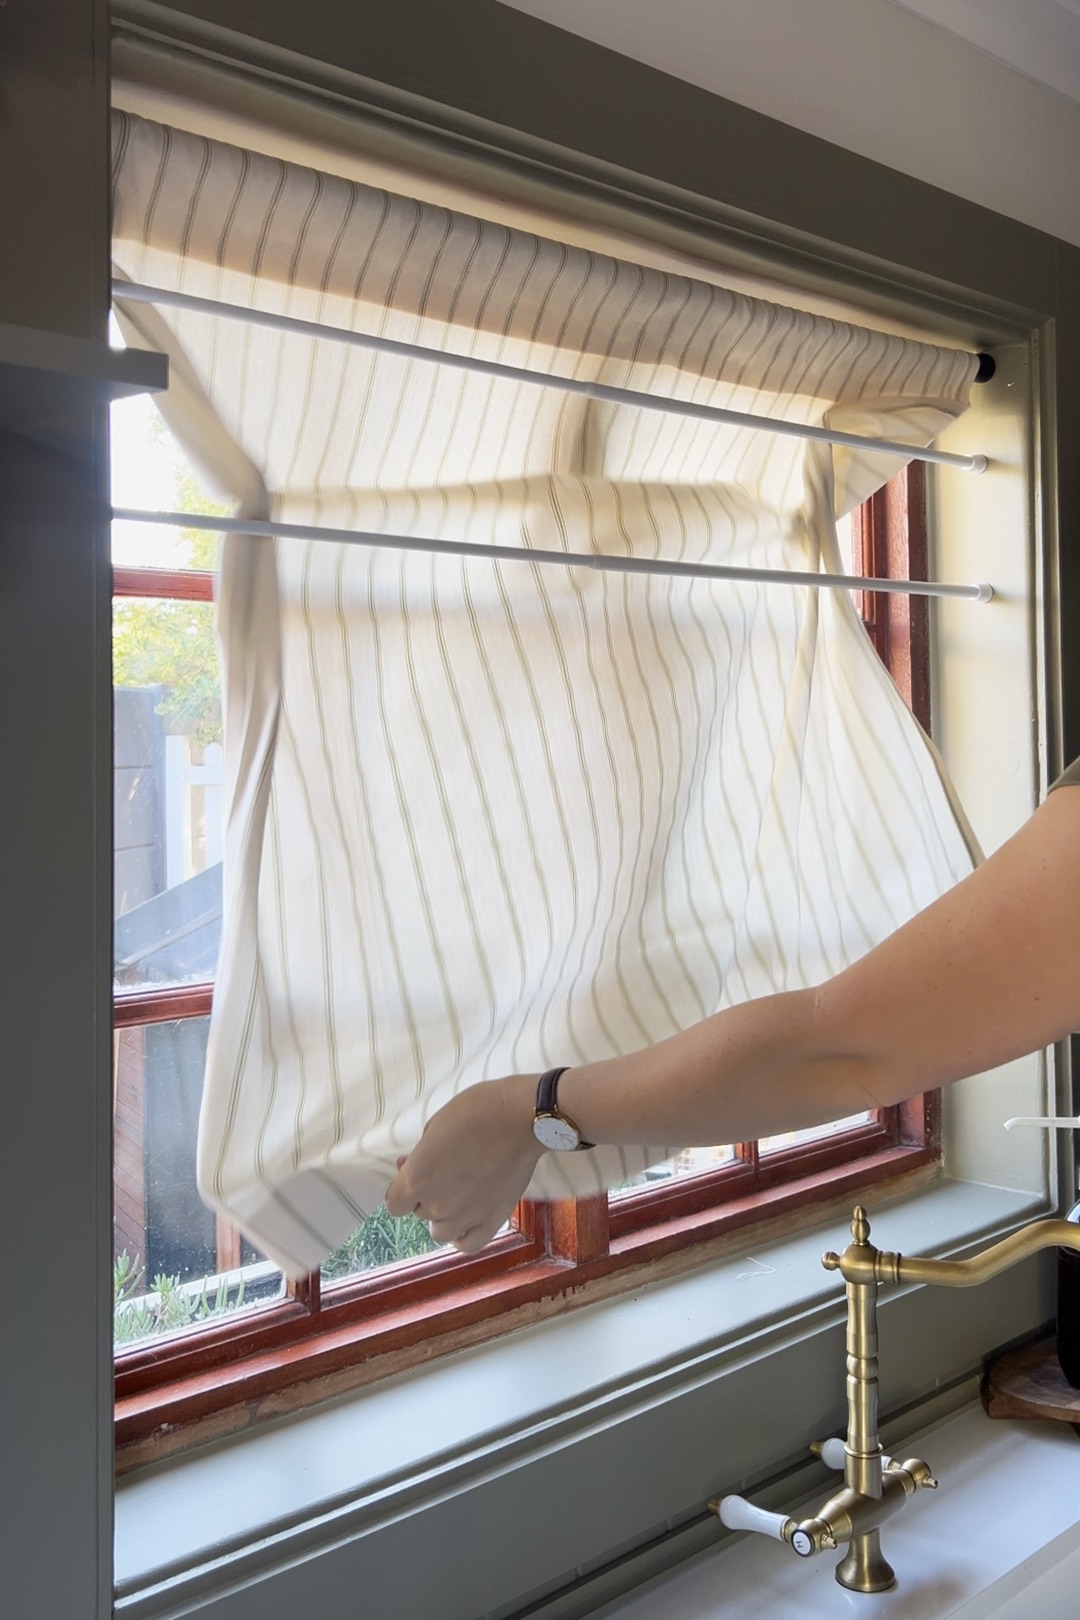
Hang the curtain by twisting the tension rod back into place; it should fit right inside the window frame. Now you’ll want to grab those two smaller tension rods and install them, too. Your Roman shade will drape over these two rods, so install them a little higher than you want your shade to hang.
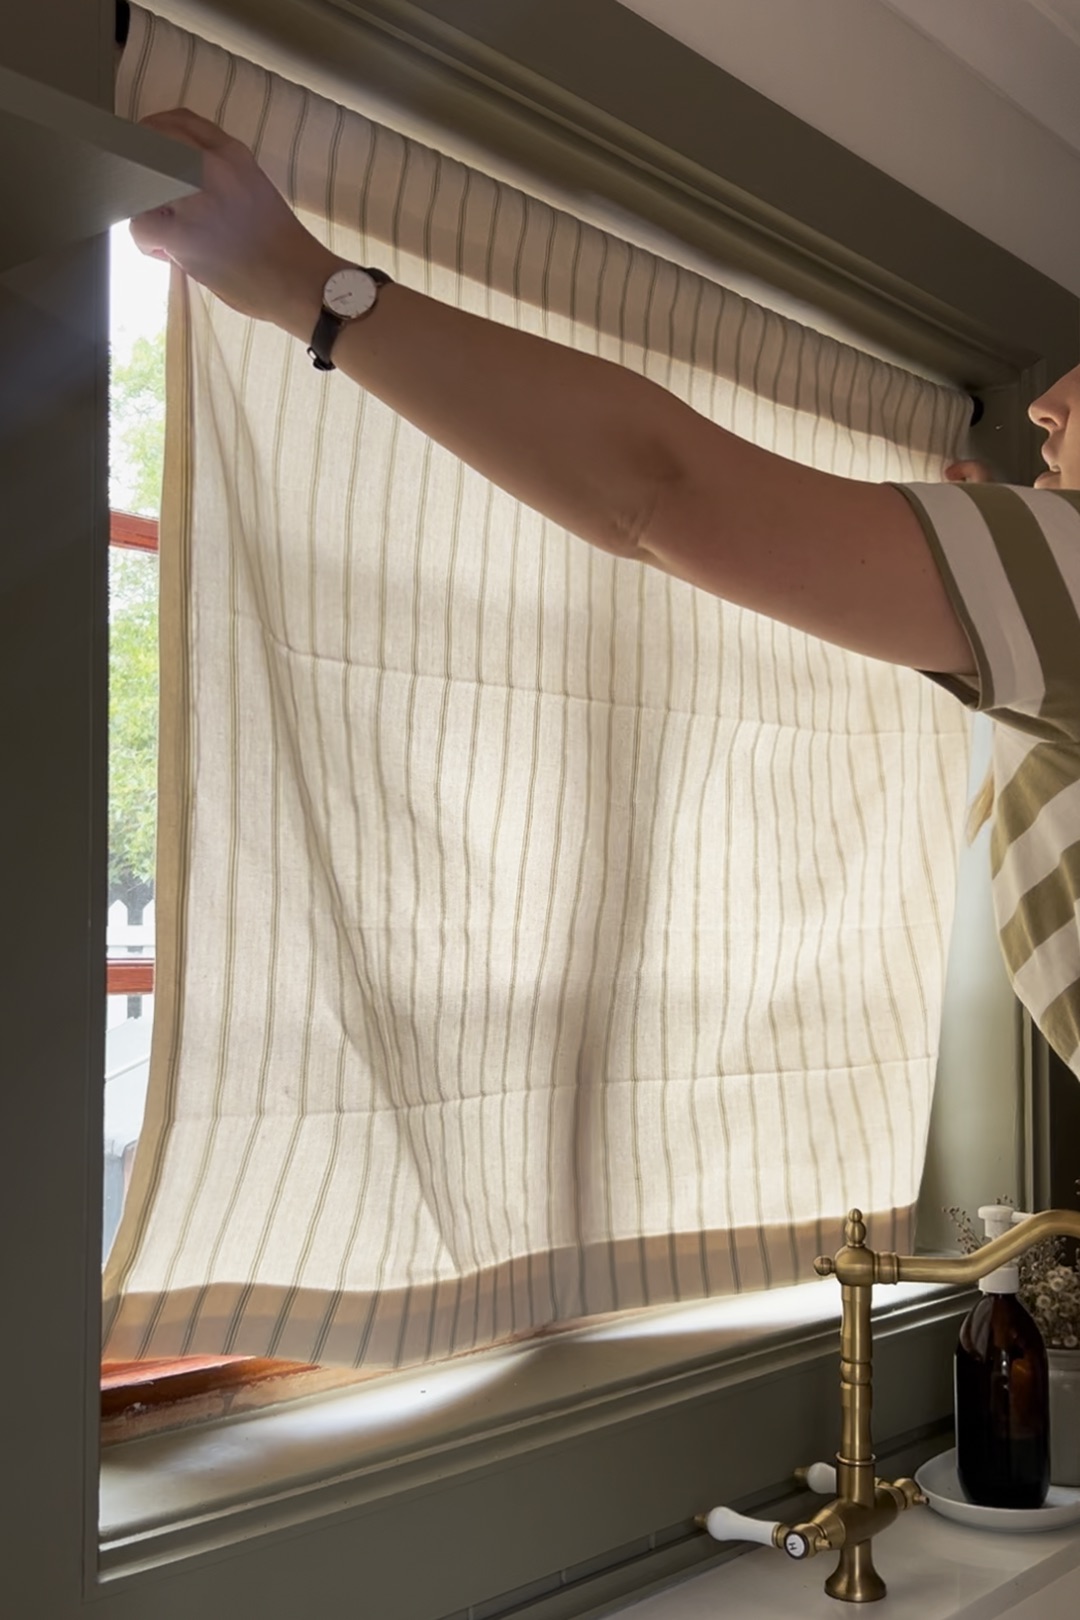
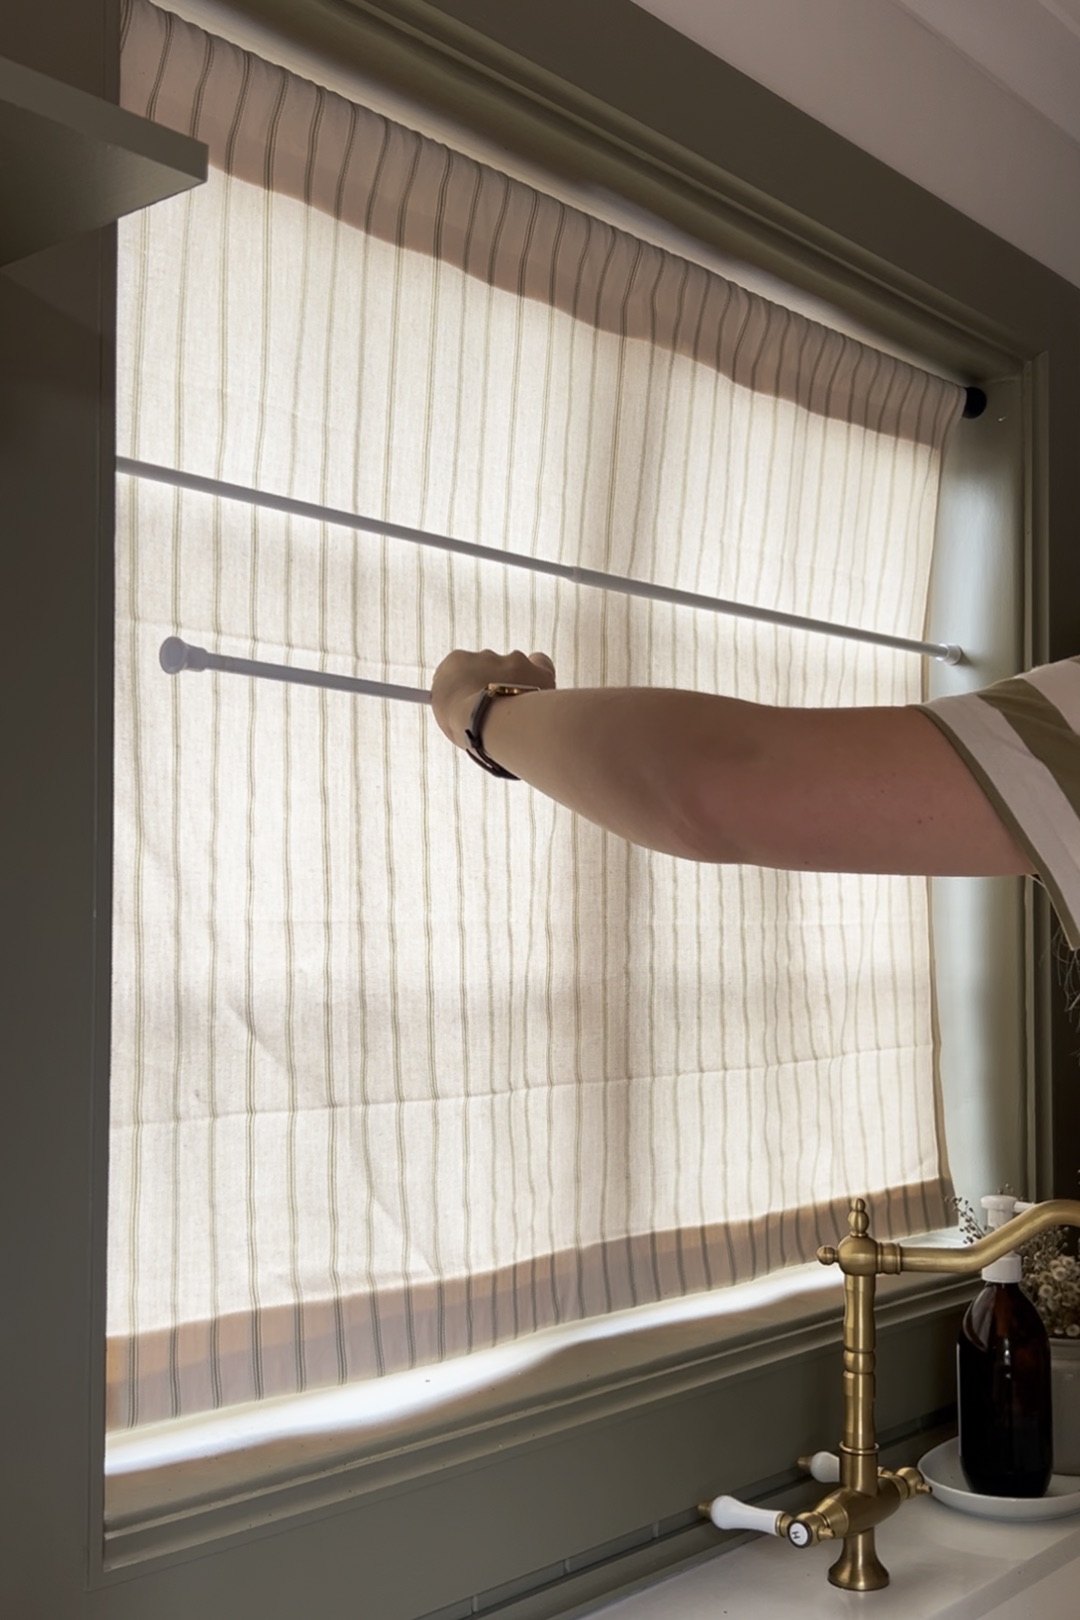
Fold Up the Curtain
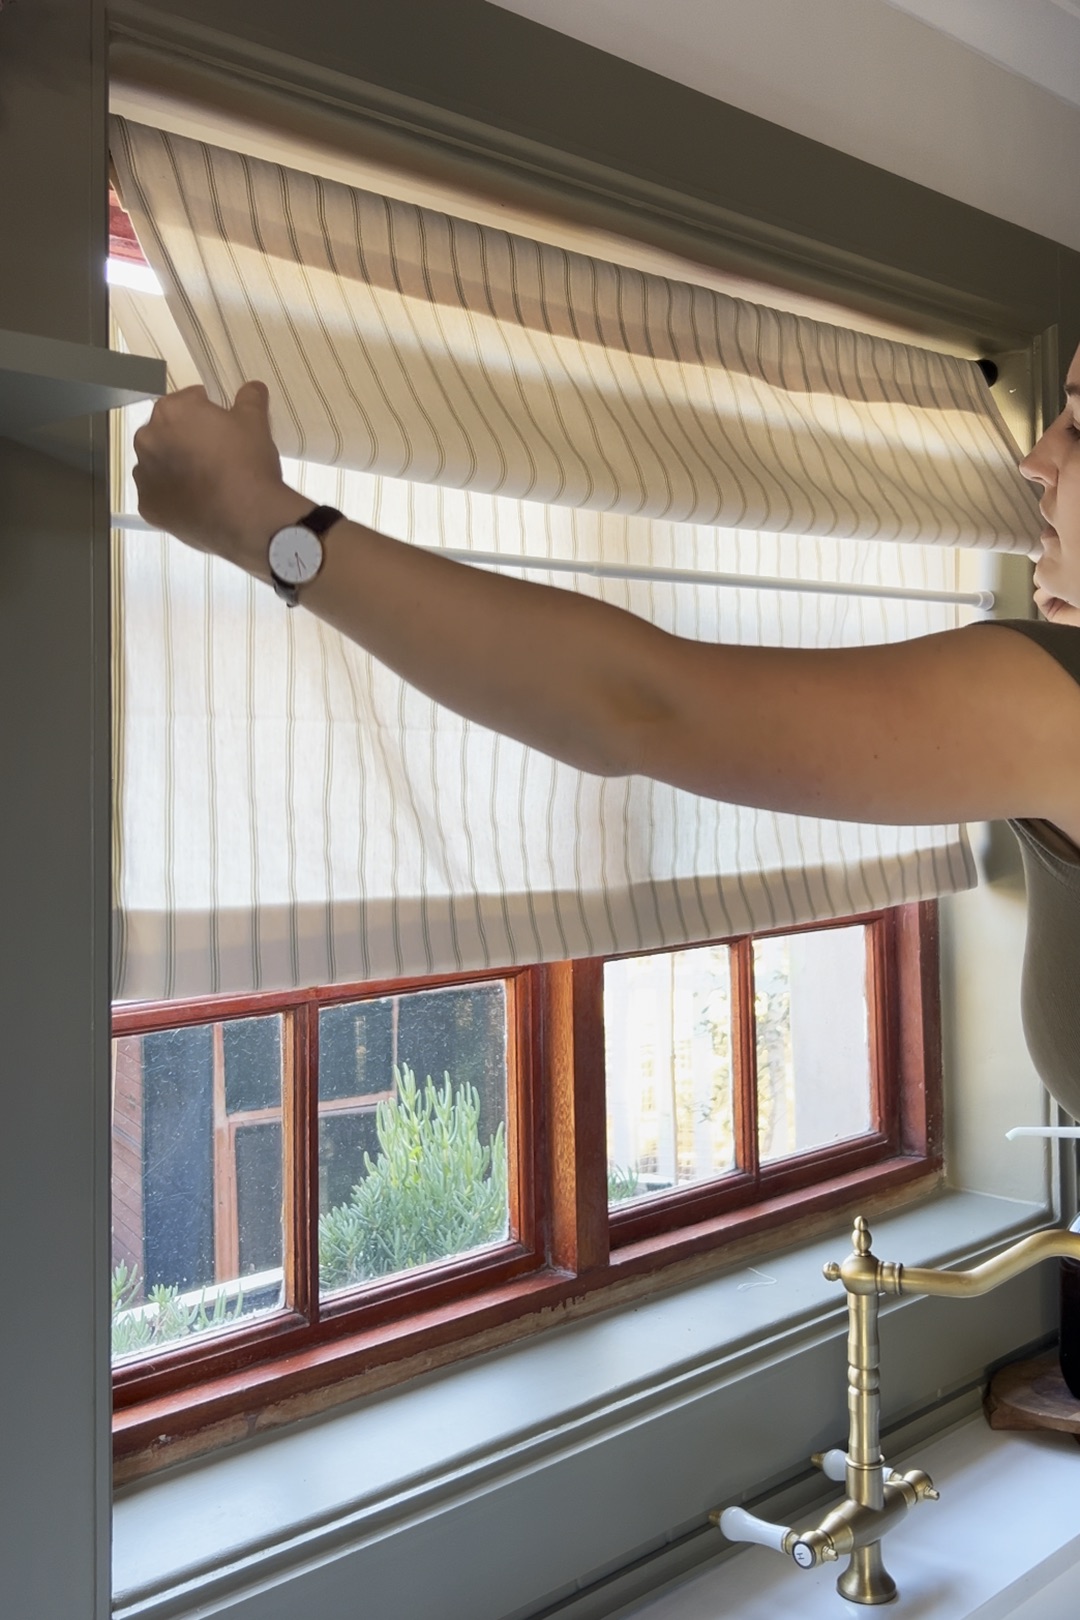
If you haven’t already, drop the curtain behind the smaller two tension rods. Using one hand on either side of the curtain, gently tug a fold of the curtain over the top rod. Drop it before pulling the curtain all the way through. Then reach between the two smaller tension rods and grab the sides of the fabric again, pulling it through and creating a second fold. It may take some readjusting, but when you’re done the shade will have two lovely folds and sit right at the top of your window frame.
If you do want to lower the shade at any time, either move those two tension rods lower or remove them entirely. It’s not the sort of adjustment you’d want to make multiple times a day, but very easy to do if the light changes with a different season or if you need temporary privacy.
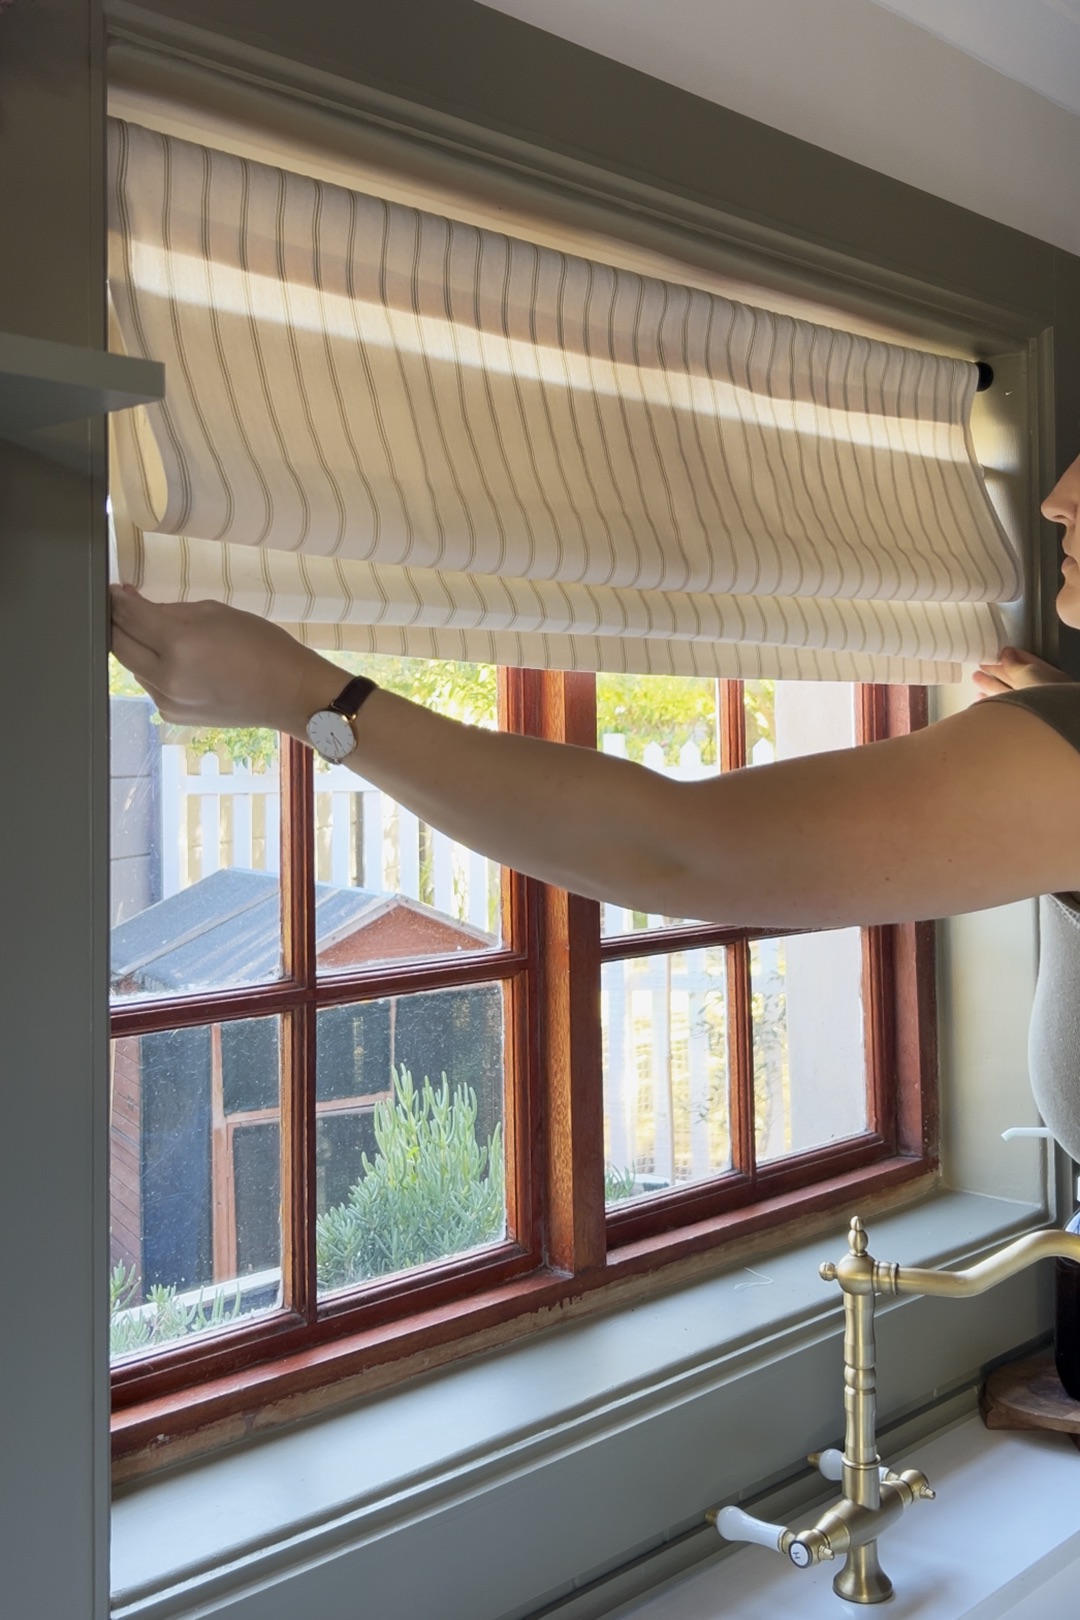
Dalton couldn’t be more pleased with the finished product, but does have one tip: paint the ends of the smaller tension rods to match the window frame so that they almost disappear while the shade is drawn. With a little patience and planning, it’s the sort of DIY you can complete in a single afternoon—right before that harsh light tries to sneak in.