We may earn revenue from the products available on this page and participate in affiliate programs.
There is one important part of the moving process everyone forgets: You’re going to want window treatments up on day one, and there’s only a 50-percent chance your new digs come with anything at all (if they do, they’re probably dingy plastic blinds). Inevitably, you end up rushing out to scoop up some cheap option so you can at least unpack in privacy. This is a predicament Kara McSwain knows all too well.
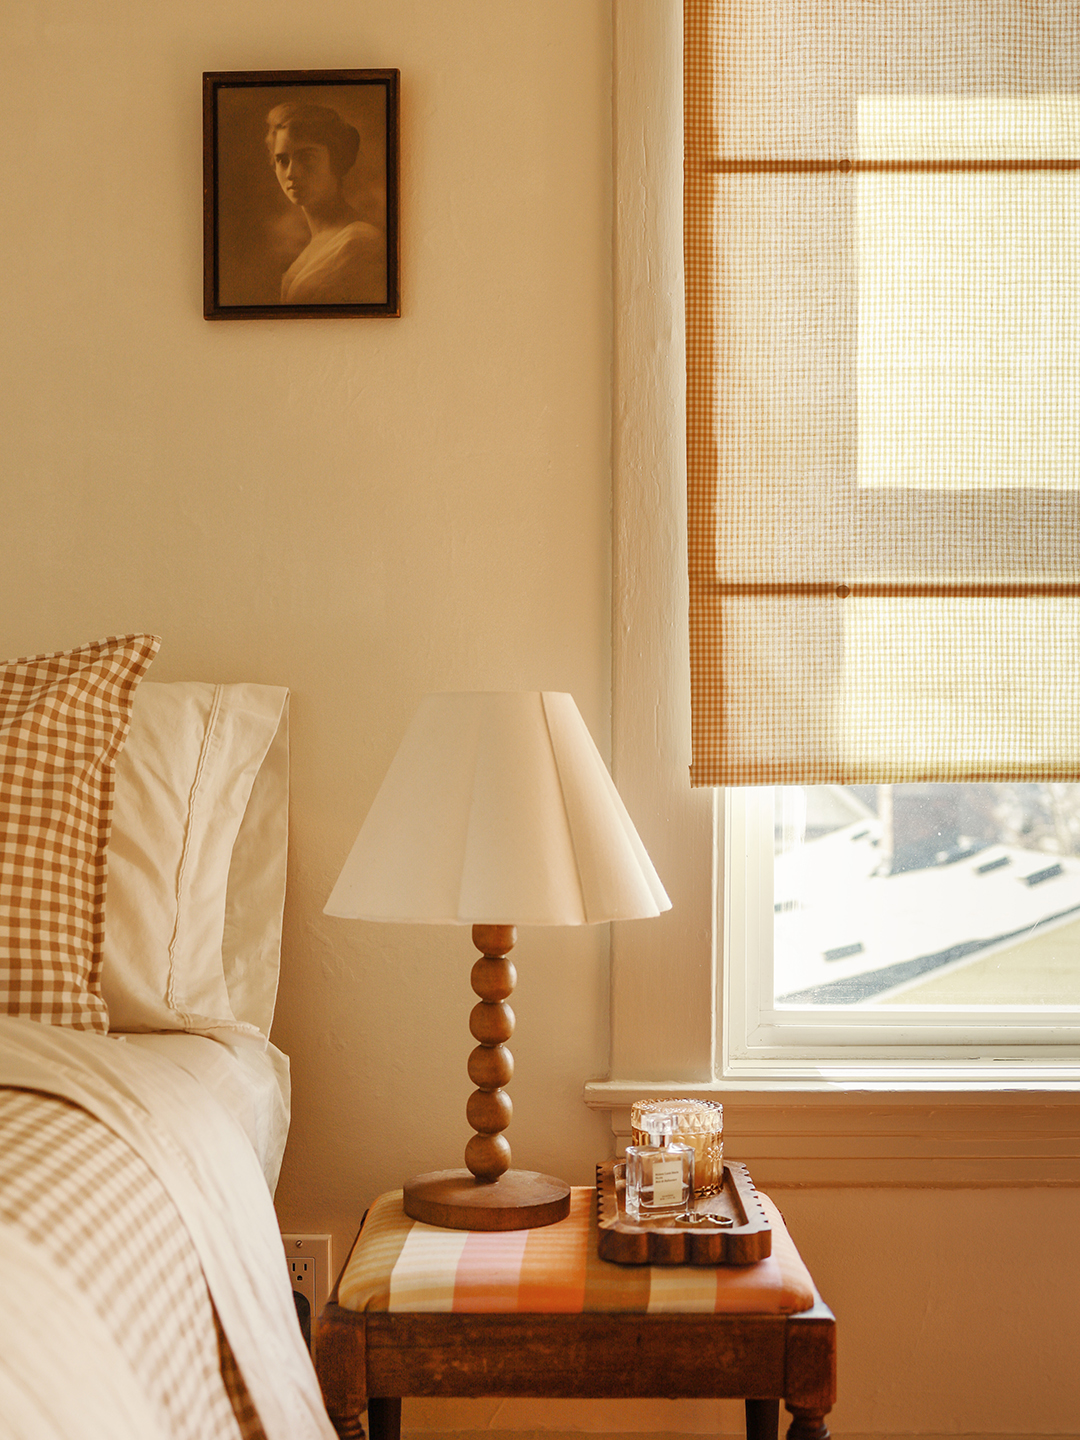
The seasoned DIYer bought a pair of $45 IKEA Roman shades knowing they’d be a temporary fix until she could upgrade to something else. Fast-forward two years and she finally got around to refreshing them. You read that right—refresh, not replace. Instead of purchasing new window treatments, she decided to recover her plain polyester shades in a sweet gingham print.
“I’m lucky to have two fabric shops nearby, and in my experience, local shops like these offer the unique colors and patterns for interiors that I could never find at big-box stores,” she says. She grabbed four yards for the two shades, a $52 purchase.

McSwain already had many of the other supplies on hand—all she needed was some extra hem tape. Ahead, in her own words, she walks us through what she did next.
The Materials

- IKEA Ringblomma blinds
- Fabric of your choice (enough to cover your blinds with a few extra inches on each side)
- Fabric scissors
- Measuring tape
- Double-sided hem tape
- Fabric adhesive spray (McSwain used Gorilla’s Adhesive Spray)
- An iron
- Small magnets (optional for added durability)
- Hot glue gun
Pro Tip
When choosing fabric, lightweight cotton or linen blends work best. They’re easy to handle, won’t make the shades too heavy, and may not need extra magnets. For heavier fabrics, additional magnets will be required. Also, consider the fabric’s pattern and how it will look when it’s folded and pleated. —McSwain
Step 1: Plan and Cut the Fabric

Start by measuring the length and width of the shades with a tape measure. Add a few extra inches on all sides for hemming. Leave a slightly larger margin at the top to cover the exposed IKEA screws. This will make everything look more polished.
Using your measurements as a guide, cut your fabric to the correct size. Ensure your pattern is aligned correctly, so it’s not crooked when applied to the shades.
Step 2: Smooth Out the Fabric

Iron the fabric (and shades if needed) to remove any wrinkles and creases. This is important to ensure even adhesion. This was the most tedious step, but taking the time to do this now will definitely pay off later.
Step 3: Prep the Shades


First, locate the existing magnets in each roman shade channel on the front side of the shade. Lift each magnet, apply a small amount of hot glue, and secure it in place.

Next, apply double-sided hem tape along all the roman shade channels between the magnets, as well as at the top and bottom of the shade.


Grab your fabric adhesive spray. Hold it a few inches away from the front of the shade and spray on a nice, even layer—no need to go overboard. Just make sure you’re in a well-ventilated spot to keep things safe from the fumes, and follow the bottle instructions.
Pro Tip
“Always test your adhesive spray on a scrap piece of fabric first to ensure it doesn’t bleed through or discolor. Also buy larger rolls of tape than you probably think you’ll need! It does require a lot of tape.” —McSwain
Step 4: Attach the Fabric to the Shades

Lay your fabric flat on a clean surface with the patterned side down. Take your shade, with the sprayed side facing down, and gently place it on the fabric. Start at one end and press the shade down, smoothing [with your hands] as you go to ensure it sticks to the fabric properly. Flip the shade over so the fabric side faces you, and smooth out each section again to remove any bubbles or creases. If you see stubborn wrinkles, use an iron on low heat to smooth them out.
Pro Tip
“Take your time. The biggest challenge is getting the fabric perfectly ironed without adhering wrinkles into the blind. It will take time to work out the creases, but the results are worth it.” —McSwain
Step 5: Secure the Edges

Flip the blinds back over and apply double-sided hem tape along the edges. Starting with the longer sides, fold the overhanging section of fabric over the tape to create a clean hem and press firmly to secure them. Then do the same for the bottom edge.

At the top, you want to hem the fabric to hide the exposed screws attaching the shades to the wall. Apply hem tape to the back of the excess fabric, then fold it over on itself and press firmly to secure. The hemmed fabric should hit just above the screws for a neat, seamless finish.
Step 6: Reinstall and Test

After the fabric is securely attached and the glue has dried, reinstall the blinds. Carefully lift the top hemmed section of the fabric, secure the blinds onto the screws, and then smooth the fabric back over to conceal them.
My Final Thoughts


Honestly, this project felt perfect for someone like me with almost no sewing experience. That said, this might not be the most budget-friendly option if you’re buying the IKEA blinds and all the supplies from scratch. [Editor’s note: McSwain estimates it would cost about $200 if you were to purchase everything.] In my case, I already owned the shades, so all I had to do was pick up the fabric. It was such a simple way to breathe new life into something I already had and I couldn’t be happier with how it turned out.