
We may earn revenue from the products available on this page and participate in affiliate programs.
Part memoir and part design guide, Annie Meyers-Shyer’s This Oak House is a love letter to the old house she bought from her mother-in-law in Los Angeles and remodeled to become her own family’s home. Chronicling every step of the process on Instagram, the former fashion executive has now documented the transformation in a beautiful new book (and Target product line). What seems to charm Meyers-Shyers’ devoted followers is that while the home is incredibly polished and grown-up, it’s also relatable. You learn all sorts of things simply by reading her diary-like chapters about every design decision. Below, the mother of two is sharing an exclusive before-and-after about her kids’ rooms, as well as their shared bathroom and TV room.
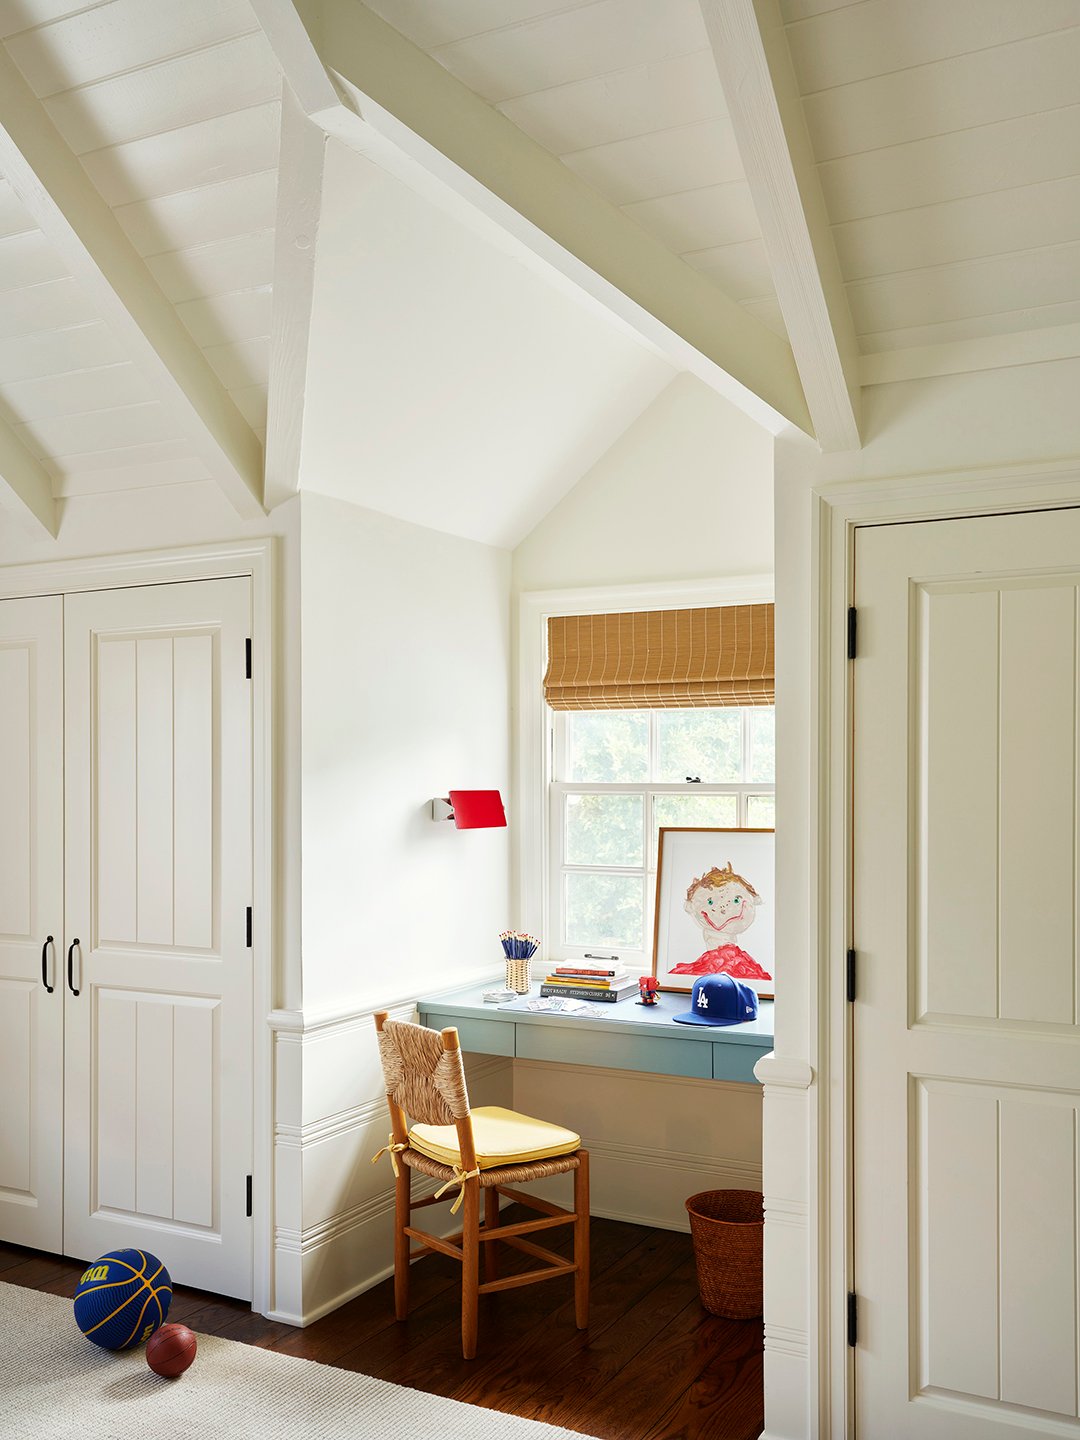
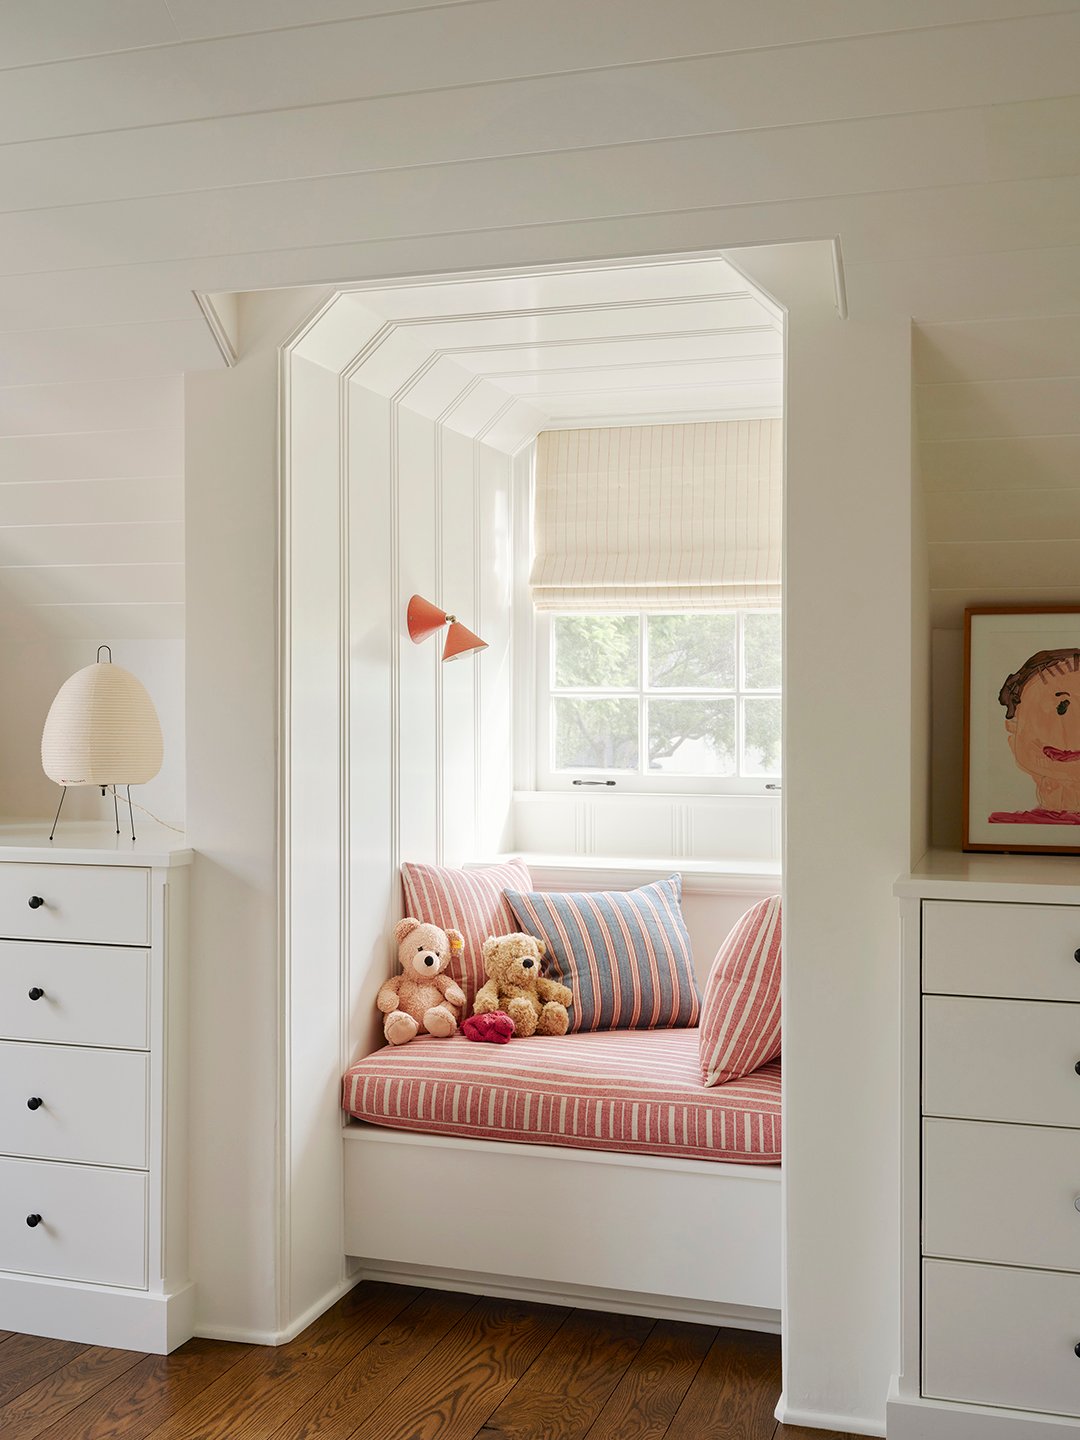
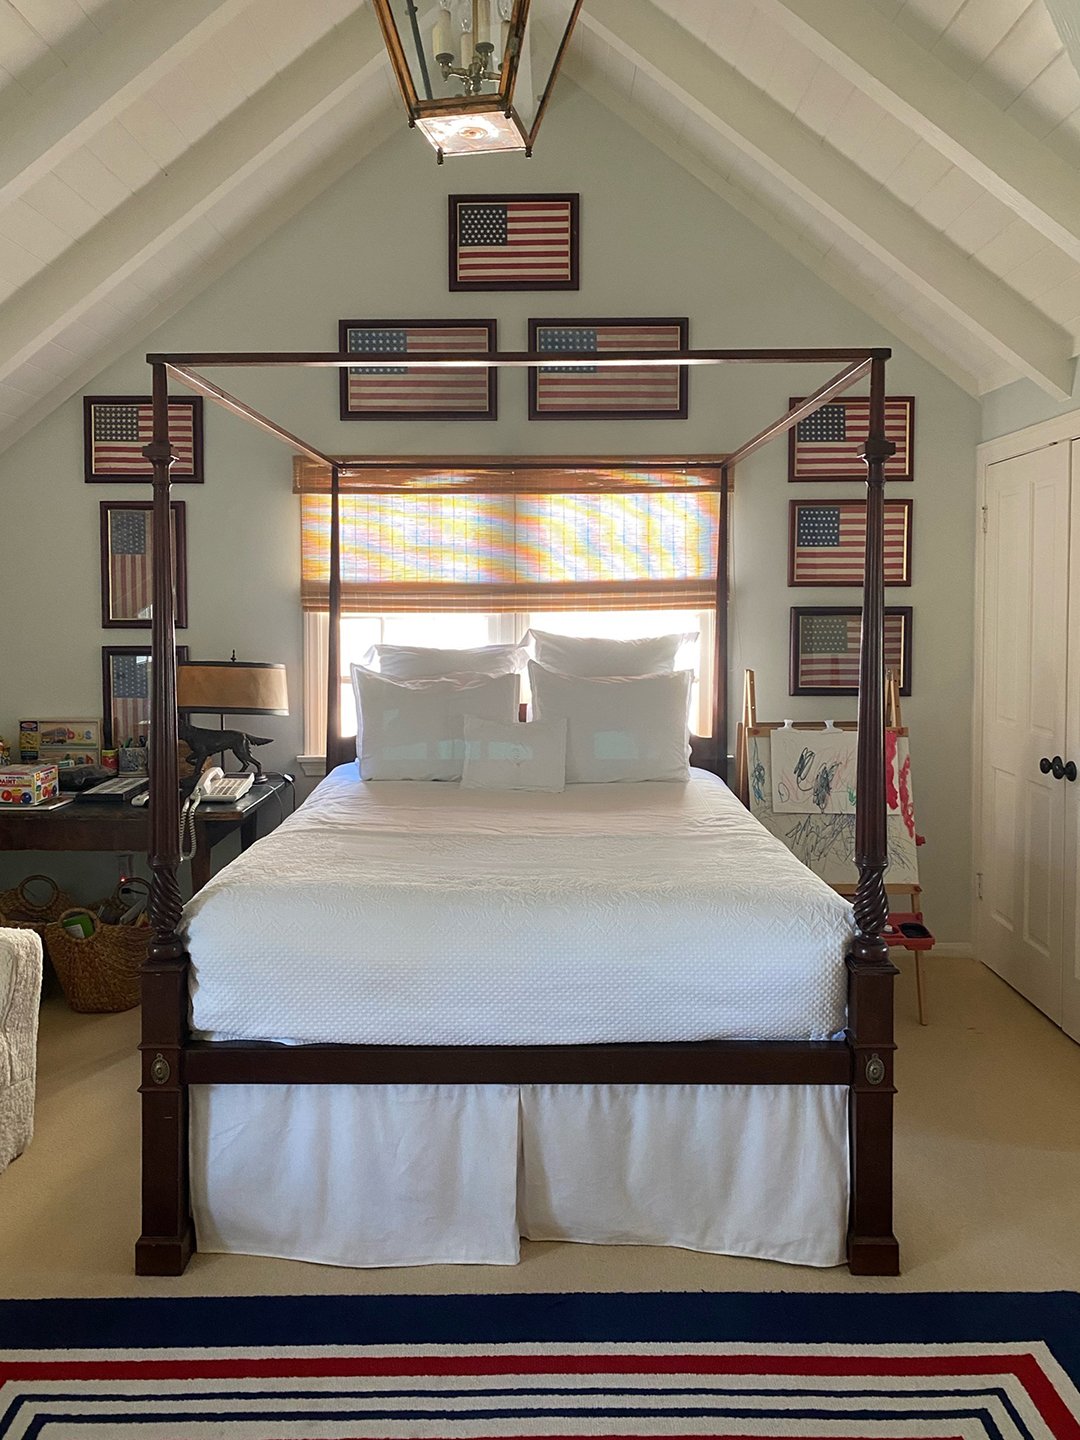
Flexibility in kid spaces is key! Drawing inspiration from your child and the home itself and keeping the long term in mind will lead to the best results. For us, three great, unforeseen things happened during the design and build phases of our kids’ rooms here at This Oak House. First, in Teddy’s room, we faced a dilemma with the bed placement. The most natural wall for the bed had a window right in the middle. I’m not a fan of placing beds under windows—especially here in L.A., where earthquakes are a concern. During an early architectural meeting, Covington proposed something really unexpected. Rather than forcing the bed onto the north wall with the window, he suggested reorienting the entire room and building a faux wall with a cozy bed nook on the west wall instead.

Bookshop
This Oak House: A Renovation Story with Interiors to Inspire Your Own Home
It took a moment for me to wrap my mind around it, but once I did, I knew it was perfect. It was a brilliant idea, and it reminded me why it’s so important to hire people who are smarter and more talented than you are. I would never have thought of it, and I love seeing the nook every time I walk into Teddy’s room.
The second wonderful moment came during the renovation of Charlie’s bedroom. Both the primary bedroom and Teddy’s bedroom have dramatic high-vaulted ceilings, while Charlie’s room had a standard 8′ ceiling. Since it was closest to our bedroom, it made sense for Charlie, our youngest, to have this room, but I felt a bit guilty that he wouldn’t get the same dramatic height and charm his brother’s room had. One day during construction, Brian Blythe called me to share a discovery. During the demo, they had uncovered a hidden space for a vaulted ceiling in Charlie’s room. Knowing how much I’d hoped Charlie could have a vaulted ceiling, he didn’t just stick to the original plan; he made sure to explore this possibility, and luckily it worked out. I was thrilled to get that call.
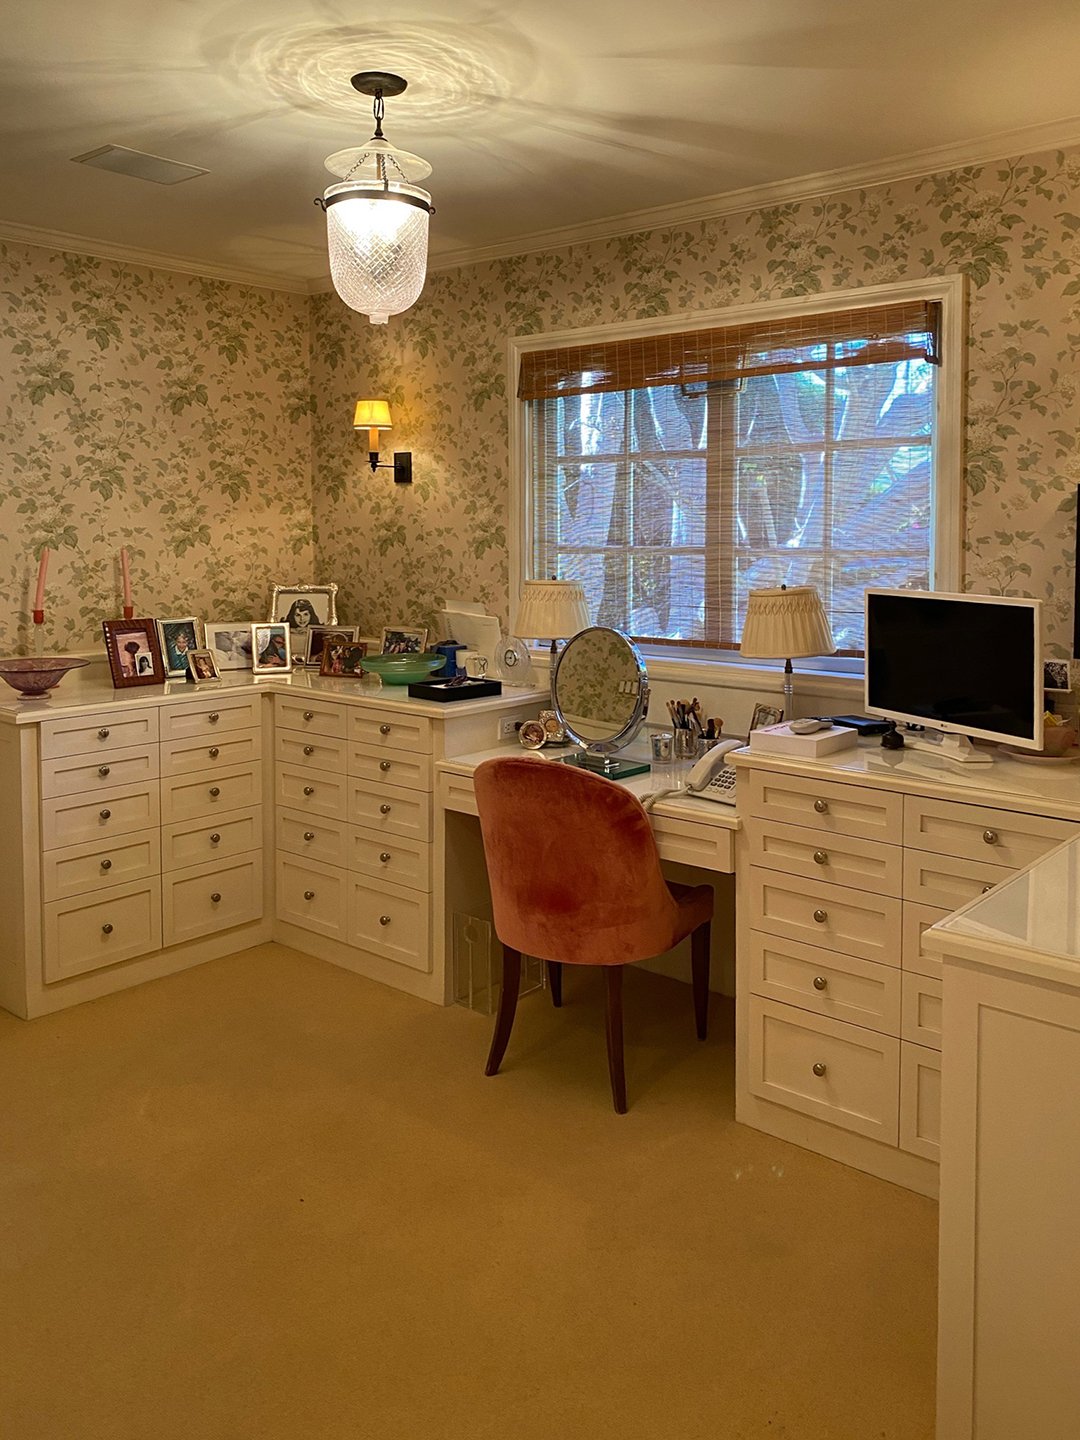
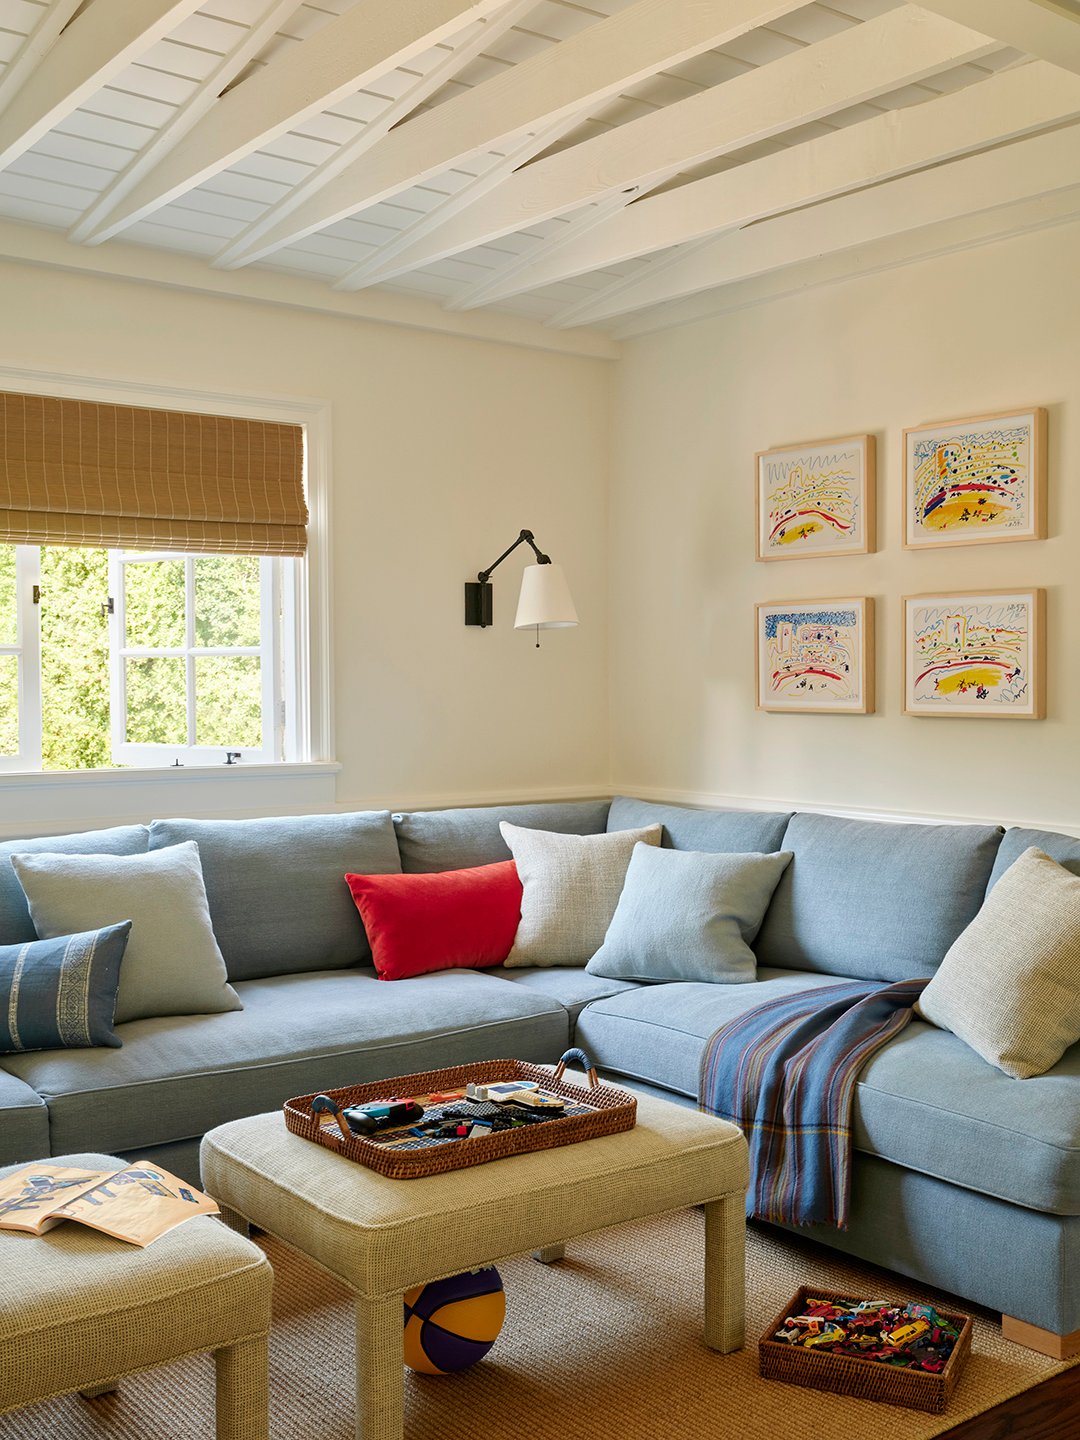
The third wonderful surprise came from the reconfiguration of the upstairs layout, which left a small area between the kids’ bedrooms. We decided to turn this space into a cozy little TV room for the boys, a place where they could hang out together and with friends. During demo, we uncovered a beamed ceiling in this area, which looked like it may have once been part of a porch. We restored it, and it brought character and charm to the space.
With the structure of the three kids’ spaces set (the two bedrooms and sitting room), we moved into the design phase, which I found really fun. I approached these rooms with a looser, more playful mindset, hoping to capture the spirit and youthful energy of my kids. We began, as always, with a floor plan and a list of essentials for each bedroom: queen-size beds, a desk for each kid, and a comfortable spot to read. Mike’s team drafted the furniture layouts, and then we dove into the details.
I asked the boys what they envisioned for their rooms, and the conversations went like this:
- Charlie: I want my room to be red.
- Me: Like the walls?
- Charlie: All of it, even the ceiling.
- Me: . . .
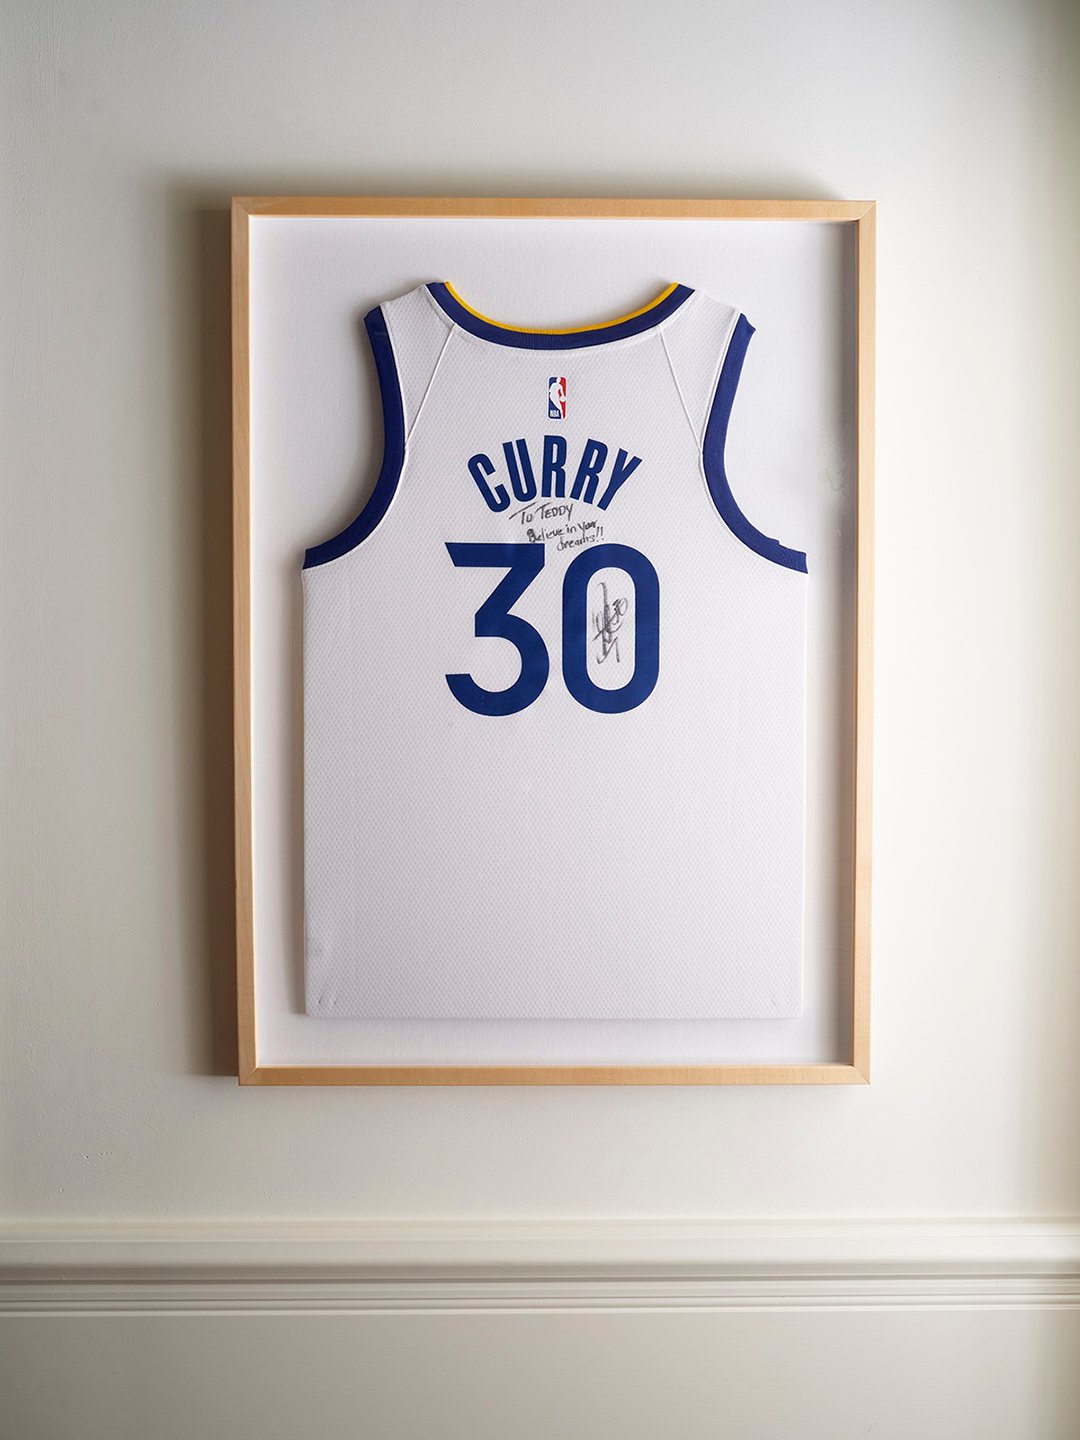
- Teddy: I want my room to be the colors of the Golden State Warriors—blue and yellow—and I want a life-size mural of Steph Curry on the wall.
- Me: Sigh
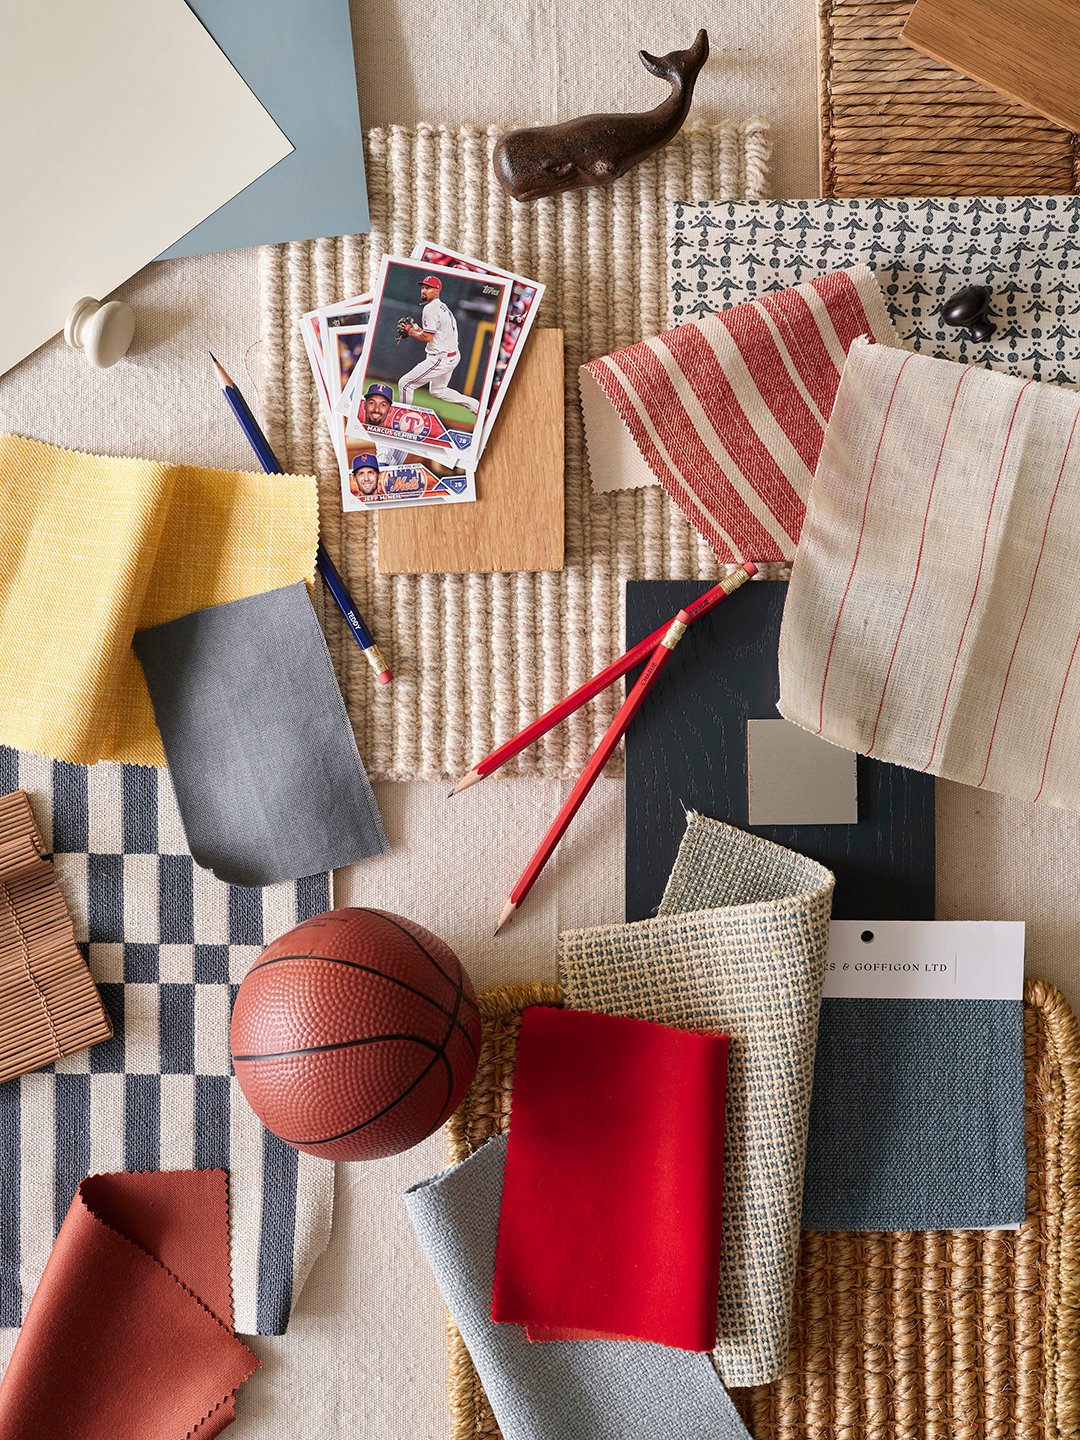
With those “marching orders,” I had my design direction. I wanted to honor Charlie’s affinity for the color red and Teddy’s blue and yellow request but had to figure out how to make it work within the framework and palette of our house as a whole.
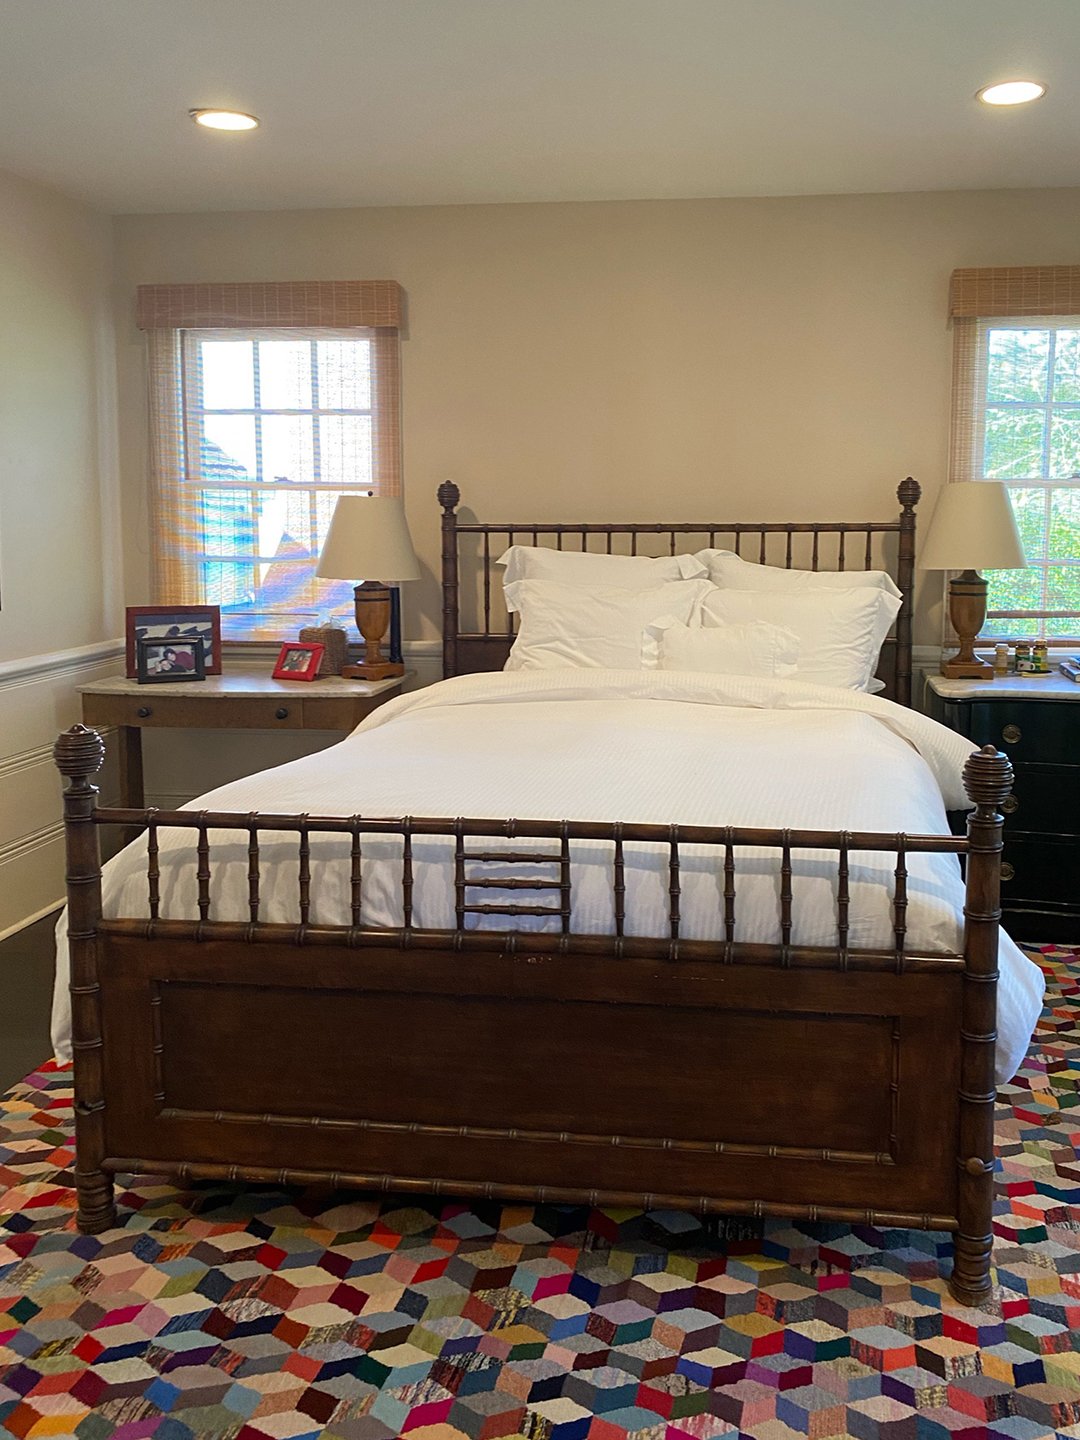
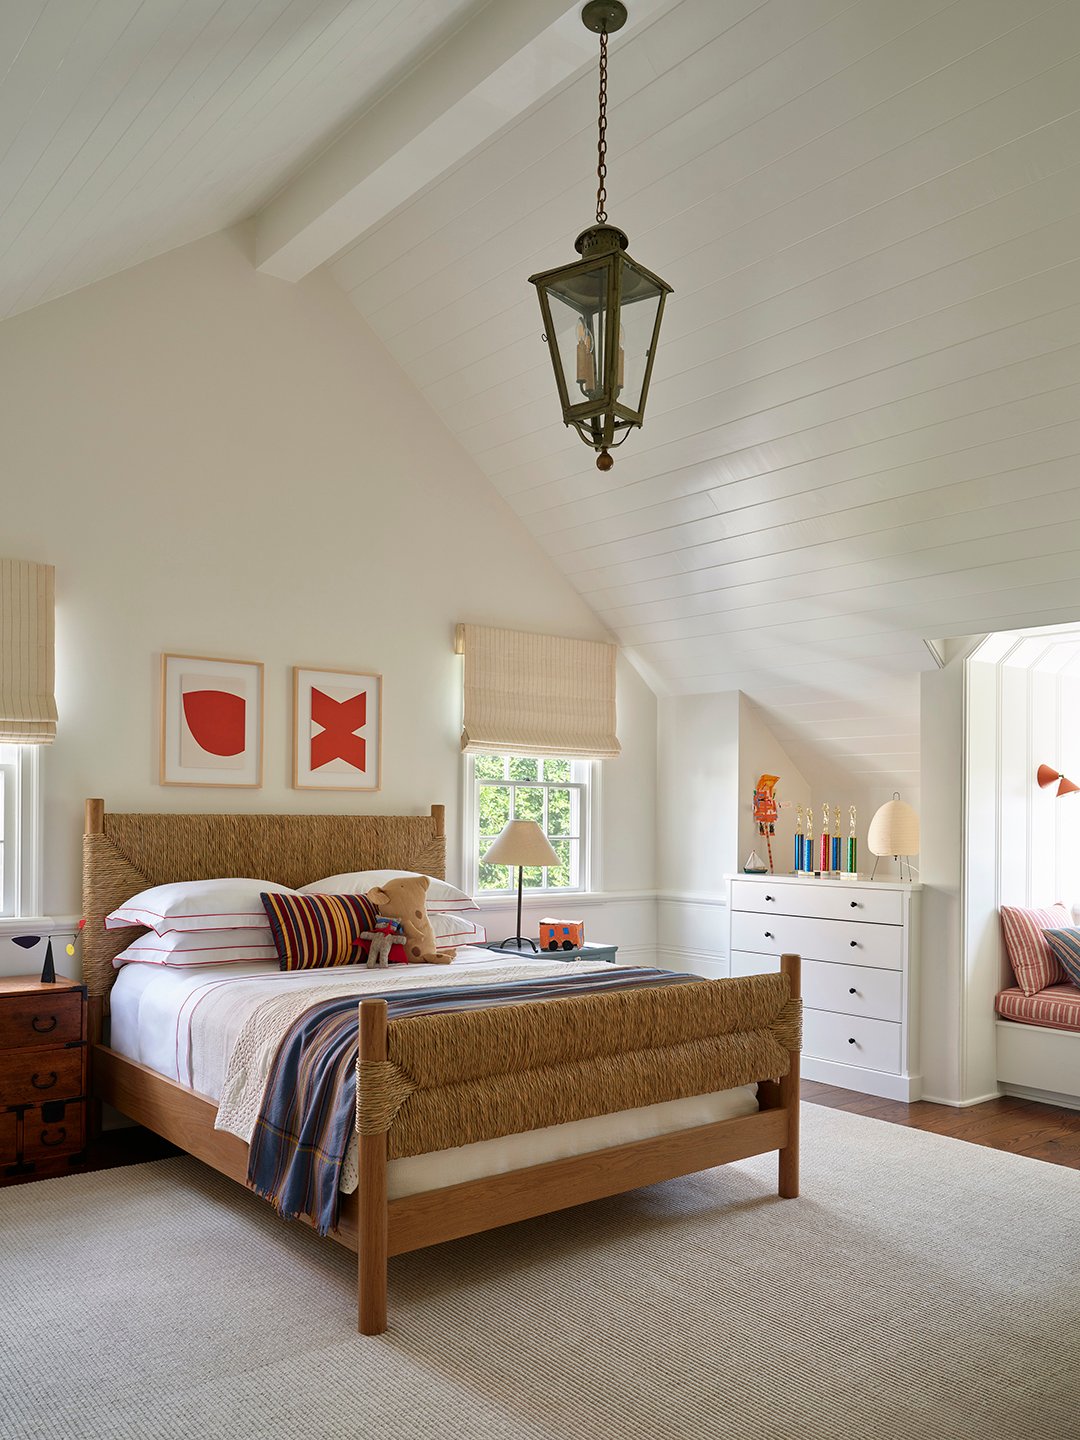
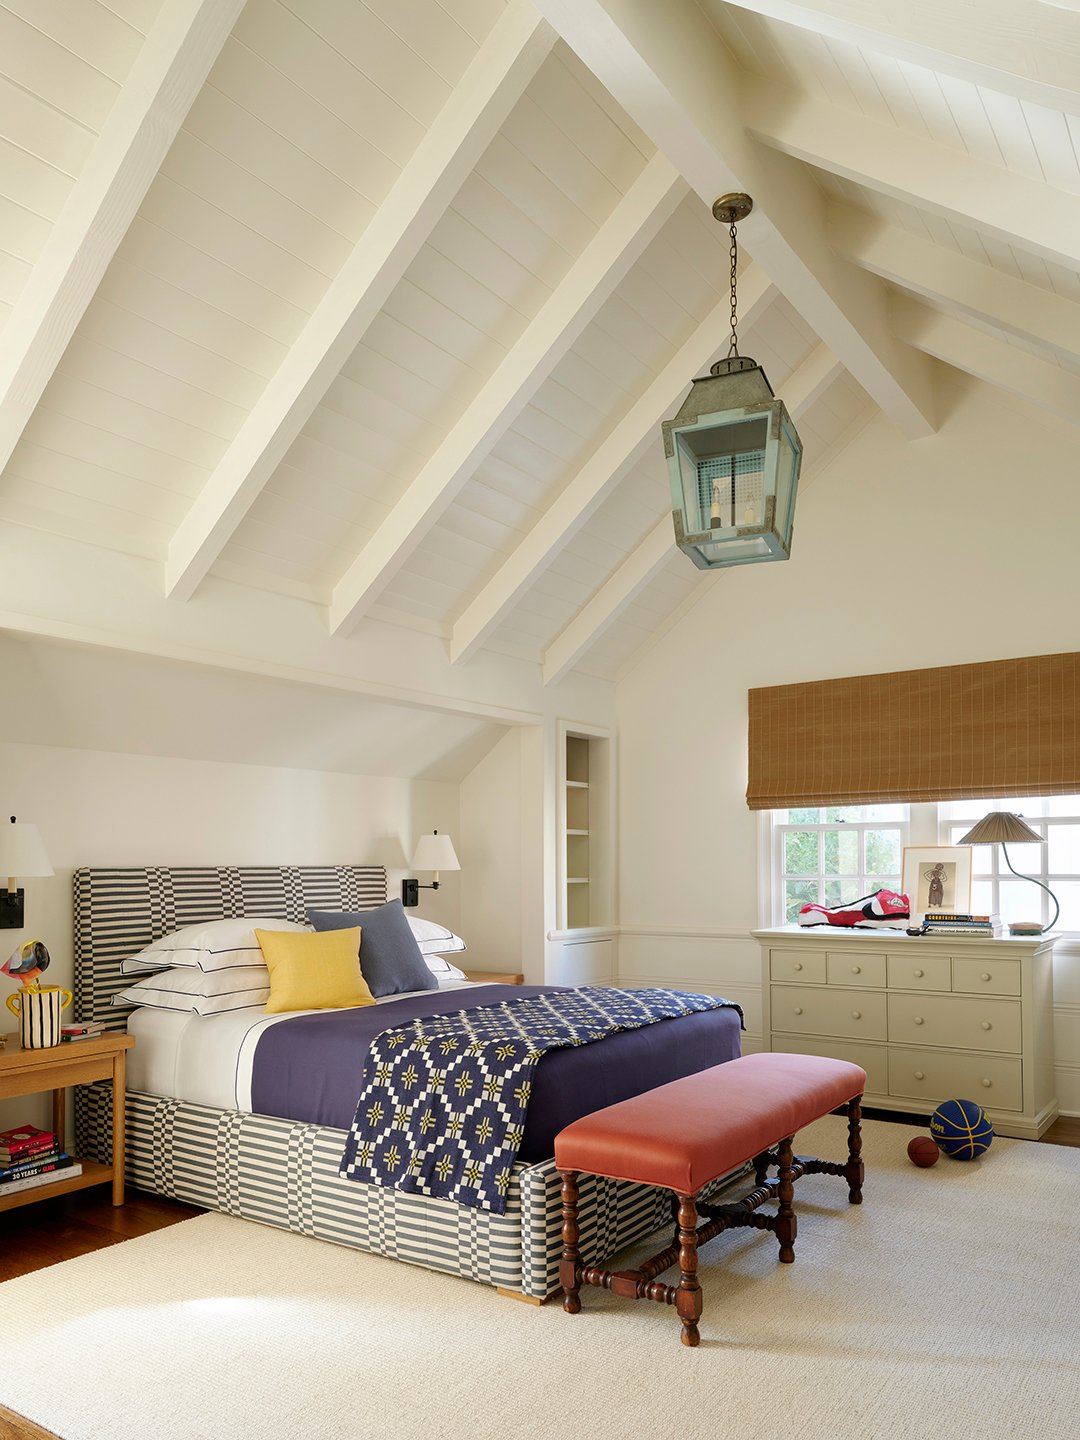
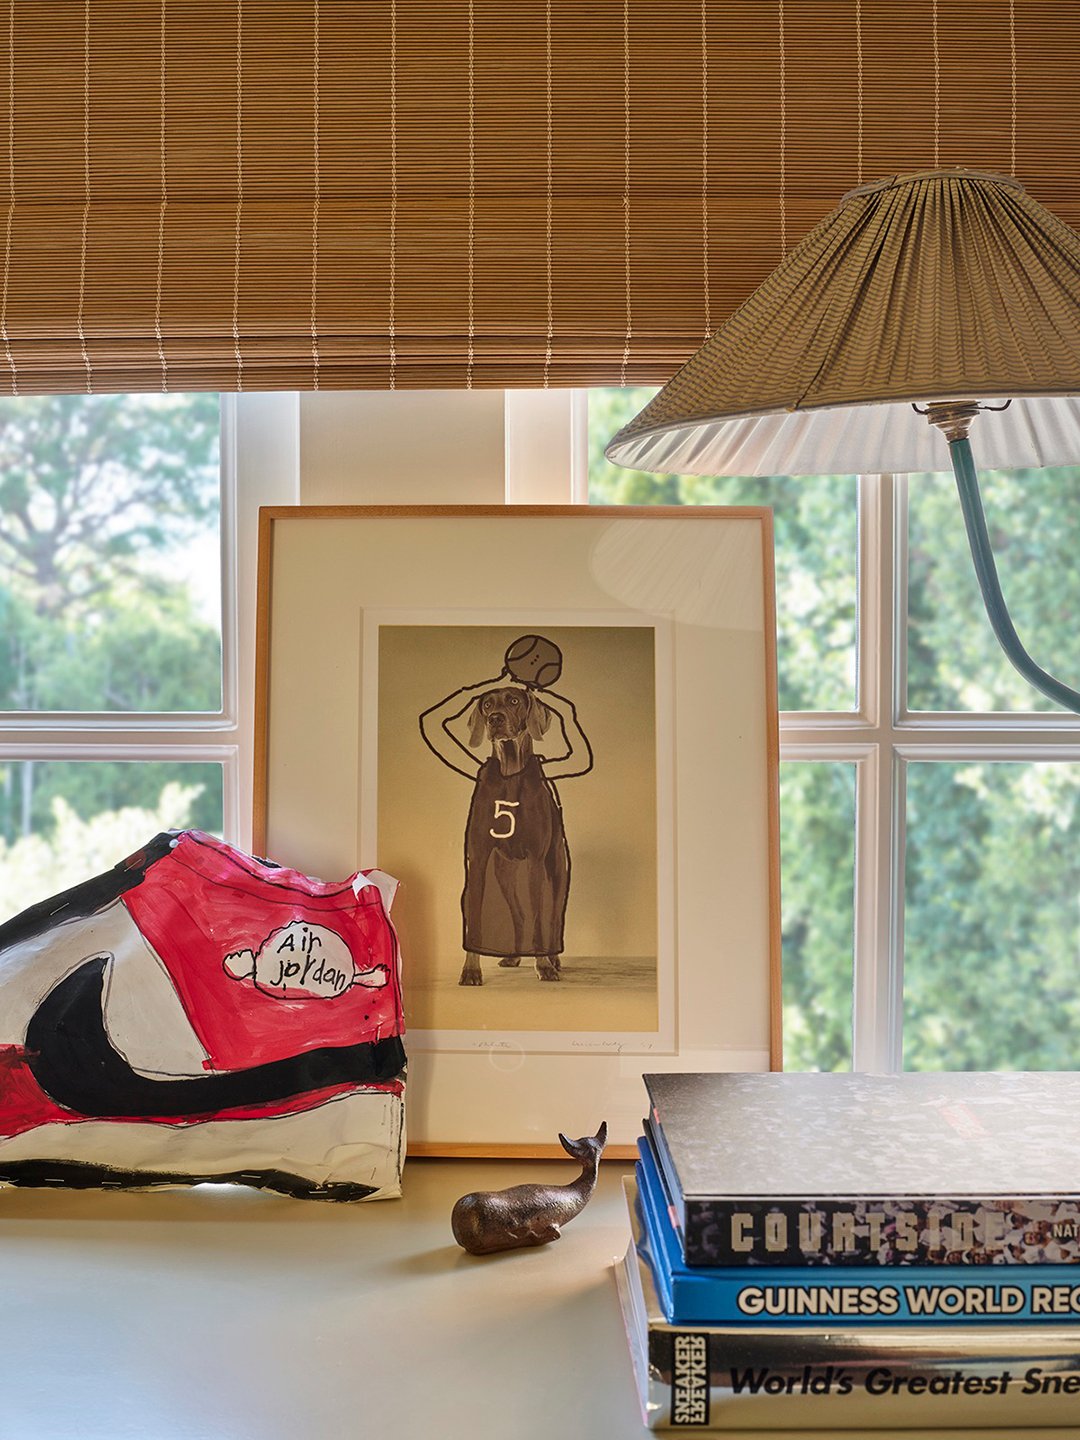
Charlie’s room features a reading nook in a bold red, striped fabric. It’s complemented by a subtly patterned cream-and-red stripe on his Roman shades. Teddy’s space is just as vibrant, with a blue cushion with a yellow pipe in his reading nook and a blue and white–patterned bed. In lieu of a Stephen Curry mural, we hung a signed jersey in a simple maple frame. A good compromise if you ask me. Lucky kid! While the boys’ rooms are filled with color and joy, I chose to keep the walls neutral, creating the perfect backdrop for playful patterns and lively colors.
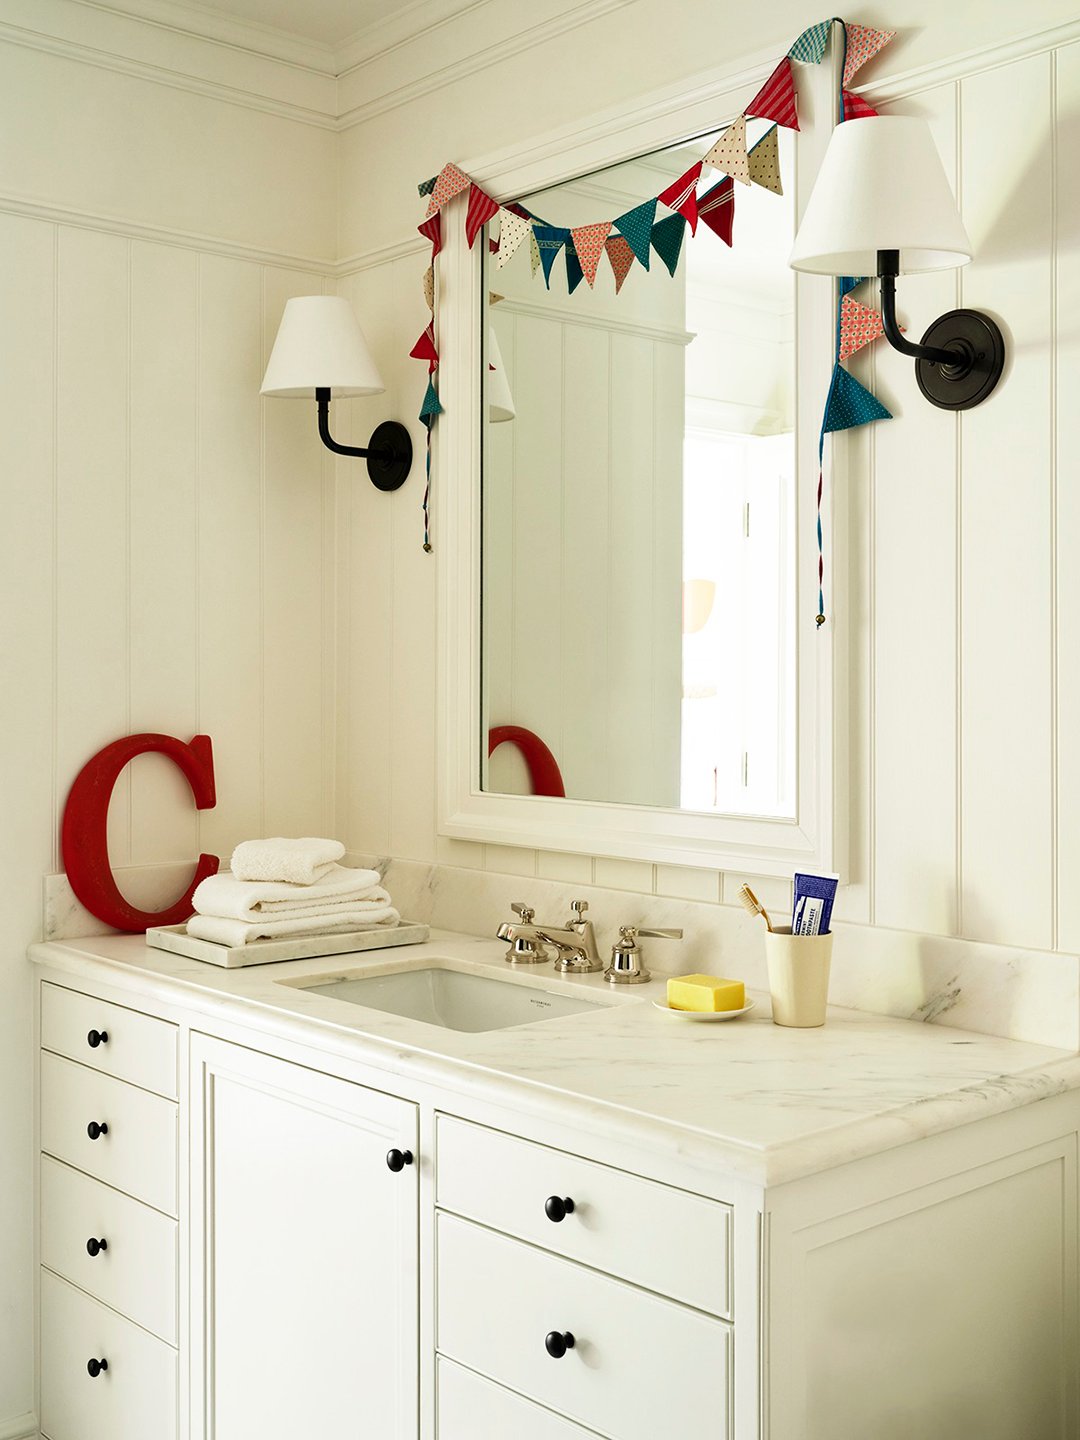
I wanted the boys’ bathrooms to have wood flooring, so we decided to use area rugs instead of wall-to-wall carpet in their bedrooms. I felt a wood-to-wood transition was nicer than a carpet-to-wood transition. The area rugs are wool, which is a great material for bedrooms as it’s durable and easy to clean.
How to Design a Timeless Kid’s Space
Designing kids’ rooms that will grow with them is all about balancing fun elements with classic choices that can adapt to their changing tastes and needs. Here are some tips for creating a timeless room for your child.
Choose a Neutral Base Palette
Walls and large furniture pieces in neutral colors offer flexibility, making it easy to refresh the room over time with new accent colors or decor. If your child wants a vibrant color, consider using it on easily changeable elements like pillows and throws.
Keep Storage Flexible and Abundant
Kids collect more belongings over time, so make sure there’s room for growth. Concealed storage, baskets, and open shelving allow for flexible organization that can be adapted as they transition from toys to books, gadgets, or sports gear.
Create a Place for Memories
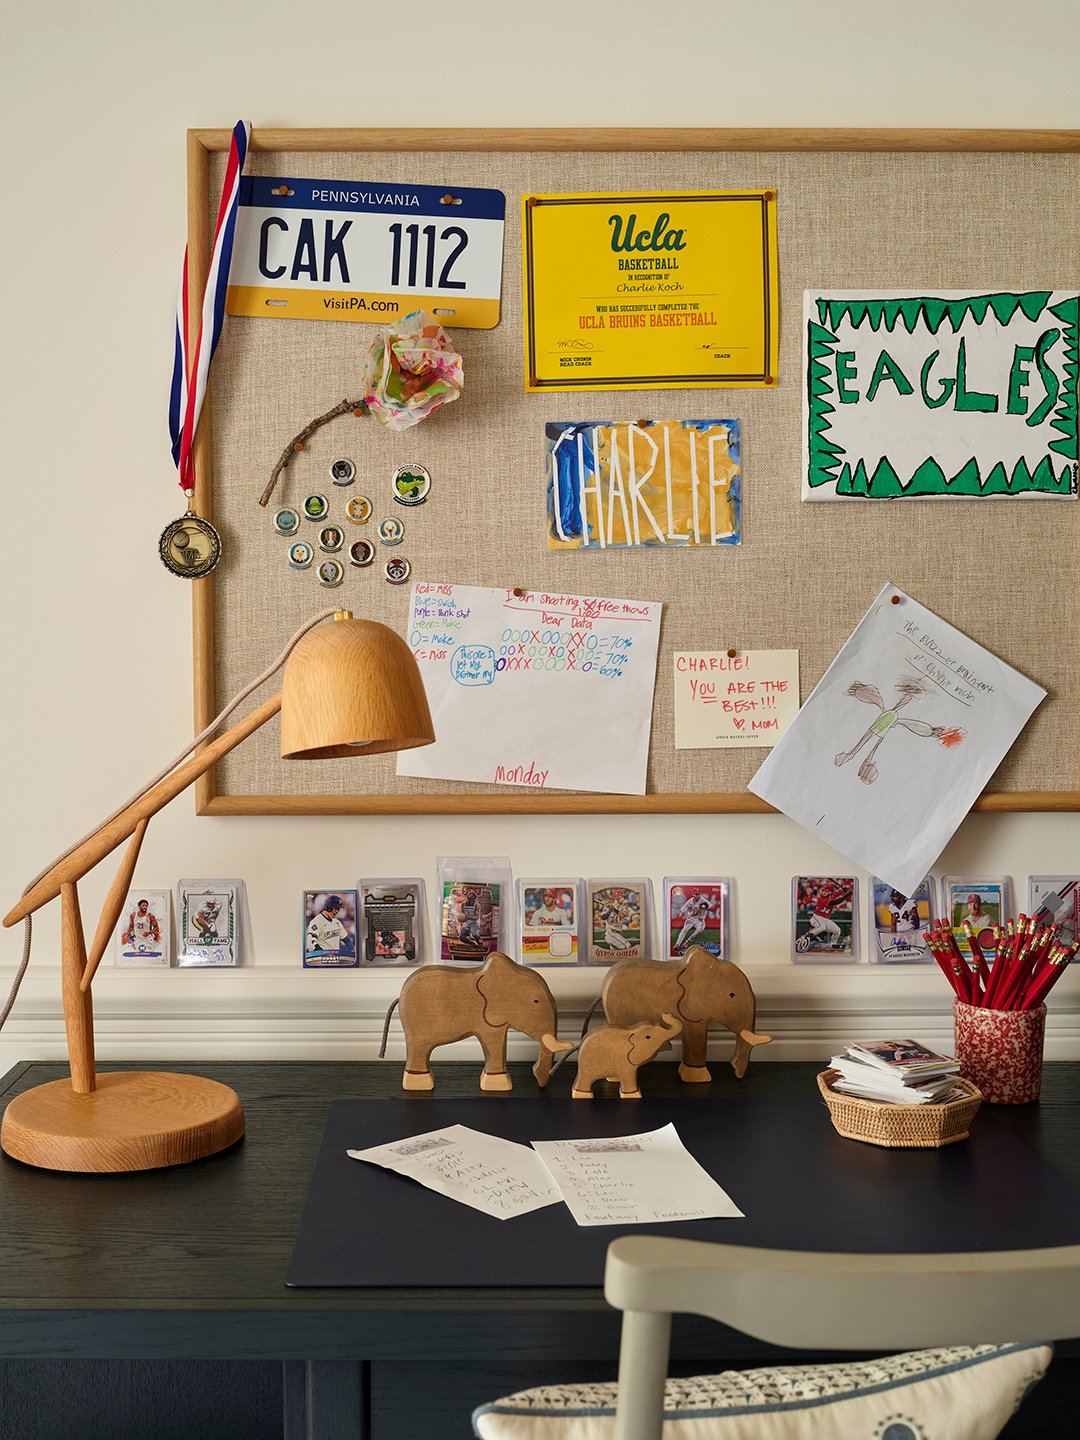
Give your child a corkboard or magnetic board for their favorite drawings, photos, or mementos, which can change as they grow.
Use Artwork and Decor That Can be Swapped Out
Instead of permanent murals or wallpaper, consider framed prints, posters, or art that can be replaced as your child’s interests change.
Invest in Grown-up Furniture
Opt for an adult-size bed (full or queen) rather than a child-size or themed bed. The same goes for desks. Nothing mini. If you choose small furnishings, you’ll just have to replace things sooner than you think.
Incorporate Multifunction Seating
Consider adding a cozy reading nook, a beanbag chair, or a small sofa that’s comfortable for little kids but large enough for older children and teens. Seating that works for both playtime and relaxation can help the room adapt as your child spends time in different ways over the years.
Use Timeless Patterns and Shapes
Stick to classic patterns, like stripes, polka dots, or gingham. These versatile patterns can transition from early childhood into the teen years without feeling outdated.
Aim for Quality and Classic Design
When possible, invest in well-made, timeless pieces that will stand the test of time—both in durability and style. High-quality furniture and decor with classic lines and materials will age beautifully and can often be repurposed as your child grows up. For example, Teddy’s changing table transitioned into a dresser when he was a toddler, and with a fresh coat of Drop Cloth paint by Farrow & Ball and some new knobs, it will now stay with him well into his teen years.
Photography by © 2026 by Roger Davies