We may earn revenue from the products available on this page and participate in affiliate programs.
Who says you have to completely demo your kitchen (not to mention, your budget) to make it yours? In our new series, The No-Reno Kitchen, we’re highlighting total transformations that prove the power of paint, fixtures, and a little elbow grease.
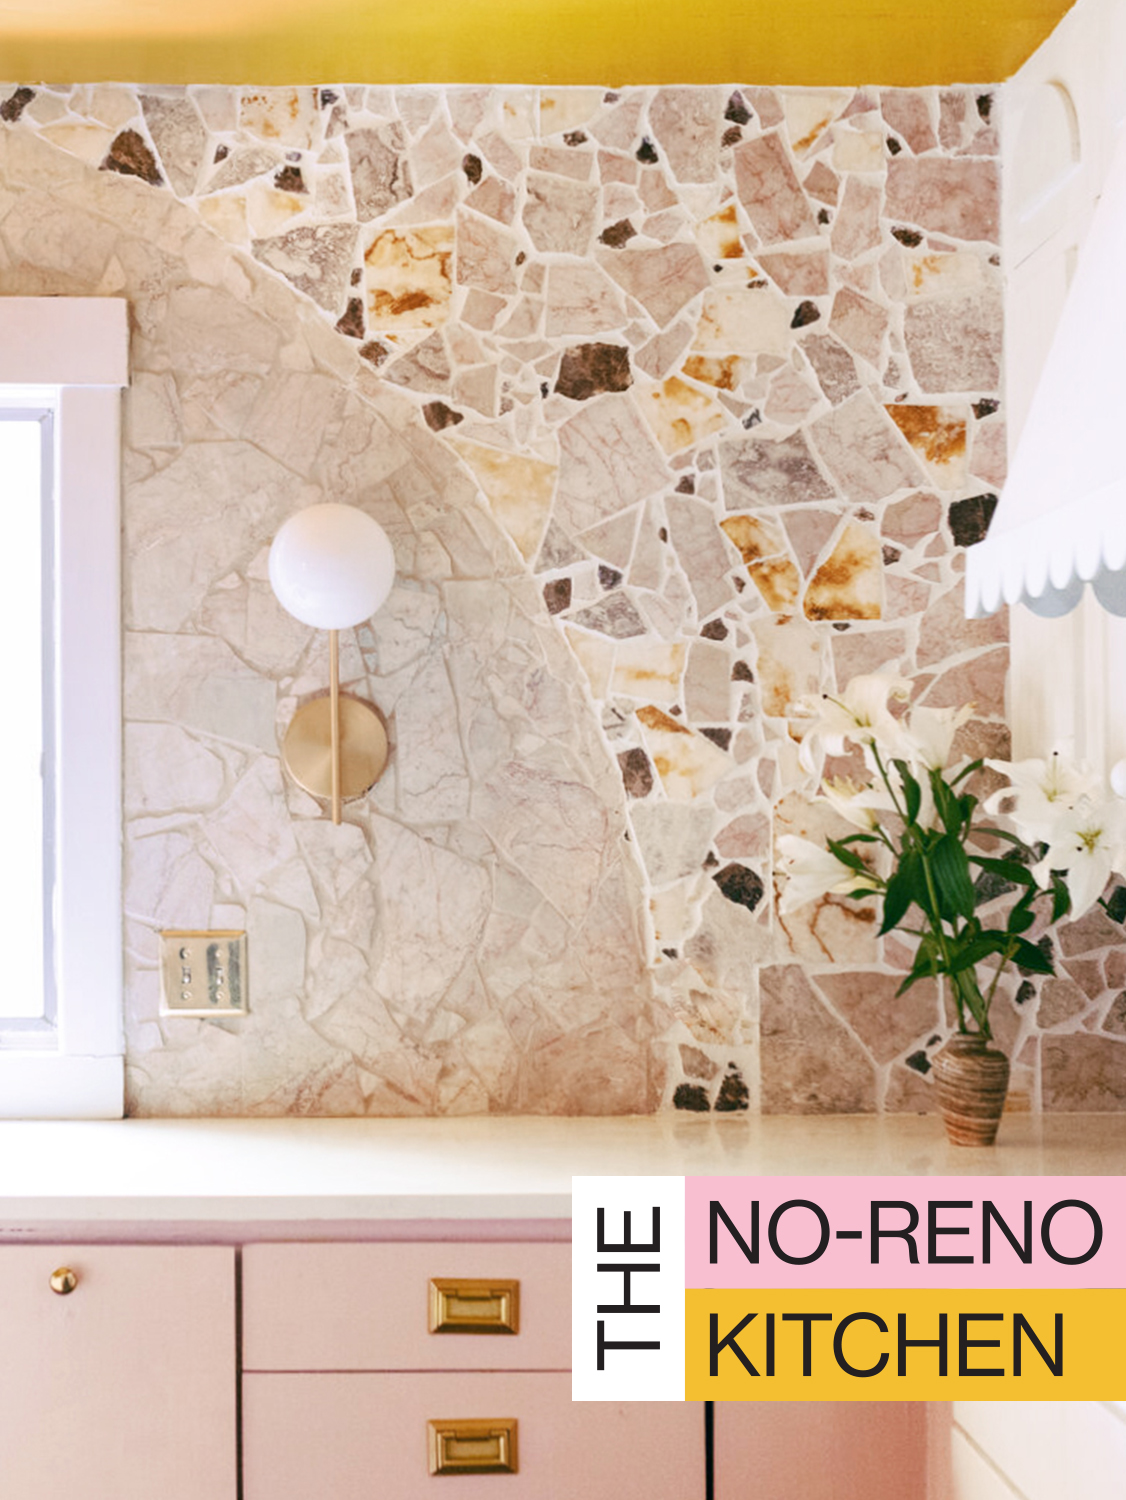
“Necessity breeds creativity,” says Katie Sarokhanian, summing up her kitchen renovation for the One Room Challenge. The Dallas-based designer DIYed practically everything, from the painted refrigerator to the scalloped trim. Inspired by the Palladian terrazzo floors that are ubiquitous in Italy, the mosaic backsplash was no exception. The whole thing, mortar and all, came to a total of $150. Her secret? The 14-by-6-foot surface is swathed in marble remnants left over from past design projects, as well as broken chunks Sarokhanian salvaged from Facebook Marketplace and a local tile store. “I asked for anything that had a crack in it,” she says.
A central arch consisting of smashed-up pieces of pink marble is surrounded by milky white marble, onyx, and Venetian gold marble, giving the 1980s house an old-world vibe. While the weeklong project was time-consuming (Sarokhanian thought about the placement of each slab carefully), she admits it was stress-free.“ Tiling is more of an art than a contractor’s skill,” she explains. Ahead, Sarokhanian walks us through the mini masterpiece.
The Supplies

- Large-scale marble tiles
- Mallet
- Plastic bin
- Large stone mortar
- Sanded grout
- Angle grinder
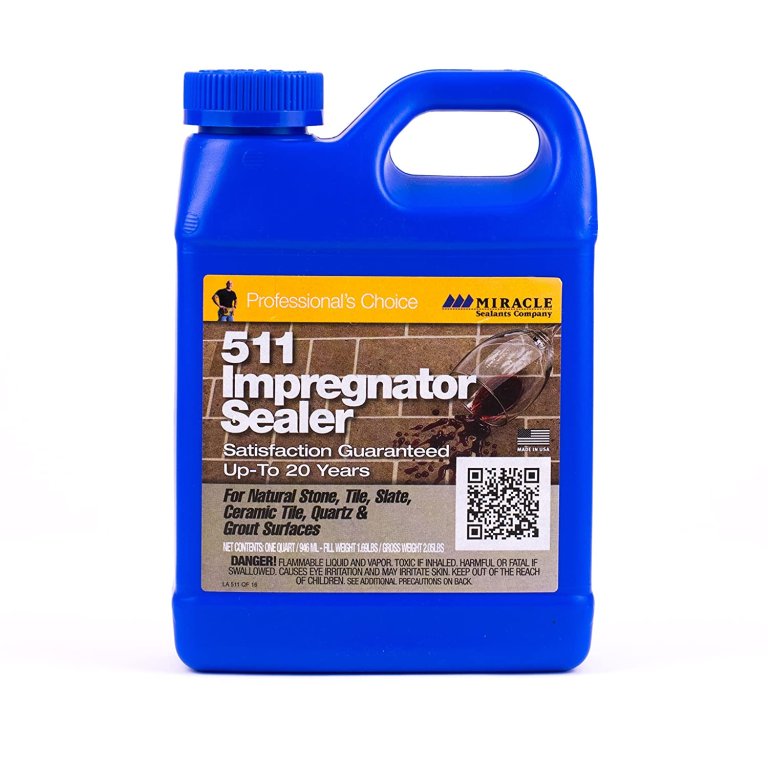
- Penetrating sealer
Step 1: Start With a Moisture-Resistant Slate
Big grout spaces mean you don’t have to use as much stone as you would if you were doing a usual streamlined backsplash. (Sarokhanian suggests buying 30 percent less tile than you normally would.) Also, be sure to source pieces that are all the same thickness. “Otherwise it will look weird and collect dust,” says the designer. After removing the old upper cabinets in her space, Sarokhanian hung green board, which, unlike drywall, is a material that won’t absorb moisture and is mold resistant.
Step 2: Make Your Puzzle Pieces

Using a rubber mallet, the designer broke the marble tiles into large and small chunks. She dumped the stone pieces into large plastic storage bins so she could sift through them as she worked her way across the wall.
Step 3: Lay Away
Before applying mortar to the surface, Sarokhanian outlined the arch with a pencil. This gave her a general idea of where to place the slabs to help create a curved shape. The designer filled in the gaps between the biggest chunks with 1-inch-size remnants. Once the pink stone was set, she went over it with sanded grout. For the white and yellow marbles outside of the main arch, she skipped the grout and instead coated it with more mortar.
Step 4: Clean Up the Edges

Sarokhanian’s hottest tip: Only use natural stone for this project. “The edges are going to be sharp after you break them,” she explains. “And when you sand ceramic tile, it loses its top coat of color.” After setting the stone in the mortar and grouting it, she buffed out any rough spots with an angle grinder.
Step 5: Finish It With a Top Coat
Apply the penetrating sealer with either a pump sprayer, sponge, or brush. This is especially important to use in any areas that weren’t covered with grout, which has a natural sealant in it. Leave it to cure and dry for 24 hours, then stand back and enjoy your one-of-a-kind collage.