
We may earn revenue from the products available on this page and participate in affiliate programs.
In Renovator’s Notebook, homeowners open up about the nitty-gritty of their remodels: How long it really took; how much it actually cost; what went horribly wrong; and what went wonderfully, serendipitously, it’s-all-worth-it-in-the-end right.
Room: Laundry
Size: 6.5 square feet
Total renovation cost: $1,385*
Total renovation timeline: 3 days
Top priority: To create a drying cabinet and laundry storage on a tiny staircase landing
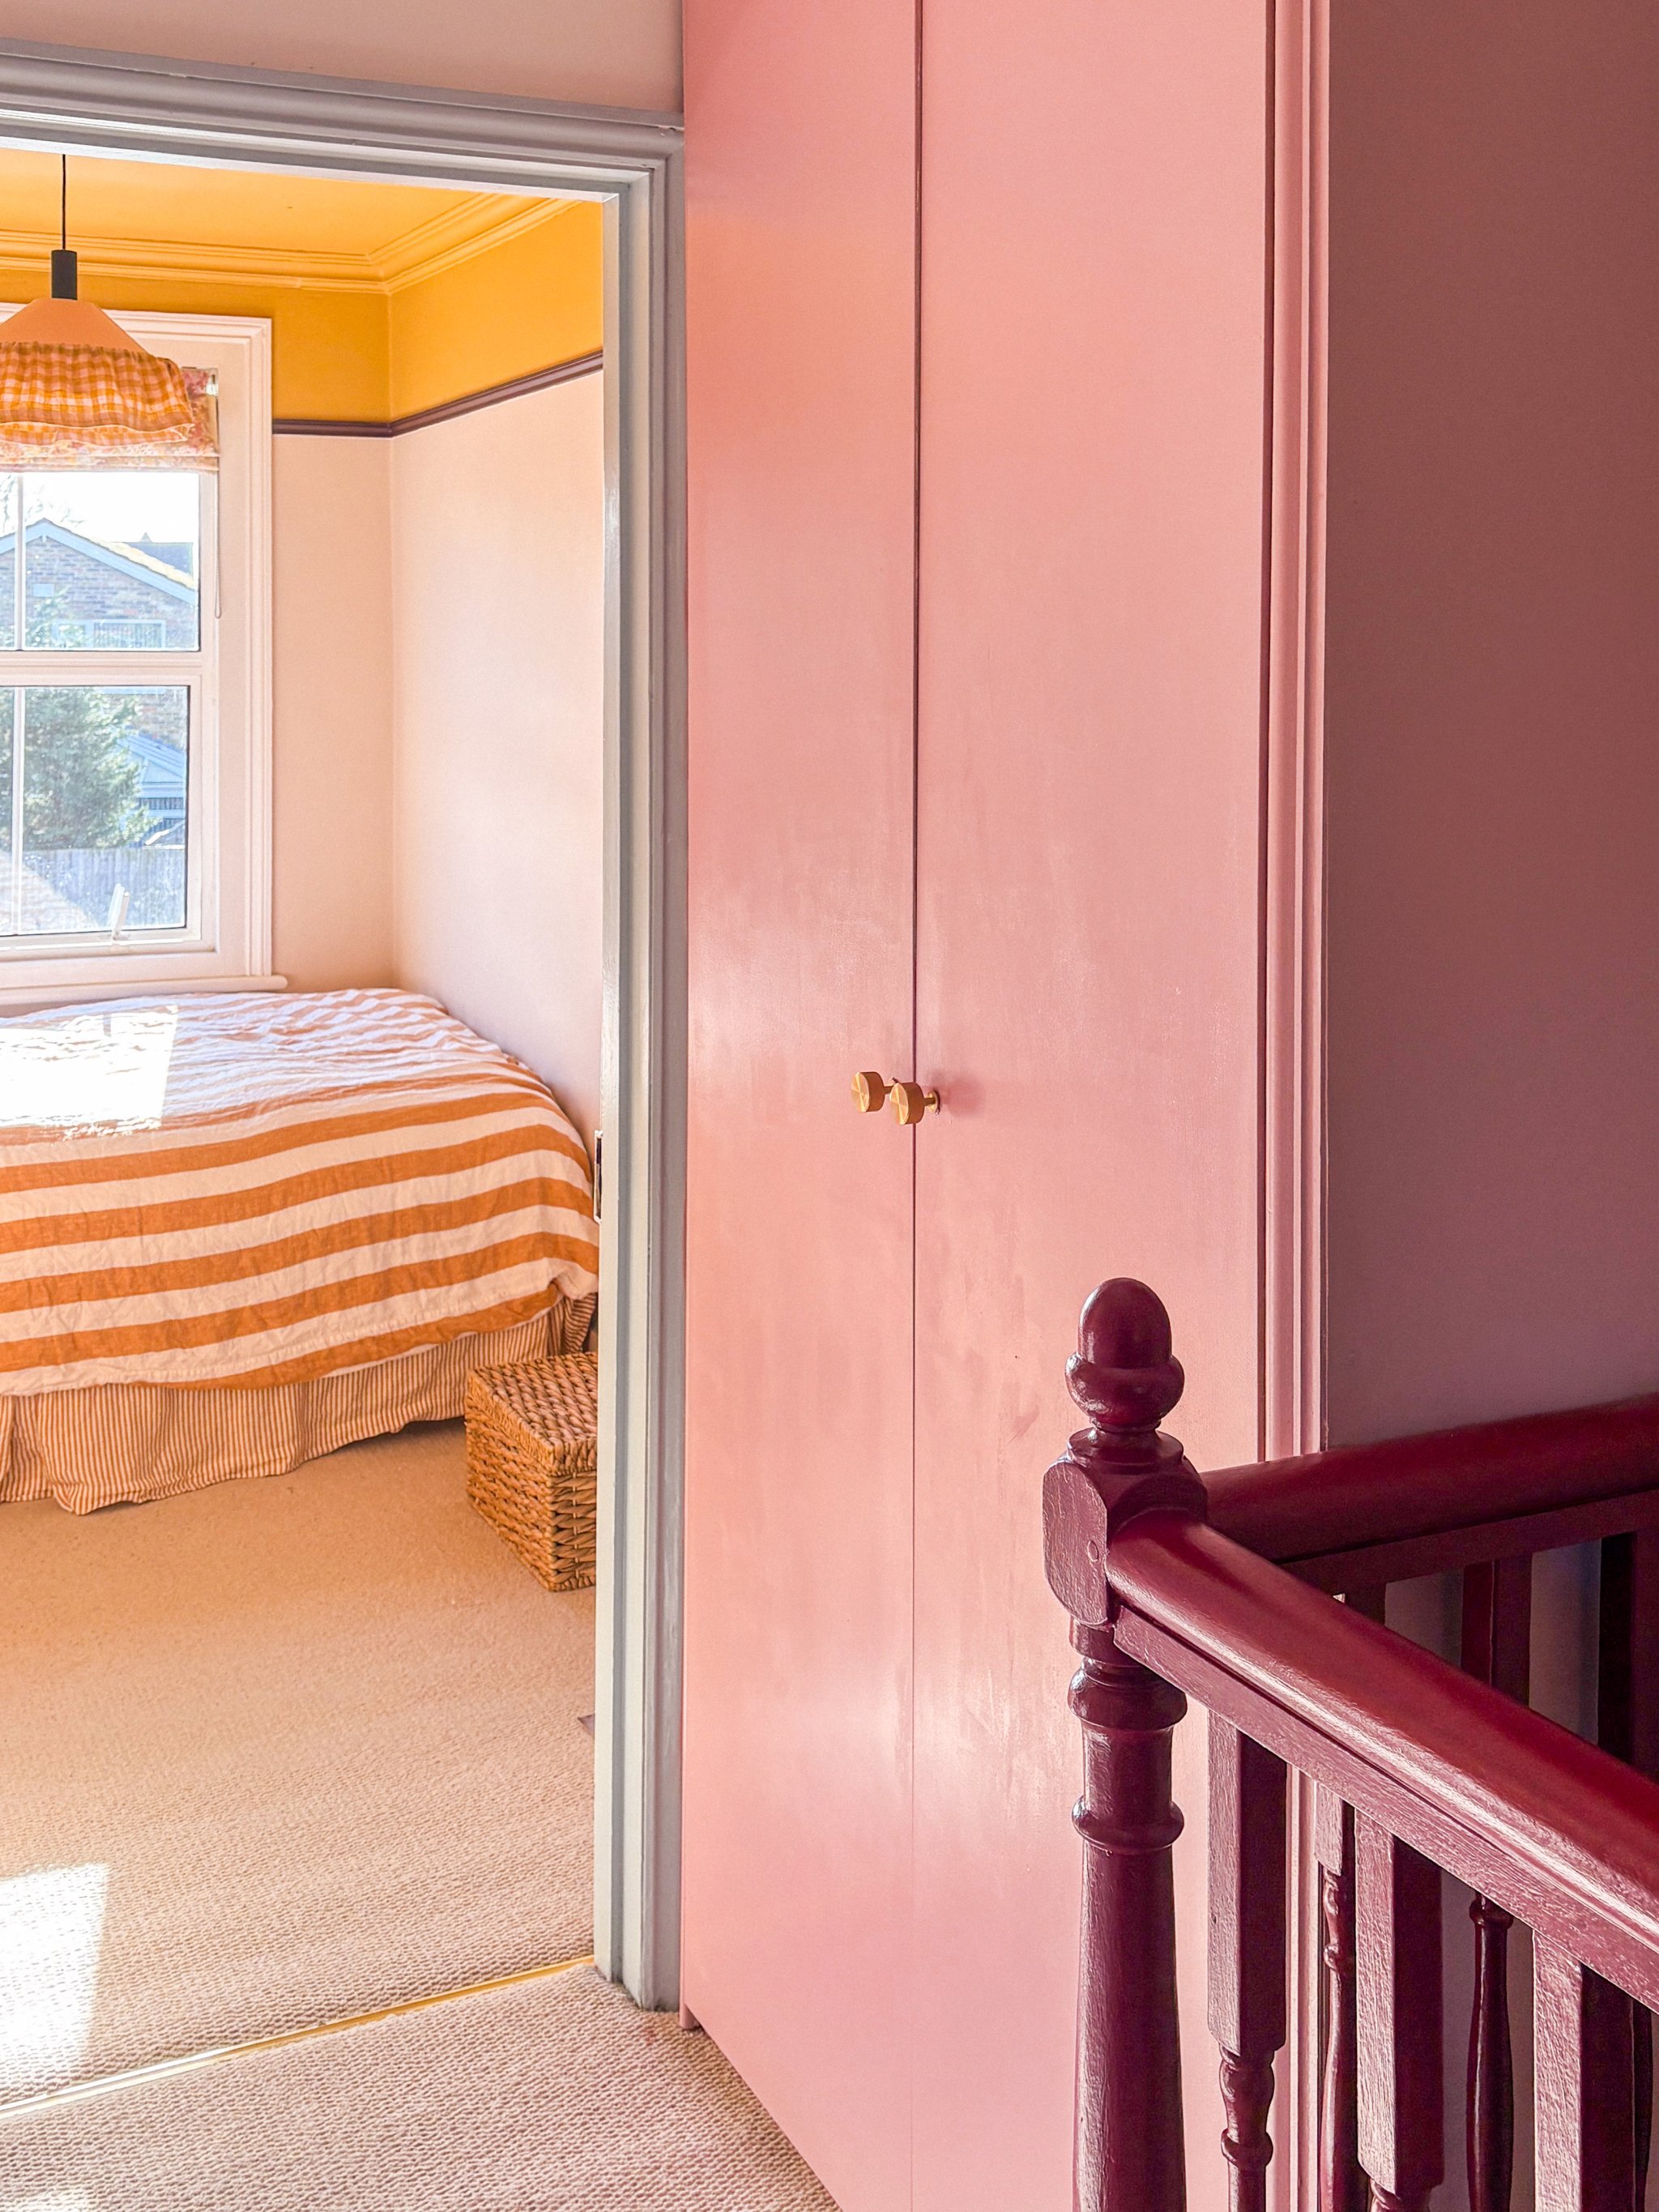
Pregnant with her second child, Georgina Smith had cleared out her extra bedroom to make way for a nursery. The U.K.-based home DIYer and her husband had been using it as a place to hang laundry, as their stacked units were actually located in the kitchen. A dehumidifier stationed by the racks was successfully expediting the drying process, so instead of scrapping that very effective arrangement the couple simply moved it into the hallway. Smith saw an inspiring drying cupboard on Instagram and decided to purchase two tall IKEA PAX storage frames, installing them side-by-side on an empty part of the stair landing and sliding in her existing dehumidifier to create her own version. One frame is kitted out with pull-out baskets, shelves, and a door that hinges on the left. The other frame houses a hanging rod and, critically, the dehumidifier, as well as a door that hinges on the right. Painted to disappear in the pastel scheme of the stair landing, the combined dehumidifier cabinet closes up to create a sealed environment that dries clothes effectively and acts as a sort of freestanding laundry kit.
“One thing we have found is that it’s best not to really overload it with clothes,” Smith explains. “It works better and things dry quicker and there’s more airflow. If it is quite loaded up, we just keep the door slightly ajar to increase airflow.” The couple also has a traditional dryer to dry the bulk of their laundry, preferring to use the dehumidifier cabinet to dry light clothing like pajamas, tee-shirts, and even jeans (they just take a bit longer). They turn it off when they leave the house and are happy to have gotten a unit with a nighttime mode that’s relatively quiet.
Labor: $0
Technically, Smith and her husband didn’t spend anything on labor. She did all the measuring, designing, painting, and creative direction, while he ran the power tools and took direction. Their toddler went to stay with his grandparents while the couple spent three days completing the project.
Cabinet: $520
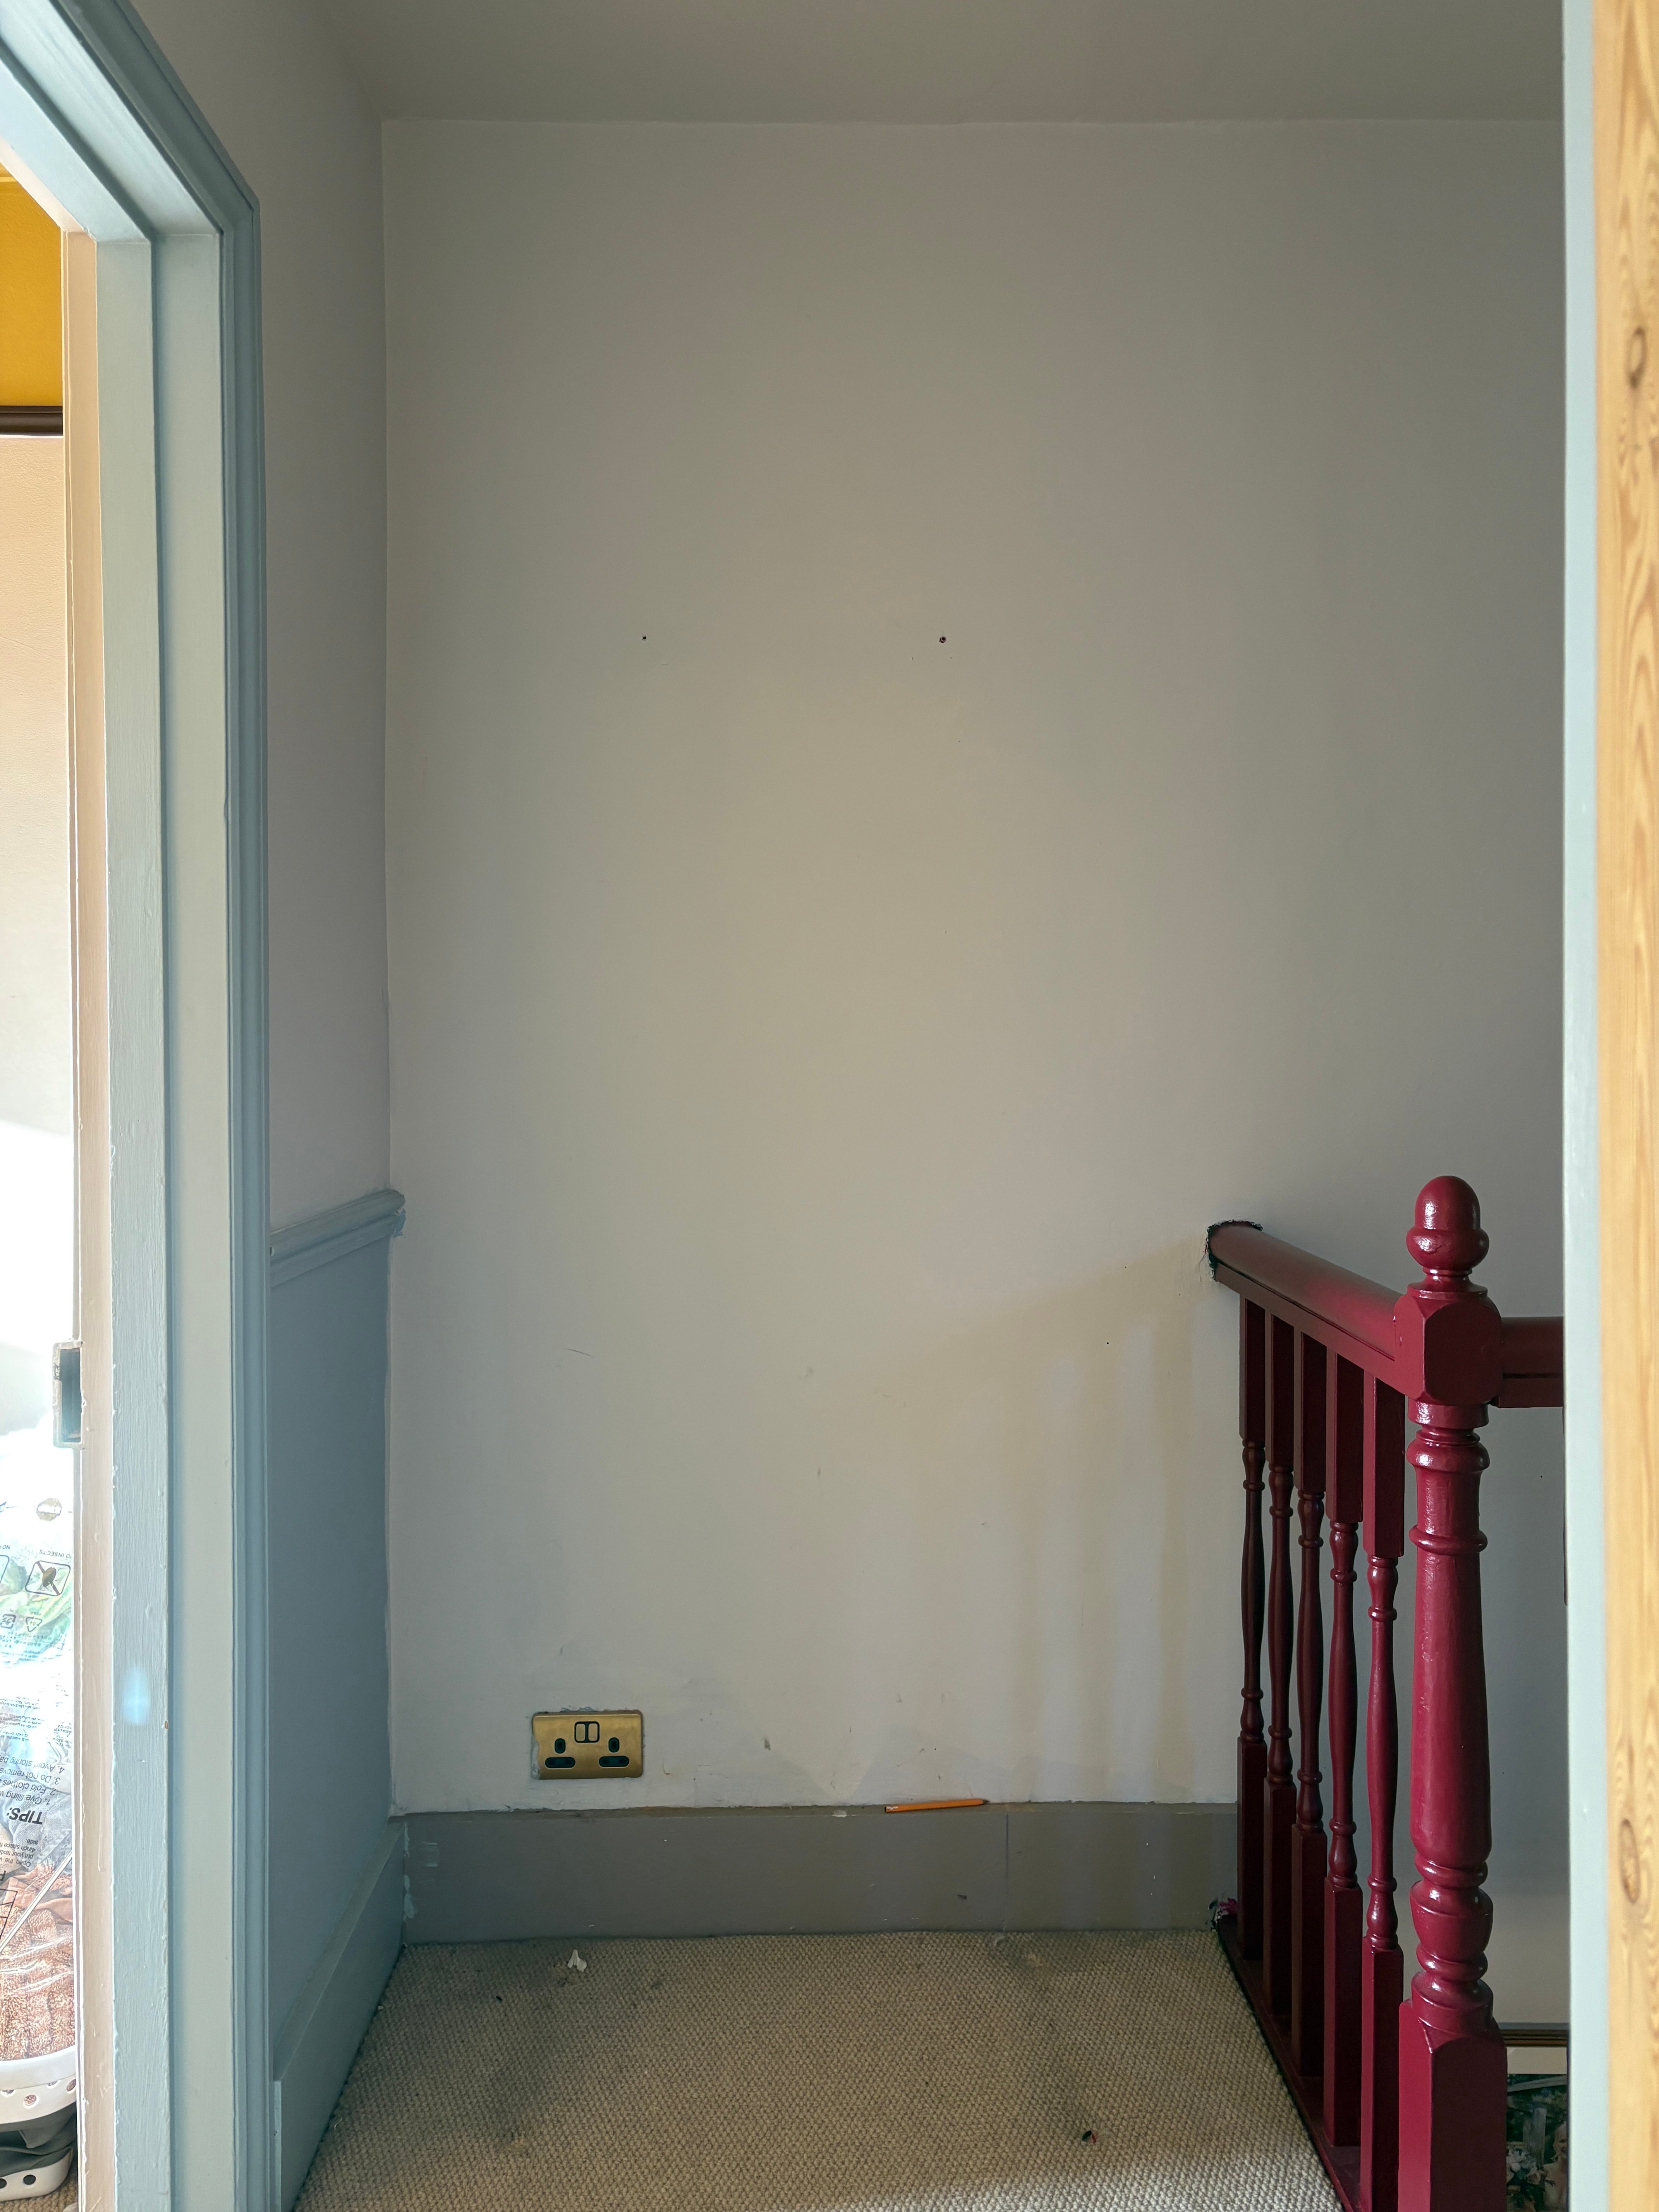
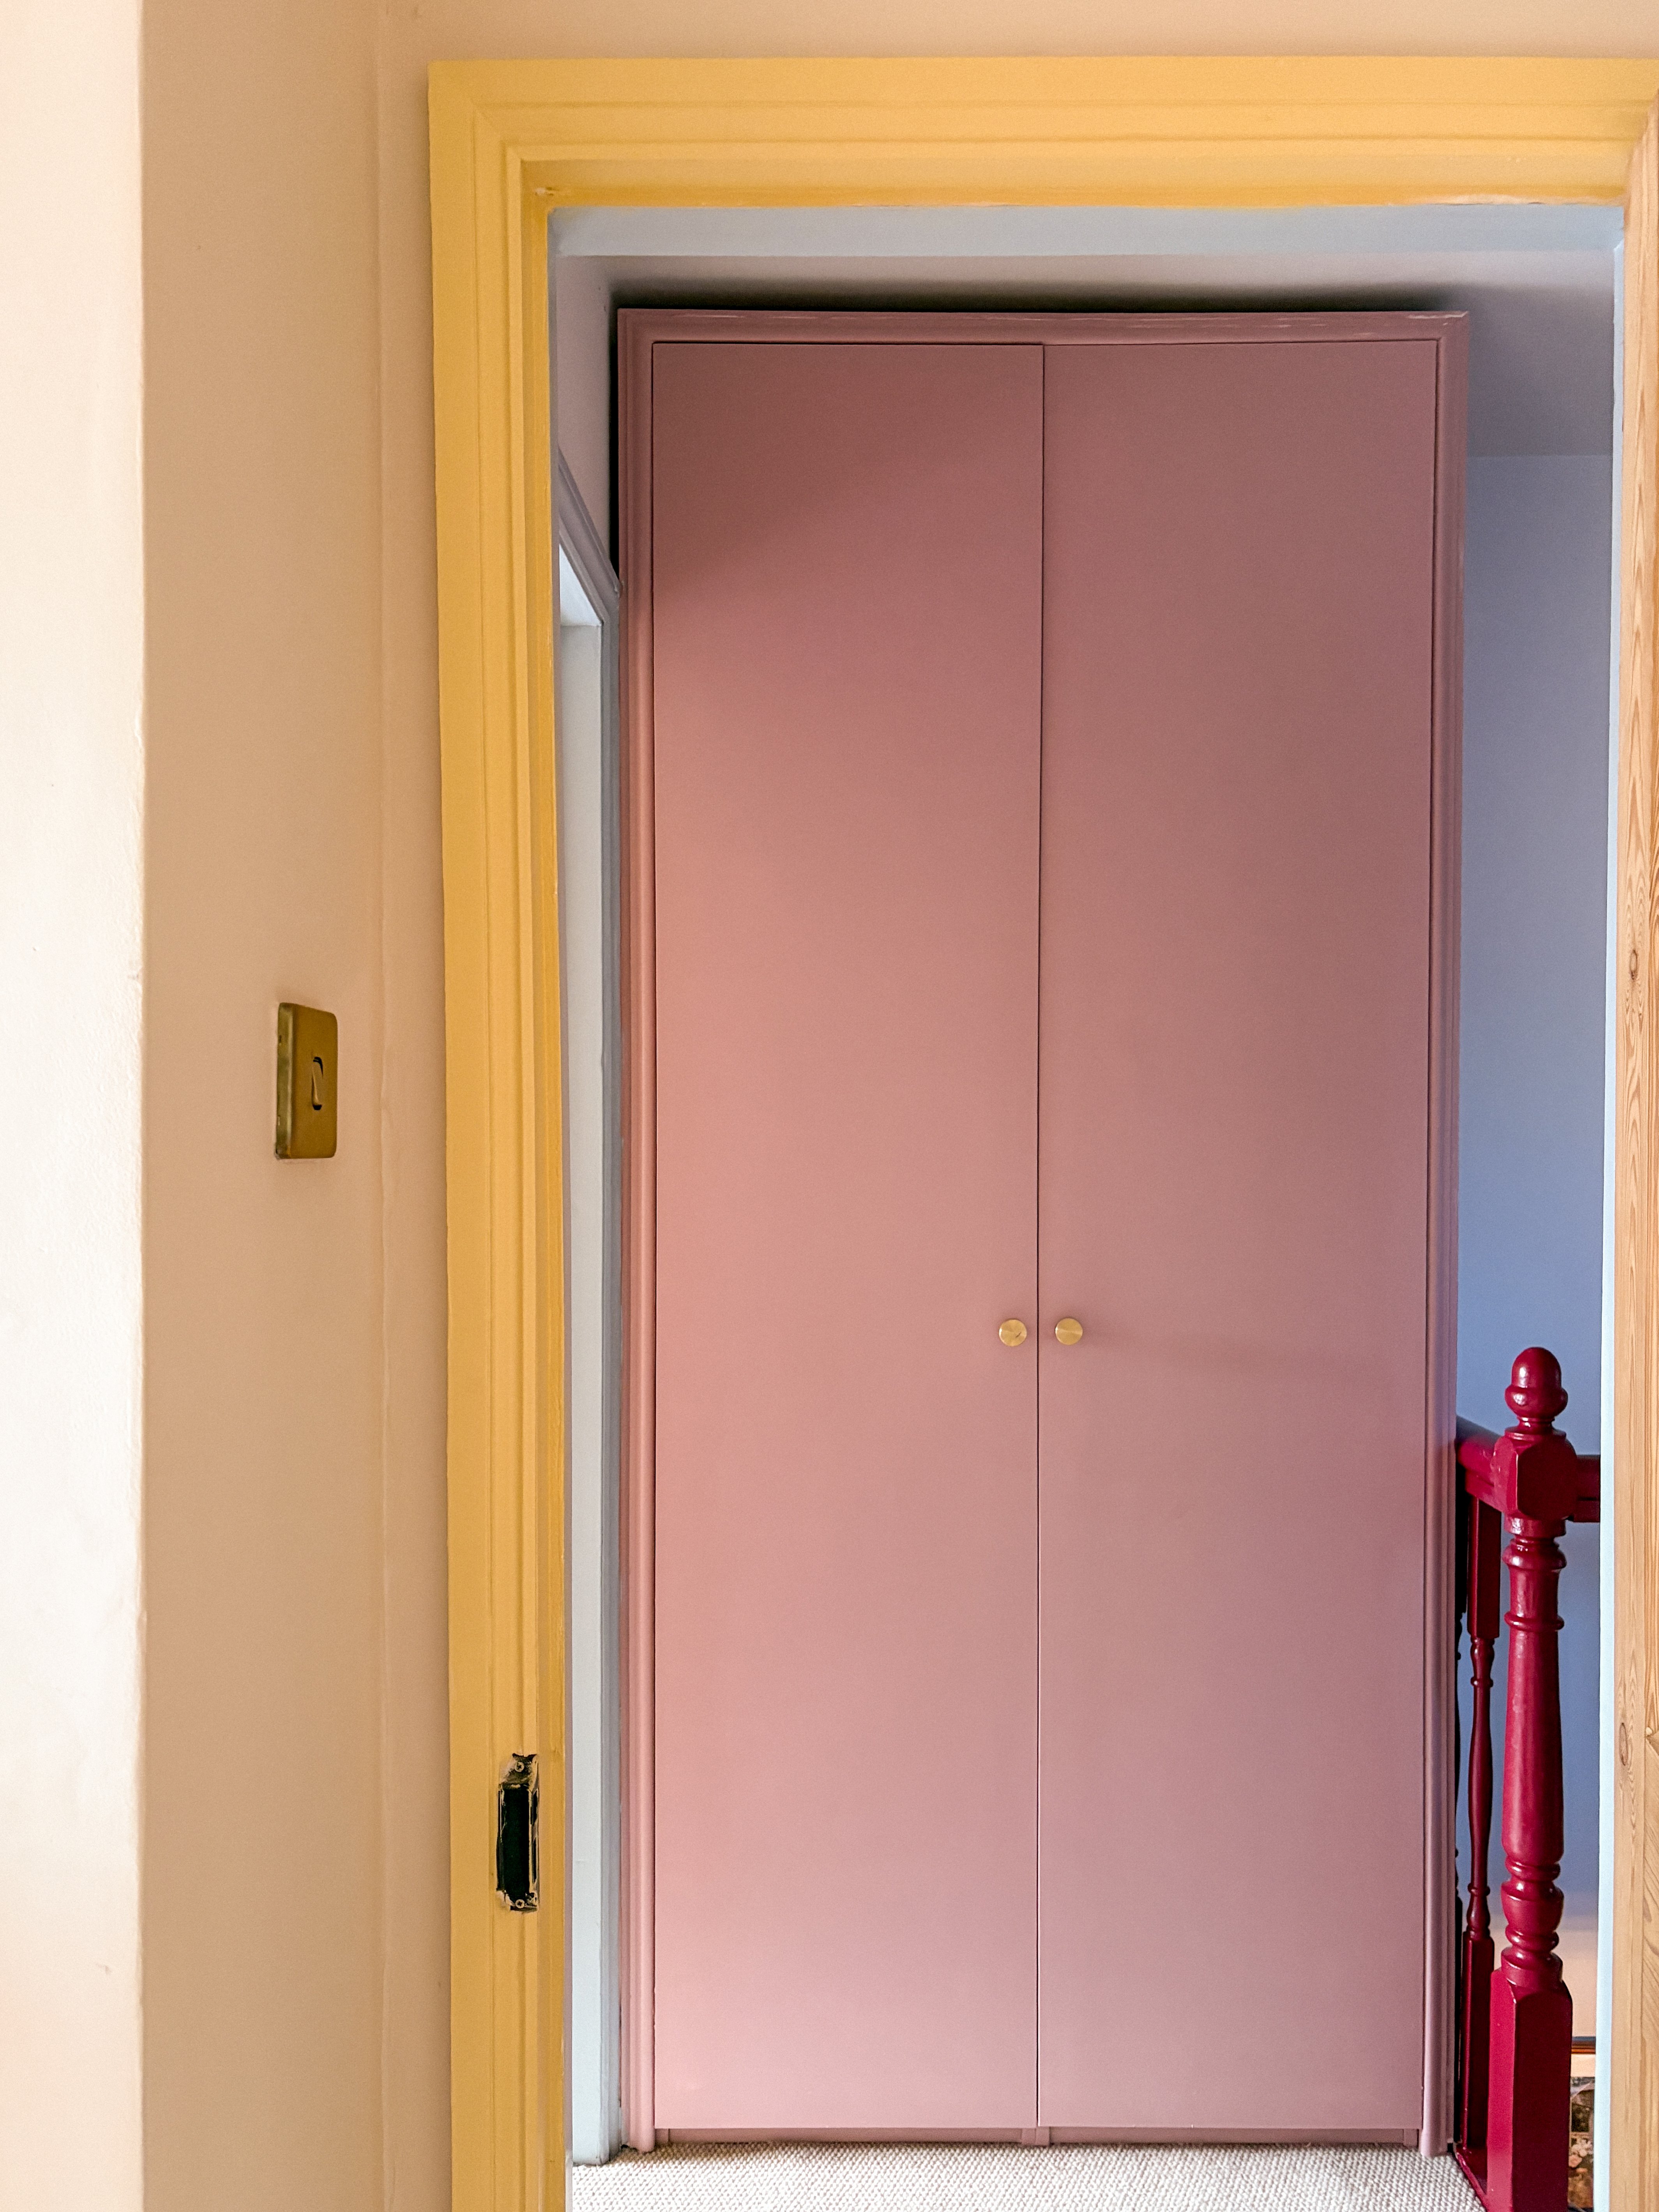
After measuring her space, Smith acquired two IKEA Pax wardrobe frames (basically empty rectangular prisms without fronts), each measuring 19.7 inches wide, 22.8 inches deep, and 93 inches high. The couple set them side-by-side vertically on the landing, assembling the units in just two hours.
Two IKEA Forsand cabinet doors, one for each frame, and six IKEA Komplement soft-close hinges were purchased separately and installed as a finishing touch.
Ventilation: $20
In order to help the dehumidifier run efficiently and safely, the couple cut three holes in the frames—one in the top of each cabinet, opening towards the ceiling, and one on the right side of the right cabinet, opening towards the stair balustrade. These allow moisture, air, and heat to escape while the device is running. Smith even props the door open a bit when there’s a lot drying inside. Three plastic vent covers, one for each hole, cost the couple $20.
Trim: $90
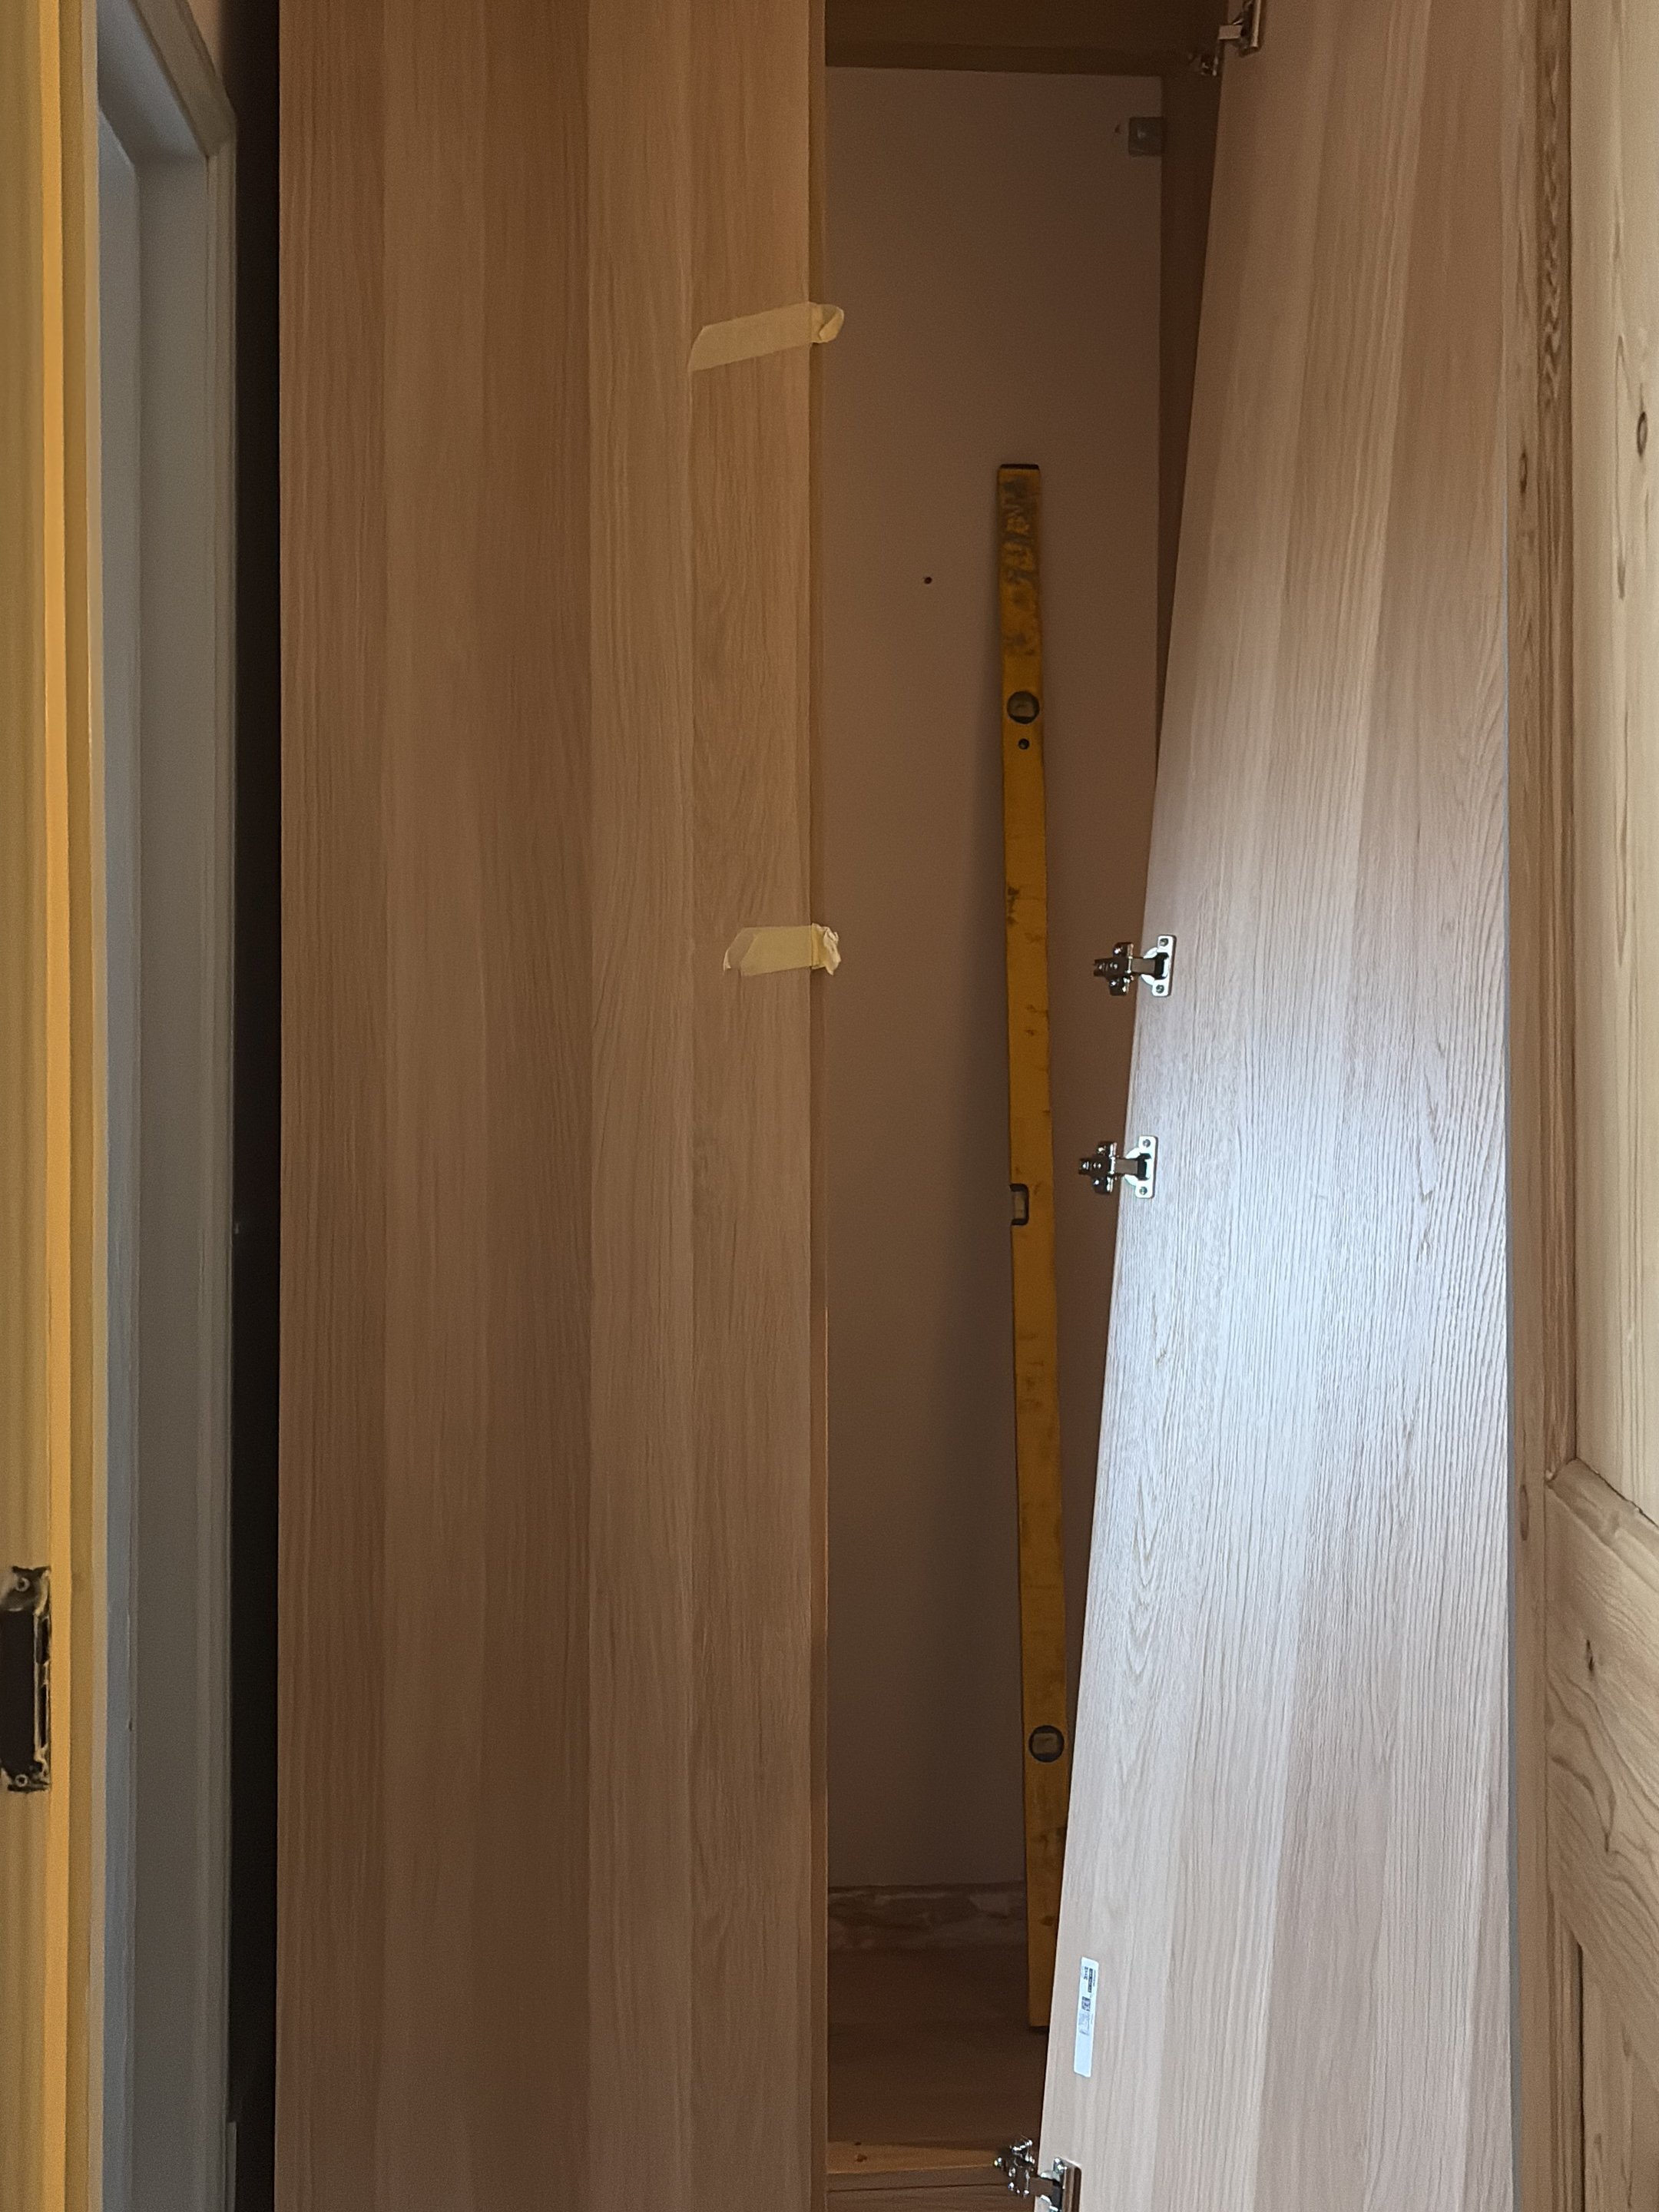
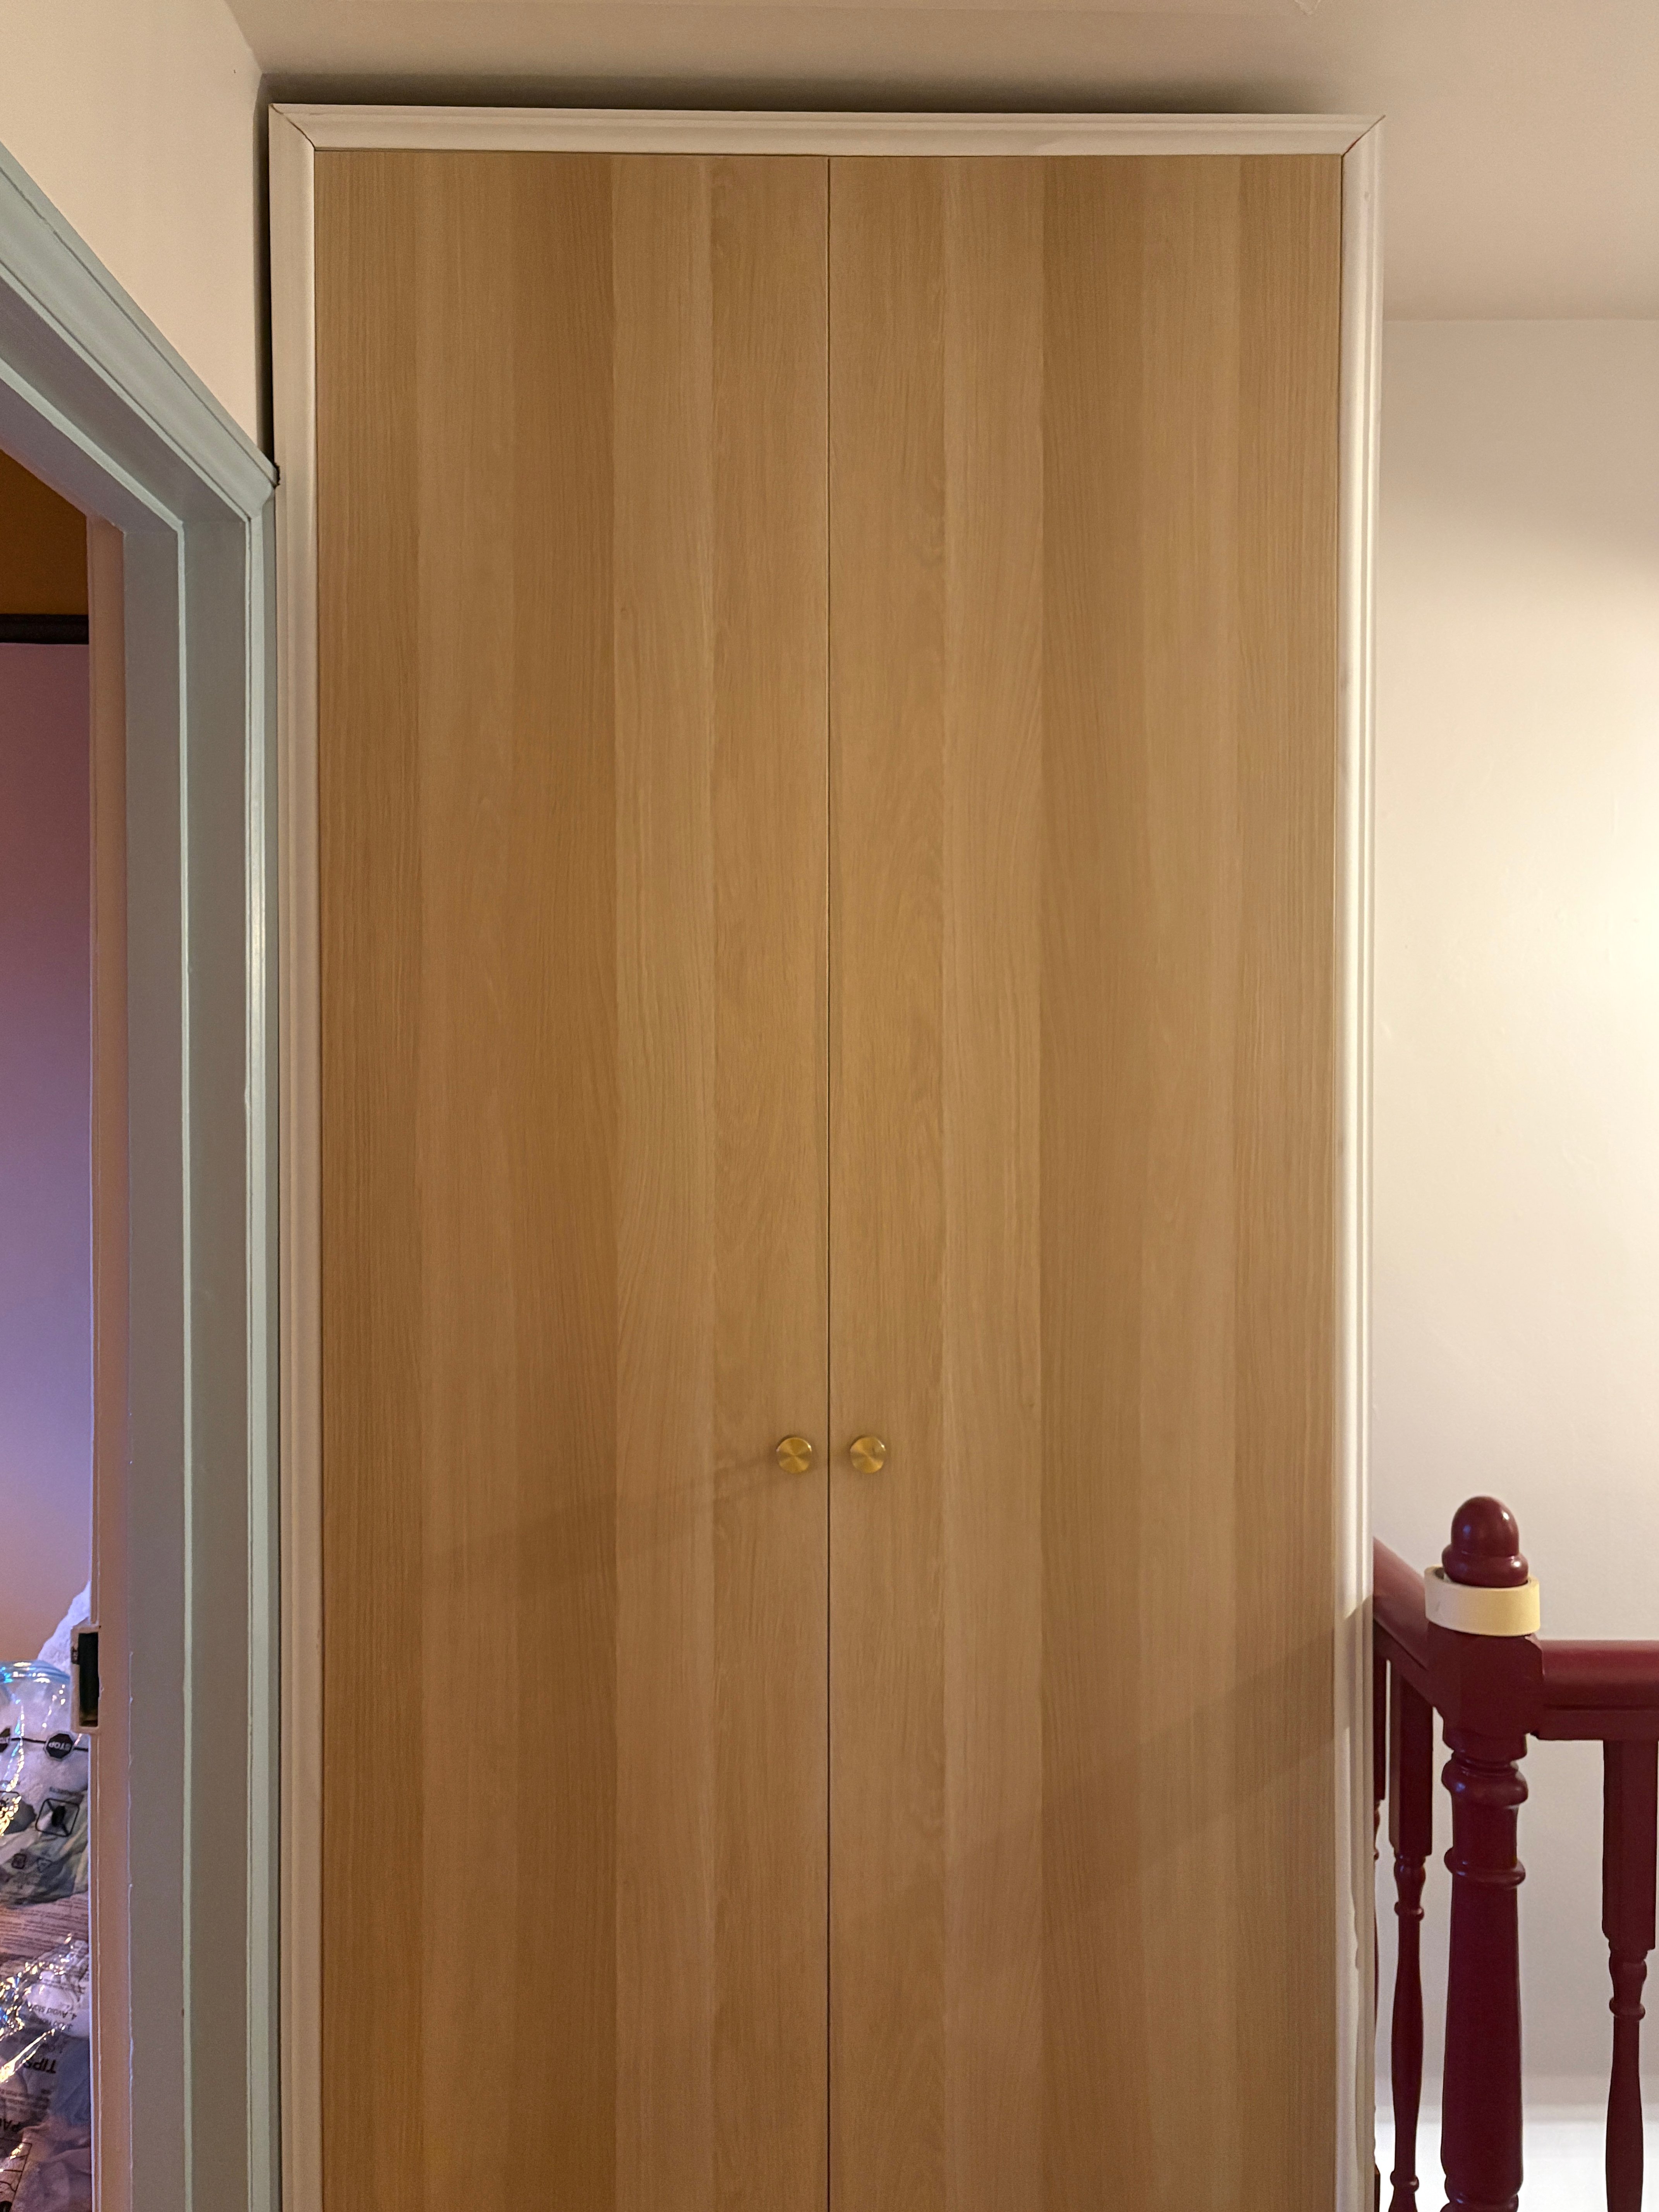
In order to make the store-bought cabinets appear built in, Smith and her husband purchased $50 worth of architrave trim to go around all four front edges of the cabinet, as well as two sheets of 9-millimeter medium-density fiberboard (for $40) to cover the side that looks over the staircase. They intentionally left a small gap between the top of the cabinets and ceiling for ventilation. “We didn’t build it in all the way to the top because wanted to allow for as much airflow around it as possible,” Smith explains.
Dehumidifier and Organizers: $685
Smith already owned this Pro-Breeze Dehumidifier, and had specifically chosen cabinets that would fit it. (Here’s a U.S.-available version from the same brand with slightly different dimensions but a similar tall, narrow shape. It costs $200.) Building plenty of storage into the cabinet was critical for functionality, and also proved aesthetically pleasing. “It’s my favorite thing when all the baskets and the shelves and the little lights are on, and we’re just putting everything away,” says Smith. “It’s been so, so handy for things like towels and all our bedding and toiletries.” Having a place to hide drying laundry is an added bonus.
The couple installed four Komplement shelves, two 19-inch Komplement clothes rails, 10 22-inch Komplement pull-out rails for baskets, five 19×22-inch Komplement mesh baskets, and two Gömpyssling LED lights with sensors. Purchasing all those parts from Ikea in the US runs you $485.
Paint: $70
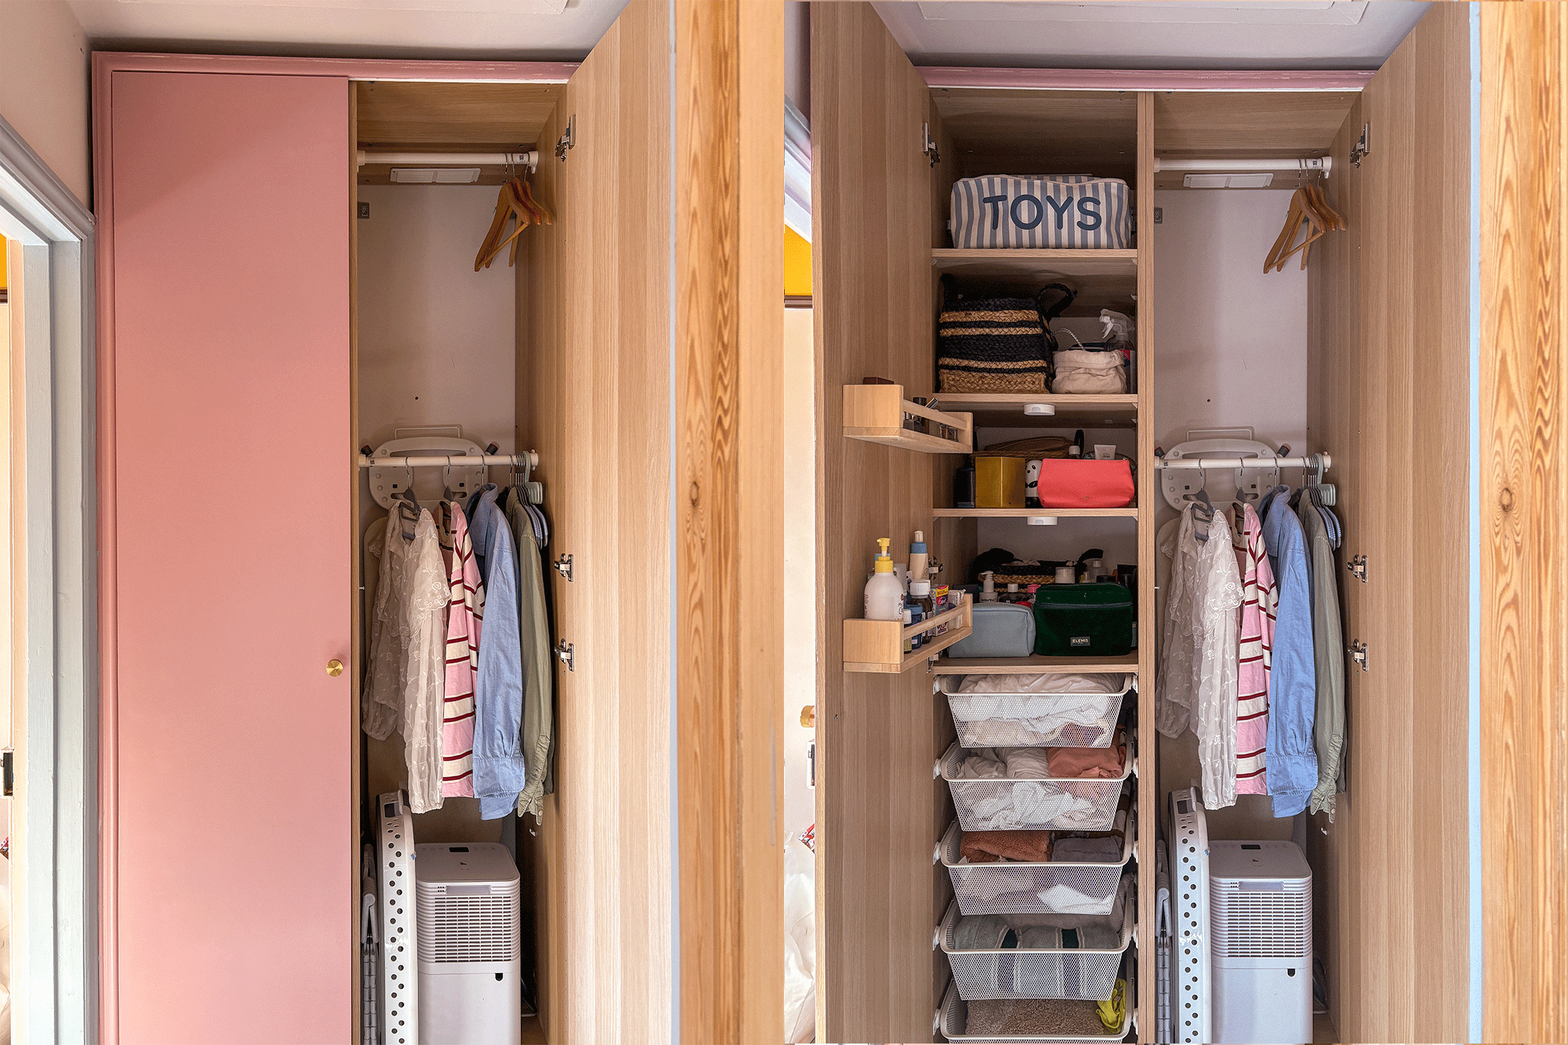
Smith primed the outside of the cabinets with one coat of Dulux Trade Aqua Uniprimer. “It’s a great primer for adhering to that kind of shiny type finish that IKEA furniture generally has,” she explains. And then she applied two coats of Dulux DH Blossom—a muted, rosy pink—in heritage eggshell. The couple spent $70 in sum on paint. And while Dulux paints aren’t widely available in the U.S., the same amount from any standard brand would run you a similar price for this size of project.
*Note: In order to get a realistic cost for this project for our US readers, we converted Smith’s expenditures on trim and paint from pounds to dollars, and then pulled current pricing from US IKEA for the exact parts she acquired. The project cost her just 723 pounds, or $981.