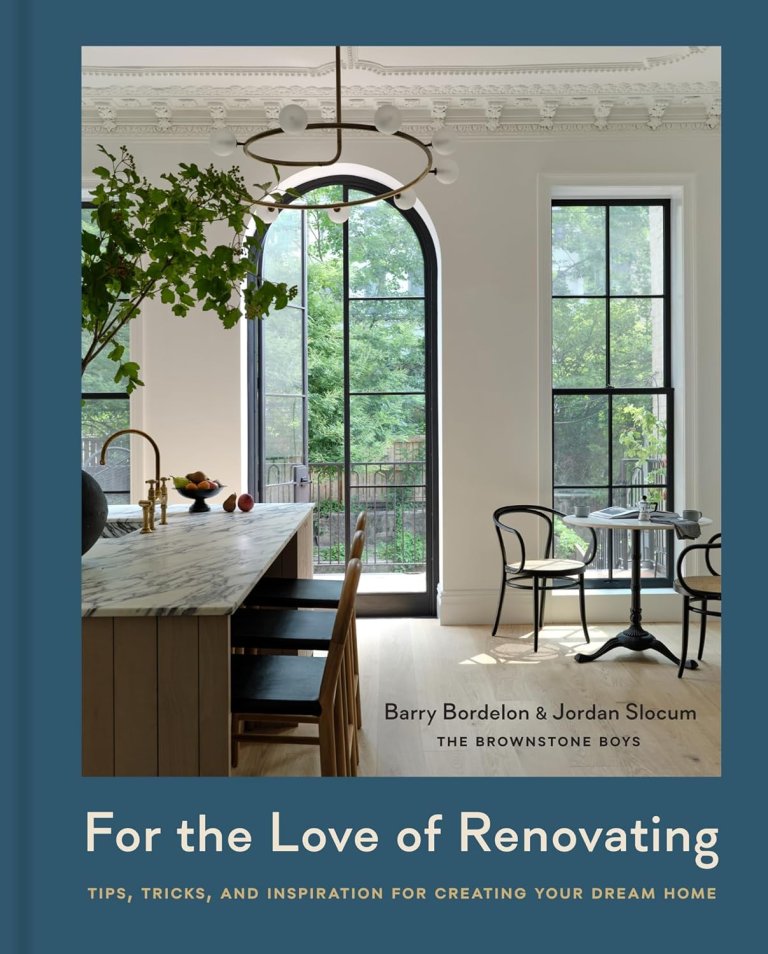
We may earn revenue from the products available on this page and participate in affiliate programs.
Barry Bordelon and Jordan Slocum never meant to become repeat brownstone renovators. Bordelon made it halfway through architecture school before he decided to pursue a career in real estate, while Slocum attended film school and then became a baker, which led him to helping build bakeries and ice cream shops. So, sure, they had a thing for design, but it wasn’t until the couple bought a historic 1890 Brooklyn brownstone of their own that they discovered their calling and became better known as the Brownstone Boys. Having worked on dozens of homes at this point, they know the joy of stripping layers of paint off a newel post only to uncover elaborate woodwork. Fortunately, their design tips can apply to just about any restoration, and they’ve outlined it all in their new book, For the Love of Renovating, out June 4. In this excerpt, Slocum and Bordelon reveal a few of the historic details they look to save when they’re working on a project.
The best part about a historic home is all of the charming original features it comes with. One of our favorite things about renovating is working with the amazing artisans in their respective fields—wood restorers, plaster artists, stained-glass specialists, stone workers, and many more—to revive and restore these unique elements.
Wood Restoration
The beautiful original woodwork in historic homes is really hard to replicate, as it was usually carved by hand. In some of the houses that we work in, we find it painted over with many layers of globby paint. A bad paint job on top of a previous bad paint job is not a good combination! One of our favorite things to do to transform a historic home is to strip the woodwork back to its original beauty. Seeing those many layers of paint come off is so rewarding. It’s like a walk back through time as each layer is removed.
Stripping wood is a tough job. We rely on professionals who have a lot of experience. Unfortunately, it involves chemicals that can be dangerous and techniques that can damage the wood if you don’t know what you’re doing. If it’s a smaller job or if you just want to give it a go, there are a lot of DIY products out there. We have found the most successful way is using a heat gun to remove the majority of the paint, then using a chemical stripper to remove what doesn’t come up with the heat gun. After that, the wood is cleaned with denatured alcohol and steel wool. By now you should be able to see the beautiful wood in all its glory. Continue to clean with the denatured alcohol until it’s completely freed from its paint prison! Once it is stripped completely raw, we like to put on something to finish and condition it. If you do want to stain it, now would be the time, but we prefer just putting on something like tung oil or a clear matte water-based polyurethane.
Floor Restoration

One common problem with old houses is crooked floors! Years of settling and sagging of the joists can cause this. It’s one of the things we look for when we first see a new project that’s an old house. If the floors have severe grades, we know it’s going to be a big job. Although underlying structural issues can be the problem, if a bearing wall below wasn’t removed or some other structural alteration done, it’s usually just a cosmetic issue. Unfortunately, it usually means the floors have to come up to fix the issue. Sometimes the original floors can be salvaged but often they’ll have to be fixed. The fix involves removing all of the flooring and subfloor until the saggy joists are exposed and then attaching a new piece of lumber onto the old joist (also called “sistering”) to bring it back up to a level surface. Since the floor sagging is what is causing the slanted floors, sistering brings it up to the highest point. Then a new subfloor can be laid and a new floor on top of it. If that sounds like a big job, it is, but unfortunately that’s not all of that. There are often other adjustments that need to be made as a result. As the floor comes up to its new level surface, you’ll need to adjust the doors, trim like baseboards and door casings, as well as the stairs, as heights may change.
If you are lucky and have original floors that are relatively level, you can likely just restore them. A flooring expert who specializes in historic floor restoration is best. They can fill in damaged and missing pieces, sand everything down, and refinish it. One of the biggest questions is if there is enough wood left for the floors to be sanded and refinished. Since historic floors are made from solid wood, that’s usually not a problem. Our finish of choice is a clear matte polyurethane like Bona Traffic HD in extra matte.
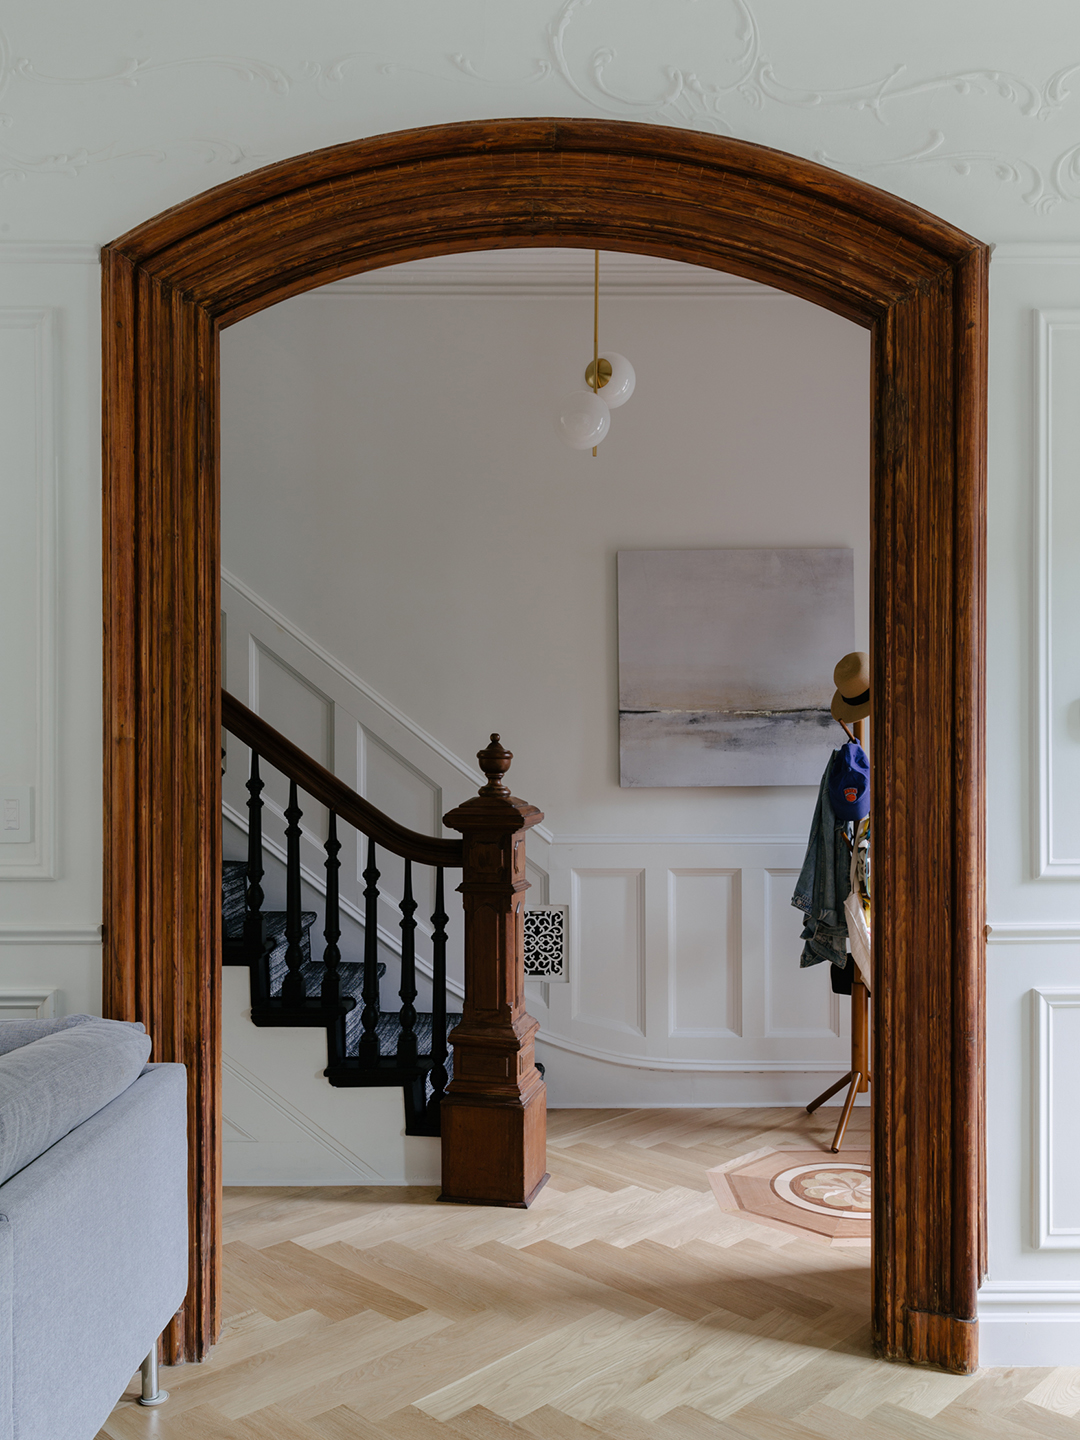
Staircases

We have an affinity for original staircases. The banister, balusters, and posts remind us of all the people who have gone up and down, living their lives, over the centuries. We don’t mind a little squeak and will opt to keep what we have and repair it rather than replace it whenever we can. Let’s start with the banister. We’ve stripped paint from many balusters, railings, and newel posts, and we are always happy with what we see. You can rarely buy new balusters off the shelf to match, and that’s one of the things we love about them. When we have damaged or missing ones, we have them made at a local wood shop. We just take one over and the woodworkers spin as many new ones as we need using the same species of wood. Sometimes we have an additional handrail made as well. It can get a little tricky with curves, turns, and details you might find on a newel post. For that, we bring in a skilled woodworker who can replicate what we need. We know that might all sound expensive, but it’s likely less so than replacing everything.
Now for the treads and risers. You may have the same problem here as with some of your original floors: Often the original stairs sag and end up leaning to the side, making you feel like you’re in a fun house. Depending on how severe the lean is, we sometimes cough it up to a bit of character, but if it’s something that bothers you, it can be fixed. It usually involves removing the banister (so it can be replaced later). We’ve jacked up staircases and built in a new structure, and we have also leveled each stair individually and replaced the treads. A professional will be able to help you determine what can be done.
If they are in really bad shape, however, you may want to replace them. The treads can be sanded, and the risers can be stripped and refinished, but as you can imagine, stairs often take a beating over the years. This is another place where we don’t mind a bit of character.
If you want to save your original stairs but they are very squeaky, that can also be fixed to some degree. It may be possible to repair them from underneath. There is often plaster on the underside of the stairs that can be removed so that the structural workings are exposed. Screws, new pieces of wood, and glue can be used to stabilize what is moving around and causing the squeaks. After the repairs are made, the plaster can be repaired or drywall can be installed to look just the way it always did.
Fireplaces and Flues

If you’re lucky enough to have a home with a beautiful original fireplace, we are jealous! It’s one of the features that just screams “charm” in an old home. If your fireplace isn’t in great shape or isn’t functional, getting it back in working order might be high on your list of priorities. Some fireplace facades are just for show, and you might be okay with the charm they bring even if you can’t light a fire. We see a lot of marble fireplace facades and mantels that have been painted. We always wonder why anyone would do that! Fortunately, you can strip off the paint to reveal the beautiful stone. We like to use a peel-away stripper.
After the stripper is applied, it’s covered in special laminated paper sheets and left on for days until it is peeled off, taking all the paint off with it. It works great on marble. The stone can then be cleaned with acetone to remove stains and discoloring. If you have a wood fireplace facade, you may also want to strip off the paint or varnish. It works the same as stripping any other wood in your home. Wood fireplace facades often have tile or stone around the opening in the center, which can be in really bad shape. Also, and we are not afraid to say this, some of the colors or styles originally chosen (or perhaps replaced early in its life) just aren’t, well, very attractive. So if the tile is in bad shape and not that cute, we don’t mind changing it. We get to keep the beautiful original facade and mantel but breathe some new life into it by updating this feature.
If you do plan to use your fireplace for burning wood, you’ll want to make sure the flue is clean and operating properly. A professional should inspect it to be sure. The flue can be relined if needed so that it works again. Brickwork can even be done to repair the firebox or chimney.