We may earn revenue from the products available on this page and participate in affiliate programs.
In Renovator’s Notebook, homeowners open up about the nitty-gritty of their remodels: How long it really took; how much it actually cost; what went horribly wrong; and what went it’s-all-worth-it-in-the-end right.
Square footage: 180
Budget: $5,500, including fresh furnishings
Timeline: Approximately 1 month
Top priority: Double the amount of storage and lend a sophisticated touch to a basic bedroom with molding, paint, and IKEA hacks.
Posters on the ceiling, camo-patterned bedding, street sign art, lava lamps—just the thought of our teenage bedrooms makes most of us cringe. Even Kayla Nelson, the New Jersey–based interior designer and seasoned renovator behind the Instagram account @homediyary, has regrets looking back on her space growing up. But unlike most of us, Nelson actually got the chance to redeem herself—she currently lives in the house she grew up in and has been slowly transforming it.
Once upon a time, before her family ever lived in the home, her bedroom was actually the garage. The previous homeowner then converted it into a proper insulated room, and when Nelson was in high school, she painted the walls purple and loaded all her clothes onto hanging racks, given there weren’t any closets. Eventually, as an adult, she replaced the space’s blue carpeting with click-in vinyl floor planks, went neutral on the walls, and bought two freestanding IKEA Pax units to hold all her things. Still, Nelson found herself craving storage and a sophisticated setting. It was time to take the transformation even further. Ahead, the pro DIYer shares how she recently adultified her former teenage bedroom with molding, built-ins, and paint, all for $5,500.
Splurge: Quadruple the Pax


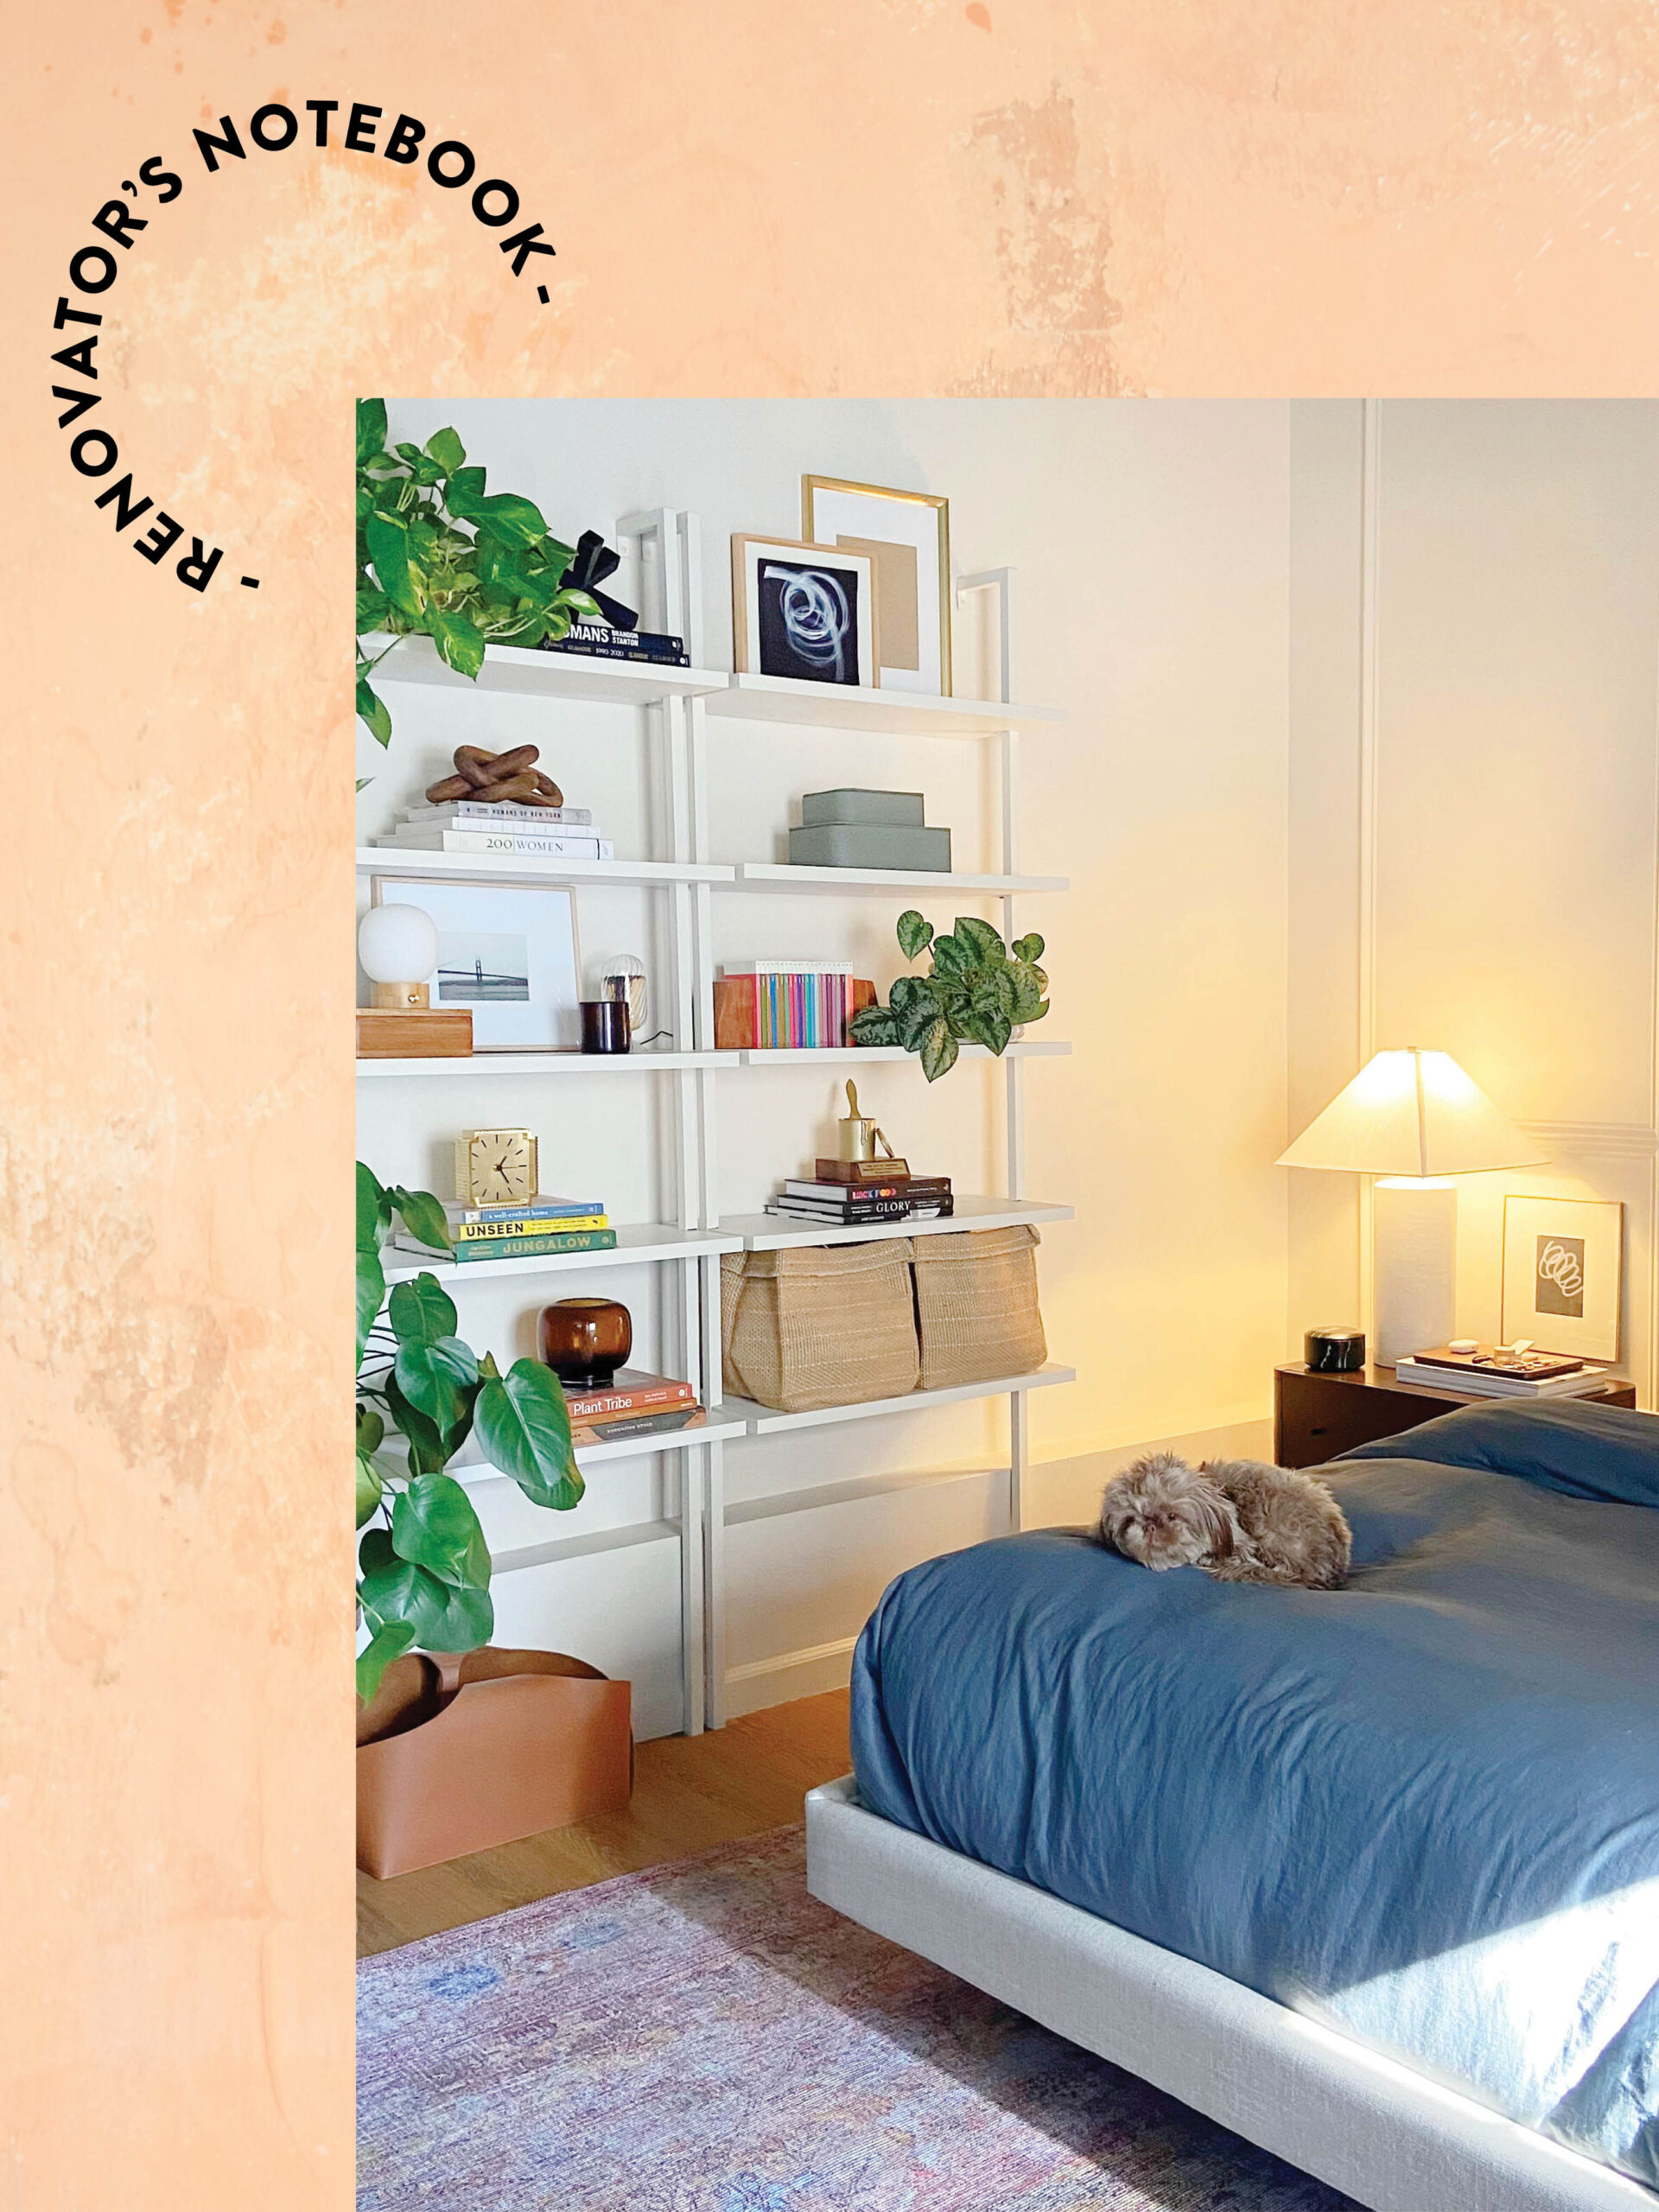
To gain additional closet space, I bought two more Pax wardrobes for $1,500, leaving me with four units in total. Building a wardrobe of this scale from scratch would have been a little daunting, so relying on these pieces, with their easy-to-assemble frames, doors, and drawers, took a lot of guesswork out of it. I wanted them to be fully integrated into the room, so after temporarily removing the “floating” floor, I built a base out of 2-by-4s for the wardrobes on the subfloor, carving out a window seat that’s 29 inches deep and 56.5 inches wide. I placed the Pax units on the platform and built another 2-by-4 structure above them, that way everything appeared flush once I covered the open frames with drywall. The wood for this project was almost as costly as the wardrobes, ringing in at $1,050.
Save: Cozy—Not Claustrophobic—Ambience


This room is so tall (the ceilings are almost 11 feet high), so I wanted to bring in a coziness factor by painting the ceiling and the 16 inches of wall space below it; I went with Valspar’s Black Evergreen paint (covering the entire room in this dark color would have made it feel too small). I delineated the end point for paint by nailing strips of base shoe molding all the way around the room. I used an extension pole and a ladder to get up there with my brush and roller, and once that was covered and dry, I moved onto doing the bottom part of the walls in Oyster Pearl, starting with swathing the corners and the areas closest to the floor to ensure crisp lines. The whole space required four gallons of paint in the end, coming to $200.
Save: Smooth Out Your Swedish Canvas


I went to IKEA to buy my two additional Pax wardrobes, but the pieces were only available in gray at the time. Since I knew I wanted to paint all four of them the same hue as the walls, I didn’t care that they didn’t match. When it came time to paint the units, I applied a coat of Zinsser’s 123 Primer—it grabs onto the glossy IKEA doors, making it a breeze to paint them.
Splurge: The Finish Line

I had the most fun creating the accent wall behind the bed, but it was also the most challenging task. It’s a unique take on picture frame molding, where the pieces of base shoe molding actually butt up to each other instead of leaving spaces in between each box. That means that all four corners had to have perfect 45-degree angles—there was no room for error when I was cutting them with my miter saw. Plus I wanted it to frame the headboard, but I didn’t have the furniture yet. I relied on the website measurements and drew guidelines on the wall with a pencil to help me out visually. I attached the moldings with a nail gun and painted over the moldings in Oyster Pearl.

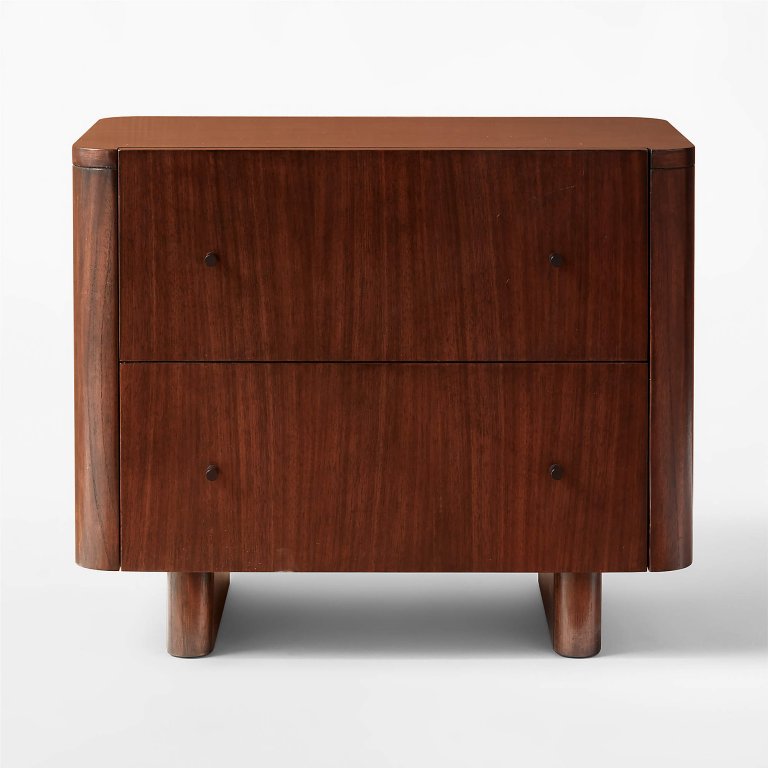
The final step? Adult-approved furniture. Oddly enough, the biggest splurge of this makeover was a $700 CB2 nightstand. To stay on budget, I picked up a bistro table from World Market and a few other furnishings (peep the mirror) from Home Depot—the hardware store isn’t just for lumber and tools!