We may earn revenue from the products available on this page and participate in affiliate programs.
Maggie Nelson had rose-colored glasses on the first time she trekked to the third floor of her 1860 Lancaster, Pennsylvania, home. The space that she and her husband, Ben, would eventually turn into a guest bedroom was essentially untouched. There was no electricity up there and behind the ugly tan paint were layers and layers of wallpaper. “I wasn’t quite as intimidated as I should have been,” she says.
In retrospect, the room was in rough shape (in addition to a leaky roof, there were significant cracks in the original plaster surface). Repairing the walls to their original glory was a top priority for the couple. Fortunately, the initial inspection showed that these blemishes weren’t a foundational issue. So after the couple tested the room for lead, they got straight to work, documenting the DIY on their Instagram and blog, Lemon Street Home. Here, Maggie walks us through the process of restoring its good bones.
Step 1: Removing the Wallpaper

Using harsh chemicals to strip the walls wasn’t an option for Maggie, who was pregnant at the time of the remodel. Instead, the couple peeled back the thick layers of paint and wallpaper with a natural blend of equal parts hot water and white vinegar. They put the solution into spray bottles, applied it to small sections, let it soak for five to 10 minutes, and then chipped away using a scraper with a sharp blade. Because they worked only on weekends or whenever they could find the free time, this stage took around a month to complete. “It was almost meditative,” she recalls. “We would use it as quiet time to listen to podcasts.”
Step 2: Saving the Treasures


Ben struck gold when he uncovered remnants of a beautiful floral patterned paper in one corner of the room. Because there were no other layers beneath it, the pair assumed the fragile material was at least 100 years old. In order to preserve as much of the print as possible, they didn’t spray the space around it with the water-vinegar concoction. Ben, a painter and an artist, came up with the clever idea to seal the exposed sections with Liquitex Gloss and Matte Medium.
“While it’s important to have a vision of where you’re going with the design, you have to be flexible, especially with old homes,” says Maggie. “If you’re too firm with your plan, you’ll miss the hidden treasures.”
Step 3: Touching Up the Plaster


If the couple had been tasked with plastering from scratch, they would have called in a professional. But because this was a matter of filling holes and cracks, they tackled the most severely damaged spots using a combination of plaster of Paris and a plaster patch compound. Maggie recommends practicing your trowel technique ahead of time on another surface (the paste dries really quickly, so if you’re not quick, you’ll be left with bumps). “We embraced some of the imperfections to a certain extent,” she says. “Our house has a lot of character, so we view the not-perfectly-flat areas as an added charm.”
Step 4: Applying the Final Coat

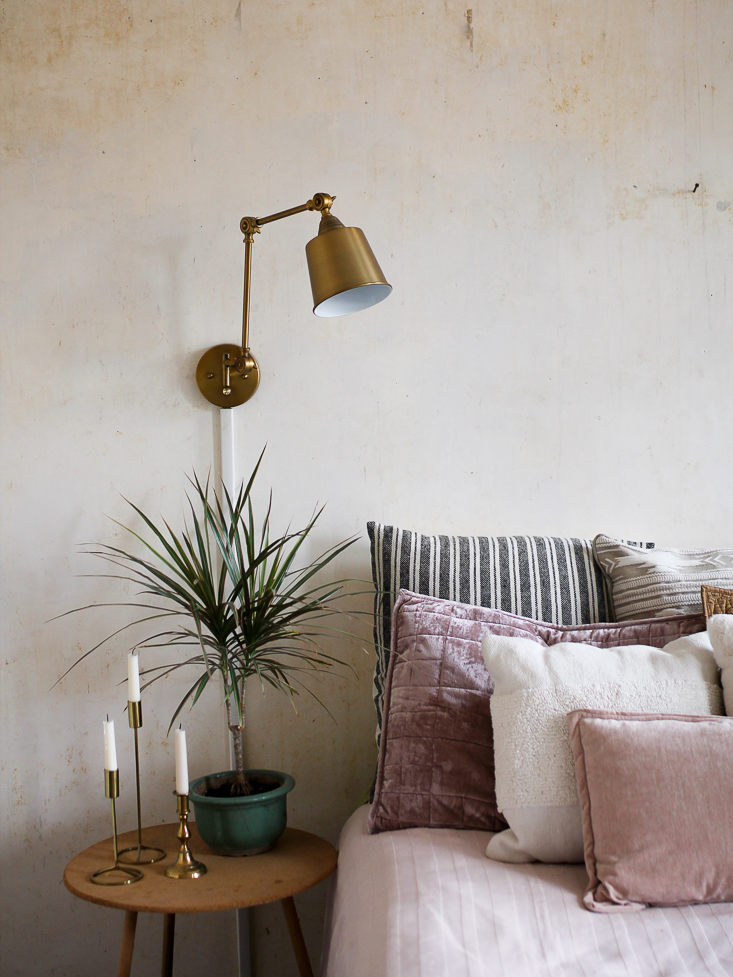
The couple’s original plan was to paint everything, but they quickly fell in love with the patina of the exposed plaster. In order to hide the yellow undertones of the aged material, they coated the four surfaces in a mixture of three parts white latex paint, two parts water, and one part plaster of Paris. As they went over the different sections with a medium paintbrush, they used a cotton cloth to wipe and buff the paint to create a more translucent effect. If only these walls could talk.

See more stories like this: We Saved $3,000 on Pantry Cabinets All Thanks to This Unexpected Mistake Can You Spot the Swaps in This Drastic Vanity Before-and-After? This L.A. Couple Sacrificed Their View for a Larger Kitchen—Or Did They?