
We may earn revenue from the products available on this page and participate in affiliate programs.
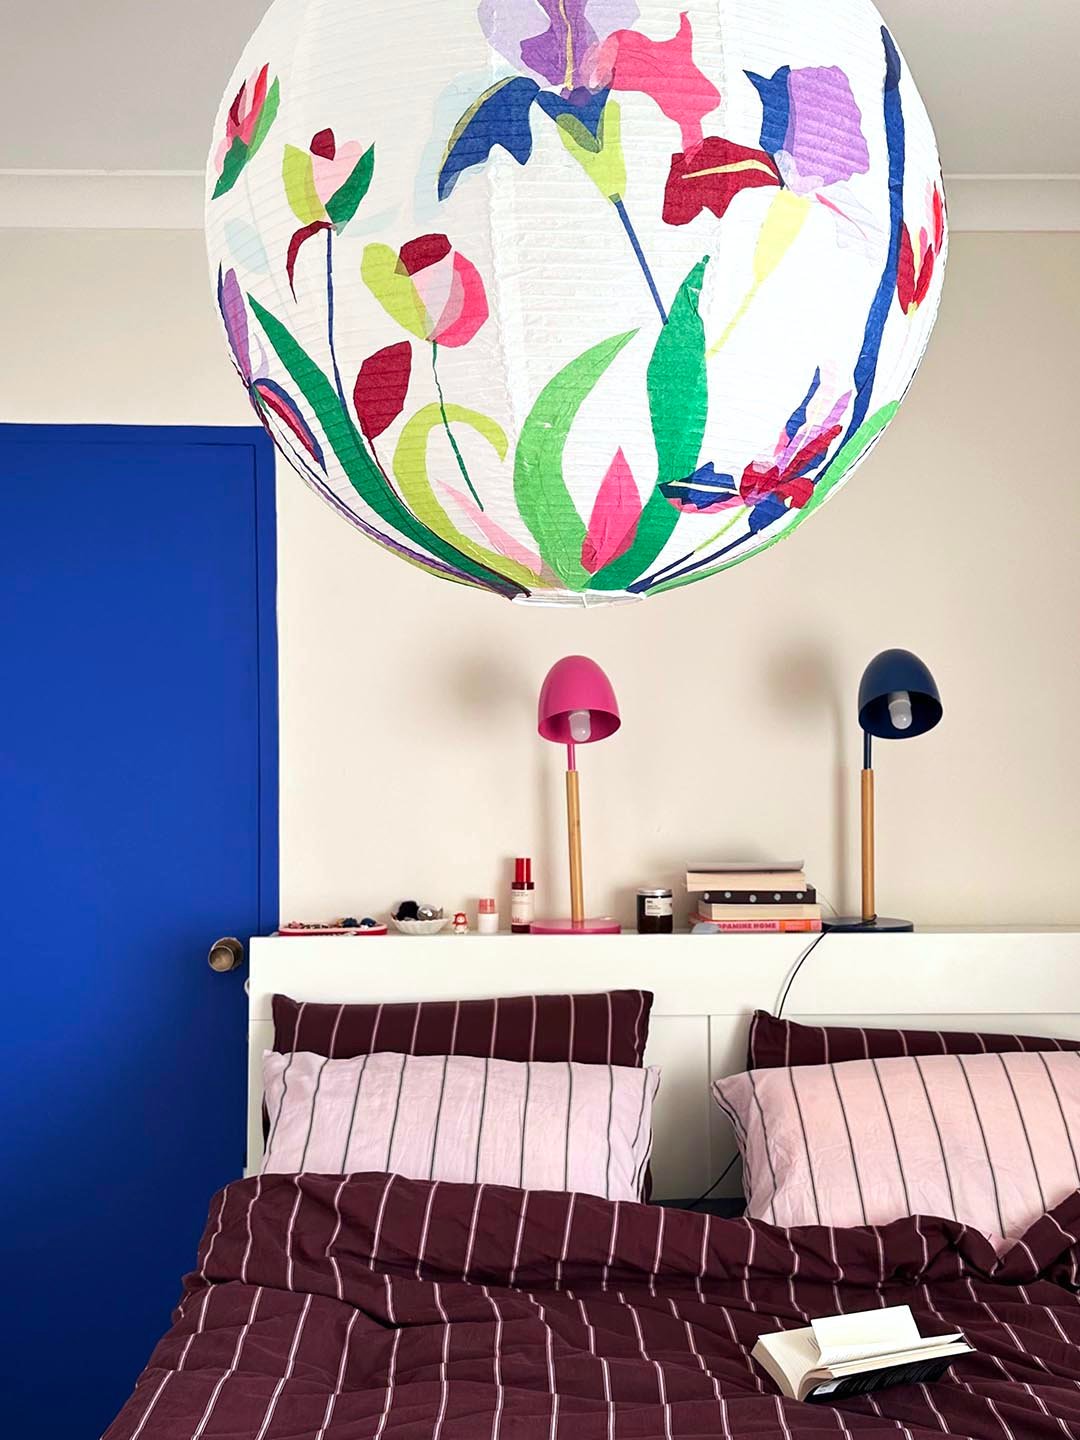
A big, softly glowing paper pendant overhead can improve the mood of a room more than most light fixtures. And handy home decorators have found a way to give the plain white lanterns personality by glueing colorful tissue paper shapes right onto the sides of the parchment or rice paper. The transparent sheets blend right in with the surface, the pulp of the tissue paper showing up when the light is turned on and lending it a handcrafted feel. It’s the perfect DIY for imperfectionists: You simply freehand the shapes, glueing them up willy-nilly until you’re happy with the design. While you work, think of Henri Matisse and the birds, plants, and organic forms he simply cut out of colorful paper using a pair of scissors for his collages. Very little prep is required.
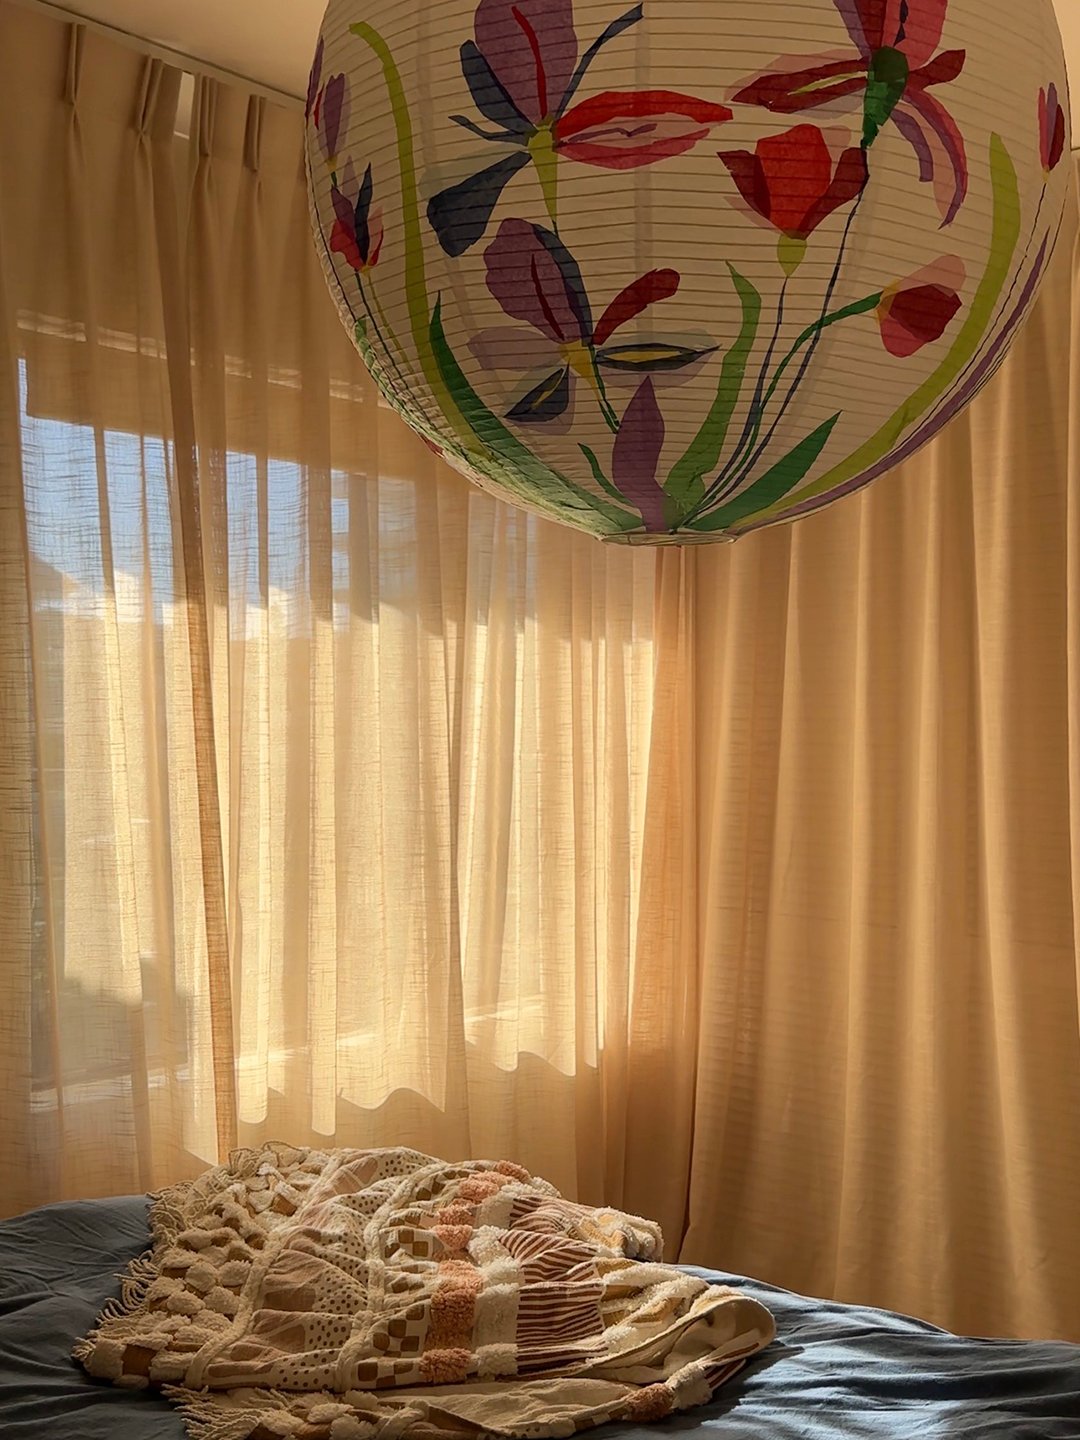
“I had my lantern hanging for almost a year when I decided I needed more color in the kitchen,” says Austin-based Anisa Young, who saw decoupaged examples on the internet before deciding to try the craft herself. “I had been seeing really cool lanterns like this, this, and painted ones.” Sydney, Australia–based decorator Valeria had the same thought—that her existing lantern, while lovely, simply needed more color. The following instructions, which are really loose guidelines rather than strict instructions, include their helpful tips.
Buy a Paper Pendant (and Other Supplies)
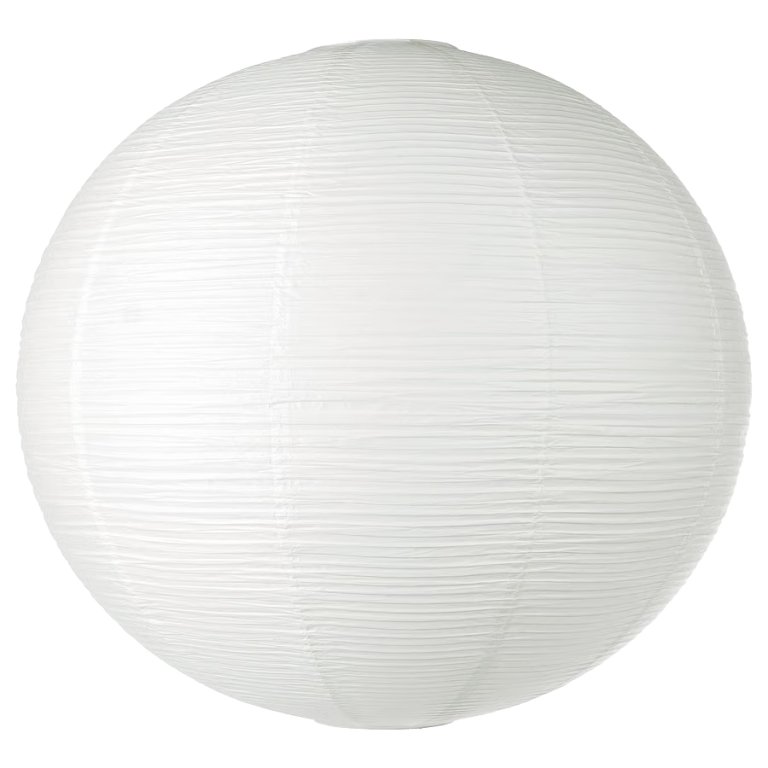
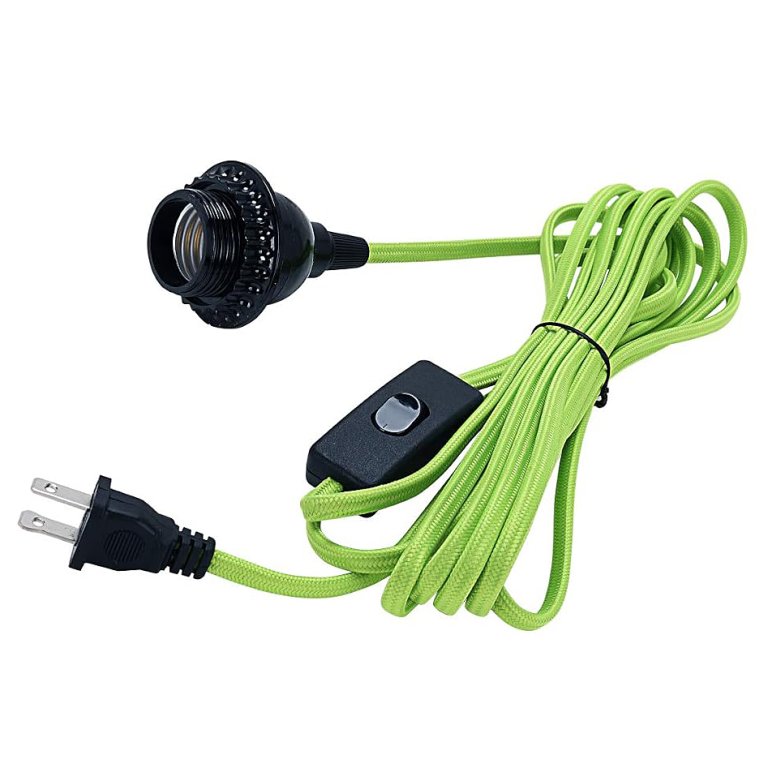
Many paper lanterns are really just shades: big, round, paper orbs with a place to slip a bulb through from the top. You’ll need to buy pendant cord separately and hang it from the ceiling using a hook.

Hang the Lantern—or Don’t
Both Anisa and Valeria chose to decorate their paper lanterns once they were already installed and hanging overhead, and it worked out just fine. “I found it much easier to visualize how the flowers would look while the lamp was hanging,” says Valeria. “Since the design started from the bottom of the lantern, it was also easier to work on it while standing.”
On the flip side, you’ll be bending backwards the whole time. Anisa reports that, as with painting a ceiling, decorating a pendant that’s dangling overhead can become physically exhausting. “I would definitely try with the lamp down next time; it was quite a workout for my shoulders and arms,” she shares.
Cut Out Tissue-Paper Shapes
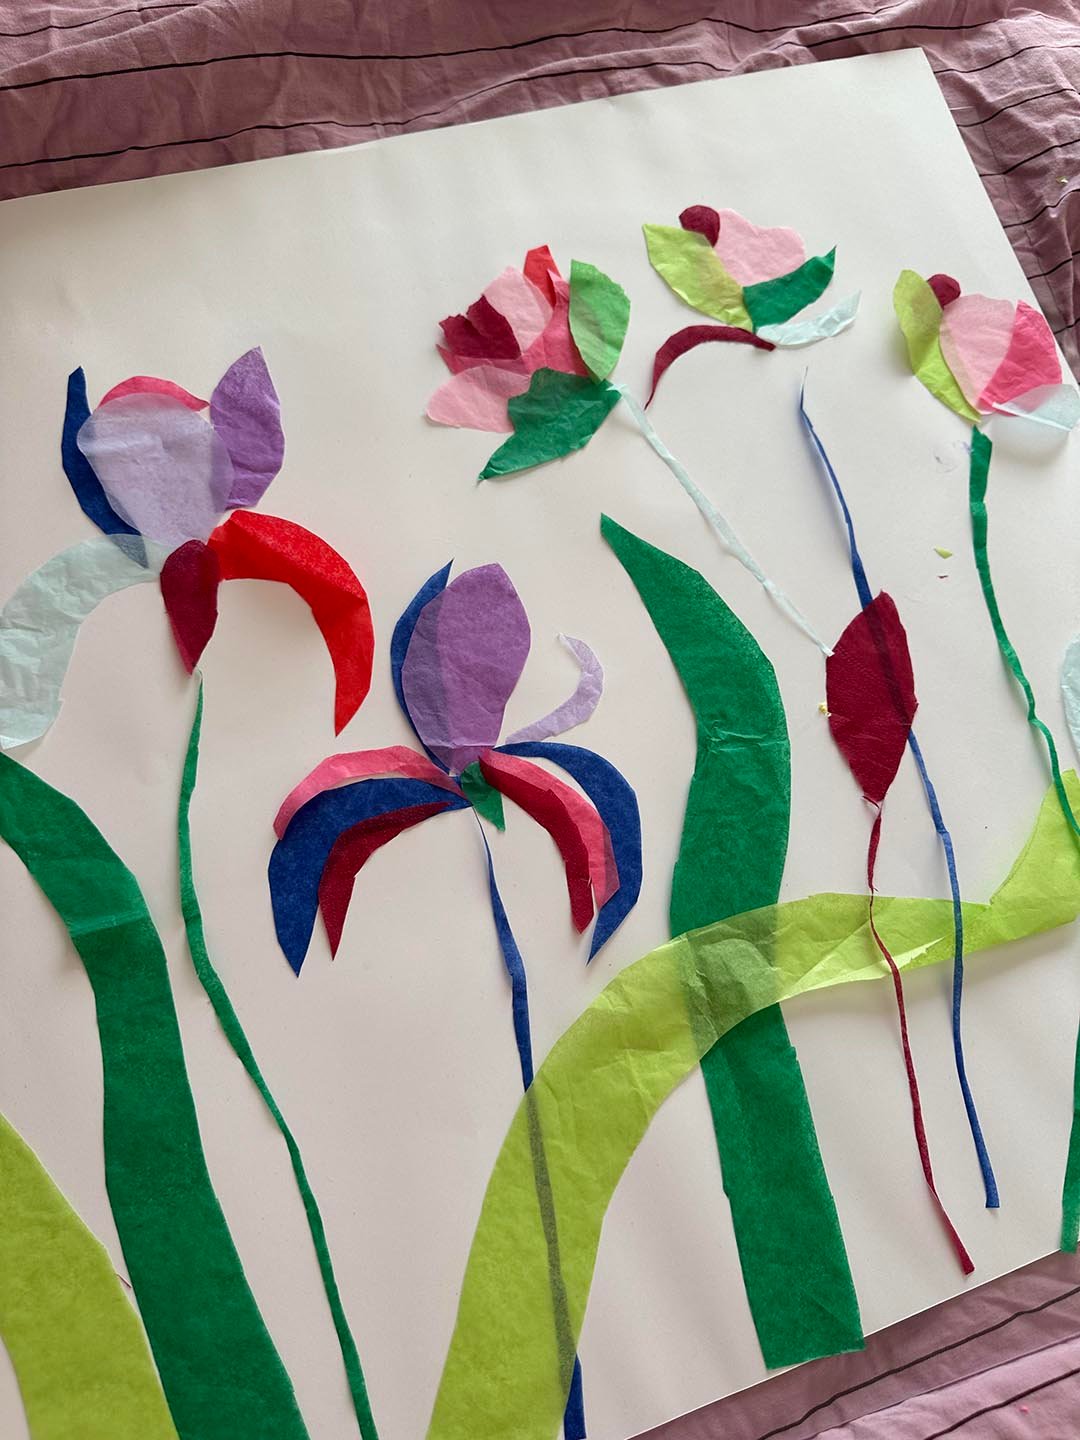
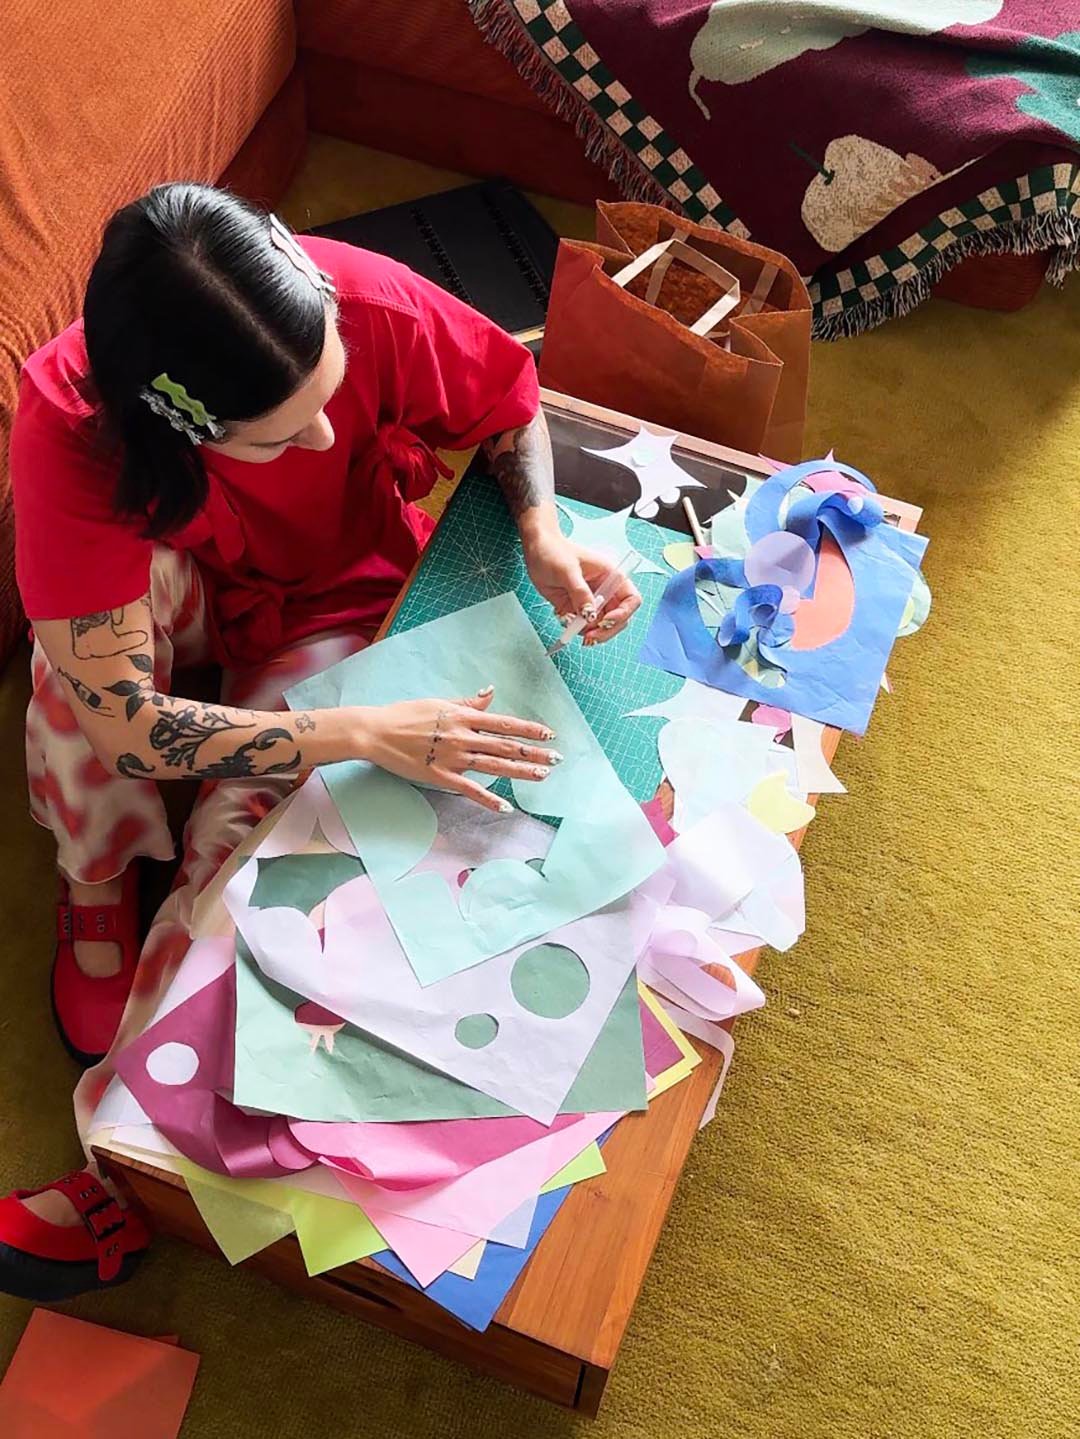
Both Anisa and Valeria cut out their own tissue shapes, using an X-Acto knife and scissors respectively. “I didn’t really have a plan, I just cut out whatever shapes came to mind. I went with forgiving shapes like organic blobs, spirals, stars and some animals too like a snail and a cat,” says Anisa. Valeria was aiming for a more botanical design, and drew from artist Valeria Ganzman’s floral art for the stems she eventually cut out.
Tracing is allowed. Searching the Internet for inspiration? Definitely. Use a pencil to create a motif you like, then cut it out with a regular pair of scissors. You may go ahead and cut out more shapes than you need, just to have options, and lay them out on a large piece of paper to loosely plan your design before glueing.
Glue the Shapes to the Pendant
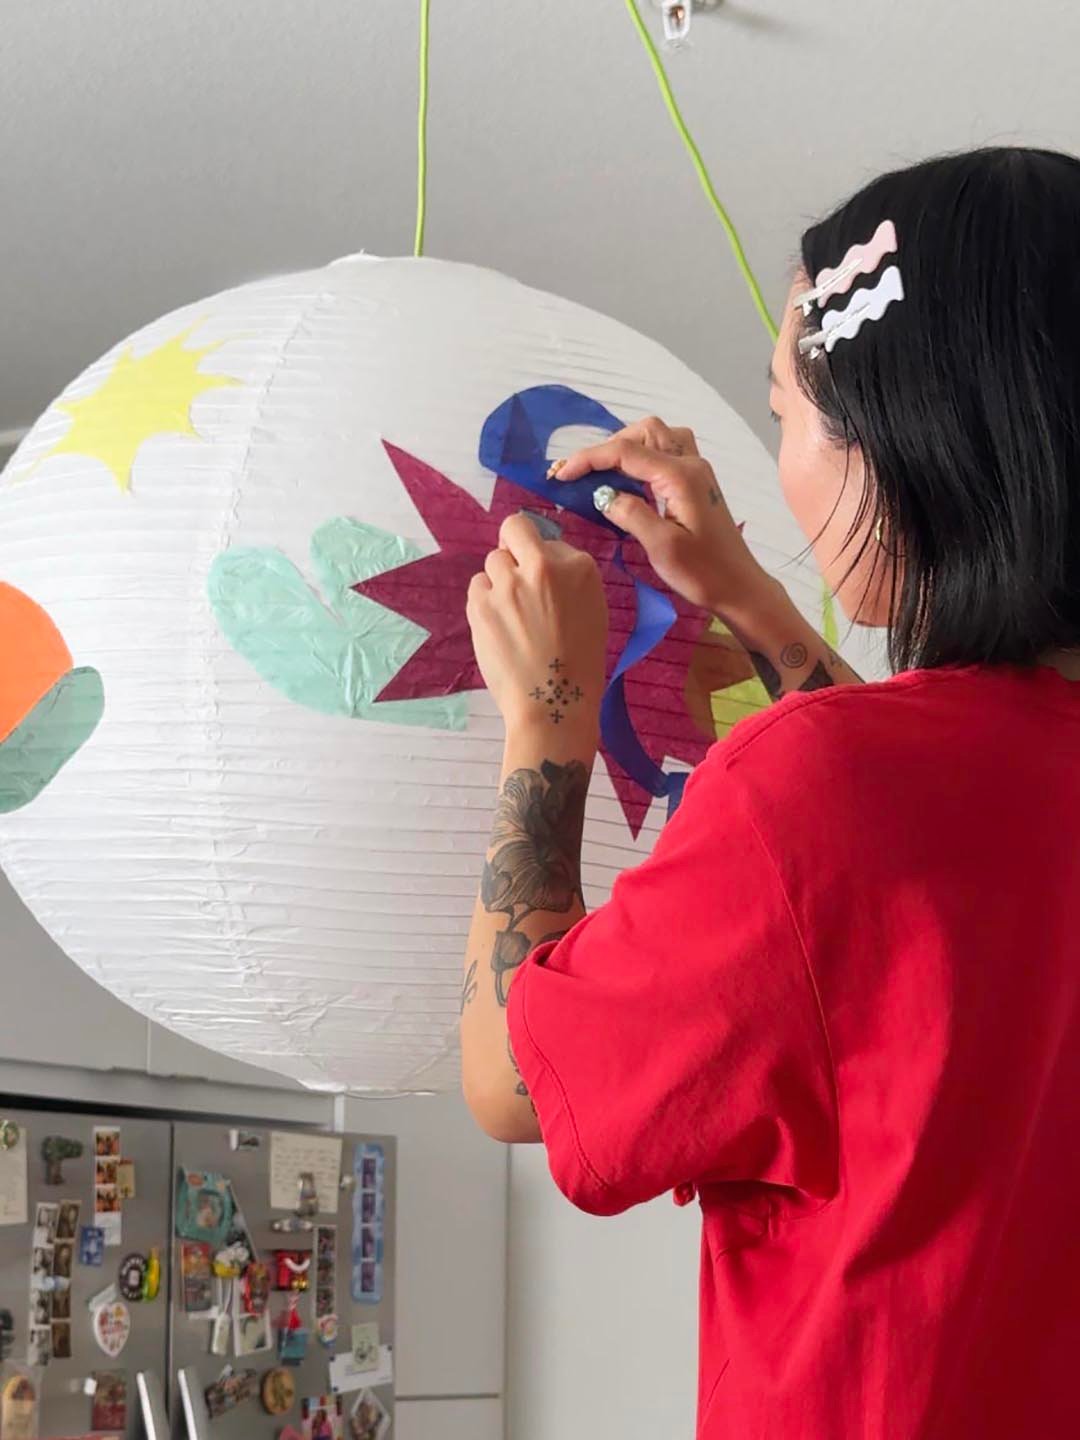
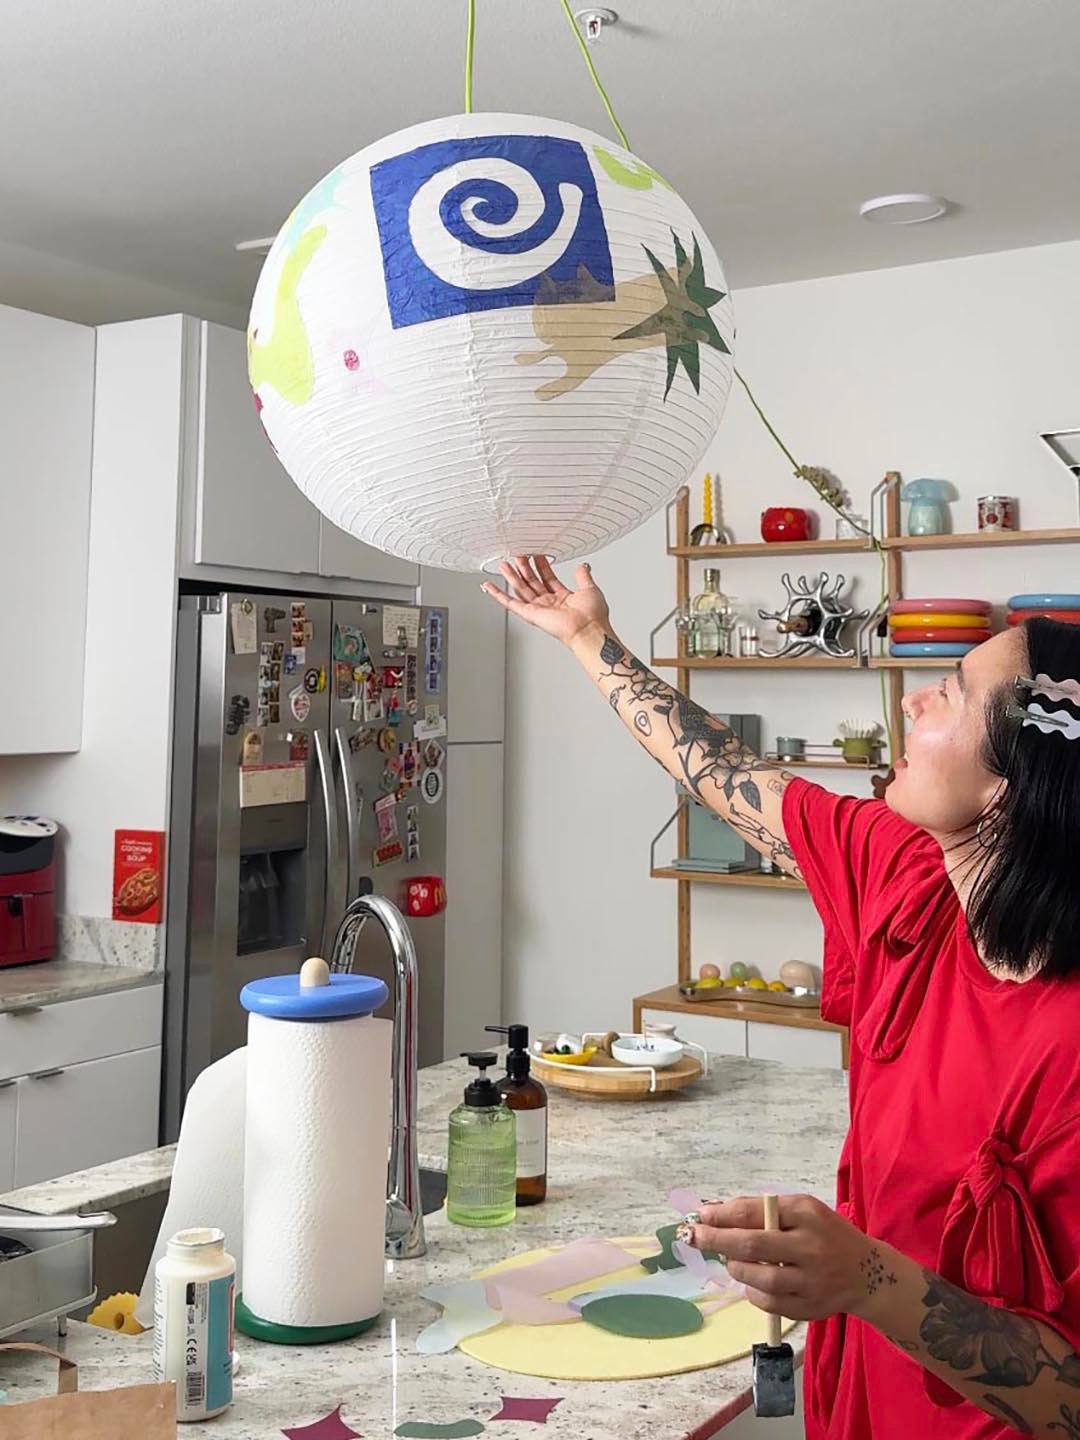
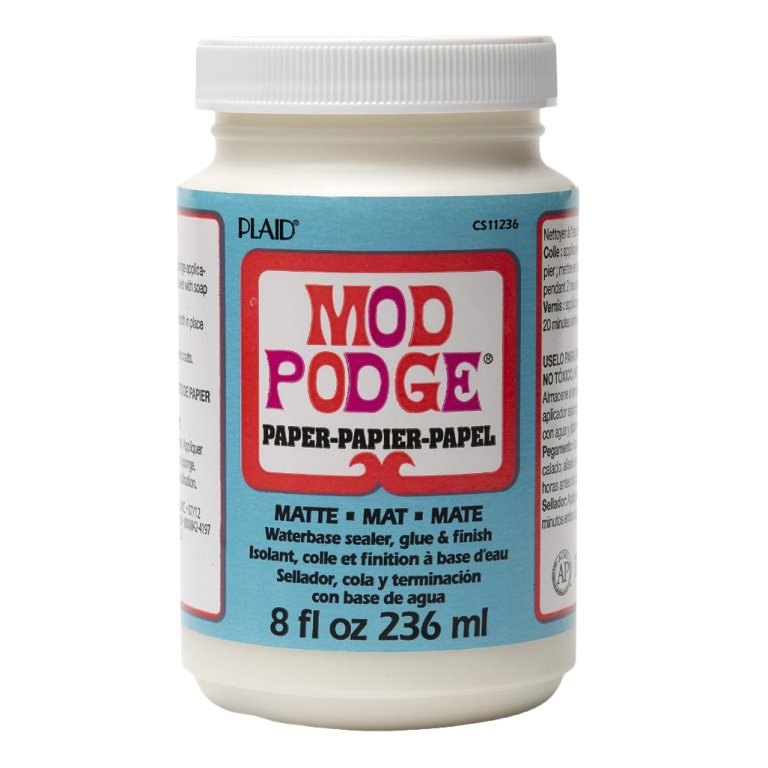
Glueing the tissue paper shapes is the messiest, most tedious, and also the most fun step. Anisa and Valeria both use a decoupage-like process to glue the shapes onto the lantern, cautioning DIYers to be as gentle as possible as tissue paper can easily tear when it gets wet. The best process for you might come from trial and error: Anisa liked using a few dots of glue on the back of each shape to “stick” it to the lantern before painting glue over it, while Valeria mixed her PVA glue with a bit of water to create a thinner, more paintable consistency. In both cases, the creators glued over the tissue paper shapes to get them to stick, as the glue soaks through the tissue paper to create a strong adhesive. “Use gentle patting motions and make sure the brush isn’t soaking wet,” Valeria advises.
Be Gentle
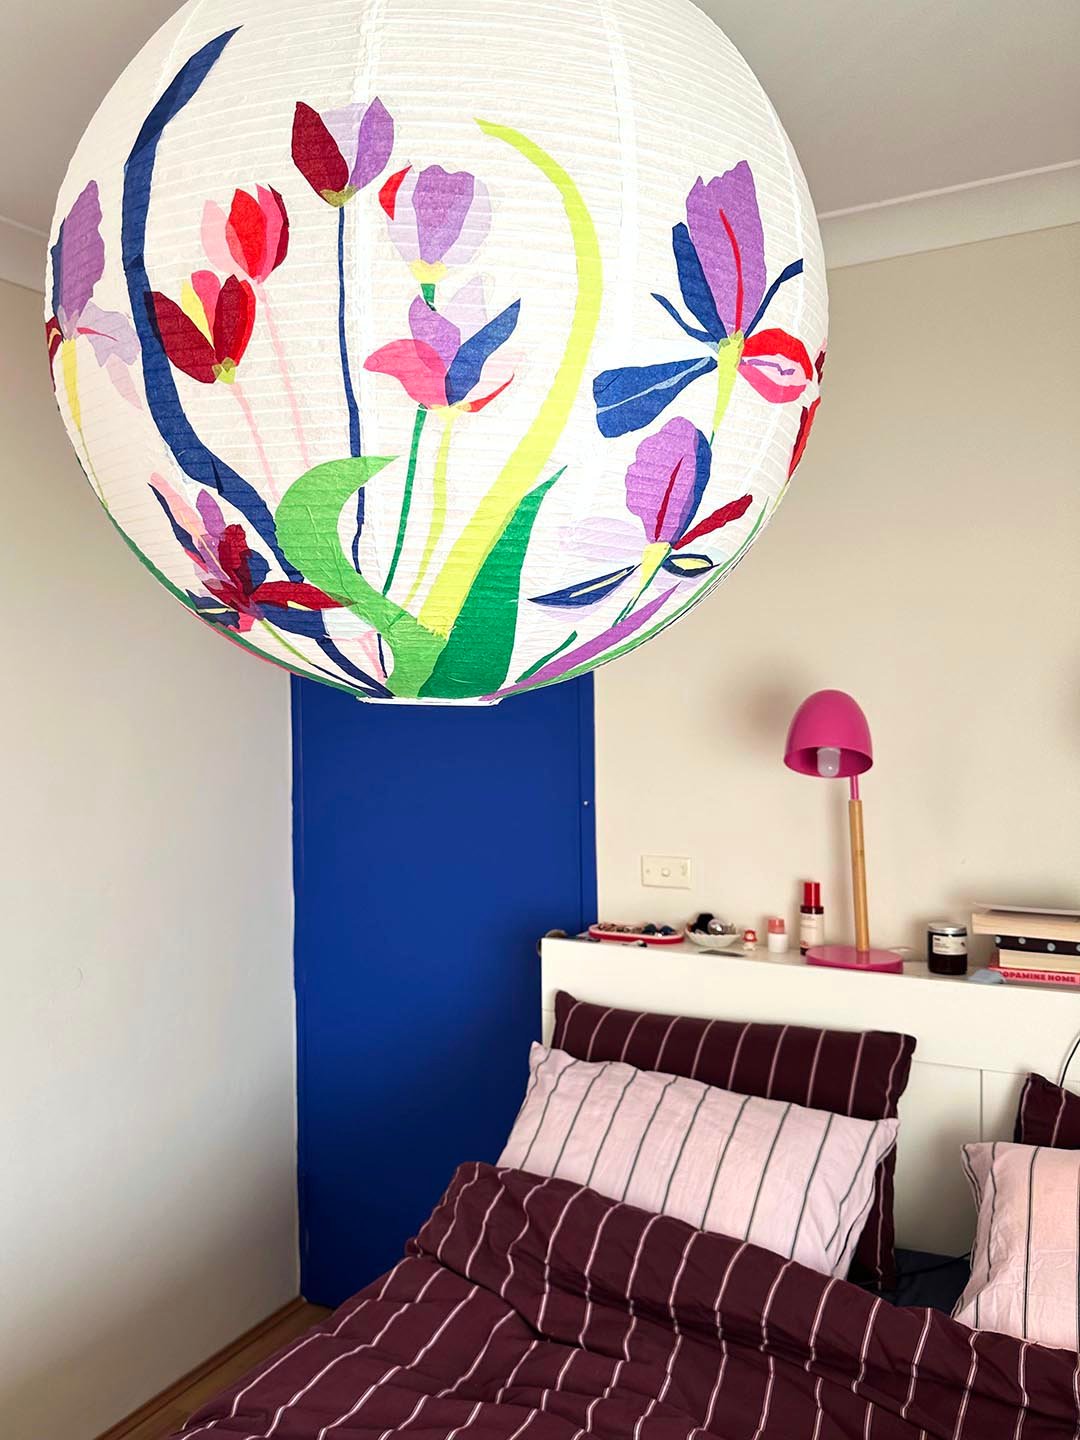
A tissue-papered lantern is as delicate as any paper lantern—Anisa’s tore in transit during a recent move, so you should exercise caution if you ever have to take it down. But the Mod Podge should keep that tissue firmly in place as long as it’s just hanging there. Suspended above their respective rooms, Anisa and Valeria’s decoupaged lanterns have yet to peel or fade. By day, they’re colorful and jaunty. By night, their spaces glow with a rainbow of colorful light.