
We may earn revenue from the products available on this page and participate in affiliate programs.
Atlanta-based designer Laura Jenkins, founder of Laura W. Jenkins Interiors, wants you to get reacquainted with the back of your sofa, especially if you have an open-concept living room. The truth is, when most of us are faced with decorating a vast space, we’re hesitant to throw a barrier (like a couch) in the middle of it. Instead, our instinct is to shove the furniture as close to the walls as possible. “People are afraid to divide a space because they think it’ll feel closed off or they won’t be able to circulate around it,” says Jenkins. “But in reality, it can make a room feel bigger.” Exhibit A: a new-build home in the Virginia Highlands neighborhood that she recently decorated for a newlywed couple.
Jenkins, whose firm typically specializes in historic renovations, was tasked with giving the very-vanilla interiors a bit more personality. That can be a hard thing to do in a large room that screams “just constructed.” Her challenge: create three distinct areas—a lounge zone, a breakfast nook, and an entertaining-ready kitchen—in one space. We asked Jenkins to give us the play-by-play on the layout.
The Floorplan
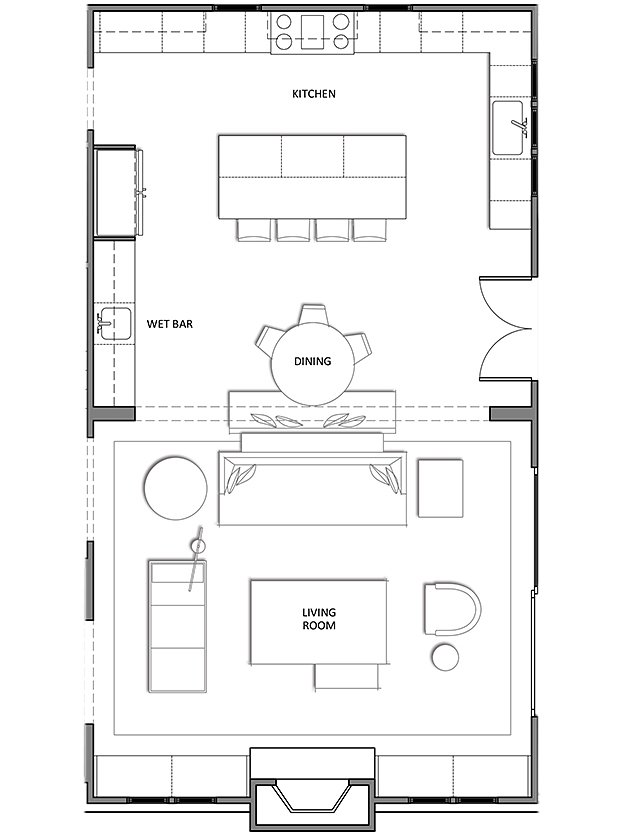
Step 1: Dress Up the Back of the Sofa with a Console Table
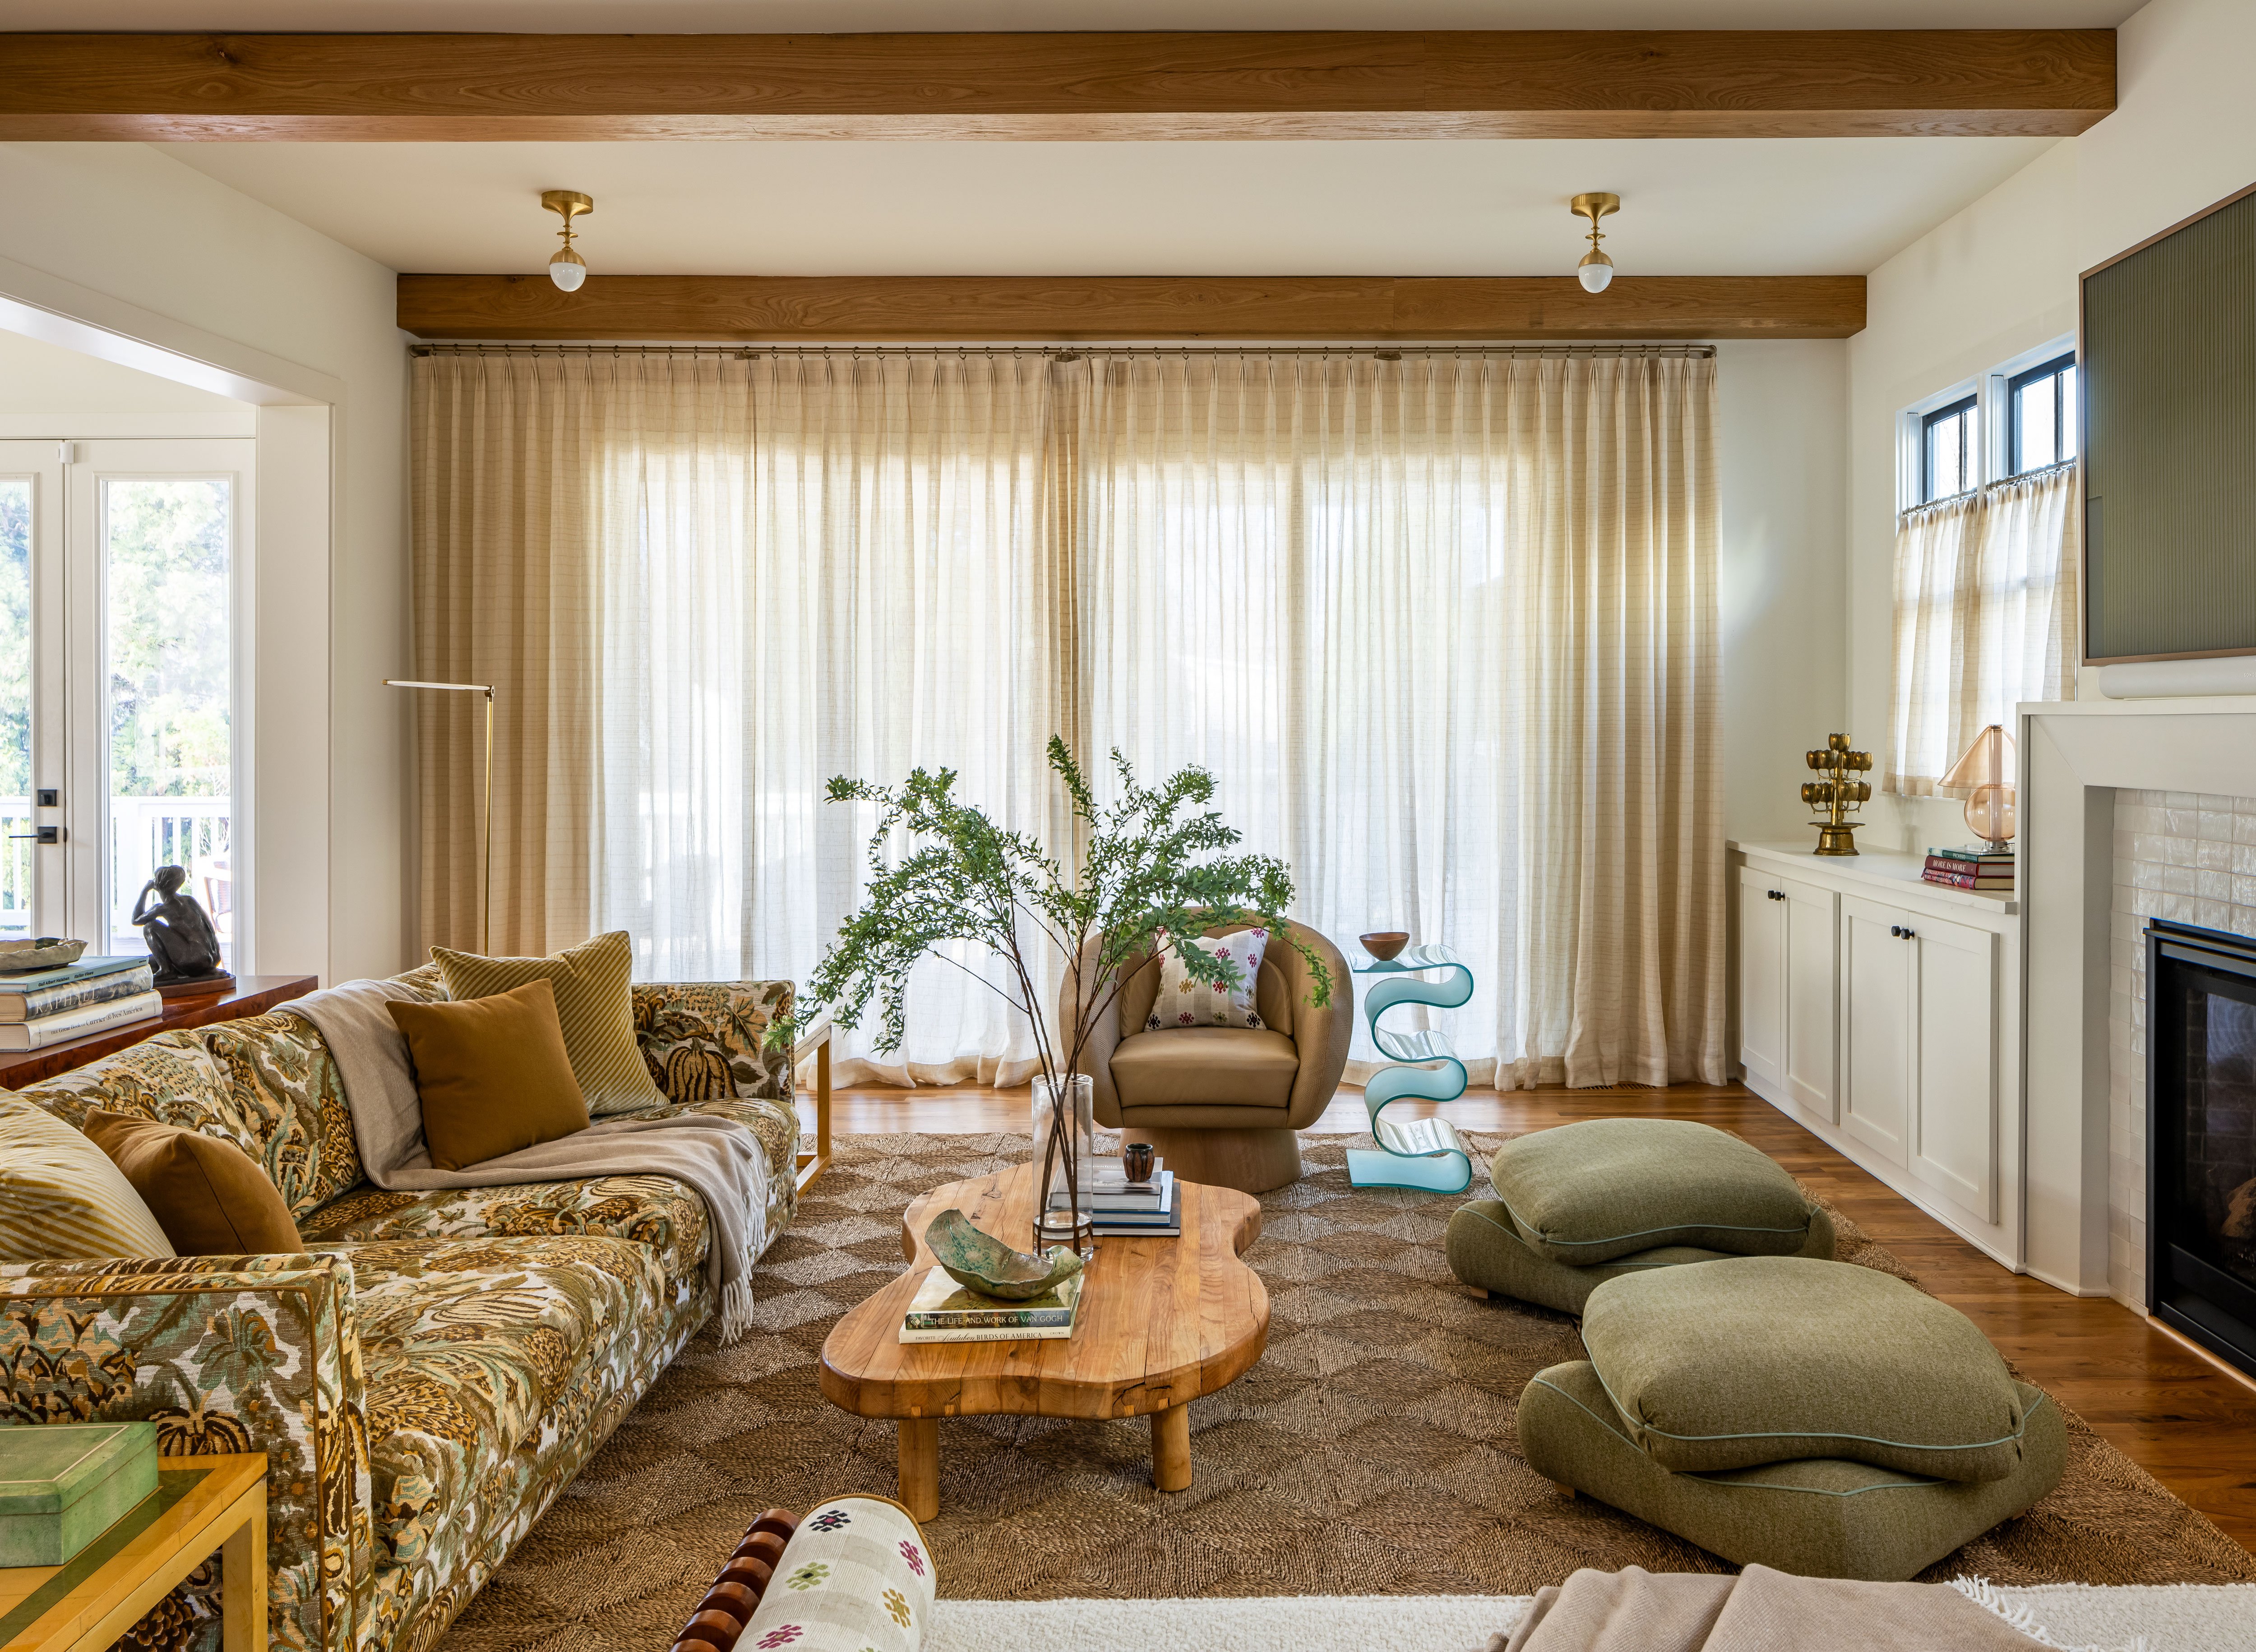
“People are really afraid to see the back of the sofa, and it’s valid—a sofa can look strange if it’s just floating,” says Jenkins. There are a few solutions to this problem. One is to simply select a couch with an interesting or curved back. A quicker fix (especially if yours is a sectional with visible seams) is to place a console table or a folding screen behind it.
Tip: A patterned sofa adds vintage charm to a builder-grade living room, even if the fabric isn’t technically old.
Step 2: Go Low with Your Accent Seating
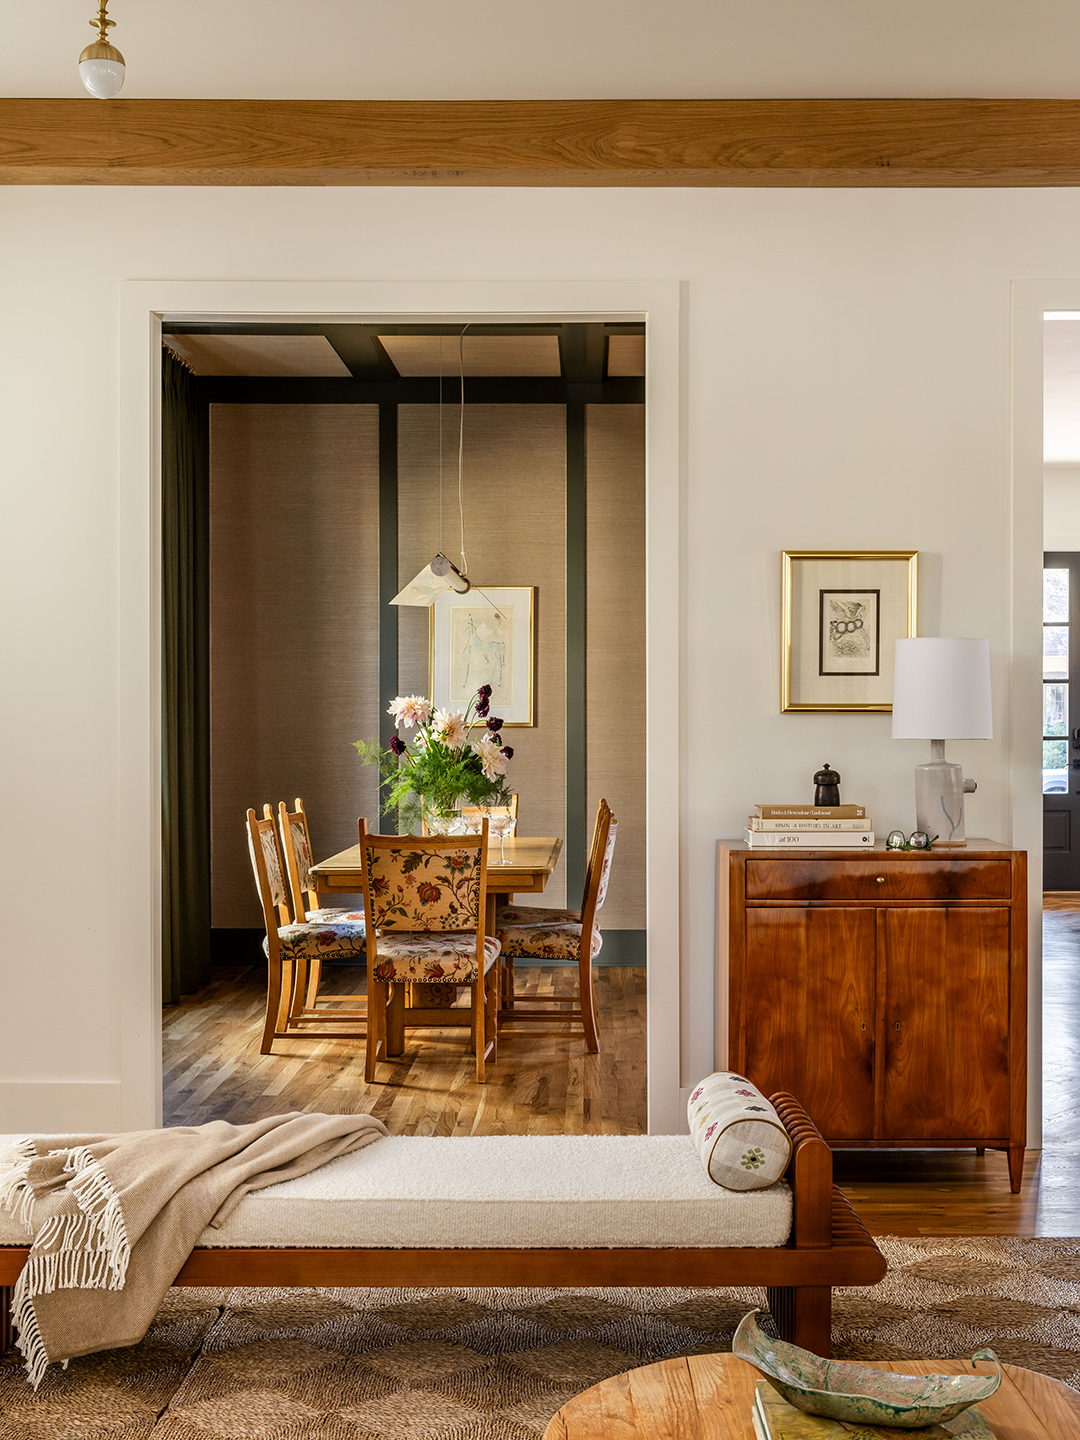
“I love using a chaise in a living room, especially in one where you are looking through to another space,” says the designer. Being mindful of the sightline into the nearby formal dining room, Jenkins opted for the low-slung style instead of another armchair. She added Billy Baldwin ottomans (as seen above) for the same reason: they don’t block the view of the fireplace.
Tip: Multipurpose seating that’s easy to move, like poufs that can serve as footstools or extra seating, lets you change the feeling and function of an open-concept room in a flash.
Step 3: Get All the Chair Legs on the Rug
As a general rule for an open-concept room, Jenkins situates every chair, sofa, or table leg on an area rug. “When none of your furniture is up against a wall, it’s important to anchor it,” shares the designer. She accounts for exposing a 12-inch border of flooring around the edges and figures out the rug size from there.
Tip: Adding floor outlets allows you to have lamps in central areas without a bunch of extension cords (read: tripping hazards).
Step 4: Sandwich the Table with a Banquette
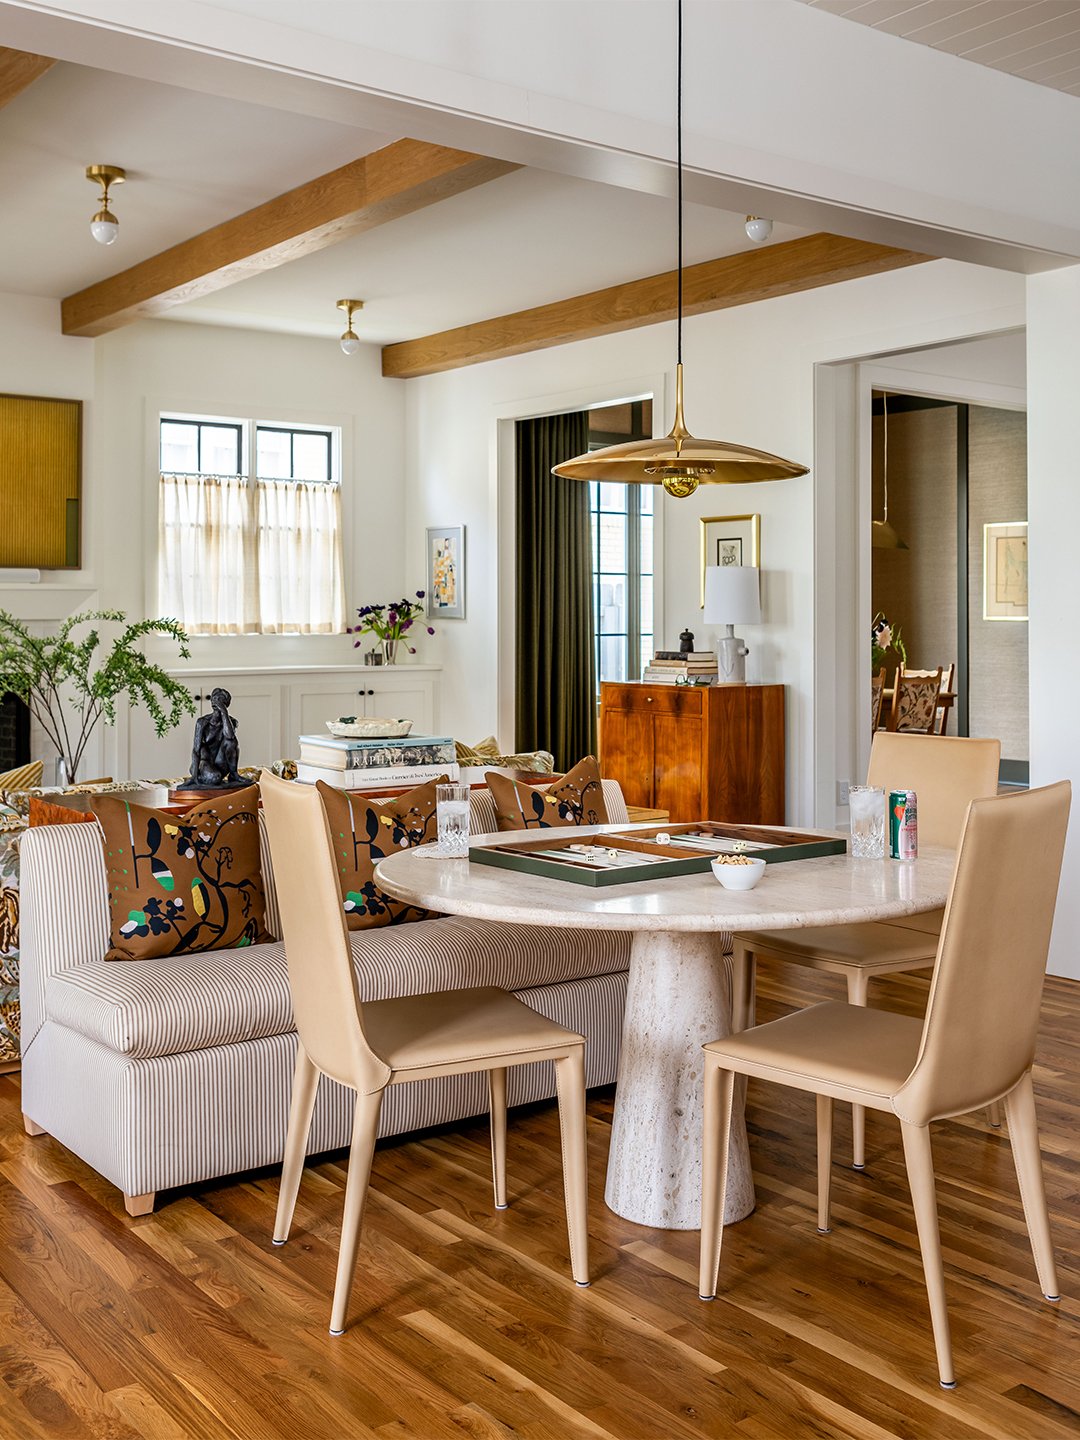
With the living area feeling like its own, separate space, Jenkins turned—literally—toward the kitchen and added a banquette on the other side of the console. It didn’t matter to the designer that the bench wasn’t the same length as the couch. What was important from a dimensions standpoint was that all three items (the sofa, table, and bench) were generally the same height (around 30 inches tall). “I wanted to be able to put things on the table—a drink or decorative items. If it was too low, you wouldn’t be able to see what was happening back there,” says Jenkins.
Tip: Place your room-dividing furniture piece at a natural breaking point in the space. In this project, it was obvious to line up the console with a cased opening, but a window or edge of a doorframe could also be a nudge in the right direction.
Step 5: Drop the Lighting Over the Dining Table
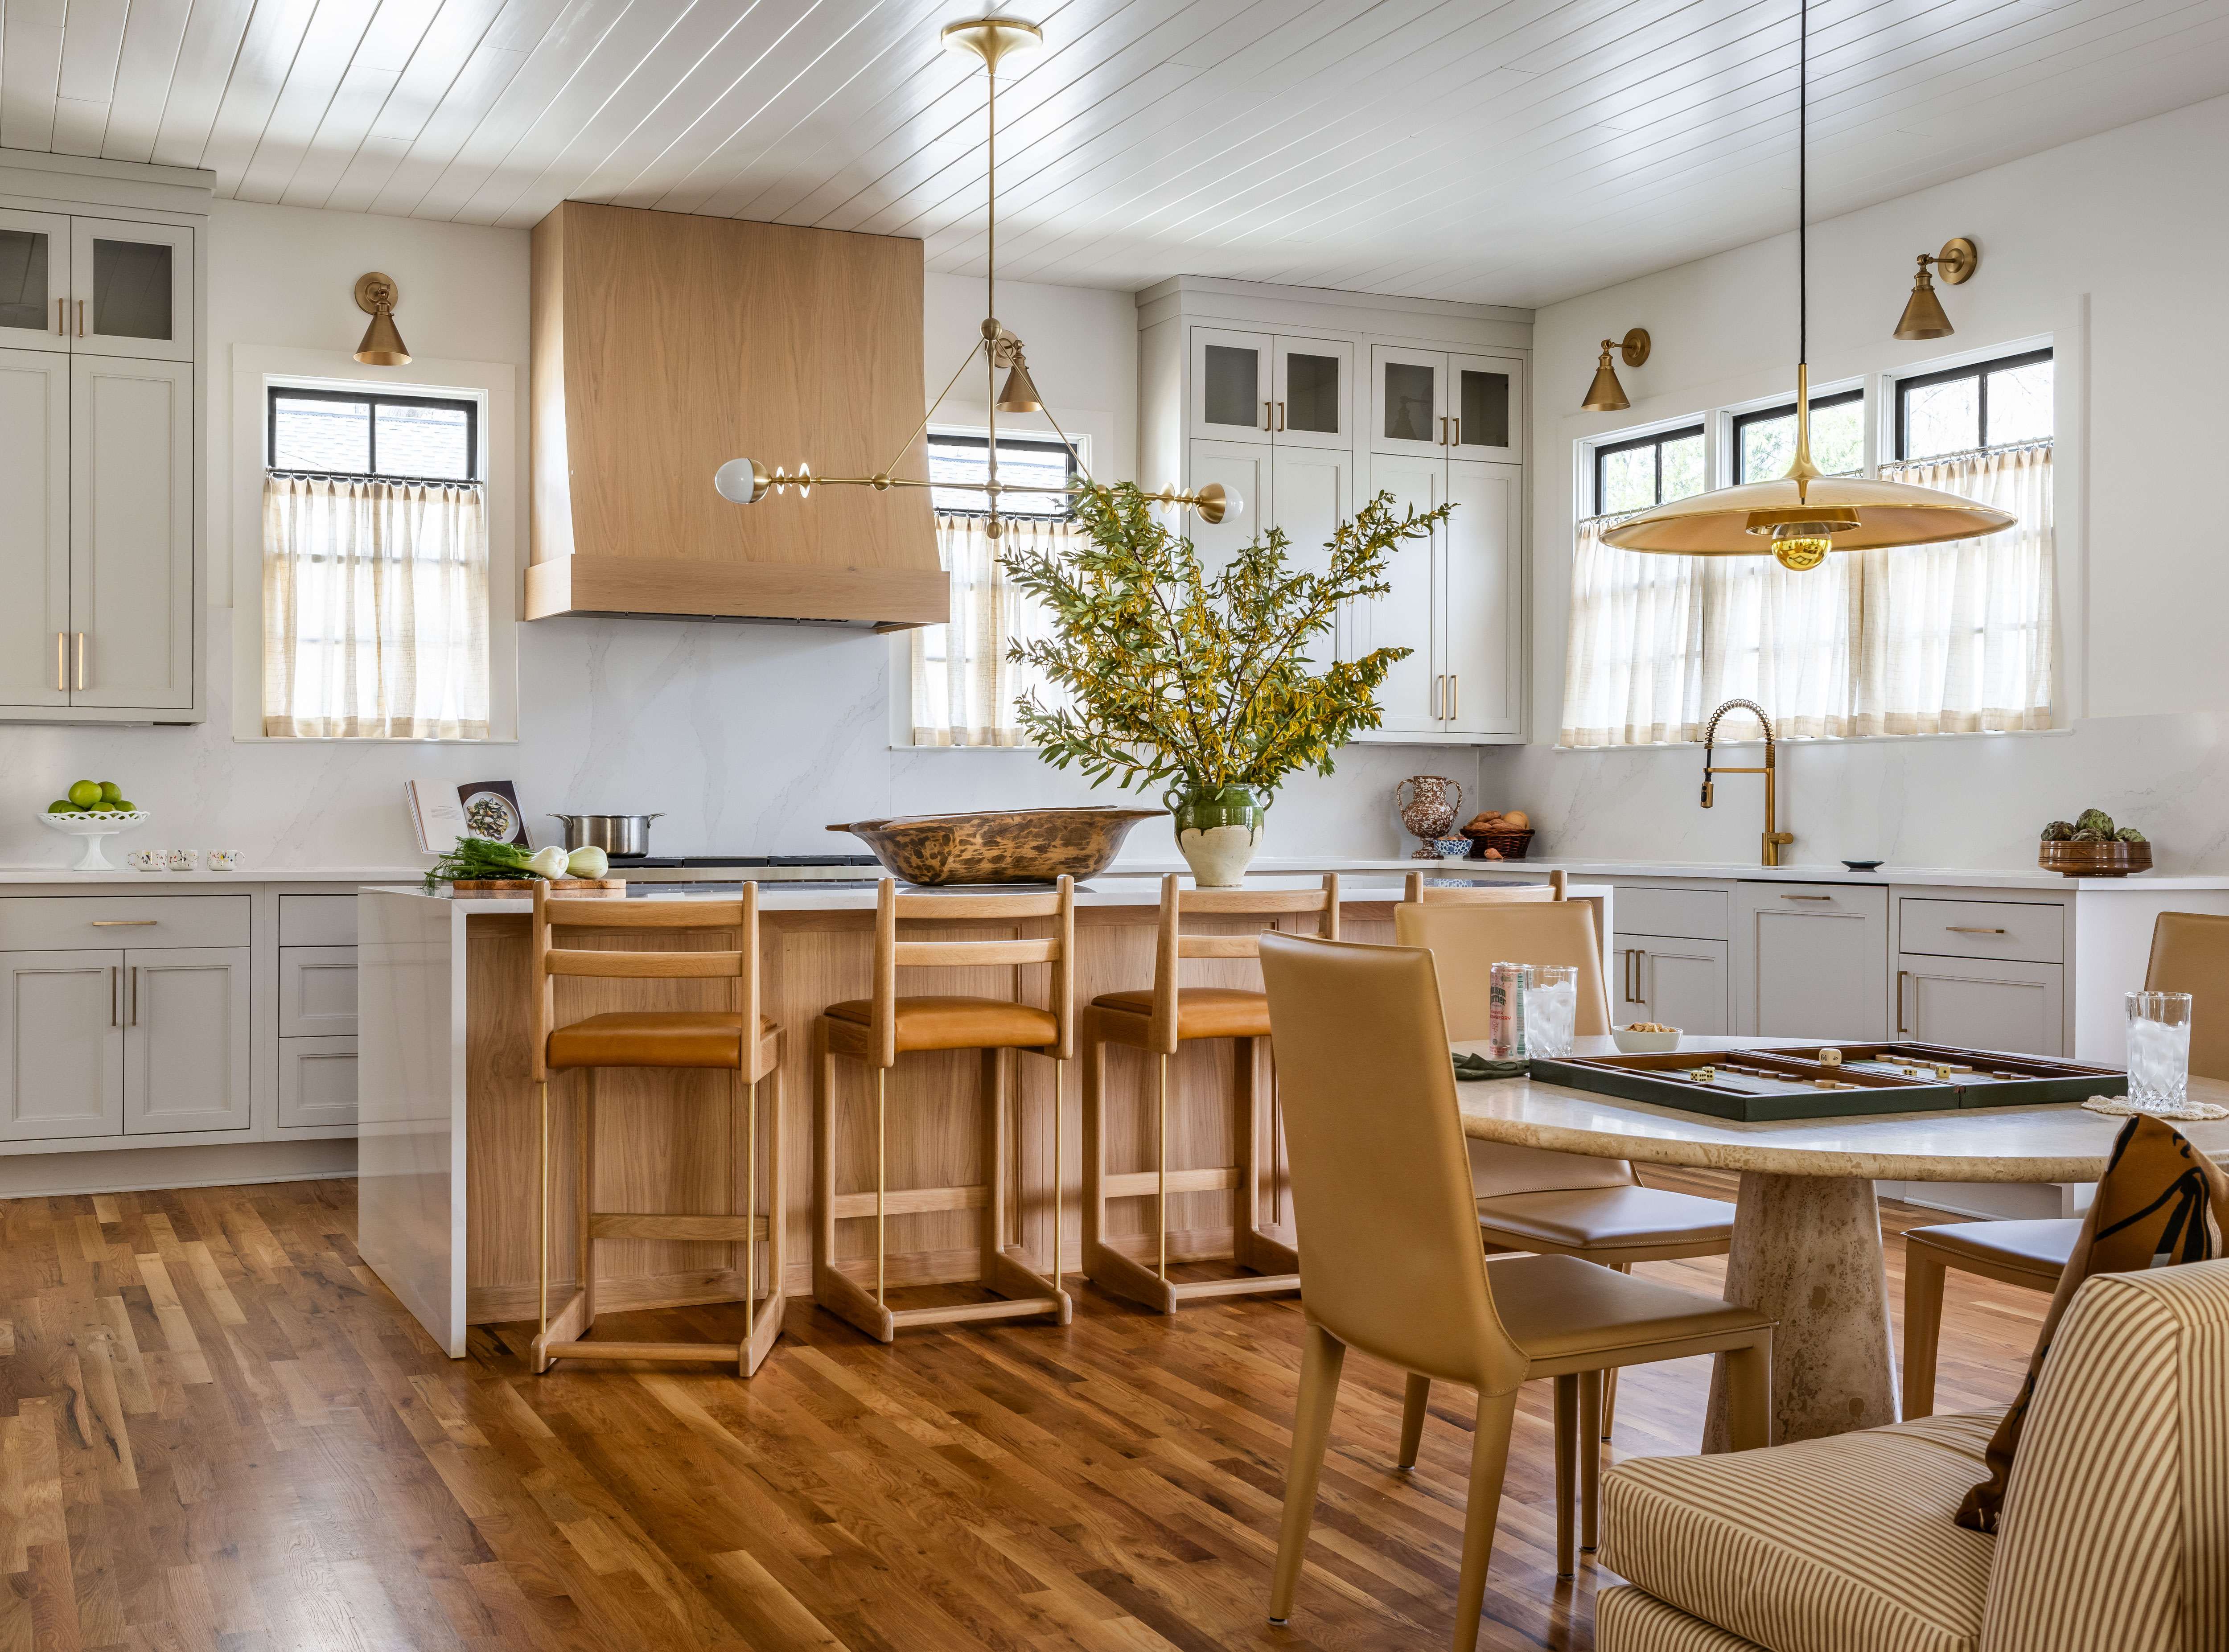
Typically, the designer hangs dining table pendants 6 feet off the finished floor. But in this space, she decided to drop it an extra 6 inches to punctuate the breakfast table and make it feel extra intimate. The Florian Schulz fixture is actually a counterweight pendant, so it can drop even further without fussing with the wiring. “They use this table a lot for games and puzzles, so the lower light is also very functional,” adds Jenkins.
Tip: Swap recessed cans for artful flushmounts, like in the living room. It’ll bring some much-needed dimension to the room.
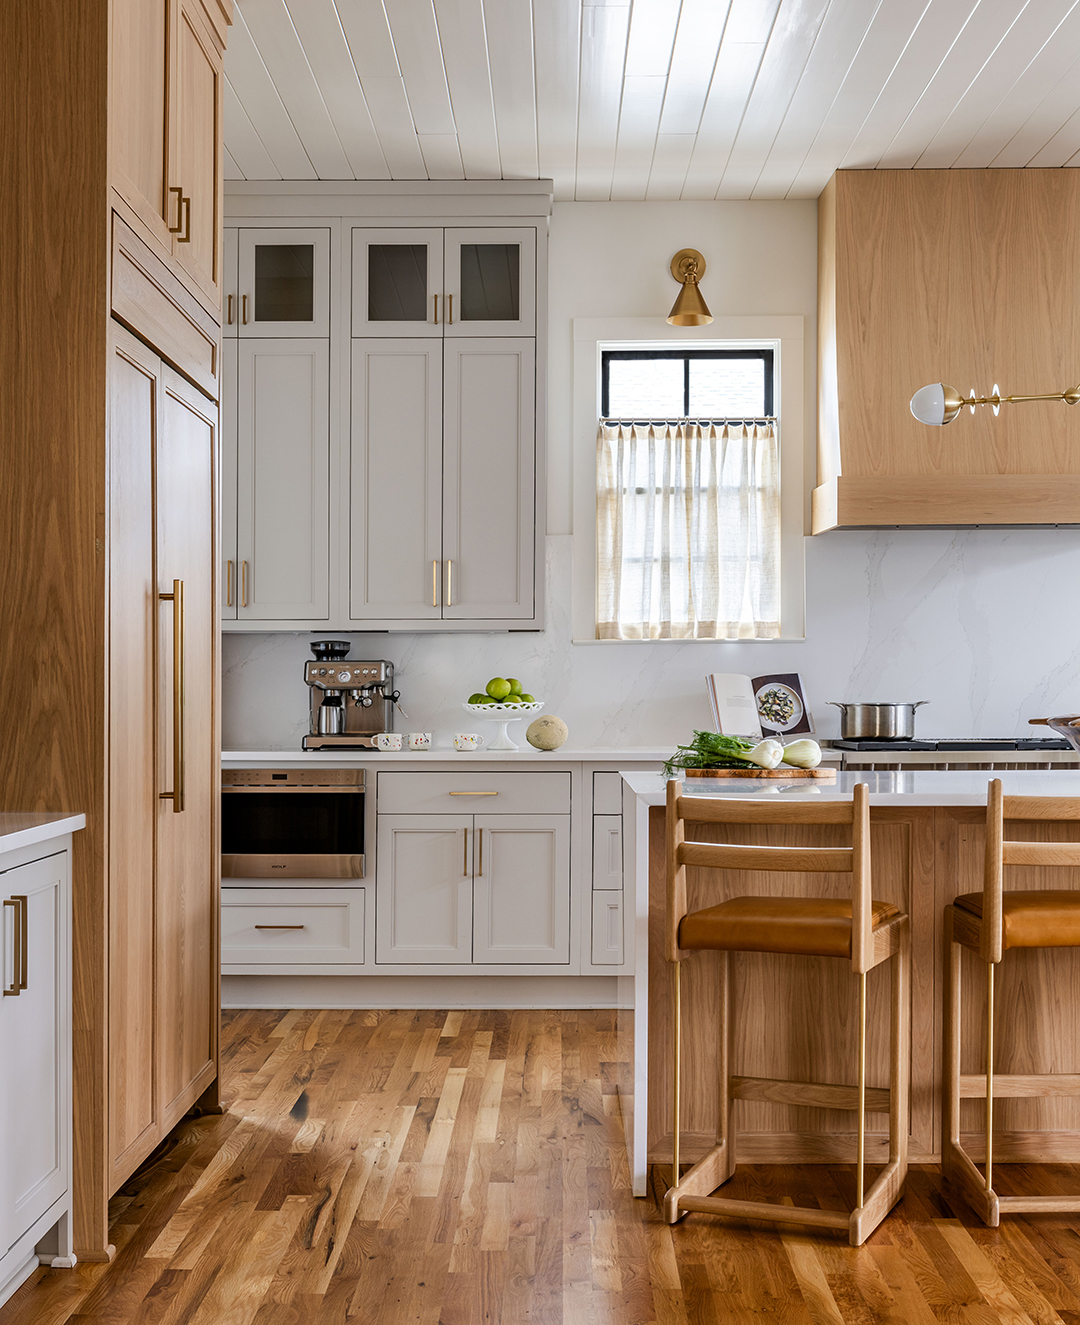
Step 6: Line the Island with Stools You Want to Look at (and Sit In)
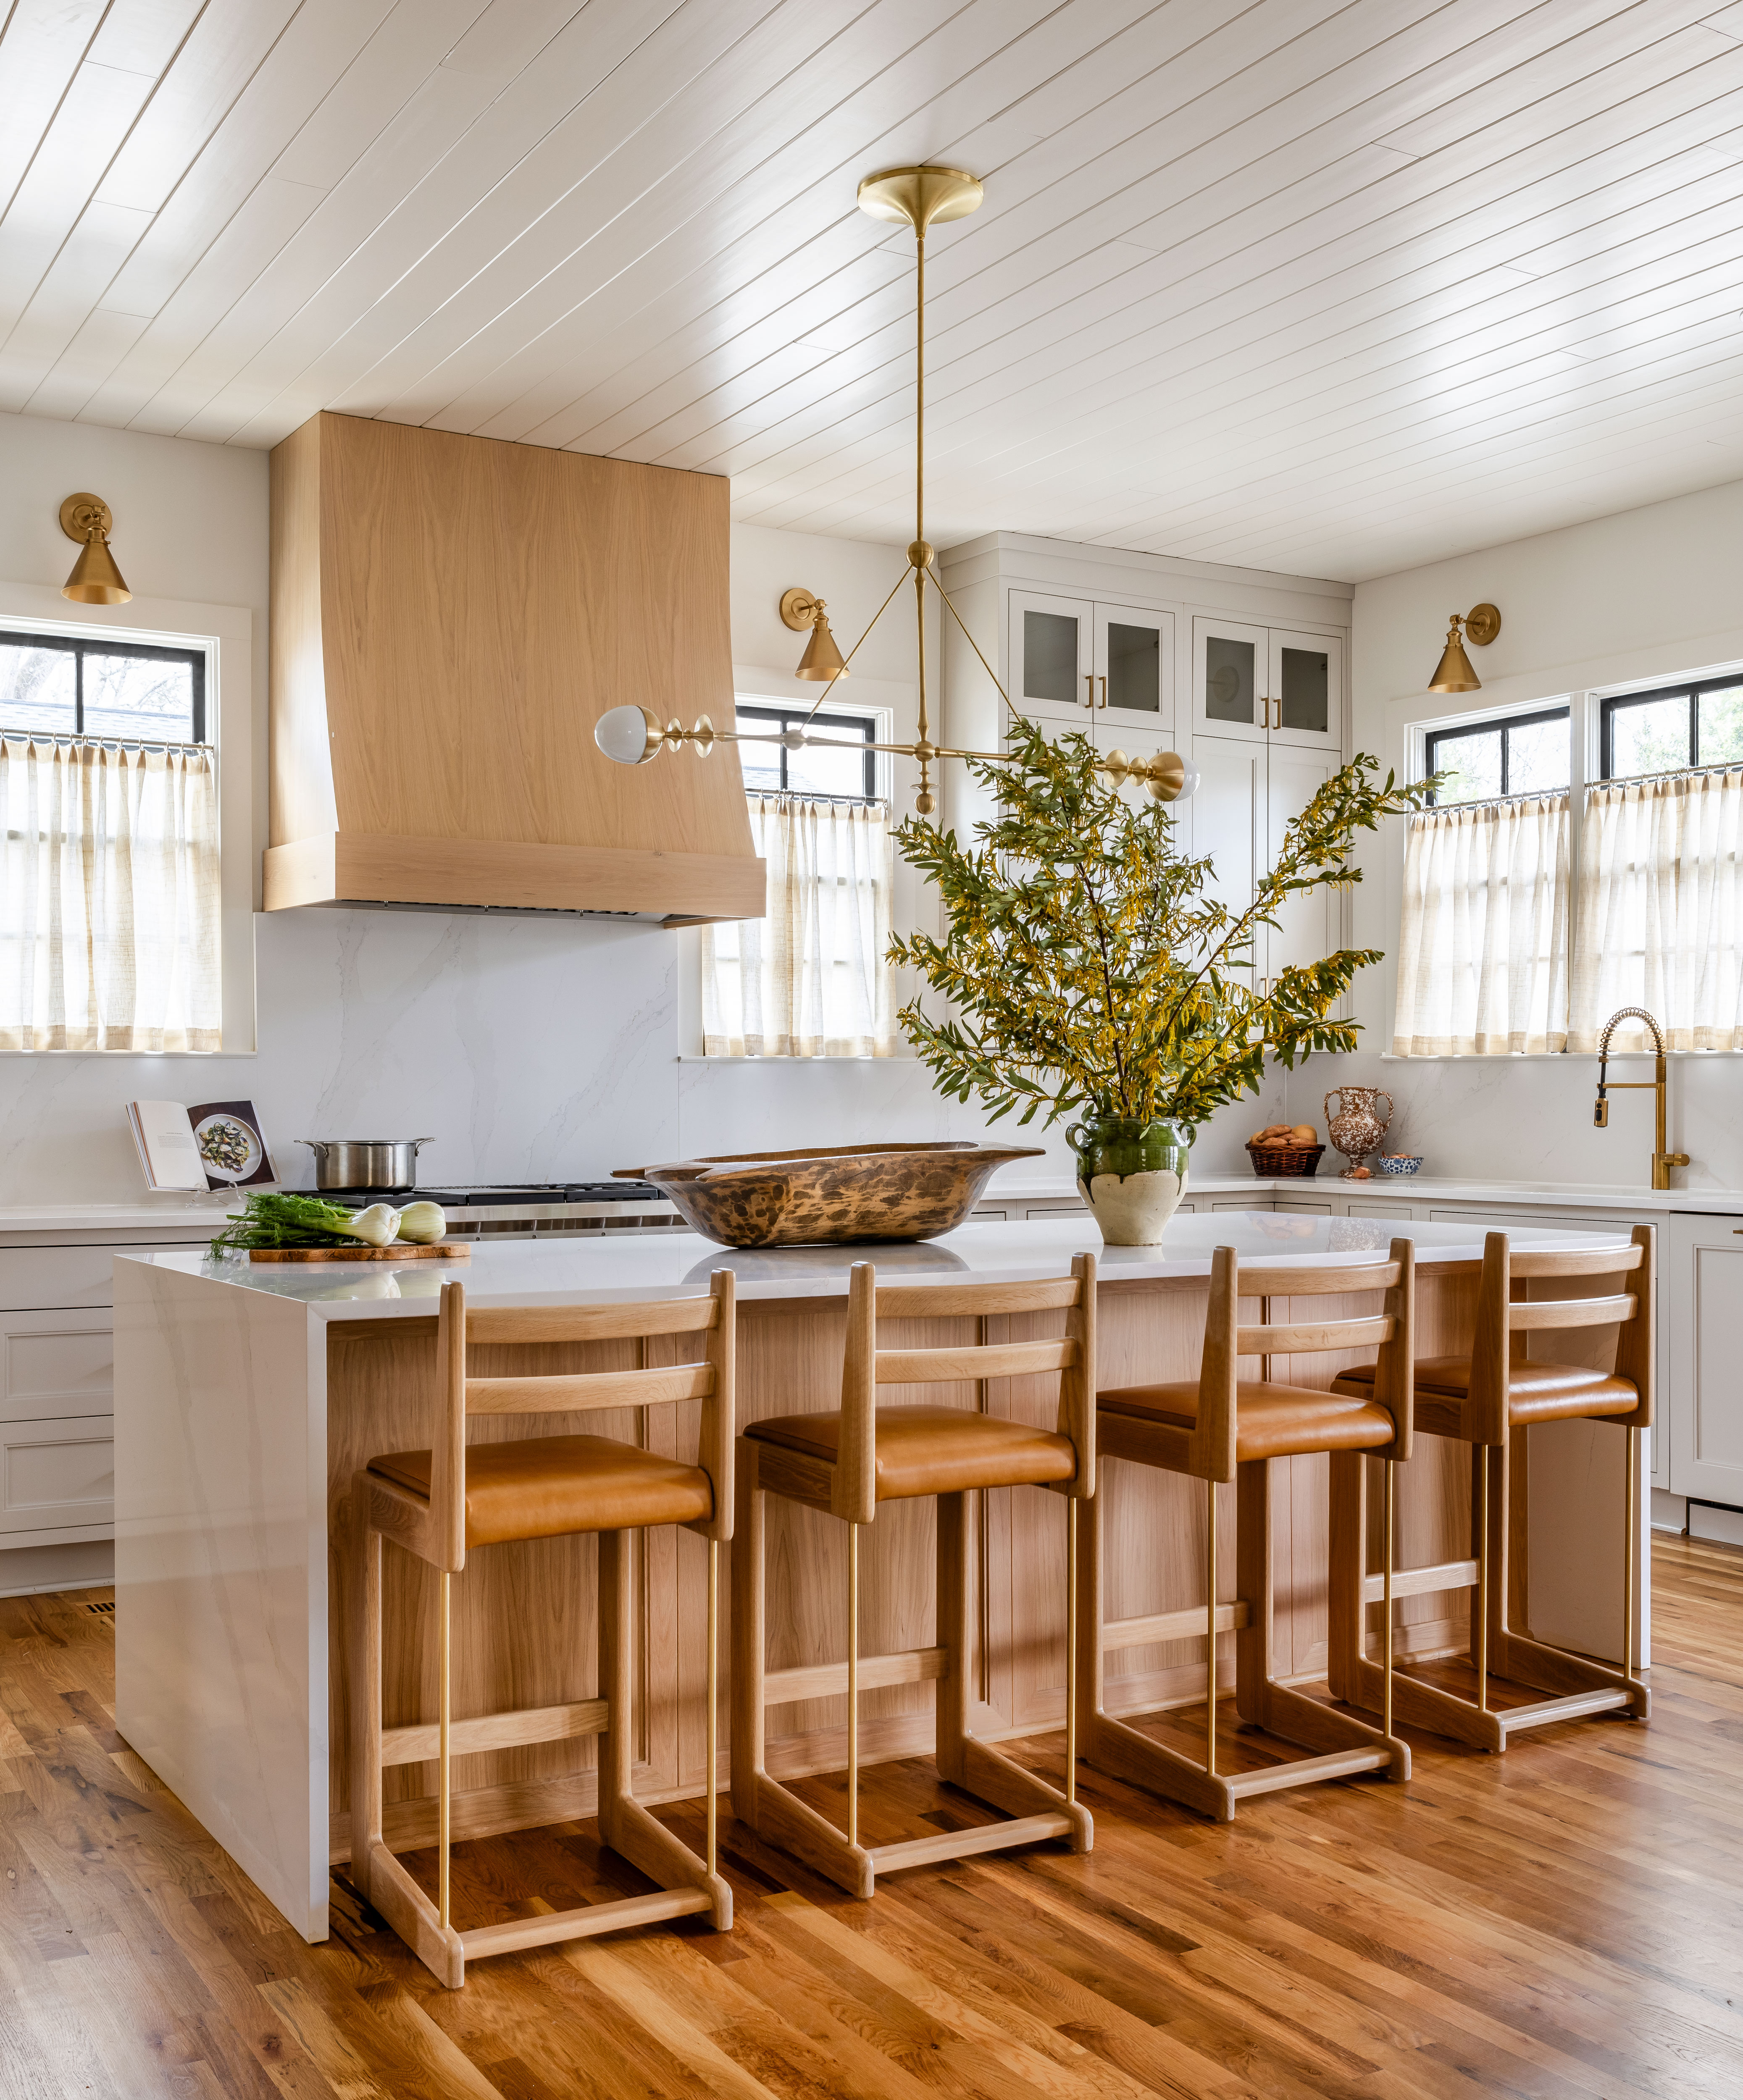
One of Jenkins’ passions is finding counter stools that are equally cozy and stylish. “Because in reality, people love to sit at the island and hangout with whoever is cooking,” she says. And in a kitchen that’s open to the rest of the living space, it matters what they look like from the back. Lawson-Fenning’s Cruz Barstools are one of the pro’s go-tos: “They have this little brass detail that’s like a piece of jewelry, they’re super comfortable, not too heavy, and they have a footrest,” says Jenkins. The leather seats are about as wide as a standard dining chair, so they can get a little tight when lined up along a smaller island, but that’s also what makes them easy to sit in for hours.
Tip: If you have any control over the height of your island, aim for the standard 36 inches so it lines up nicely with the rest of the kitchen’s surfaces. “It looks cleaner when everything is the same,” says Jenkins.
Step 7: Mix Up Window Treatment Styles, But Not the Fabric
Jenkins swathed the formerly bare windows in two styles of treatments. Cafe curtains in the kitchen allow plenty of natural light to pour in, while tall drapes prevent TV glare in the living room. Using the same sheer fabric throughout ties the different areas together nicely.
Tip: Another feature to keep consistent? The finishes of the light fixtures (Jenkins opted for brass). “It’s hard to mix it all up when everything is open to each other,” says the designer.