Sliding Closet Doors Are a Bummer—Unless You Make This $45 Update
Take it with you when you move.
Updated Oct 11, 2018 8:59 PM
We may earn revenue from the products available on this page and participate in affiliate programs.
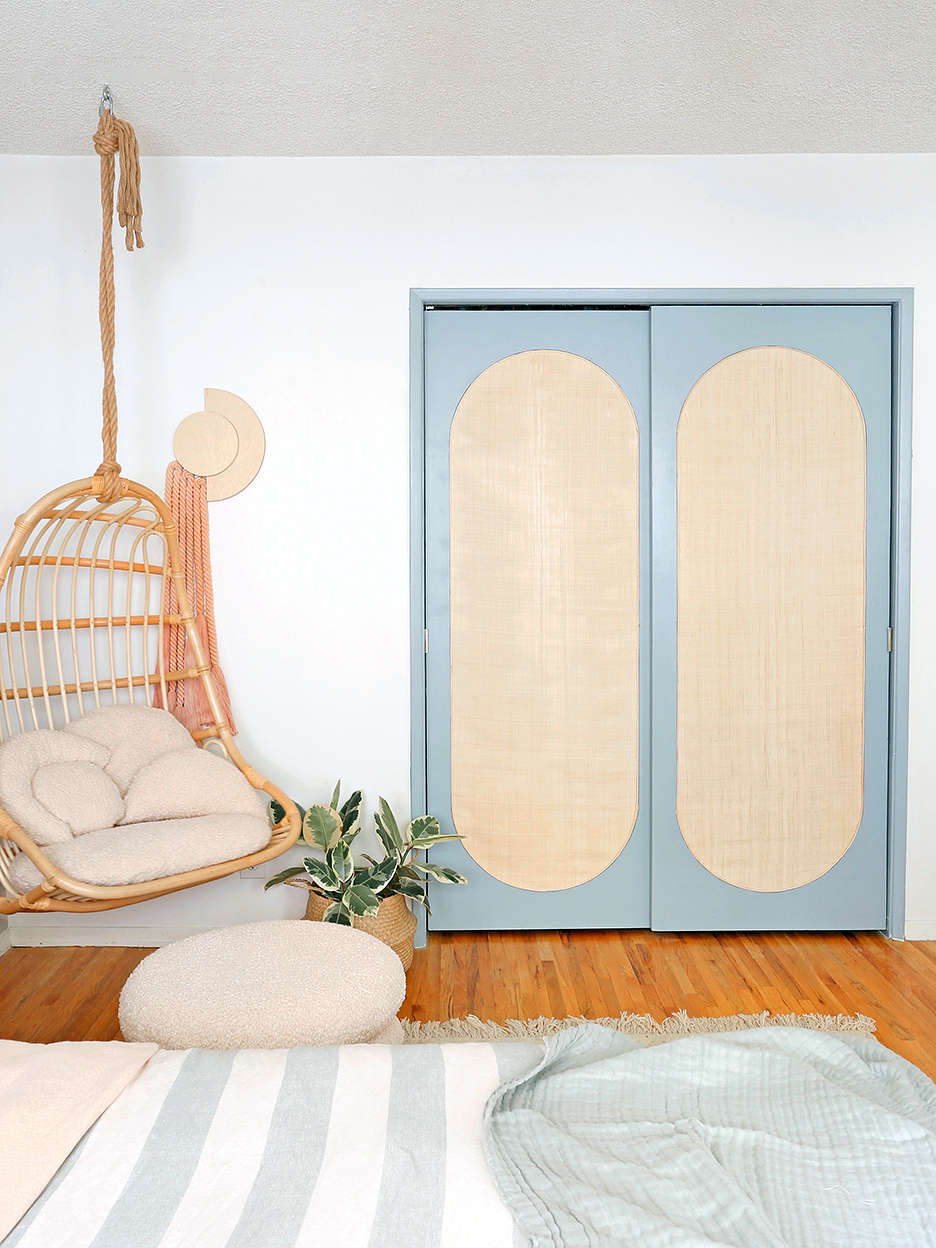
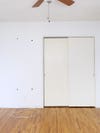
Cynthia Moreno has come to terms with her apartment’s tiny guest bedroom closet, even the sliding doors from the 1980s that only let her see half of what’s inside at one time. “It doesn’t make sense to spend a ton of money fixing something that isn’t ours,” says the seasoned DIYer, who has shared the West Hollywood rental with her husband and their French bulldog, Dolly Parton, for five years. Tearing the doors off wasn’t going to fly with her landlord or her budget, but not all hope was lost: Moreno recently came up with a fix that is chic and nonintrusive—and only cost $46.
“The most challenging part was actually coming up with the idea,” she recalls. Oddly enough, it was an armoire that inspired the MDF-meets-raffia design, which can be completely removed when the couple moves out. “It now feels less like an apartment closet door and more like a piece of furniture,” she says. Ahead, Moreno walks us through the afternoon-long project (it took around four hours, mostly because she had to wait for the paint to dry). Fellow renters, listen up.
The Supplies
- Two 4-by-8 MDF (medium-density fiberboard) sheets
- Interior paint
- Finishing nails or staple gun
- Finger pulls
- Raffia fabric
- Clear tape
- Jigsaw
- Pencil
- Compass
Step 1: Make Your Accent Shape
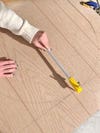
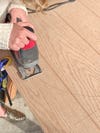
Measure both doors and cut the two MDF panels (Moreno sourced the lightweight material from her local Home Depot for $11 per piece) according to the dimensions with your jigsaw. To get her oval shape, outline the silhouette on the surface with a pencil, using a compass to get the perfect curve at the top and bottom. Cut out the center with the saw. (If you don’t own the tool, you can also take the wood to your local Lowe’s or Home Depot and ask them to do it for you.)
Step 2: Paint the Panels
Cover the wood with the interior paint color of your choice (Moreno opted for a breezy blue-gray hue by Behr). A sample can ($4) is all you should need to cover the surface area.
Step 3: Paste On Your Fabric
As that’s drying, adhere your raffia fabric to each of the original doors so that it covers each side completely. (Moreno sourced her fabric from a local caning and basket supply store for $20.) Tape the edges of the material to the doors.
Step 4: Frame It
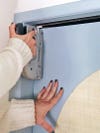
Secure the painted MDF panels with finishing nails or a heavy-duty staple gun. There’s no need to remove the original doors: Keep sliding them around until you can see the whole surface. “It’s nice to have two people doing this,” Moreno notes. “That way, the other person can hold the weight while you hang the material.” If the inner edges of the cutout shape are a little rough, apply a thin strip of basket reading around the trim with hot glue to streamline everything.
Step 5: Don’t Forget the Handles
In the process of attaching the MDF to the doors, you’ll likely end up covering the holes that allow you to slide them open. Luckily you can screw simple brass finger pulls into the ends of each door. Open sesame.
