
We may earn revenue from the products available on this page and participate in affiliate programs.
Surface space is a sacred thing in my seven-by-seven-foot New York City bedroom. Excluding my full-size bed (a great resource for folding clothes on laundry day and sleeping, but not much else) and a glass nightstand with a small mirrored shelf, the only usable real estate is the top of my 30-inch-wide dresser. For four months after I moved in, this was my only vanity. (The medicine cabinet in the bathroom barely has room for my and my two roommates’ toothbrushes, so that area is off the table.)
At first, I attempted to neatly display my moisturizers/brushes/compacts alongside my personal belongings (a few books, a couple small vases). But before I knew it, my mascara was in my underwear drawer and there were foundation smudges all over my picture frames. I realized that, for my space to truly feel tidy, I was going to have to reimagine the one blank expanse left: the wall.
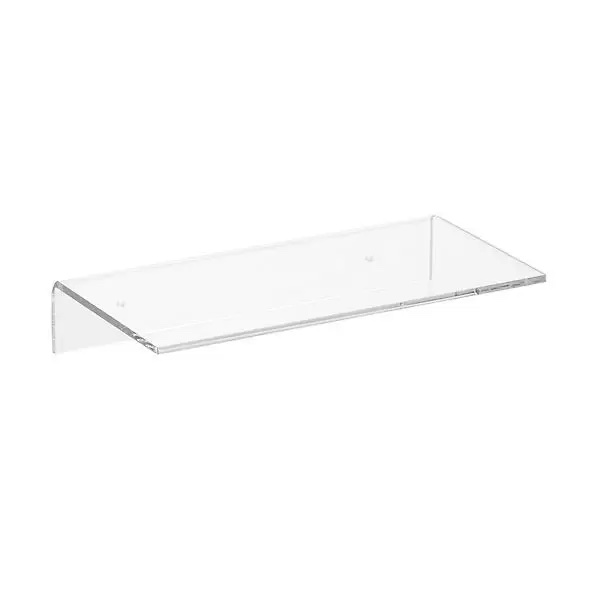
The Container Store’s Single Acrylic Wall Shelf ($17.99) saved my morning routine. The second I successfully mounted two of them in my room, I could breathe a little easier—even after making plenty of first-time mistakes along the way. Here are my four takeaways for carving out a vanity space where there previously was none:
Pick a Place That Feels Natural
In addition to purchasing the shelves, I also grabbed a $6 all-purpose hanging kit that came with two different sizes of wall anchors and corresponding screws. Before twisting the anchors directly into the drywall (no drilling involved!), I marked the holes for the lowest shelf at eye level using a pencil. In my case, this was 52 inches above the ground. I made marks for the second shelf eight inches above that. I wanted the gap between the two to be big enough to hold a container of brushes but small enough so that the items I stacked on it would cover up the white wall.
But Always Start With a Stud Finder
I ignored this crucial step and it turned what should have been a 10-minute process into a weeklong ordeal. The first shelf went smoothly, so when it came time to make the holes for the second shelf, I assumed that I could hang it parallel. No matter how hard I twisted and hammered the anchors, they wouldn’t go in. Three spackle-and-paint jobs later, and I eventually got my hands on a stud finder. It turned out that I had to stagger the shelves—the highest one four inches to the right—to avoid barriers within the walls.
Overlap Accessories
I mounted the shelves seven inches to the right of the mirror above my dresser to make the whole wall feel like one cohesive display. Even so, clear shelves and a brass mirror aren’t all that visually interesting, so to add some texture, I filled a vase with dried eucalyptus and sat it on a stack of coffee-table books on the edge of my dresser. The wispy arrangement acts as a visual divider between the mirror zone and the shelving.
Choose Something That’s Easy to Clean
I try to keep my plastic consumption to a minimum, but I went with the acrylic shelves from The Container Store because they basically disappear (key for my tiny space!) and all it takes is a bit of water and soap to wipe away bronzer debris. IKEA’s Lack shelves, shown above painted a blush pink, are similarly easy to clean. Beauty isn’t everything, but an organized bedroom is.


See more stories like this: Amazing Bathroom Vanities You Won’t Believe You Can DIY Vanity Tables Are the Glam Way to Stash Your Skin Care How to Finally Bring Order to Your Vanity