We may earn revenue from the products available on this page and participate in affiliate programs.
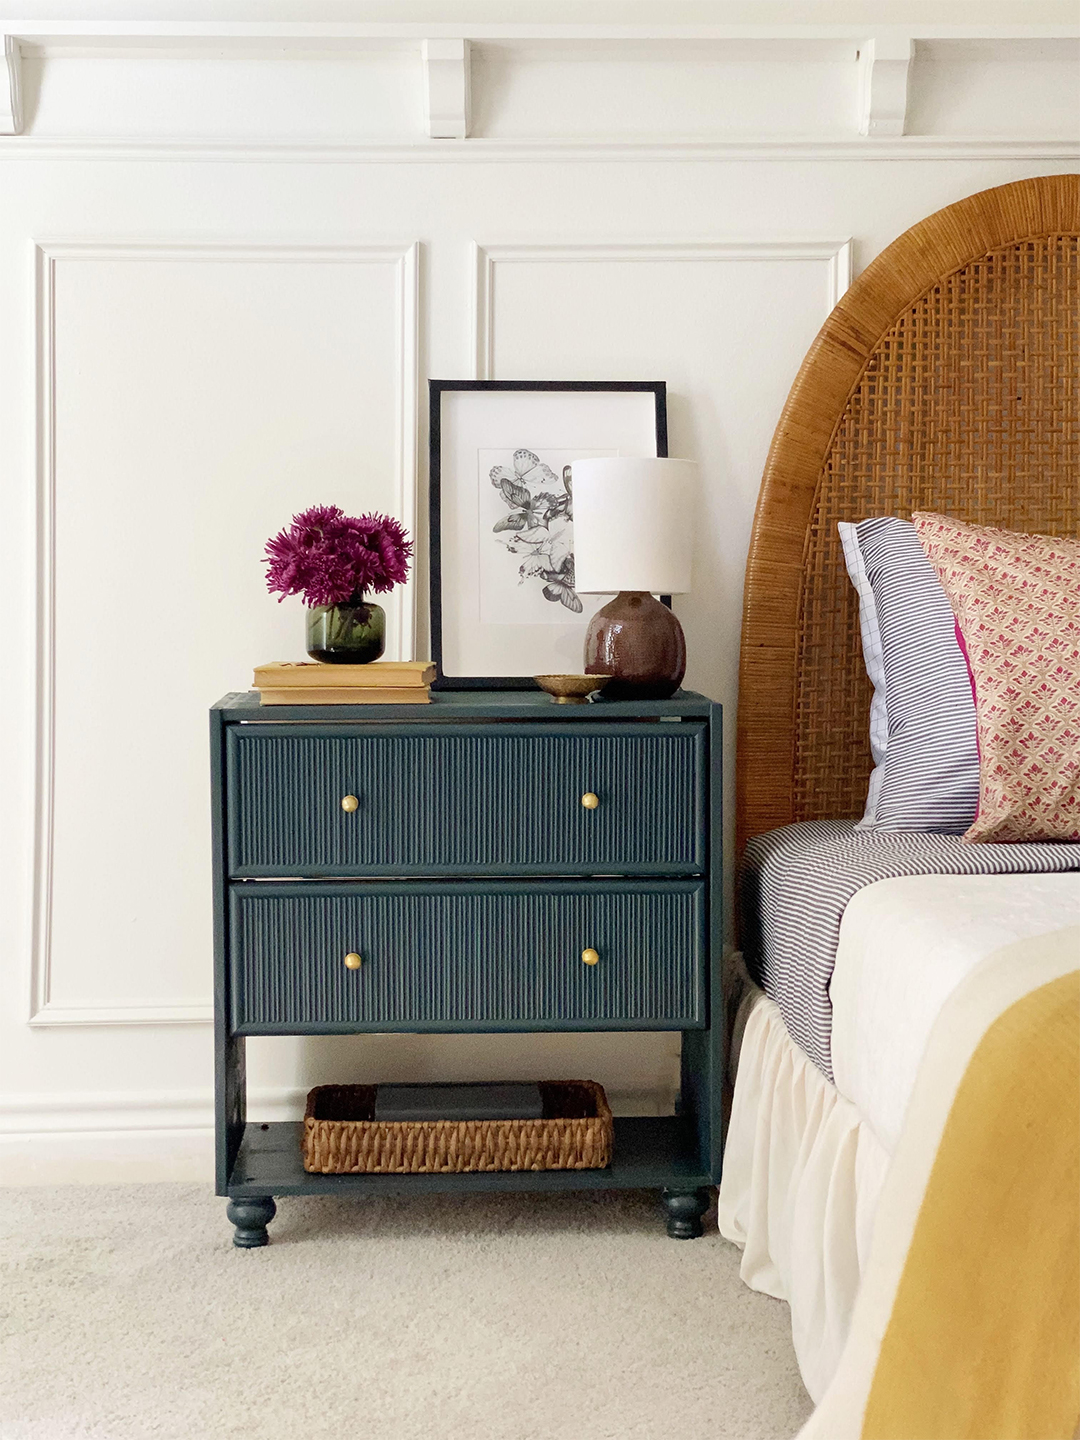
When Ryia Jones (the blogger behind Kin and Kasa) was redesigning her daughter’s bedroom, a nightstand with storage became a must-have. Instead of investing in a traditional one, she decided to transform a small IKEA Rast dresser into the exact piece she needed. “It’s just a kid’s room,” she explains. “I wasn’t going to buy an expensive piece my daughter was going to grow out of.”
Jones was adamant about having an open shelf—a closed block would have looked too heavy in the already tiny room. For $75 total—that’s including the furniture and all the supplies—she was able to upgrade the storage to an extra-wide bedside table for a fraction of what most typical nightstands cost. Here’s exactly how she brought this IKEA Rast hack to life.
The Supplies
- IKEA Rast dresser
- Reeded trim (Jones used this kind from We Are Woodgrain)
- Half-dowel trim
- Painter’s tape
- Handsaw (optional)
- Wood glue
- Caulk
- Paint
- Screwdriver
- Knobs
- Legs
How to DIY a Nightstand With This IKEA Rast Hack
Step 1: Build It Up
Construct the shell of the IKEA dresser based on the provided instructions. Jones trimmed the toe-kick of her Rast at this point, but she says that if given a second chance, she wouldn’t do that again. “It doesn’t really change the end result, but I didn’t know that at the beginning,” she explains. Build two out of the three drawers to allow space for the open shelf, but don’t slot them in until after the trim is installed.
Step 2: Cut to Size
All of the trim you’ve purchased will go on the drawer fronts. Cut the dowel pieces to fit along the edges of the drawers and create a border, angling the ends 45 degrees so they will fit against each other for a clean finish. Measure the space between the top and bottom dowel on each drawer to determine the proper height for the reeded trim in the center of the drawers.
To cut down the reeded trim, tape three or four pieces together with painter’s tape, which will keep the grain from splitting (it also saves time!). If you don’t have a handsaw or any power tools, no worries. Ask your local hardware store to trim them for you instead.
Step 3: Get to Gluing
Apply a generous strip of standard wood glue along the back of each dowel piece and apply to the drawer front, following the edges of the drawer. Once the border is on, there’s no need to wait for the glue to dry. Repeat the gluing process with the reeded trim inside each rectangle.
Jones ended up having small gaps in between each piece of reeded trim. If you find that you do, too, simply fill the spaces with caulk and smooth by running your finger along the grooves from top to bottom.
Step 4: Paint
No need to treat or prep the wood in any way—you can just apply the paint color of your choice (Jones used Mount Etna by Sherwin-Williams) with a roller. For the drawer fronts, use a 1- to 2-inch-wide paintbrush to get in all of those creases.
Step 5: Grab Hold
After leaving your new nightstand to dry overnight, screw in your desired drawer pulls and legs (if using; Jones’s are turned feet similar to these) according to their respective directions. Slot the two drawers into the top spots, and take in the wide-open real estate on the open bottom shelf. “When I started the project, I wasn’t excited about it,” says Jones. “But it adds a bit more joy to my girl’s space.”
Other IKEA Rast Hacks to Try
Re-create a Dupe

In a courageous debut of her very first DIY, Instagram user Bailey Hill unveiled the outcome of her IKEA Rast hack. With the help of some Dollar Tree dowels, a little sanding, and paint, she transformed the dresser into a coveted Crate & Barrel dupe—if you squint your eyes a little, she says.
Upgrade a Tiny RV Kitchen

In one scorching summer weekend, Instagram user and full-time van-lifer Sam undertook an endeavor she aptly named “Operation Kitchen Extension.” In order to craft a more functional place to store the gas stove in her tiny RV kitchen, she turned to an IKEA Rast she found on Facebook Marketplace. After she altered the piece with a dropped front panel and custom leather handles, it’s now the perfect disguise for her cooktop. And as a bonus, it also serves as a compact seating option and footstool for the neighboring swivel seat.
Add an Apothecary Vibe
In a series of five Rast-centric DIYs, the YouTuber behind Furniture Fables by Andy takes on the humble unfinished wood piece with unyielding enthusiasm. In the first of her projects, she alters the three-drawer dresser with a circular saw, then adds some vintage hardware and a set of casters to create an apothecary-style cabinet.