We may earn revenue from the products available on this page and participate in affiliate programs.
With our New Year’s resolutions freshly penned, January at Domino is all about change—the demo and construction kind. Welcome to Reno Month, where we pull back the curtain on the highs (moodboarding!) and lows (finessing the budget—again) that come with creating the home you’ve always wanted, whether that involves a top-to-bottom remodel or a rental kitchen facelift. Sign up for our newsletter so you don’t miss a thing.
Meghan Lavery and Daniel King aren’t ones to shy away from a small-scale rental reno. In their Williamsburg, Brooklyn, apartment, the Home Union founders replaced doorknobs with punchy red handles; swapped out a curly mustache balustrade for a minimalist plywood style; and retiled everything from the kitchen backsplash to the balcony step.
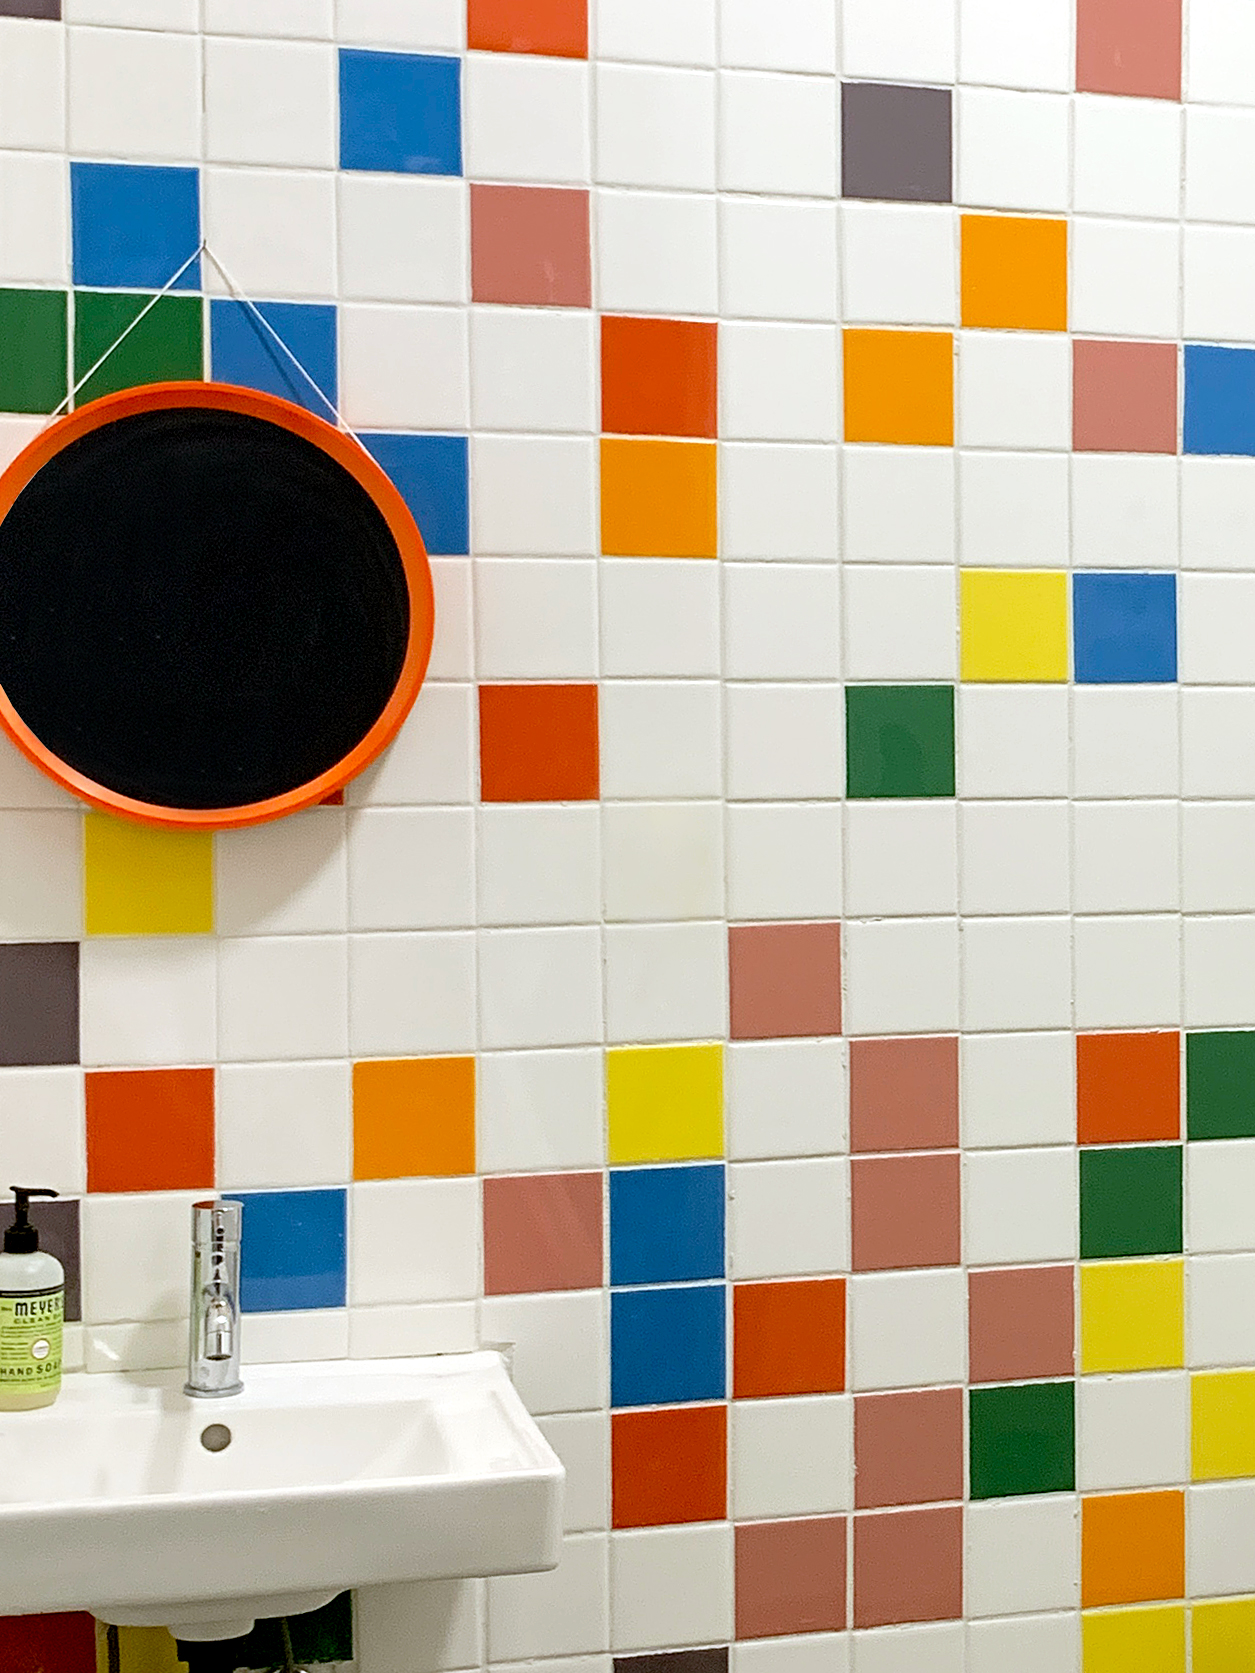
As they prepare for the opening of a new Brooklyn store in February, they’ve tackled another mini project that stopped us dead in our tracks: covering the bathroom walls in a rainbow of simple ceramic tiles. “We had a ton left over from our old store and wanted to spruce up our generic bathroom with some bold color that would be memorable to anyone who goes in,” explains Lavery. “Because it’s a small space, it’s the perfect place to be extreme. It’s great for selfies, too.”
They laid out the affordable ceramic tile in a totally random fashion: “It kept us from overthinking it,” she says. Their number-one tip: Take the time to set up your space for easy cleanup. “It will save you a ton of time later on,” says Lavery. “Have all your tools and tiles nearby, and if you’re tiling a floor, invest in kneepads!” Here’s how they got the whole thing done in 35 hours (essentially one week).
The Supplies
- Ceramic tiles of your choosing
- Thin-set mortar
- Grout of your choosing
- Notched trowel
- Grout float
- Tile cutter
- Grout sponge
- Drop cloths
- Tile spacers
Step 1: Lay Your Foundation


Spread a layer of thin-set mortar with your notched trowel, then set in your tiles one by one in your chosen pattern (or at random!). Make sure they are adhering to the mortar as you go. Place spacers between each tile.
Step 2: Repeat

Continue with the same method until the space is filled, leaving the awkward spaces at the corners for last. Those can be filled one by one as you cut tiles (with a tile cutter or a diamond wheel) to suit. Once the entire space is filled, leave to dry overnight.
Step 3: Get Your Grout On

The next morning, remove the tile spacers and begin the grouting process. Push grout into all the cracks with a grout float, scraping away excess. Do this until the whole surface is complete.
Step 4: Come Clean
Use a wet grout sponge to vigorously wipe any residue off tiles, repeating as needed. Admire your new masterpiece.
See more stories like this: The Couple Behind Brooklyn’s Insta-Famous Vintage Store Never Stops Decorating Lena Dunham Finds Her Happy Place IKEA-Meets-Gufram in This Playful Family Home