We may earn revenue from the products available on this page and participate in affiliate programs.
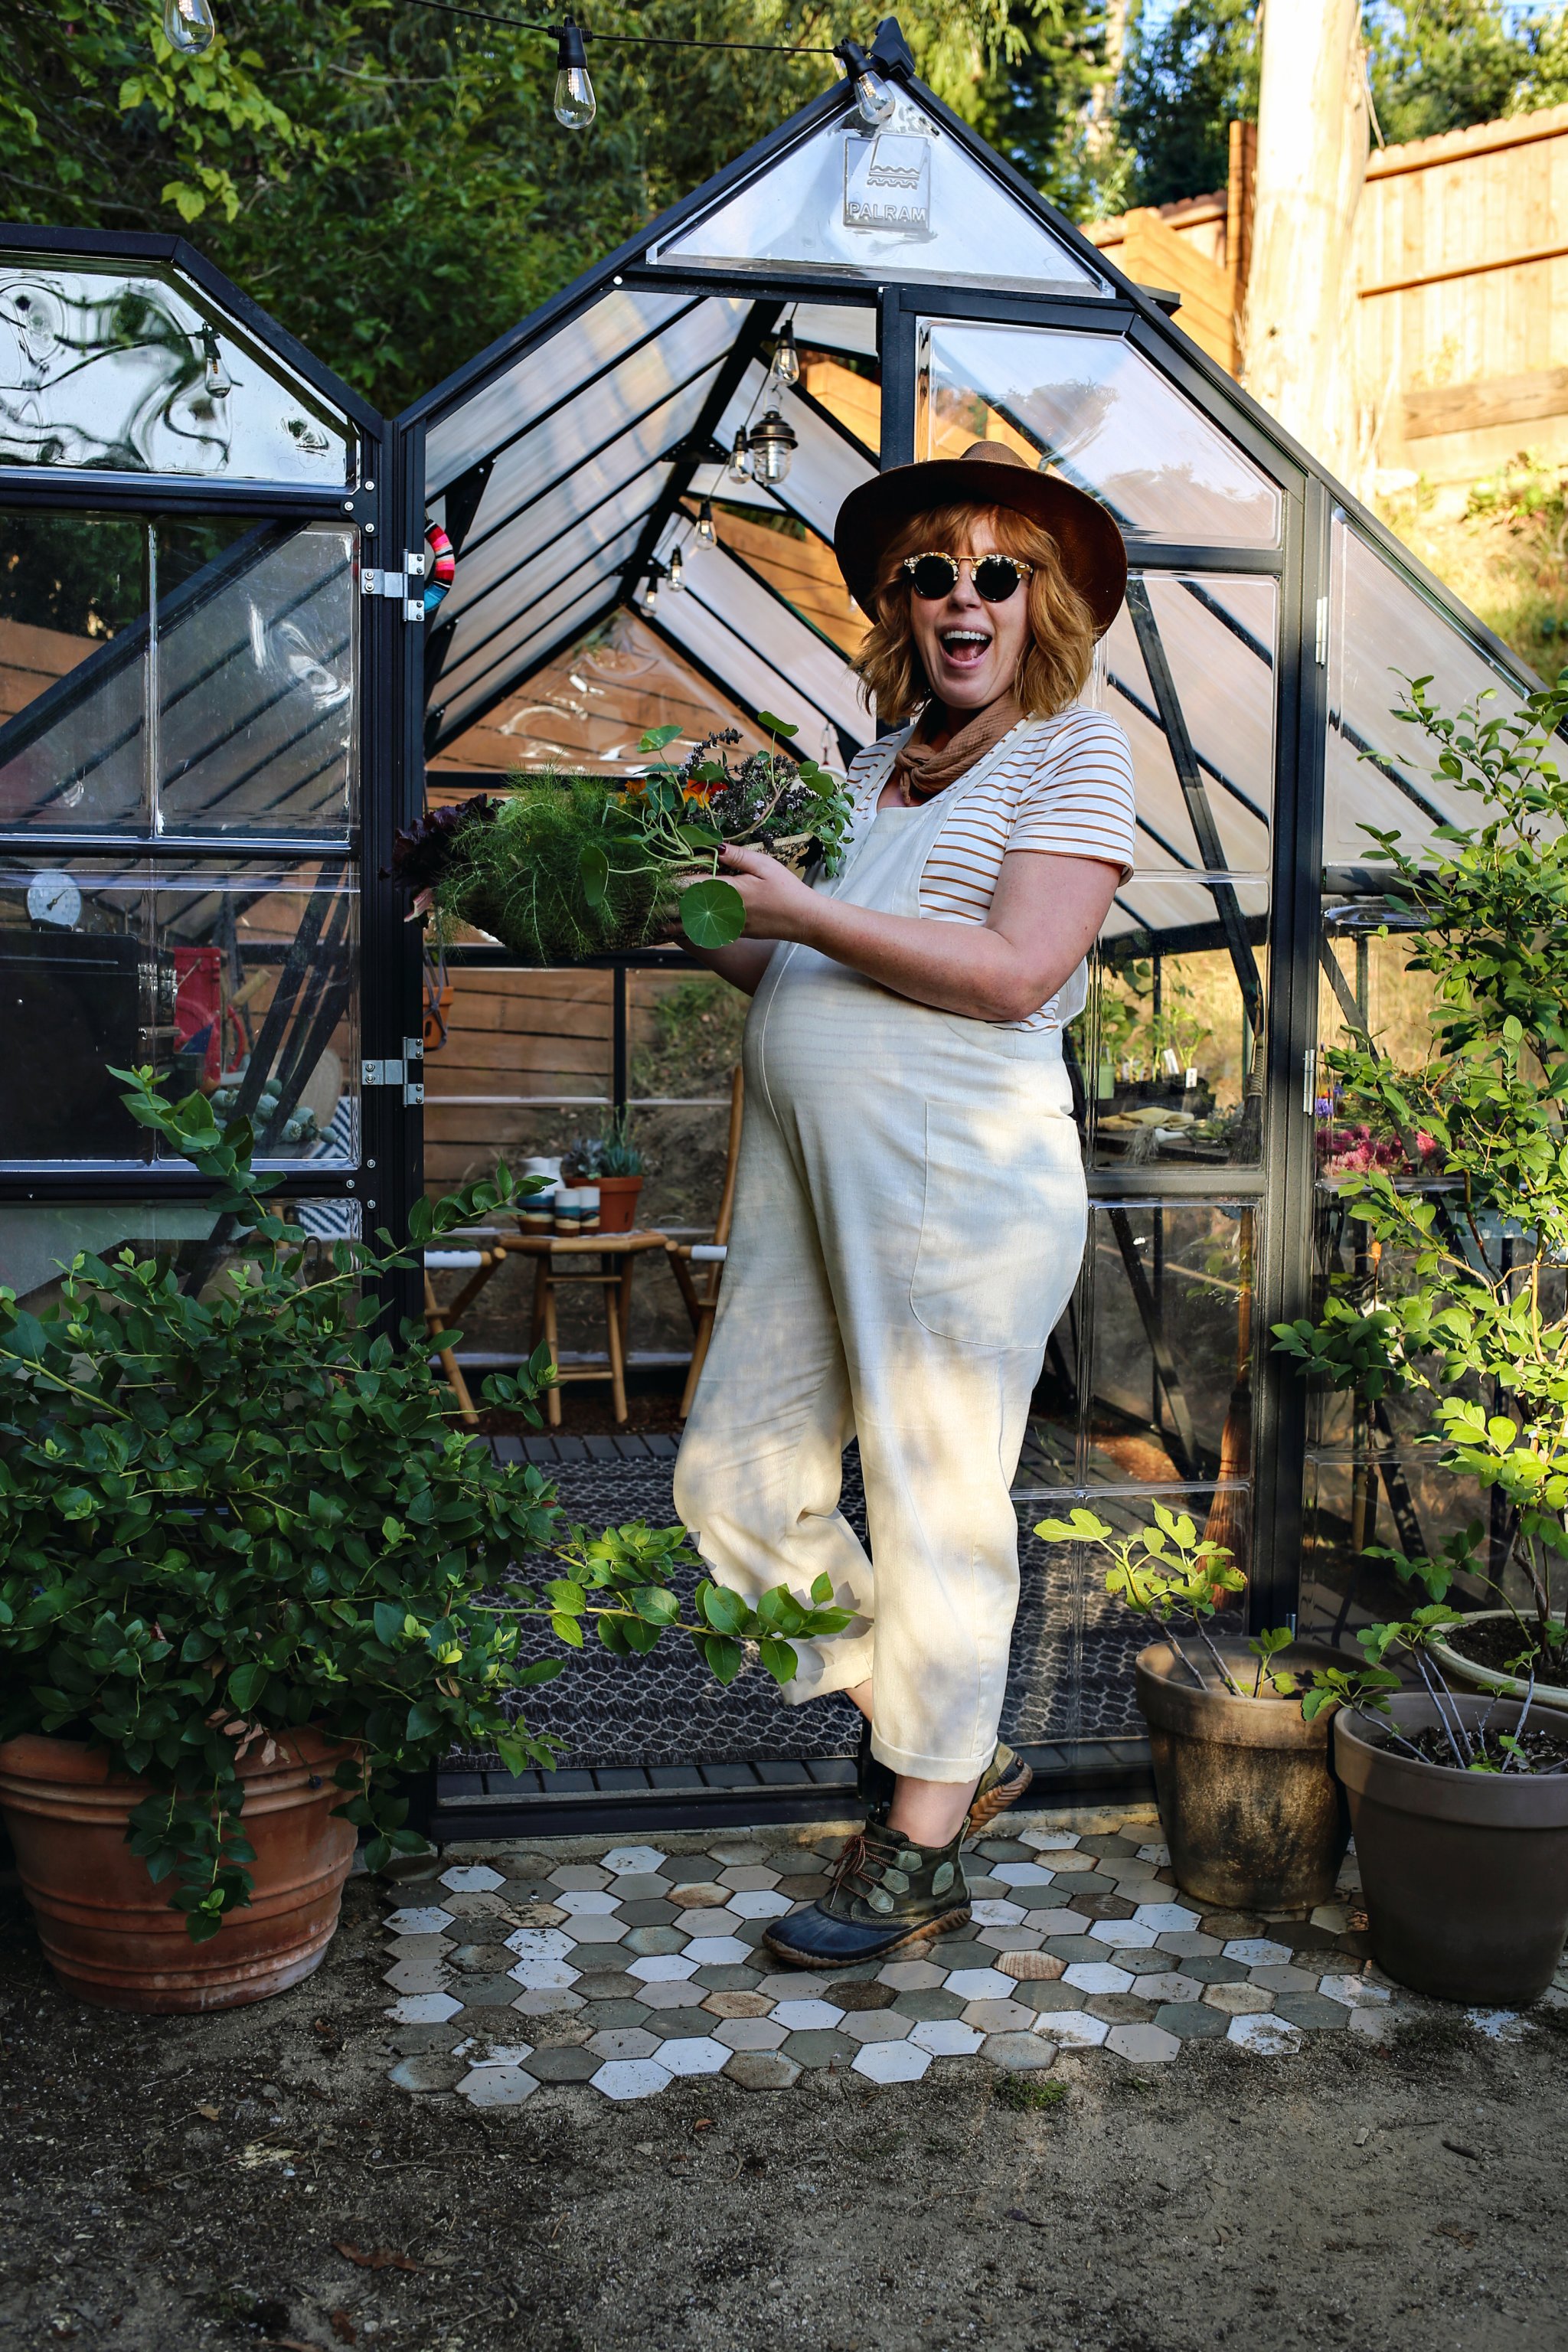
There comes a time in every green thumb’s life when tending to their indoor jungle is no longer enough. They’re ready to take things to the next level. For some people, this might mean attempting a living wall. For photographer and stylist Kristin Guy, it meant building a greenhouse in her backyard.
“A greenhouse was always a wish-list item I never really thought could become a reality in Southern California,” notes Guy, whose site, Dine X Design, is full of gardening tips and recipe ideas for your horticultural handiwork. The discovery of a simple prefab kit changed her mind—and with a few customizations, she realized it could still have the bespoke feel she wanted. Guy filled it with all her favorite things: hanging terracotta planters, a ledge herb garden, and even a sitting area. “Ours is by no means just a showpiece; it’s a real, hardworking part of our garden where I grow starters from seed, house a potting shed, and do a lot of herb and vegetable drying…but it also makes for a lovely happy hour spot on a warm summer evening,” says Guy.
Of course, she also uses the space for its standard purpose: to grow off-season treats, like edible flowers, as well as such hard-to-find produce varieties as tomato hybrids and specialty squashes.
Feeling inspired to get your greenhouse gardening on? We chatted with Guy to learn how she DIY-ed the conservatory of her dreams.
1. Choose the Right Spot


According to Guy, the most important step is picking the location for your greenhouse in the yard. “Choose a well-drained area that’s flat and gets at least six to eight hours of sunlight a day,” she advises.
2. Judge the Greenhouse by Its Cover

Guy’s particular kit came in a Kelly green color, but she immediately powder-coated the whole thing matte black. “The result, although a lot of work, is what makes this structure extra-special!” she shares. Be sure to paint each piece separately before assembling for the best outcome.
3. Add Your Own Storage

“We created custom wood shelving. The add-on shelving kits that come à la cart for this model were actually quite pricey for the size,” explains Guy. Instead, she cut long wood boards to form two full-length workables. Then she painted the pieces the same black as the exterior to tie it together. Now there’s plenty of space for flower arranging and housing smaller pots.
4. Apply All the Small-Space Tips Typically Used Indoors

“Storage solutions are key with this tiny space!” says Guy. She uses baskets to store loose items, like fertilizer or dirt, and hooks for such things as tools or even potted plants. Just as with a small apartment, it’s crucial to make the most of the walls.
5. Personalize the Flooring

To spruce up the prefab’s floors, Guy opted for patio decking tiles—and a tiled entry just outside the door. Both create a homey vibe and keep dirt and dust to a minimum. Pick something colorful, like a saffron yellow design, for some contrast, or keep things classic like Guy did with a chic concrete style.
6. Amp Up the Curb (Err, Deck) Appeal

The final touch? “We strung a few strings of solar-powered café lights outside, which really bring on the magic at night,” says Guy. Whether it’s adding similar twinkly lighting or creating a reading nook in a corner, introducing these small touches is what will take your greenhouse from just somewhere you grow things to somewhere you actually want to hang out (and keep your plant babies company).
See more gardening stories: How to Grow a Lush Garden in the City How to Rescue Your Plants in Colder Weather The Genius Gardening Hack You Need, Courtesy of a $1 IKEA Vase