We may earn revenue from the products available on this page and participate in affiliate programs.
Jennifer Garner works best under bright lights—and we’re not talking about the ones on a film set. When the actor is at home, you can find her baking cloud cookies and freezing yogurt to make a shaved ice treat. The kitchen is her second stage, so naturally it needs lots of quality task lighting. “I just built my house, so I’m still in the honeymoon phase with my kitchen,” Garner, who also happens to be a KitchenAid ambassador, tells Domino. “But the one thing I did after moving in is add even more under-cabinet light and high-up light. You just need it; you need to see what’s going on.”
Understandably, under-cabinet lighting is one of those things that seems like a “nice-to-have,” but once you’ve experienced it, it quickly becomes a “need-to-have.” The accent feature lends a soft, shadow-free glow and makes tasks at the countertop and sink a little more seamless, both during the day and night. The trick is in getting the consistency and color right.
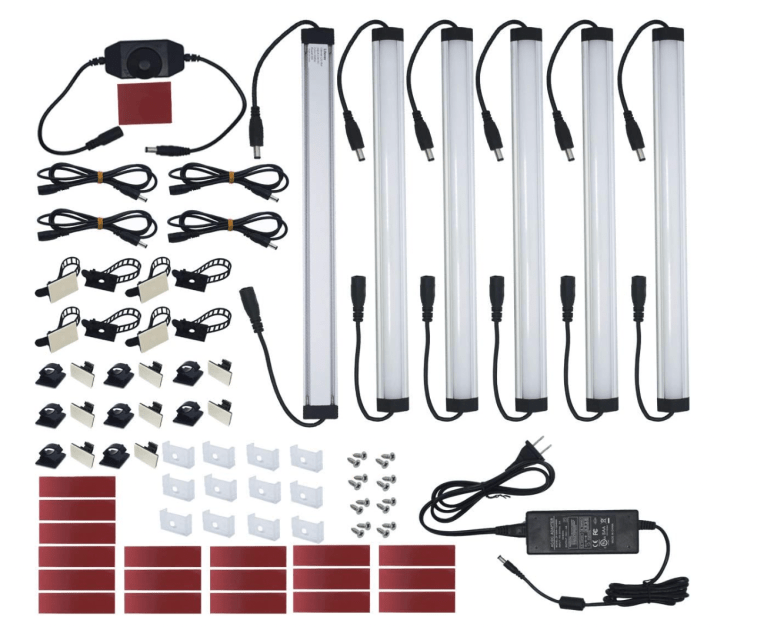
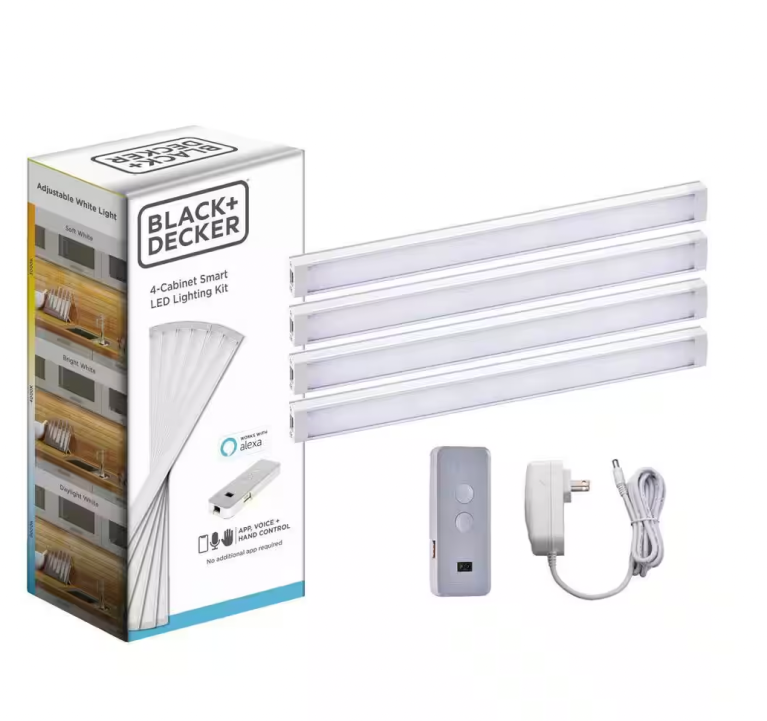
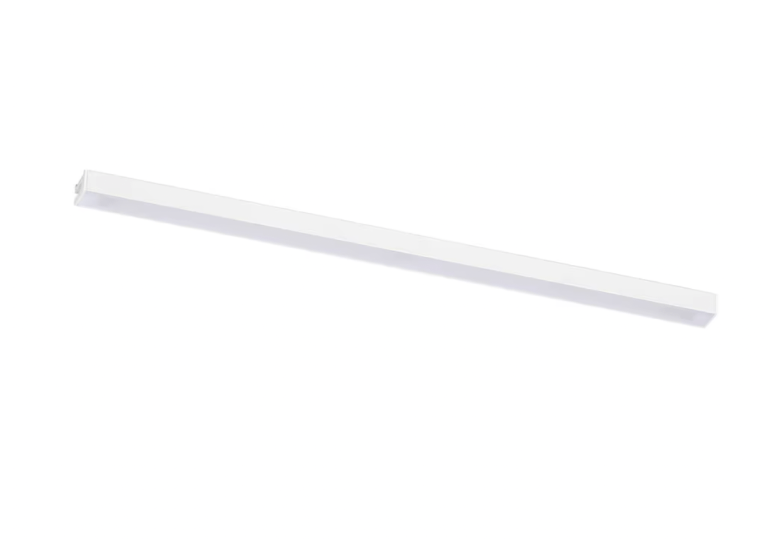
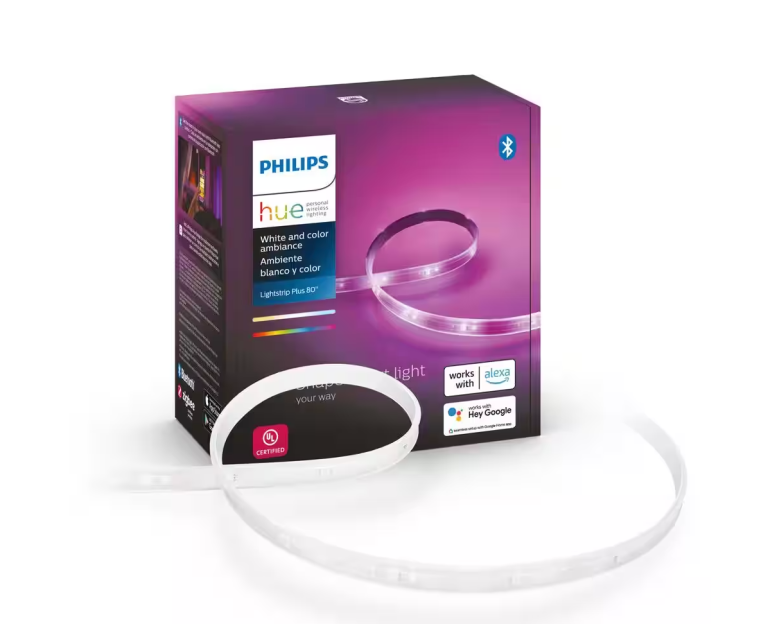
As we’ve learned from professionals in the past, you’ll want to situate the lights as close to the edge of the cabinets as possible so the worktop is bathed in beams. Psst: Choosing an LED source with a color temperature between 2,700 Kelvins(K) and 3,000K, and a color rendering index (CRI) of 90-plus, is best if you want that perfect, ambient glow that’s not too orange and not too blue. While HomeAdvisor estimates installing under-cabinet lighting will cost you between $230 and $300 per light, there are plenty of affordable pucks, strips, and kits out there so you can try Garner’s mini reno on a budget.