We may earn revenue from the products available on this page and participate in affiliate programs.
For hands-on advice from designers and pro DIYers, plus more scrappy before + after transformations, subscribe to Reno. Let your inbox do all the hard work—for now.
Building cabinets isn’t all that different from doing a puzzle: You’re looking for the perfect fit. But when Jess and Jonathan Taylor, founders of Los Angeles–based design studio Taylor + Taylor, were renovating a duplex in the city’s Silver Lake neighborhood, the pieces didn’t come together so easily; the layout in one of the two kitchens was especially tight. The simplest solution was to go overboard with hidden storage, but that would mean sacrificing an open and airy feel. “We had to think outside the box,” says Jess. Literally.
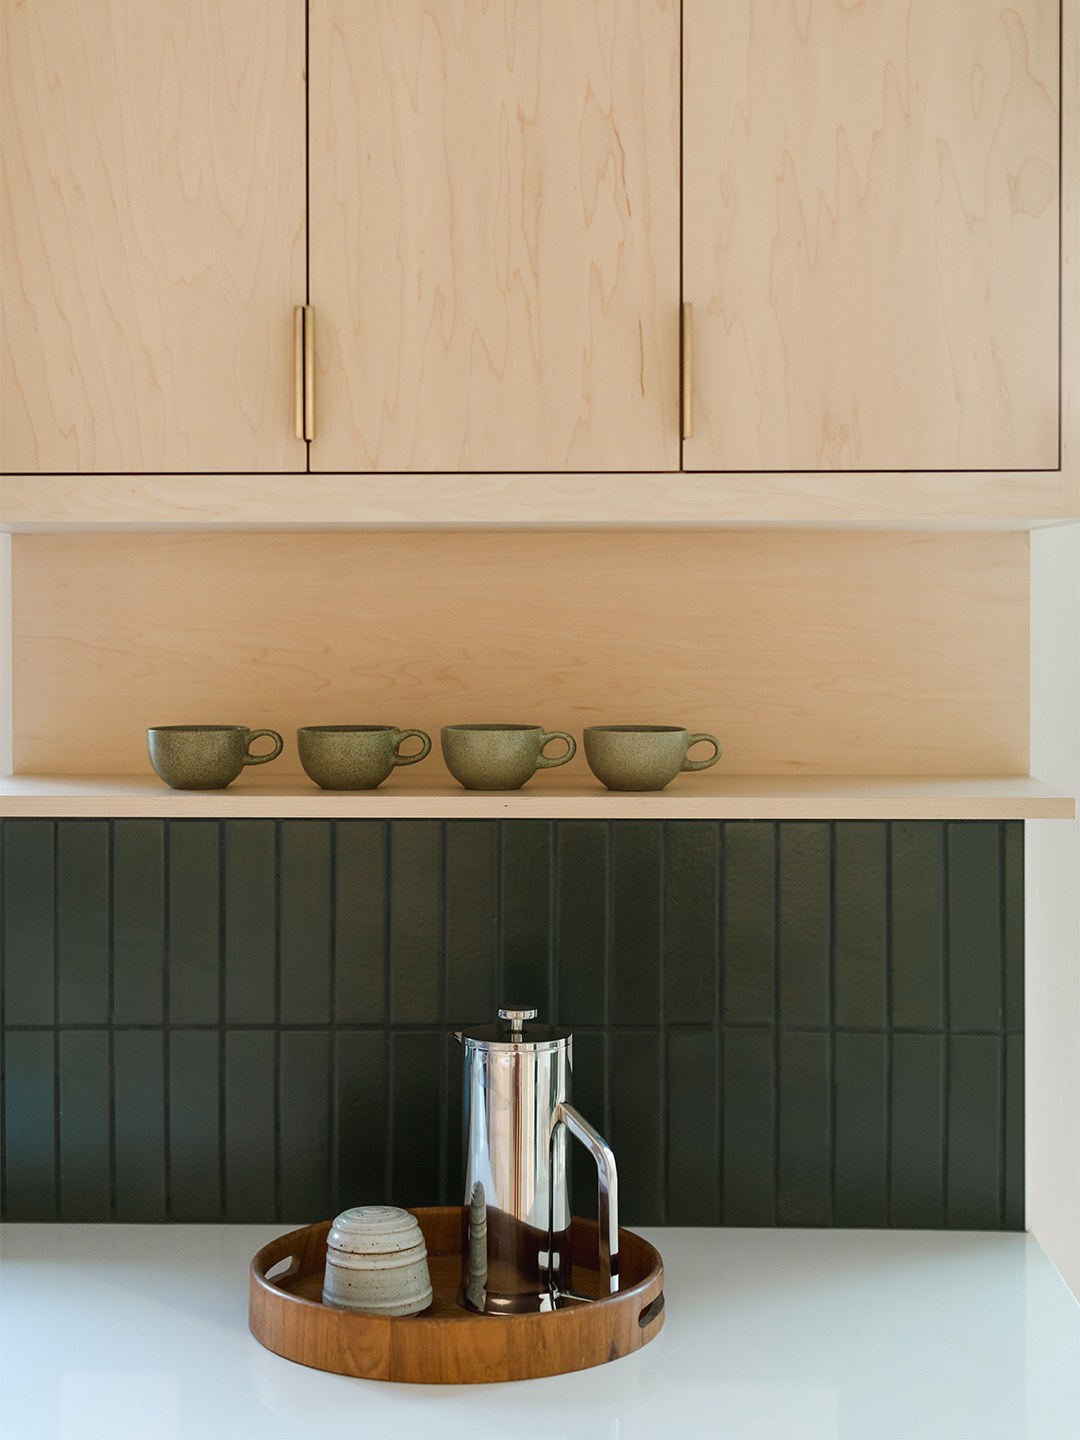
Their fix offers the best of both worlds. The designers made the upper cabinets shorter, then hung a few open shelves from the undersides. “You shouldn’t not do something because it happens to be trendy,” says Jonathan. “At the same time, you also don’t want to do things that lack total imagination.” The couple didn’t want door fronts hanging so low that it crowded the prep area. The niches, although they’re situated only 20 inches above the counter, aren’t visually obstructive. Here, the duo breaks down what you should know before trying out a similar configuration.
Start With the Ceiling

Remodeling an older home? Odds are you’ll have some wiggle room to open up the ceiling. “Who did soffits in the ’70s? Everyone. Why? I don’t know,” says Jess, laughing. For this project, the designers immediately got rid of the overhang and fluorescent lighting, gaining a good chunk of space for taller cabinets in the process.
Continue the Shelf Material Up
While the couple could have technically run a single floating shelf below the upper cabinets, a blank stretch of drywall in between the plank and the cupboard would have looked choppy. “Especially since the counters are white,” says Jess. The extra piece of maple plywood in between the base of the cabinets and the ledge keeps things cohesive.
Create Symmetry Where There Is None

“I have a strong preference for upper cabinets that are equal in length,” admits Jonathan, but this was not the case in the smaller kitchen with mustard green tiles due to the dimensions of the walls. The designers had a few choices: Expand the opening of the window (expensive), make one of the cupboards wider to close the gap (he was not a fan), or fill the white space with something else to create the illusion of evenness. That something else turned out to be more open storage. “We believe in owning beautiful things that are not just for display, but things you actually use,” he says. “We added these square corner shelves to the side of the end cabinet for that purpose.”
Eat Into the Backsplash

Typically, if there’s an integrated hood over the range, the backsplash has to be pretty high so the area is fireproof. The adjacent walls, though, don’t need that much coverage. “This shelf was a solution that made sense of that: It gives the eye something pleasing to look at and avoids a dramatic drop in the corner,” says Jonathan. If you’re working within the confines of a tiny galley kitchen, think downward—not outward.
Get the Look
This story was originally published on March 8, 2020. It has since been updated.
Our Winter Renovation issue is here! Subscribe now to step inside Leanne Ford’s latest project—her own historic Pennsylvania home. Plus discover our new rules of reno.