We may earn revenue from the products available on this page and participate in affiliate programs.
Struggling with how to add personality to the finishing touches of her mid-century dining room, Floridian Andia Kolakowski looked beyond magazine stories and social media to her and her husband’s DNA test results for ideas. “I’m almost 100 percent African, which is really rare, and Keith is mostly Polish,” she says. Inspired by the European country’s pottery production past and the bold colors of her Geechee heritage, Andia started shopping for ceramic-backed sconces. “The handmade look really appealed to me,” she says. There was just one problem: The travertine and marble bases didn’t match her Jungalow-clad walls—not to mention none fit her budget.

Already the proud owner of a round ceramic drill bit (she used it to make her youngest son a sink for at-home Montessori learning), Andia figured, “I’ve already drilled holes into a bowl, how much harder is a plate?” With a $6 Target dinner plate and a $35 IKEA table lamp, she constructed her dream fixtures in just three easy steps. Next up, a wood version using the same technique for her bedroom.
The Supplies
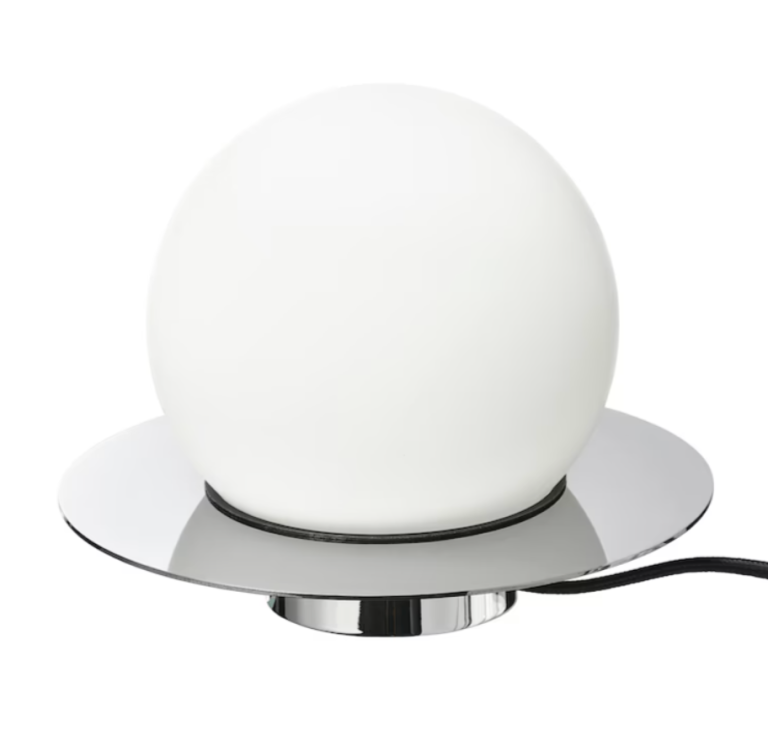
- IKEA Simrishamn table/wall light
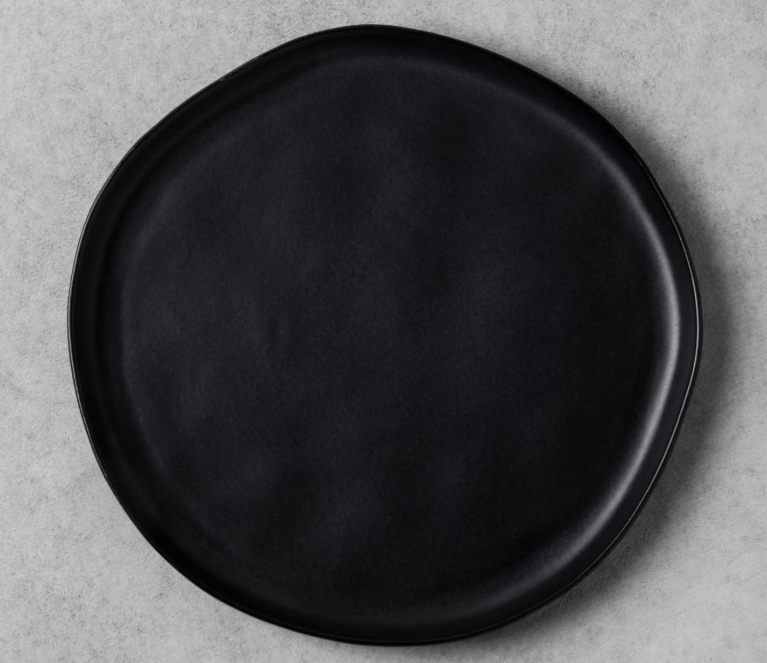
- 10-inch ceramic plate (Kolakowski used this one from Target)
- Pencil
- Measuring tape
- 3-inch diamond hole saw and Arbor attachment
- Sandpaper
- Cup of water
Step 1: Trace the Bulb

Take the globe light off of its sconce base. Set your dinner plate upside down on a table and pour a bit on it to wet the surface (you may have to do this multiple times throughout to avoid the ceramic drying out). Place the bulb part on the center of the dish (if you don’t want to eyeball it, you can use a measuring tape). Trace a circle with a pencil around the perimeter.
Step 2: Drill and Sand

Pro tip: Do this step outside to avoid a mess. Cut out the traced circle with your ceramic-specific hole saw. To keep the plate from spinning or slipping out of place, secure it to the drill with an Arbor attachment. Some of the plate’s finish might chip off in the process, but the bulb should end up covering it. To avoid any lingering sharp edges, run sandpaper along your newly created opening until smooth.
Step 3: Build and Wire Your Sconce


Carefully, slide the plate over the sconce base and screw in the bulb (the dish will be in between). Andia found that her plate fit snugly without needing glue, which means all that’s left to do is to mount your custom light fixture to the wall following the IKEA instructions.