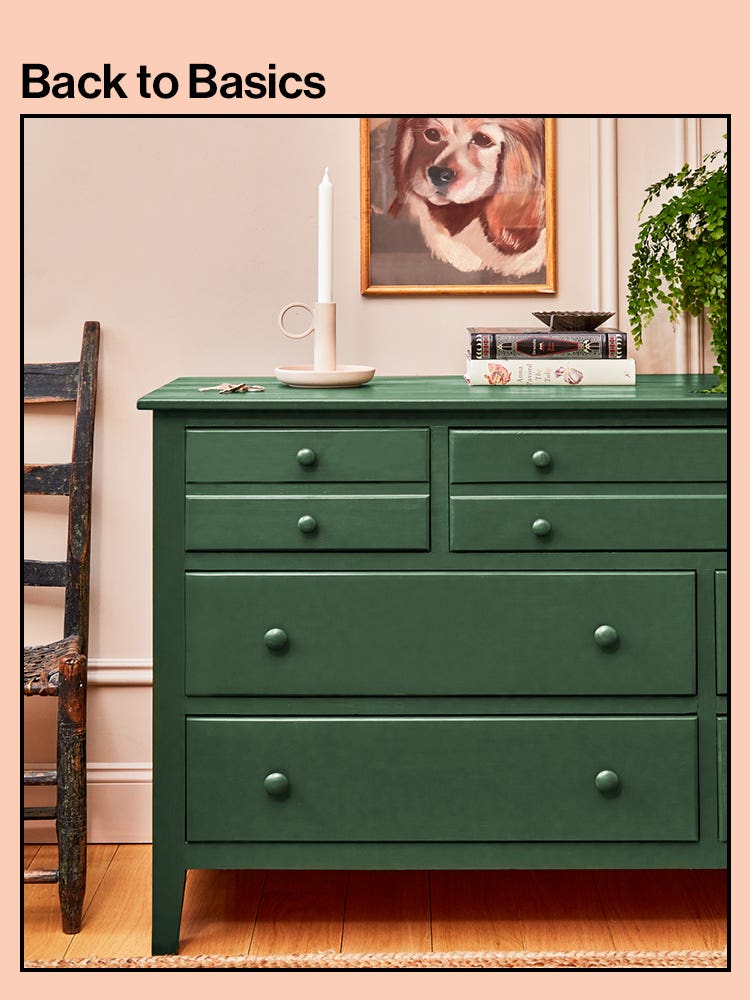
How to Paint a Dresser So You Don’t End Up With a Sticky, Streaky Finish
Plus the one step you absolutely shouldn’t skip.
Belle is the in-house photographer and associate photo editor for Domino. She joined Domino’s photo team as an intern in 2018 and was brought on full time in January 2021. She photographs home tours, still lives of products we review, and the occasional “how-to” project and gift guide.
Belle has been in the photography industry for about six years. She started working retail in camera stores, learning about different photo equipment. She always found a way to stay creative during her retail days by photographing personal projects. She had her first gallery show in 2018 where she displayed her series “Sleepless Hour,” film photographs of exteriors of homes shot at night. While still in school getting her degree, Belle was able to join Domino as our photo intern handling photo research, photo permissions, and archival work. She now works as our main photographer, shooting interiors of homes, studio setups of products we’re spotlighting, team portraits, and more. When Belle isn’t shooting for Domino, she is usually out photographing events for clients such as French 2D, This X That, Madame Architect, Krave Beauty, A24, AREA, and Tamam.
Belle graduated from the Fashion Institute of Technology in 2020 with her bachelor’s degree in Photography.
I thrifted a beautiful vintage dresser that’s the perfect size for my apartment and decided to strip the finish off and repaint it a nice sage green. But I enjoyed the project mostly because I worked on it with my mom.
Plus the one step you absolutely shouldn’t skip.
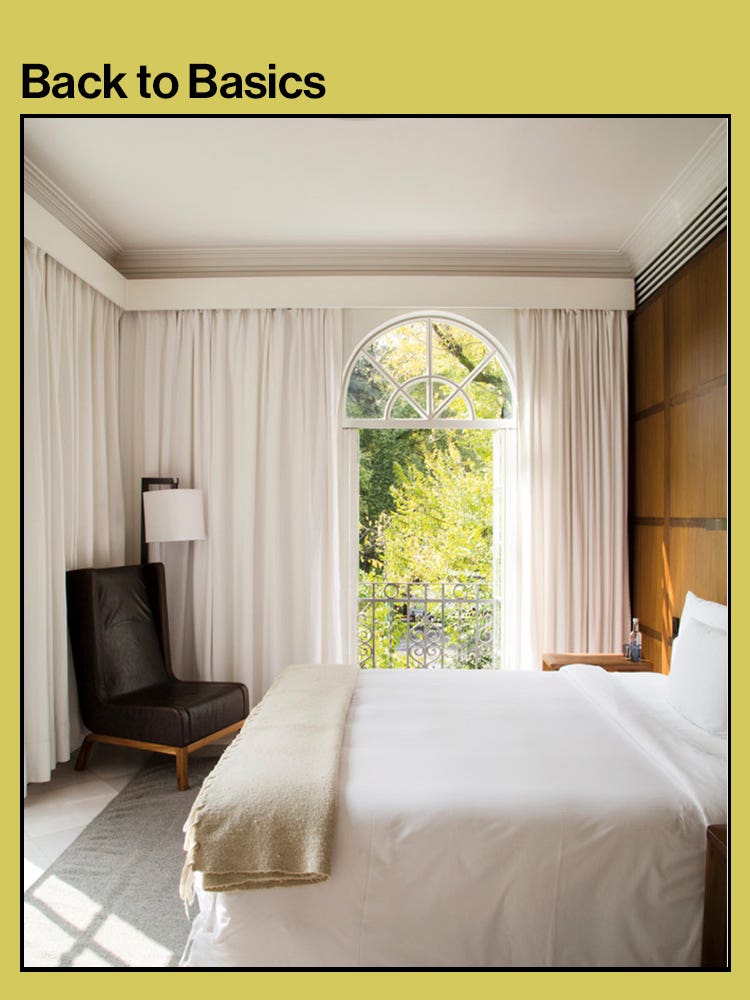
Plus a stylist’s take on hospital corners.
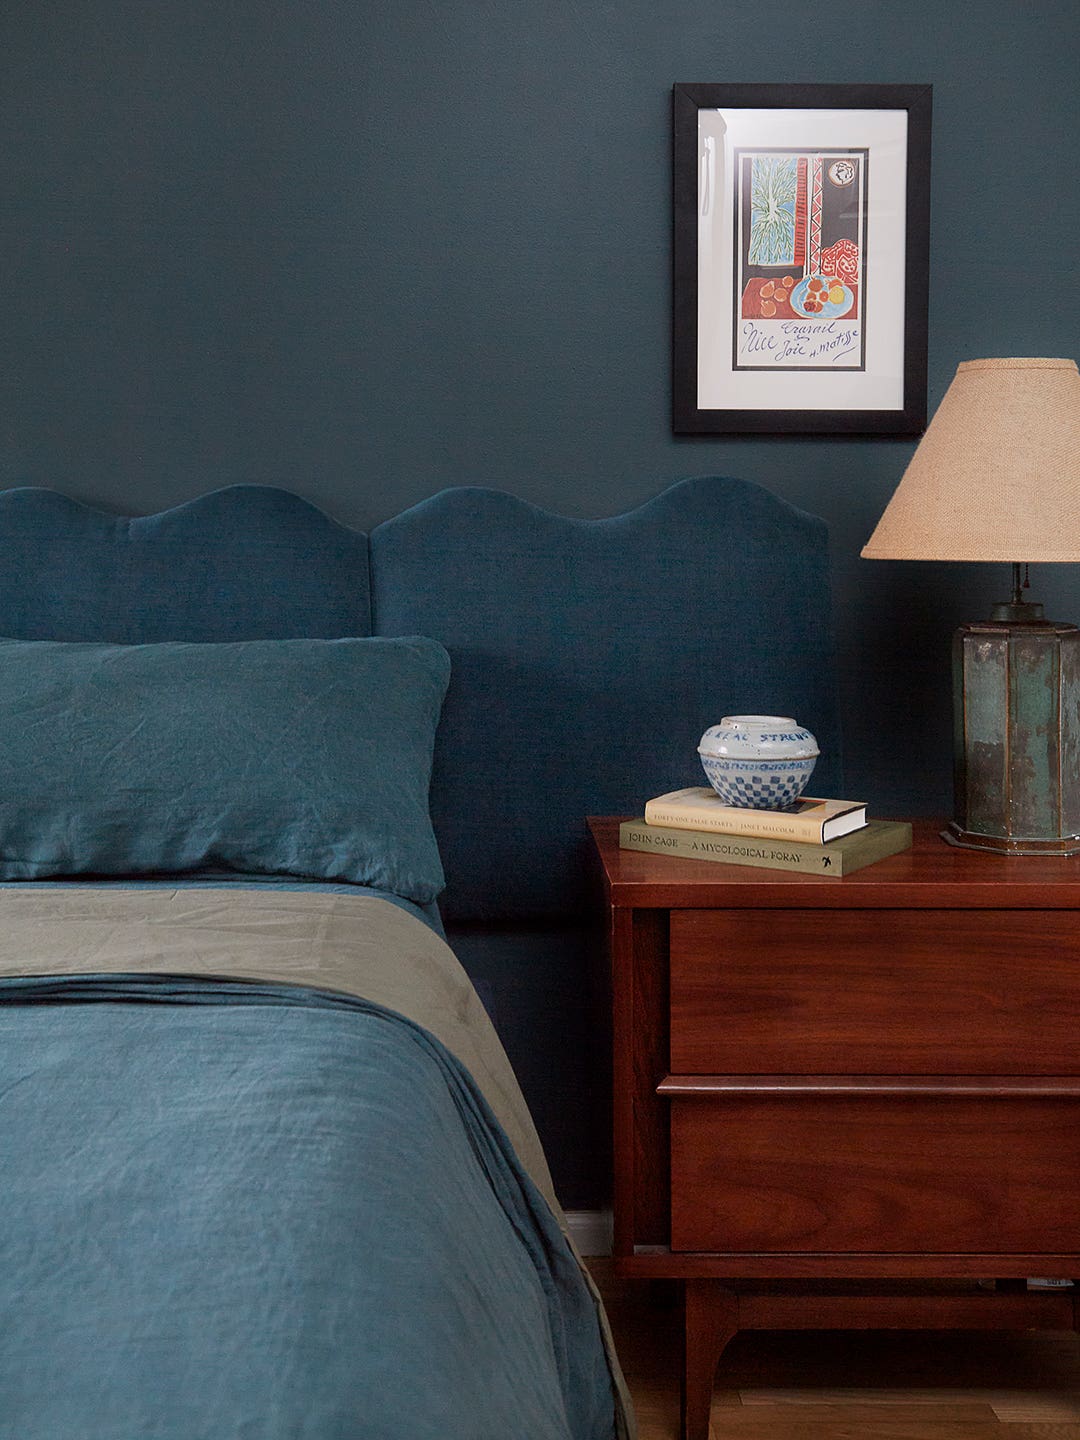
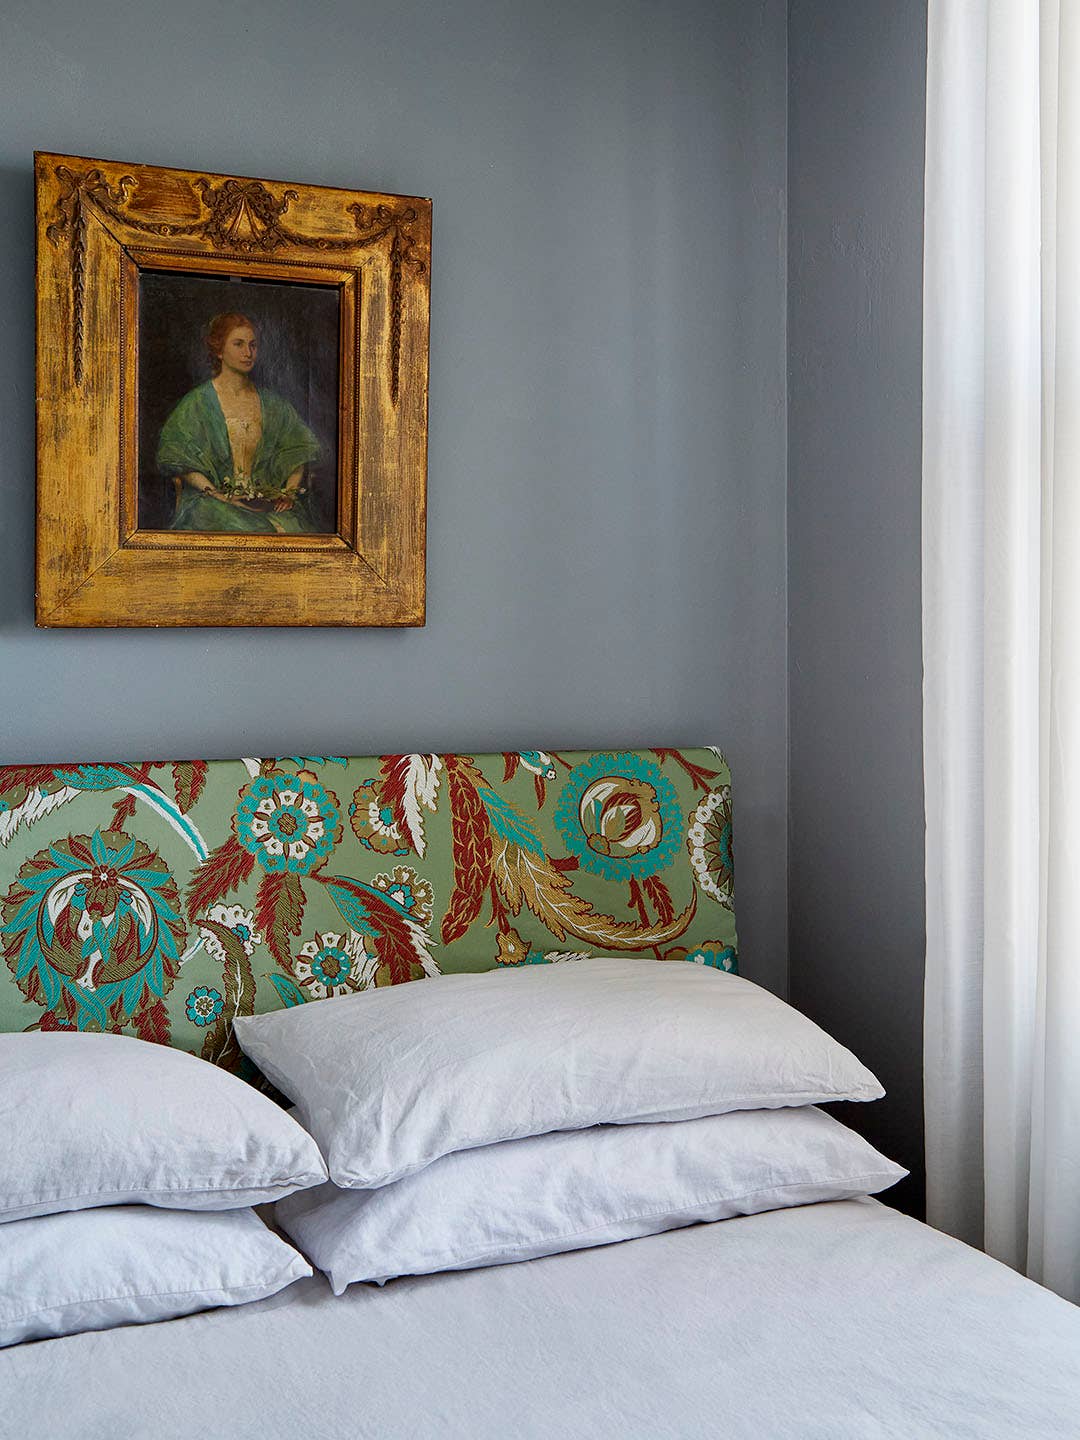
It was partially inspired by Garance Doré’s moody bedroom.
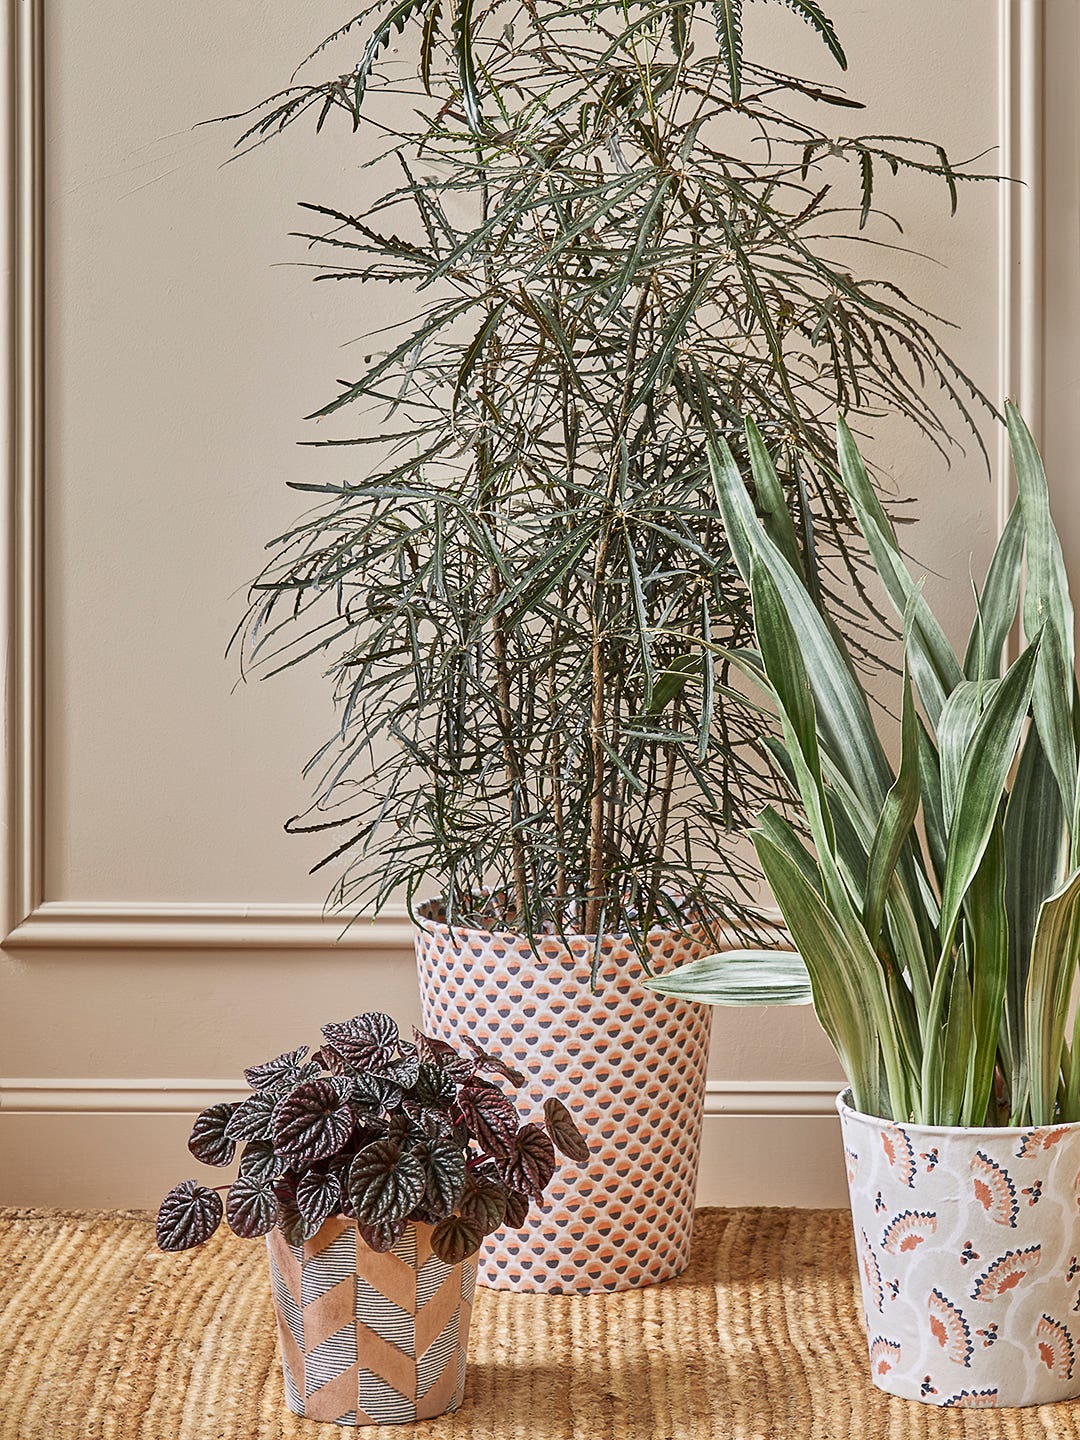
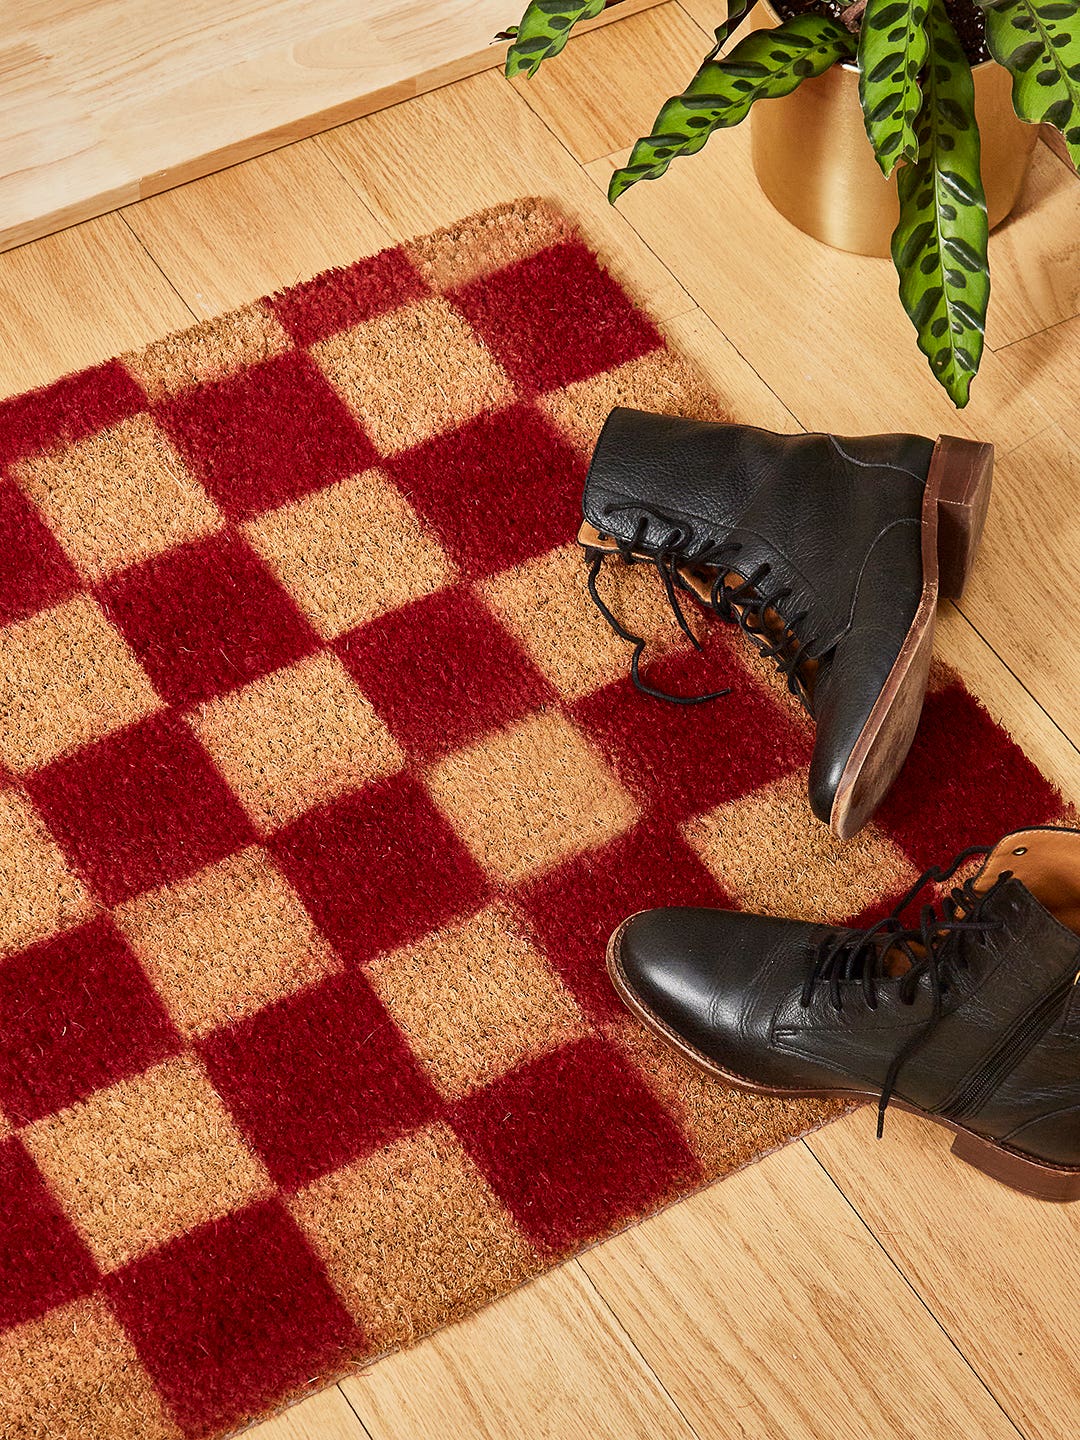
Bonus points if you match the print to your walls.
And the first things on the walls: Her illustrations.
You don’t even need a measuring tape.
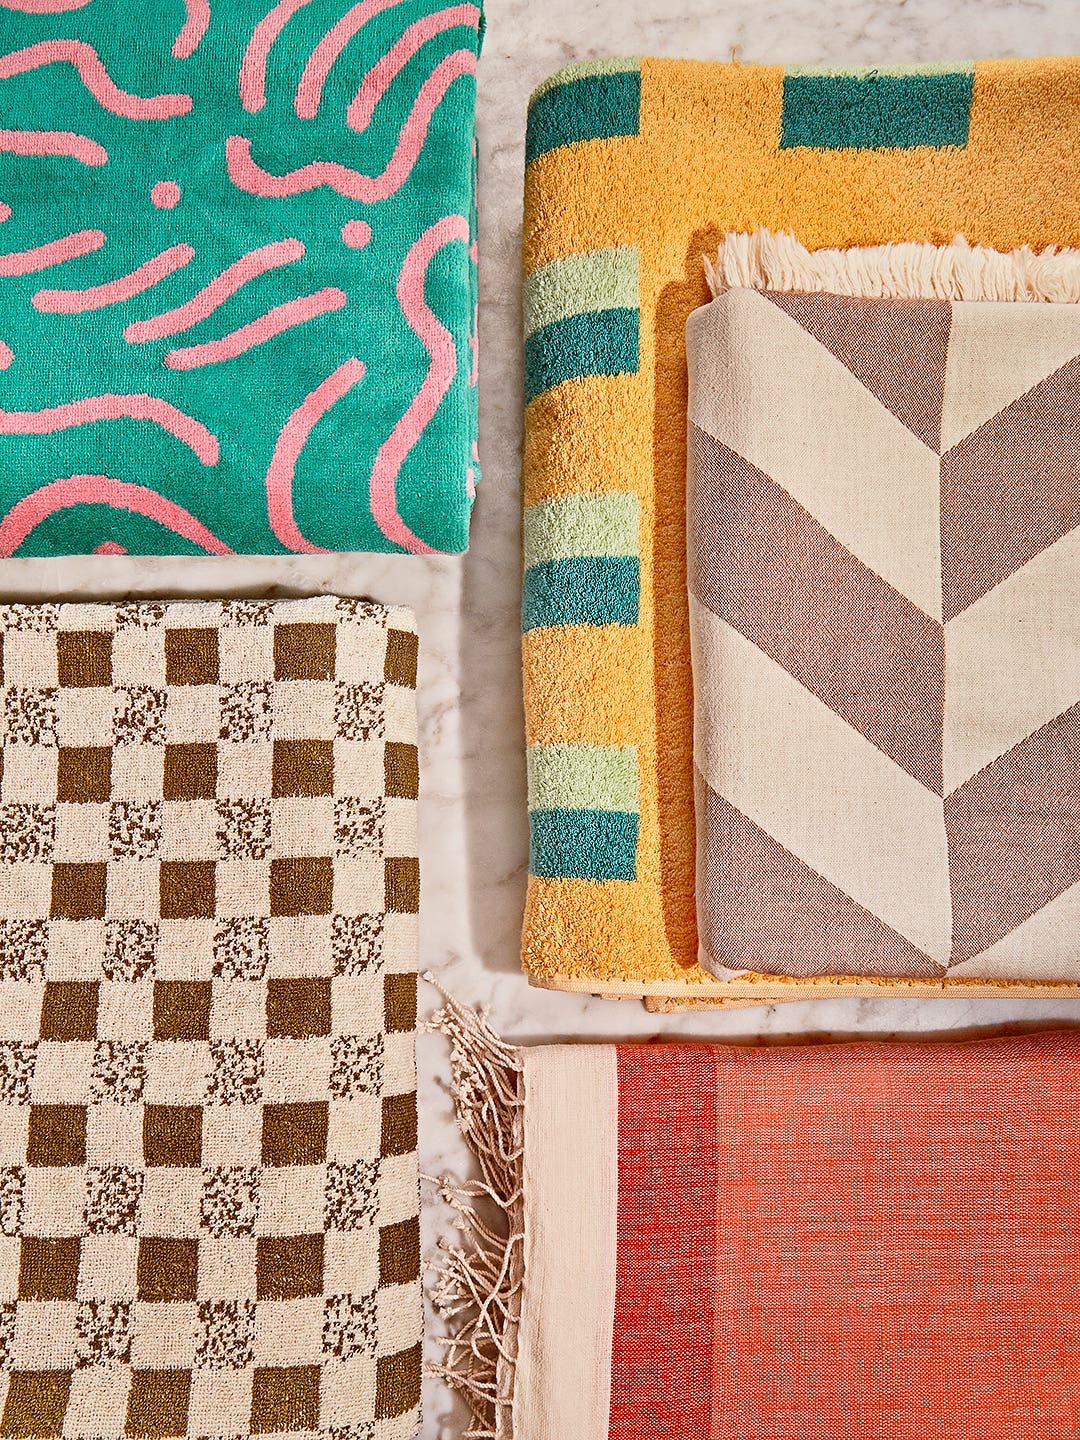
It’s time to replace your old, faded ones.
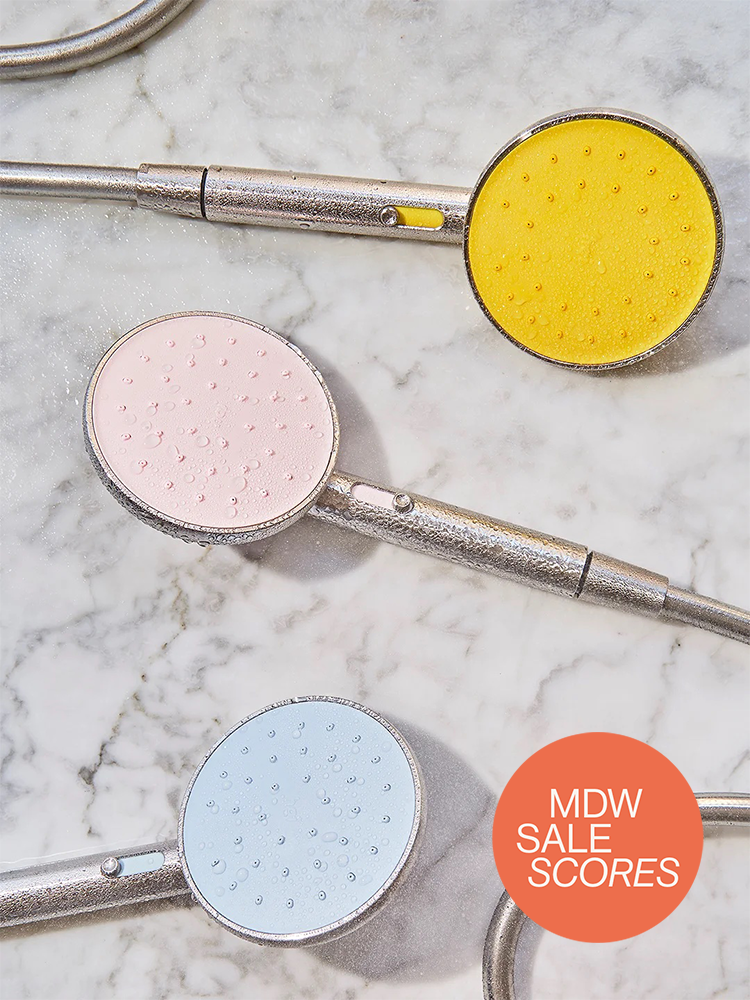
Get a text when your water reaches the perfect temp.
My bedroom has never looked so luxe.