We may earn revenue from the products available on this page and participate in affiliate programs.
Wood baseboards have long been the default. Whether subtle stepped designs or more statement-making European profiles, they play a key role in shaping a room—grounding the walls, framing the floors, and giving everything a finished feel. Enter a fresh alternative: Celli Duske’s tiled baseboards, which are both practical and simple to install. Seeing them sparks a “Why didn’t I think of that?” moment—the kind that has you eyeing your own trim and reaching for a pry bar, suddenly ready to start a DIY.
Rather than fading into the background, her tiled baseboards bring texture, contrast, and materiality to a part of the room that’s long played it safe. They’re graphic enough to register, yet actually practical—imagine just wiping them clean like a backsplash. Why hasn’t this been the standard all along?

That balance is exactly what drew Duske to the idea. “I was looking for a solution that is both aesthetic and functional,” she explains. For her, tiled skirting boards felt timeless rather than trend-driven, while also offering real-world benefits: “They are quick to install, durable in everyday life and a cost effective alternative to many custom made or painted skirting boards.”
Below, Duske breaks down how she approached the project—proving that this elevated detail is well within reach, even for first-time tilers.
How to Tile Your Baseboards
1. Find the right tile.
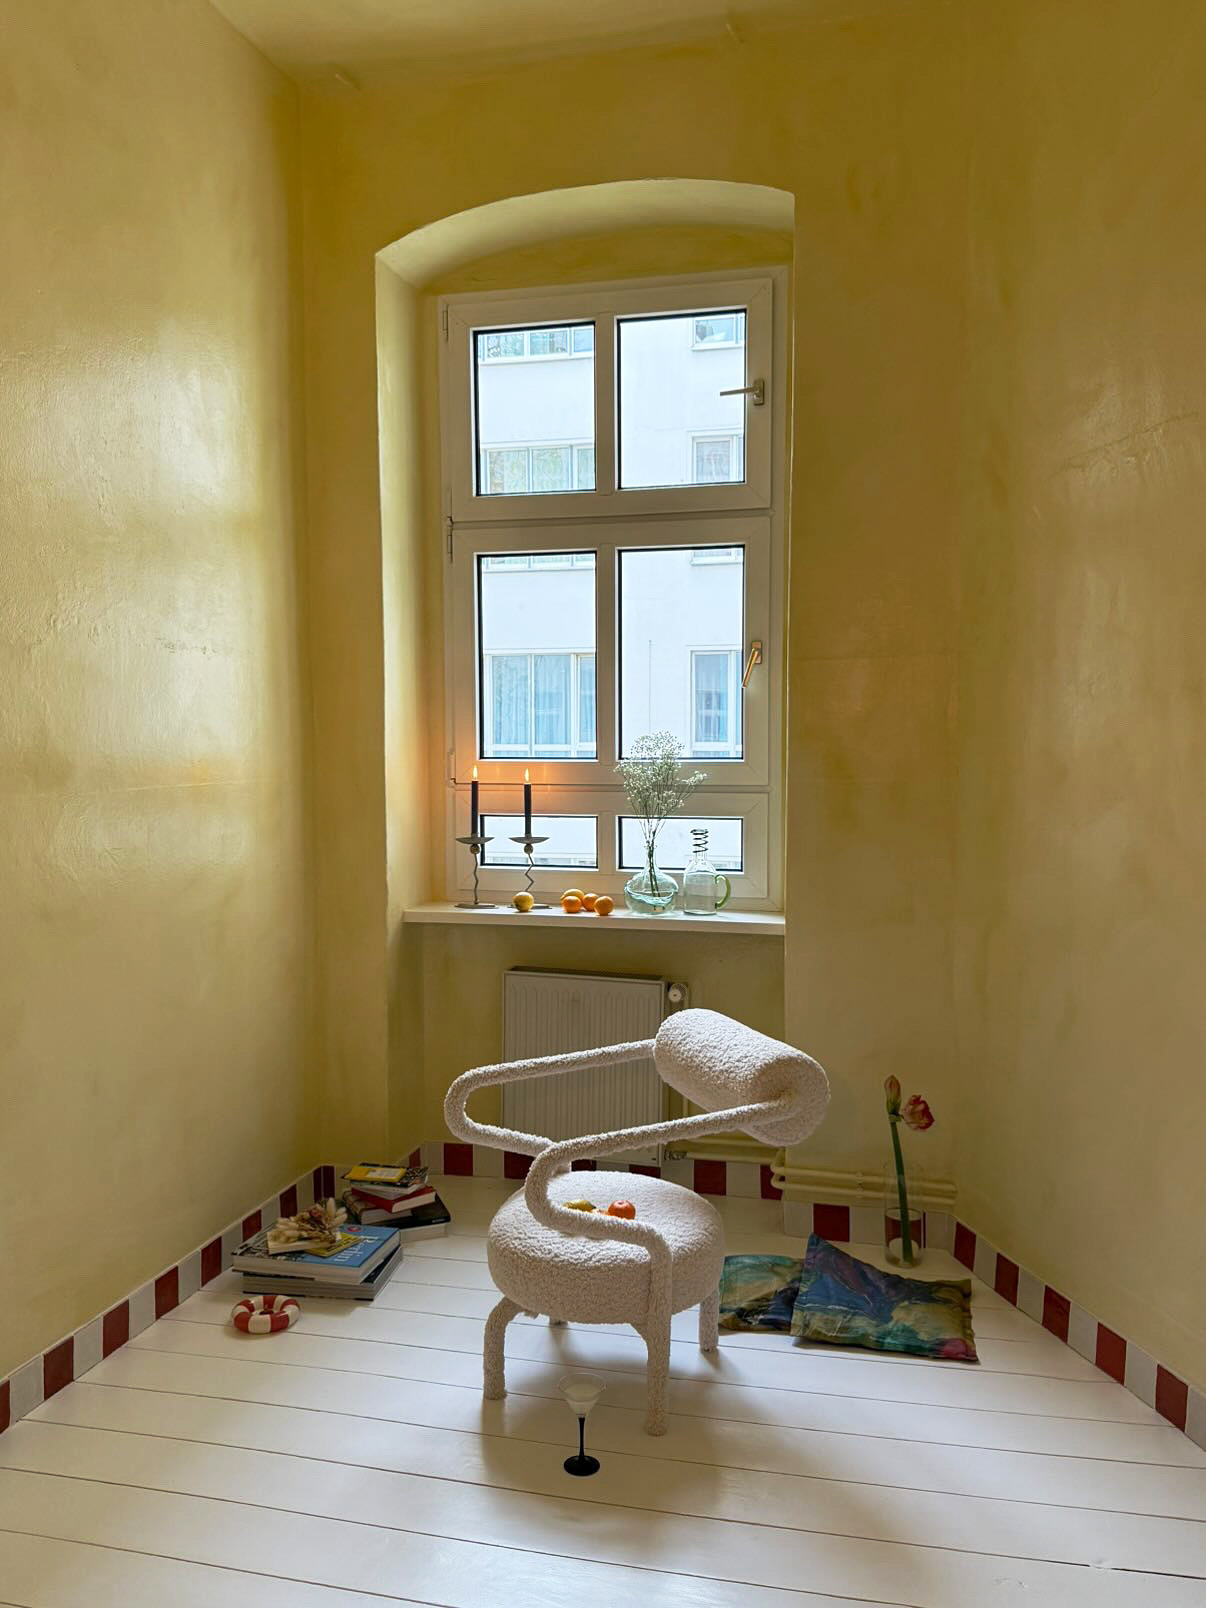
For her baseboards, Duske used square glossy Spanish ceramic tiles that dramatically differ from her existing wooden floorboards. “This creates a deliberate contrast between warm wood and a cool, smooth material,” she says. The reflective finish adds depth without drawing too much attention. Choosing rustic tiles with natural imperfections, like these, will help disguise minor unevenness in your walls. Duske also recommends checking clearance or leftover tile stock, as well as Facebook Marketplace, to source your materials—it’s a smart way to use high-quality tile for big impact at a reasonable cost. Have a few extra tiles on hand as backups.

2. Gather some other supplies.
Mimic Duske’s pattern to pull off the look using very little material: You’ll need only enough 4-inch or 6-inch square tiles to be placed side-by-side in a row all the way around the room. Choose a few colors to create a pattern, or keep it solid. Beyond that, you’ll need tile adhesive, a caulking gun, grout, spackle, and sandpaper. Duske also purchased an inexpensive manual tile cutter specifically so she could trim tiles to fit at the corners—good options start around $30, and secondhand cutters work just as well.
You’ll also want to grab a few items from around the house: a measuring tape, plastic sheeting to protect your floors, painter’s tape, a putty knife or spatula to spread the adhesive, and a bowl for mixing grout.


3. Remove the old trim and smooth the wall.
Before tiling, Duske removed her existing wood baseboards and thoroughly cleaned the wall surface. One important thing to keep in mind: Walls and tiles are rarely perfectly straight. “Small irregularities are normal and should be considered from the start,” she notes. Because tiled baseboards make inconsistencies more noticeable than wood trim, she recommends filling any deep indentations on the wall with spackling compound and then lightly sanding it so the tile adhesive adheres properly.
4. Install slowly, one tile at a time.
Duske approached the installation without a rigid system, working from left to right along the wall. Tile adhesive was applied both to the back of each tile and directly onto the wall to ensure a strong bond. At each corner, you’ll need to carefully measure and cut a few tiles to fit. This is where your extra tile stash will come in handy: “Especially at the corners, I lost several tiles because they were cut too small or too large,” she says, noting that many tile cutters only allow for one meaningful cut per tile.


5. Use forgiving materials—and embrace imperfection.
To make the process less stressful, Duske chose a tile adhesive that didn’t set immediately, allowing time for her to realign tiles as she positioned them—especially helpful in older buildings where walls are rarely straight. Once all the tiles were installed and set, she applied grout the following day, filling the seams between tiles to finish the baseboards. For grout color, she opted for white to avoid introducing another color into the room. While white-on-white can feel risky or stark, she found it worked beautifully with handmade tiles. “The combination works very well and highlights the character of the material,” she says.

