We may earn revenue from the products available on this page and participate in affiliate programs.
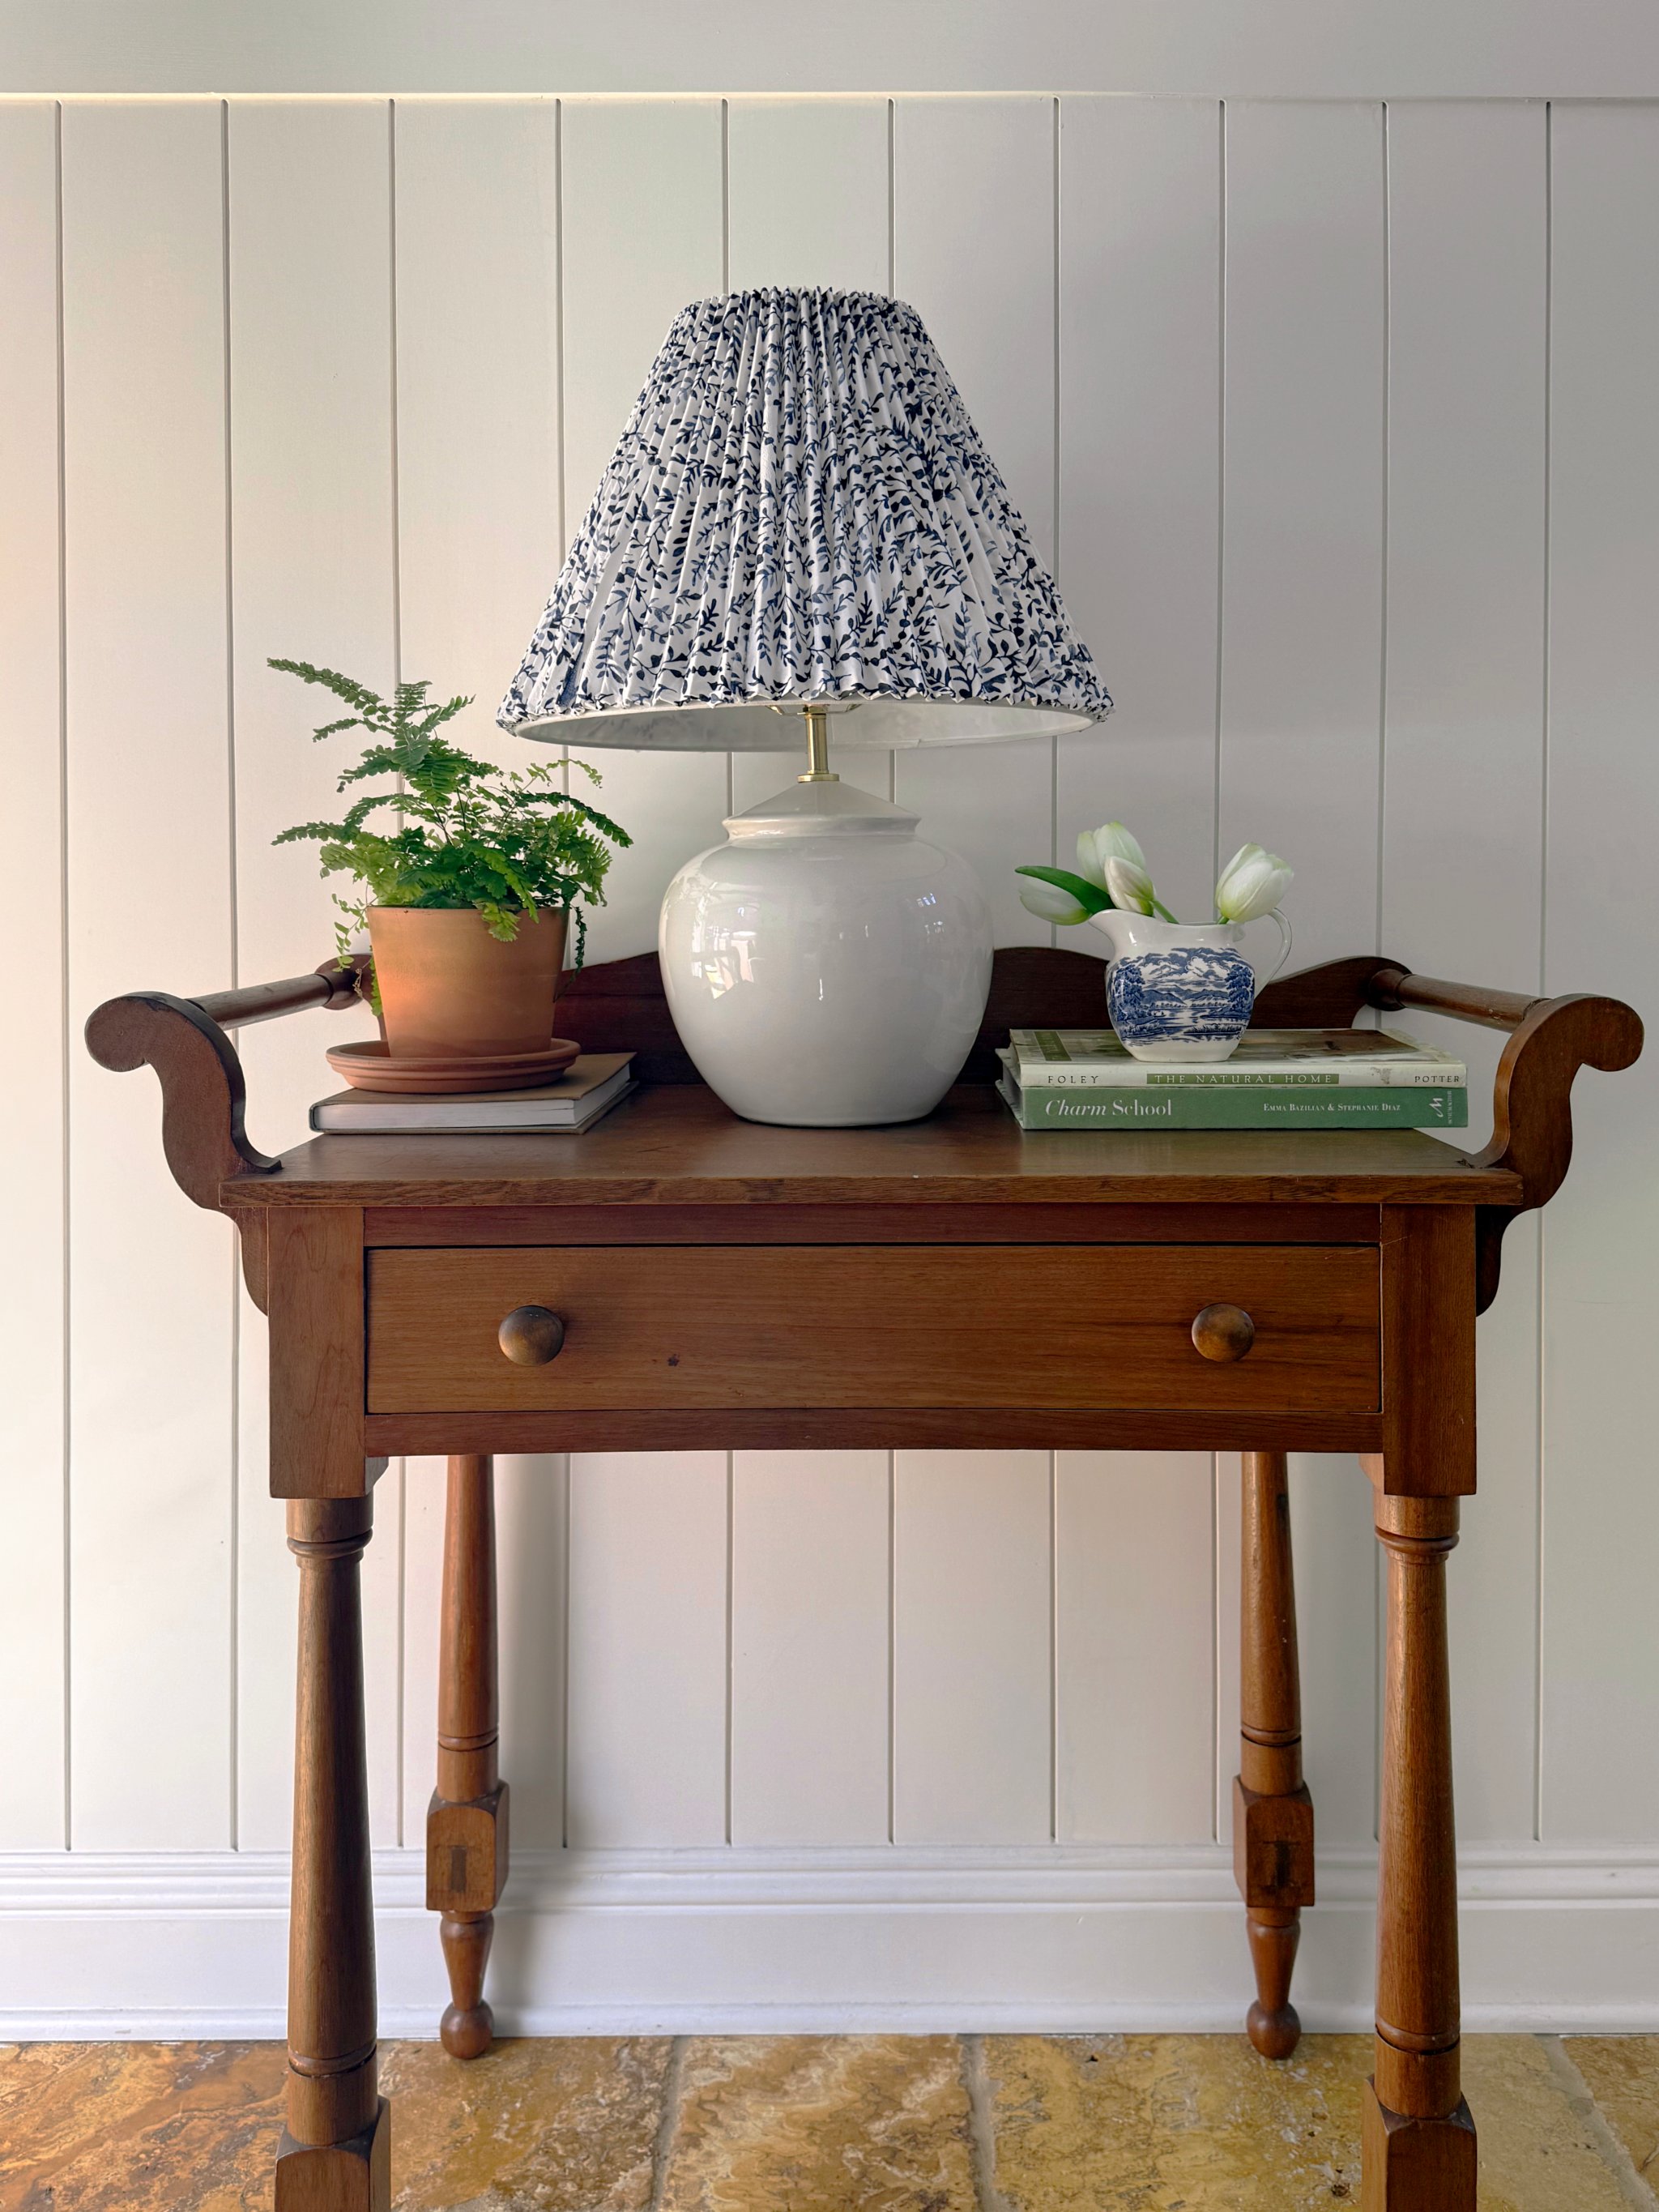
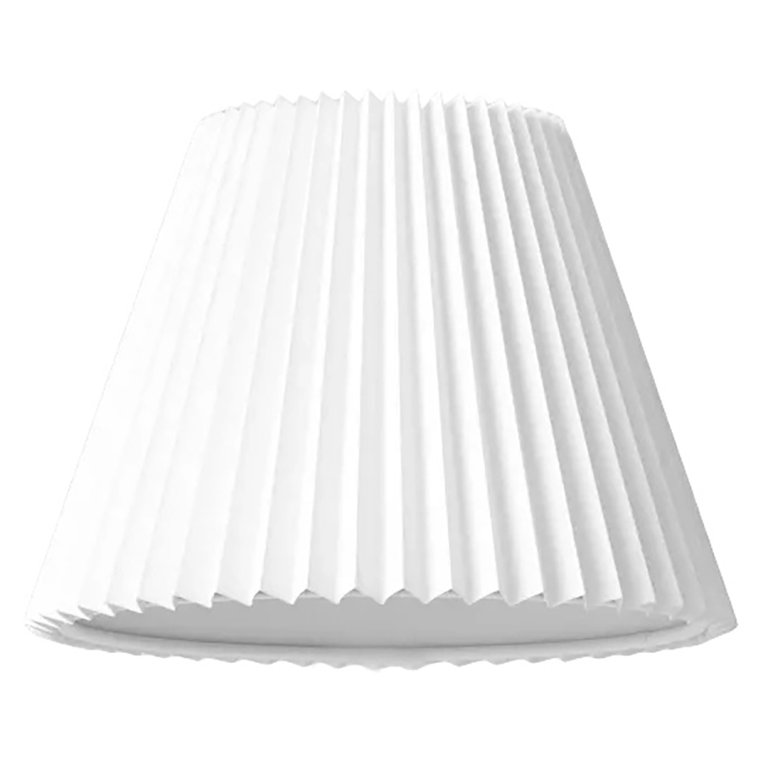
Laurel Farrelly was on the hunt for a pretty, pleated fabric lampshade and getting nowhere. “They were all so expensive,” recalls the content creator and home DIYer behind Laurel Designed, “and it was really hard to find exactly what I wanted.” For the time being, she’d purchased a basic pleated white shade from Target for $12 but only saw it as a placeholder. It wasn’t until she popped into Home Goods—and picked up a pack of cute paper napkins—that a solution began to crystalize. “I was like, Hmm, I wonder if I could put these on the lampshade. I tried, and it worked better than I thought it would.”
Farrelly went on to try different types of shades, napkin types, napkin patterns, and glues before settling on the process below. The result is an incredibly simple DIY that elevates everyday supplies. “I feel like I unlocked this ability to have as many different patterns as I wanted for so cheap,” Farrelly explains. “Whenever I do a project with fabric, I have this fabric sitting around for years that I don’t know what to do with. Whereas with extra napkins, it’s like, Okay, we can use them at dinner!”

Materials You’ll Need
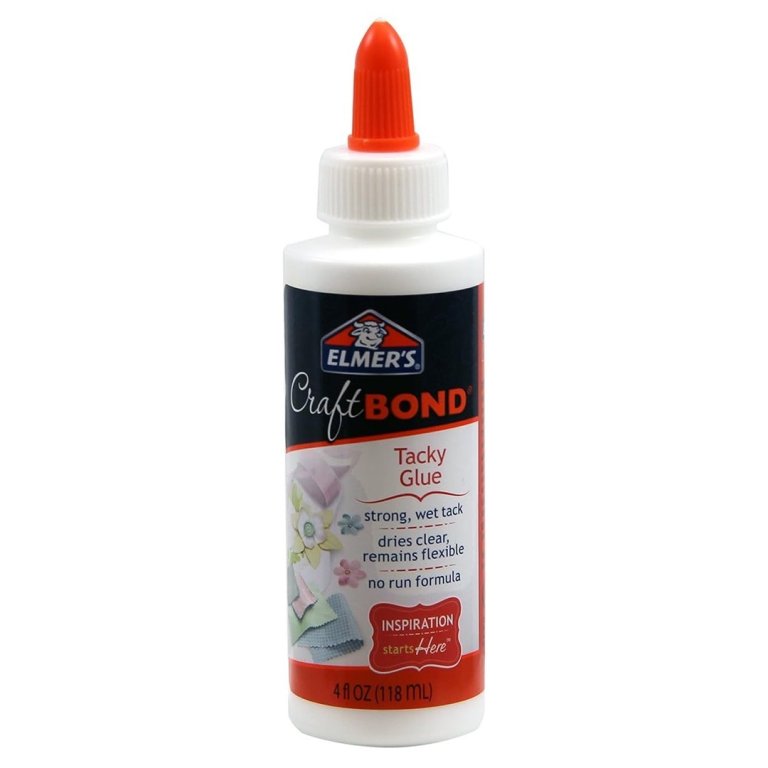
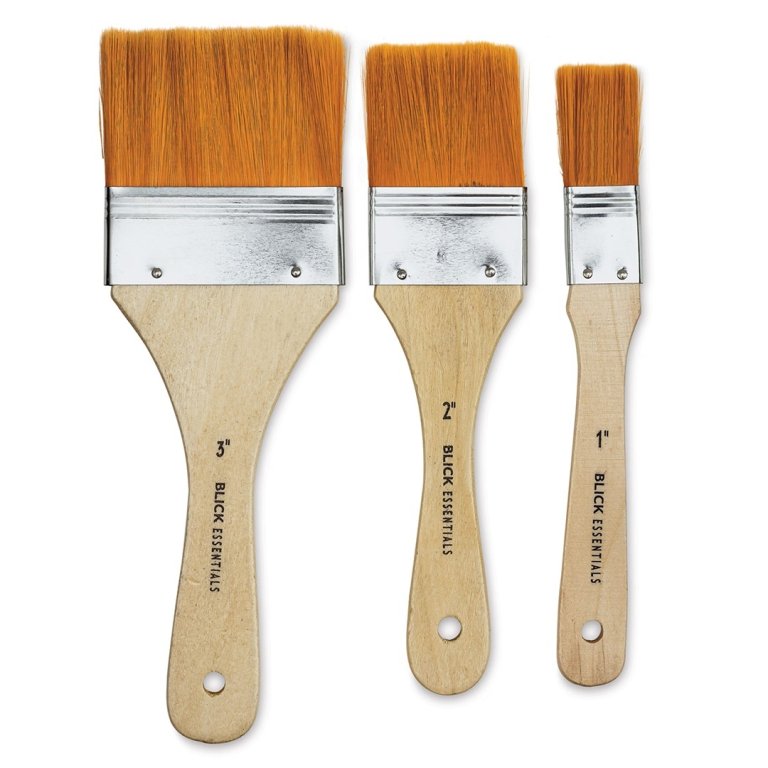
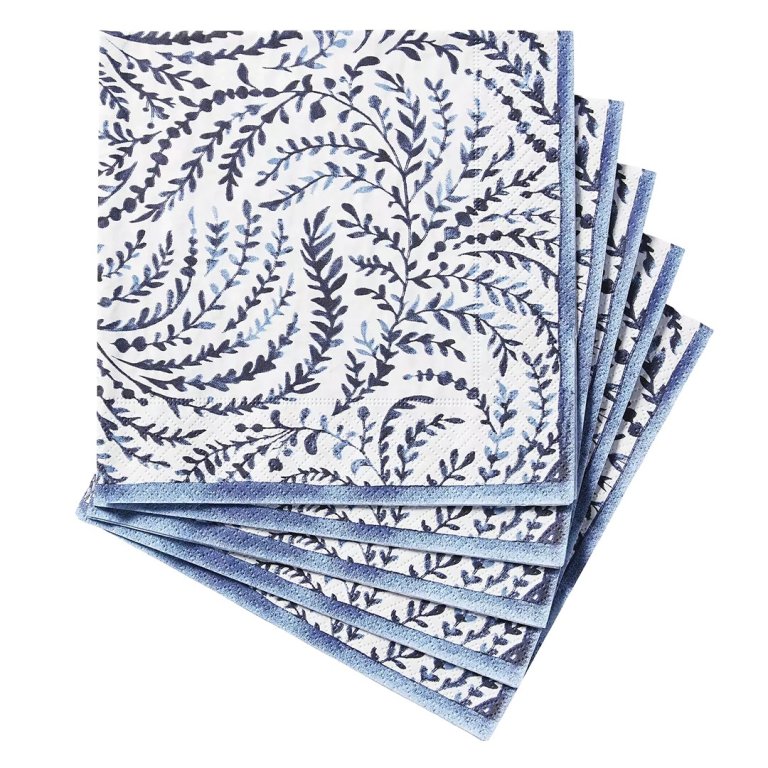
Napkins first—you’re looking for 3-ply paper napkins, either cocktail-size for small lamps or guest-size for larger ones. Florals are easiest, as they tend to be busy patterns that will disguise any seams where one napkin ends and another begins. (Stripes and other more geometric patterns can be used, but will require careful snipping and glueing to make them line up the way you want. Beginners beware.) You’ll also need a basic white pleated lampshade with two layers: an outer pleated layer, and a smooth inner layer. The napkin ends will be hidden in-between these, creating a very finished-looking final product. And finally glue: Farrelly recommends either craft glue or Elmer’s Craft Bond, both of which are thick enough to keep the napkin intact—glues that are too thin will cause the napkin to fall apart. Make sure you have a paintbrush, for spreading the glue, and scissors too.
She also recommends using LED light bulbs with these shades, as incandescent bulbs can get very hot to the touch and may pose a fire hazard near the paper napkin.
How to Make a Custom Pleated Lampshade Using Paper Napkins
1. Separate the top and bottom layer of your lampshade

Using a butter knife or your fingers, carefully separate the pleated outer layer of your lampshade from the smooth inner layer. You’re just making enough space to tuck the fabric ends later. “I’ve found the Target ones are much easier to separate than the Walmart ones,” says Farrelly, noting that you’ll want to do this on both the top and bottom edges of the shade.
2. Remove one ply from the back of the napkin

Most paper napkins have three layers: one printed, and two white layers behind it. Just remove the back layer so two remain. “You don’t want to remove both plies, or else the top of the napkin is just too delicate to work with,” Farrelly explains. “And if you keep all three plies, the napkin may pucker when you try to adhere it. I found that just removing one helps it lay nice and flat.”
3. Coat three to four pleats with glue

Pipe some glue into a few of the creases of the lampshade, then use a paintbrush to spread it evenly. “You want a good, even layer—not super thick, but also not super thin,” says Farrelly. “Make sure you really get it into all the creases.”
4. Press the napkin into the pleats

“Start with that straight edge, put it right into the pleated fold, then gently smooth out any bumps using your fingers,” says Farrelly, who once tried to do this step with a spreading knife and reports that hands are a better tool. Fold the napkin over the pleat and push it into the next one, working your way around the lamp and pinching the outside of each pleat to get “that nice crisp edge,” Farrelly says.
5. Repeat all the way around

“Once you get to the end of the napkin, it won’t be a straight line,” Farrelly explains, “so cut off any excess paper to create a straight line where it can go into the pleat.” Start a new napkin by overlapping it slightly with the end of the first, and continue spreading glue and pressing in the napkin pieces. (The 2-ply pieces are thin enough that you won’t notice overlaps.) This is where a floral pattern will be very forgiving. If you have elected to use, say, a striped napkin, you’ll have to work in small sections, frequently cutting off excess and beginning with a new napkin edge to keep the pattern aligned with the pleats.
6. Trim and hide the ends


When you finish glueing on your napkins, cut off all but one inch of excess on both the top and bottom edge of the shade. (Resist the urge to trim it all the way down to the shade. “You won’t have anything to tuck in, and it will look like a napkin,” Farrelly says. And don’t leave tons of excess or it won’t easily stuff in-between the shade layers.) Use your scissors to make snips in the overhang, all the way around, then gently pull apart the two sides of the lampshade and tuck the excess napkin pieces in-between. Farrelly says this is much easier than it sounds: “You kind of have to work with it a little bit, and smooth it out. But it’s pretty simple.”
7. Seal the edges

“Put a very thin bead of glue around the top and bottom ring,” Farrelly says. This seals in the napkin edges and, conveniently, dries clear. No outer sealant is needed—Farrelly experimented with coating the shade in matte Mod Podge, but does not recommend it. Just as with any fabric lampshade, the outside is susceptible to stains if you splash a liquid on it. But unlike a fancier shade, this one cost you less than $20 and would be very easy to replace.