We may earn revenue from the products available on this page and participate in affiliate programs.
Rukmini Ray Kadam has always been drawn to the “quiet charm” of Delft tiles. “There is something enduring about that cobalt on white language,” says the Mumbai-based designer and interior stylist. But as any antique enthusiast knows, real delftware is expensive. Not only are these pieces several hundred years old, they were also painstakingly created by artisans of the time. It was the Dutch, influenced by Chinese porcelain, who popularized a blue-and-white version of tin-glazed Italian earthenware tiles in the 17th century.
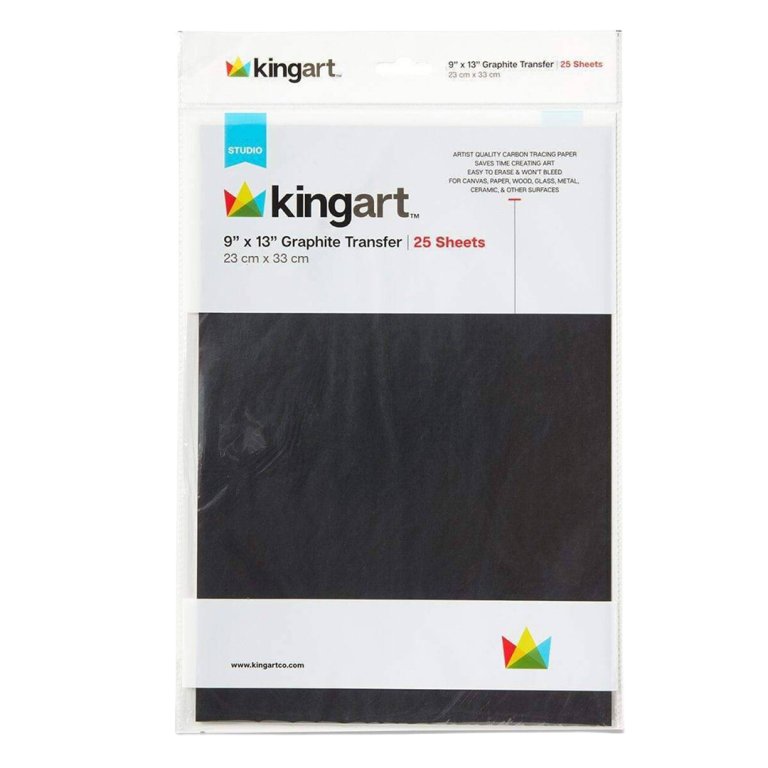
Large quantities of each tile design were created by a transfer technique called “pouncing,” wherein tile makers would prick tiny holes along the lines of a drawing, lay that paper on a tile, and tap it with a bag filled with charcoal powder. The faint outline was then painted over in a distinctive cobalt paint, giving each tile a soft, handmade quality that drives collectors to splurge on the real thing today.
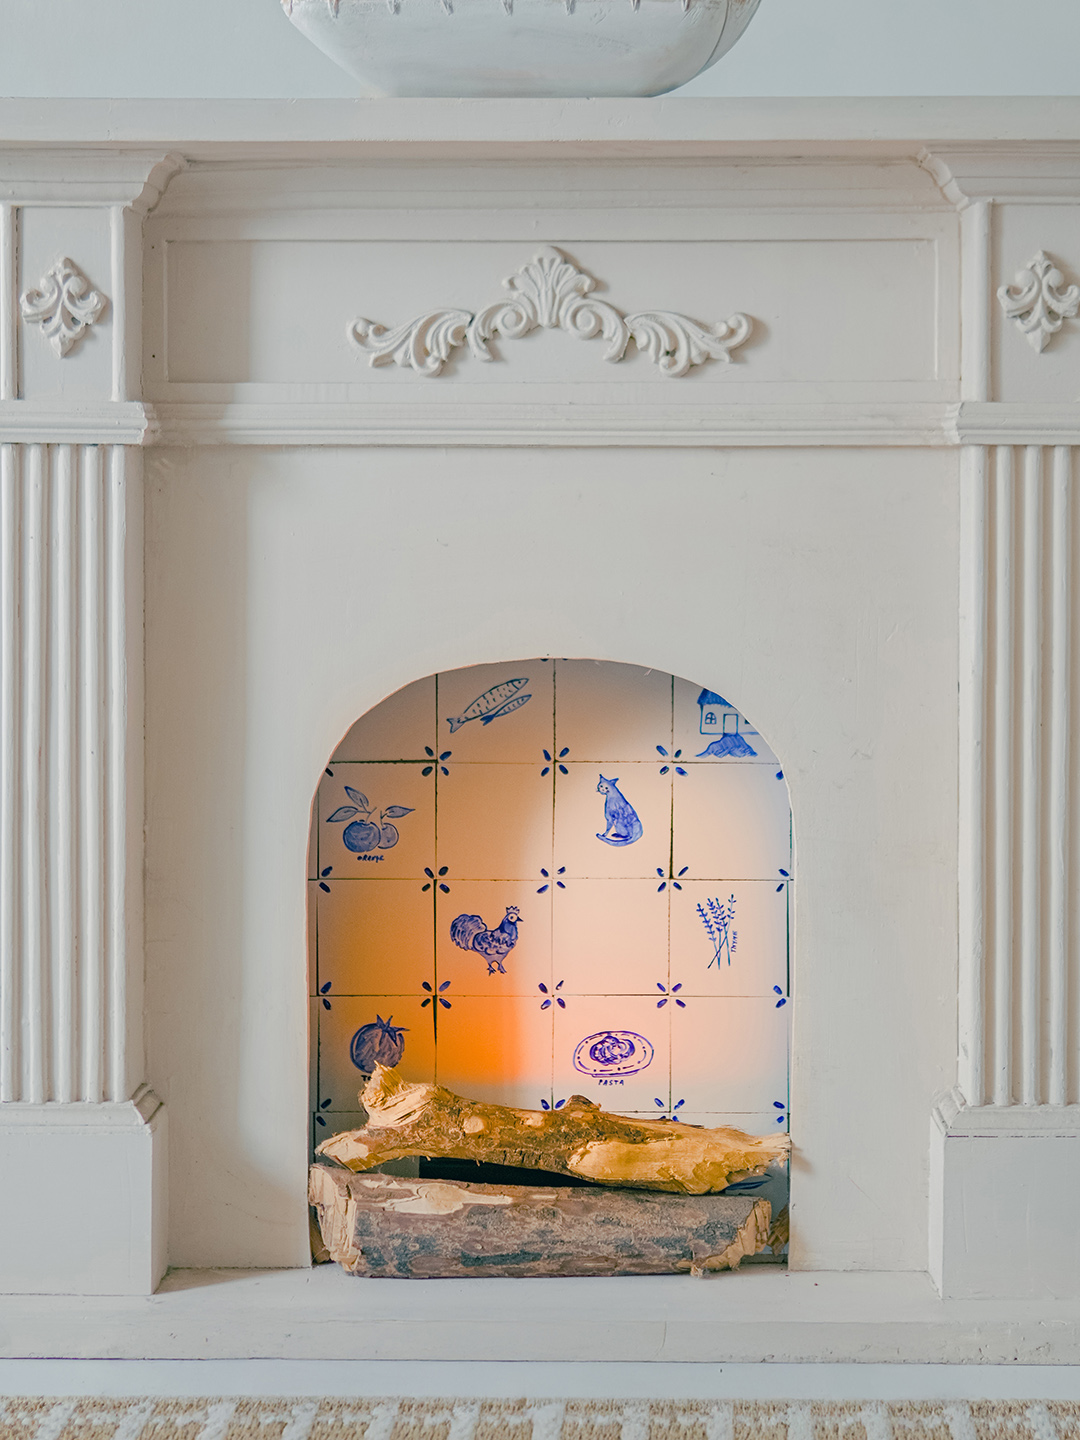
“For this project, I wanted the look, but also a certain immediacy, something that felt closer to drawing than manufacturing,” Kadam explains.


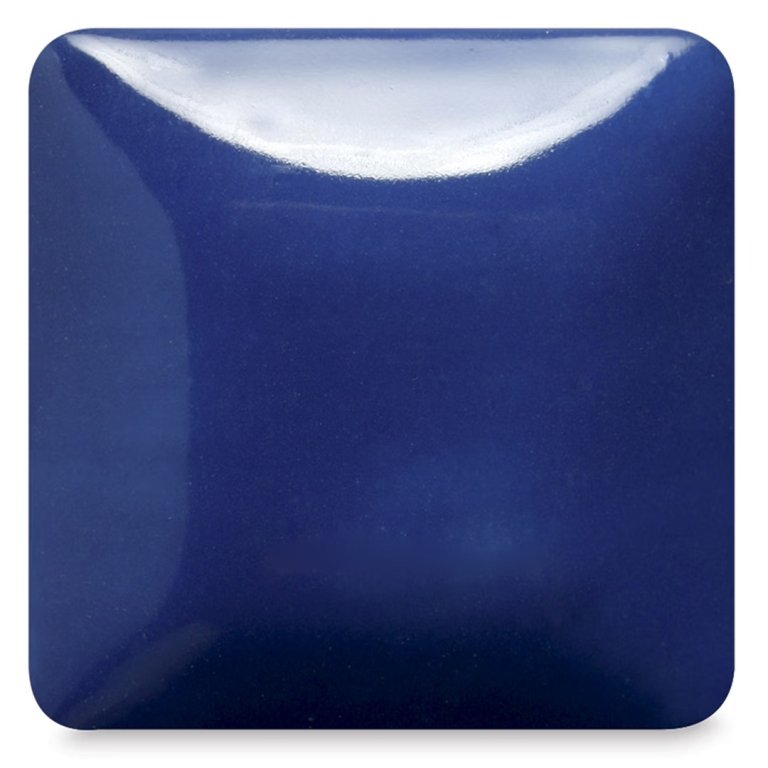
She started with readymade glazed tiles, the kind you can find at any hardware store, and then transferred little doodles to each tile using tracing paper in lieu of pouncing. Finally, she painted over those traced lines using a medium called overglaze, which fuses to the glaze surface of the tile by firing in a kiln and imparts that distinctively smudgy, Delftware-like look. So yes, you will need to find a pottery studio to fire and finish these tiles for you, but the extra step is well worth it, says Kadam: “When the tiles come out of the kiln, they actually look glazed and shiny, as if you actually made the tiles from scratch.” (She also looked into using ceramic paint pens instead, but found the resulting tiles “less durable over time, with a tendency to chip. This [overglaze] method offers a more lasting finish.”)
Here’s how you can pull off the same DIY yourself.
Find a local pottery studio.
Before sourcing any other supplies, you’ll want to find a local pottery studio and a ceramicist who is willing to fire a small batch of tiles for you—ideally while they’re firing other things, to keep the cost down. They’ll need a kiln that heats up to 1,562°F, and space to let them cool for two days once they’re done.
“Find that long lost potter friend of yours and ask for a little kiln real estate,” Kadam says.
Get tiles and other supplies.
Assuming you can have your tiles fired locally, it’s time to source supplies. You probably already have a pencil, a paintbrush, as well as a plain white plate for squirting out some paint.
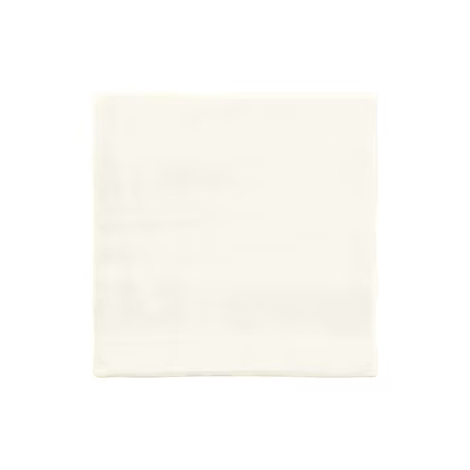
Kadam, who is based in Mumbai, was able to source a 12-inch square white tile and then have a craftsperson at the market cut it down into nine 4-inch white tiles. This created a nice little unfinished edge, which makes them feel handmade. If your hardware store will help you cut down a large tile—or if you want to invest in a $25 tile cutter, which perhaps you already have from creating tile baseboards?—you can. Otherwise start with 4-inch square tiles.
Beyond that, you’ll need just tracing paper and an overglaze.
Doodle a design onto paper.
A self-proclaimed doodler, Kadam created her own designs by just drawing familiar shapes like a plate of pasta, a chicken, a few stalks of wheat on a sheet of white paper. But if you aren’t comfortable freehanding your designs, just download and print some rustic graphics like these florals from Etsy. Since you paint over the traced shapes in the end, they’ll look hand-drawn.
Transfer the design to the tile.


Kadam laid a piece of carbon paper right on top of the tiles, and the original drawing right on top of that. Holding these in place with one hand, trace the little doodle using a pencil. Removing the drawing and tracing paper, you’ll see a faint transfer of your original design right on top of the tile.
Paint over the traced lines.
Dip your brush in a little puddle of paint, then paint over the fine lines on each tile to create a hand drawing. “Allow the brush to hesitate,” Kadam instructs, so that the overglaze pools and thins out in places to create imperfect lines. You’ll then need to let the tiles dry for 5–6 hours, ideally overnight.
Fire the tiles.


Once dry, carefully pack up your painted tiles and take them to the pottery studio for to be fired at 1,562°F, during which time the carbon lines will burn away and disappear. After they come out, the tiles should be left to cool for two days before you go get them. “The cooling process is slow and deliberate, taking up to two days, after which the tiles emerge with a soft, settled finish,” says Kadam. “Once fired, you can add these anywhere! They are like any other painted tiles.”