We may earn revenue from the products available on this page and participate in affiliate programs.

Like most of us, food stylist and recipe developer Diana Yen has a visceral reaction when she thinks about bifold closet doors. She can practically hear the squeaking of the slow-rolling track and feel the hard yank it takes to pry each side open. “Growing up, they haunted me because they always had the louvers,” she says with a laugh. “I thought they were terrible.” But when Yen bought her house in Ojai, California, and realized her bedroom closet didn’t have any doors at all (the dorm vibes were strong), she decided to give the thing she’d once hated most a second chance. “I had all this stuff on Pinterest, looking into IKEA hacks and European-style doors, trying to figure out what to do,” she recalls, “and I realized a bifold was the most cost-efficient.” The custom closet designs she had briefly looked into were in the $10,000 ballpark, but transforming a set of simple bifold doors from Home Depot took less than $500 and a weekend to complete.
The Supplies

- Bifold doors
- Flexible molding
- Caulk
- A pencil
- Scissors
- Chalk paint
- Hardware of your choosing
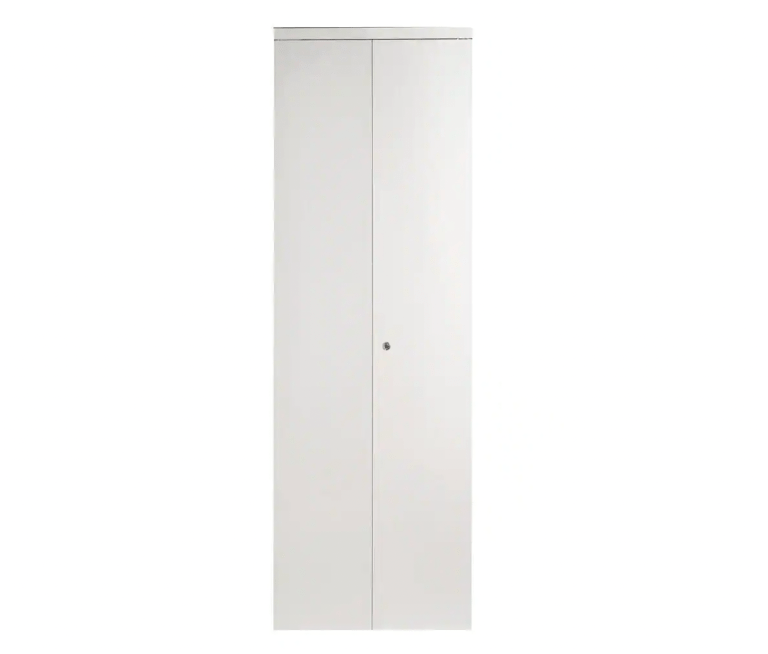
36 in. x 80 in. White MDF Interior Closet Bi-Fold Door, The Home Depot ($428)
Shop Now
Gaahing Wall Molding Trim Chair Rail Panel Moulding, Amazon ($20)
Shop NowStep 1: Map Out Your Path
Yen’s inspiration came from—where else!—Instagram. Her Italy-based friend Jayne Henderson posted a carousel of cool-looking doors and one of them with a squiggle outline caught Yen’s attention. “I was like, wow, I feel like that molding gives a poetic touch and makes it elegant but still kind of whimsical,” she says. With a pencil, Yen traced wavy oblong shapes onto each of the door panels, totaling eight undulating silhouettes.
Step 2: Peel and Stick


“I felt like a cheater because I got it from Amazon,” Yen jokes about revealing her creative hack: peel-and-stick flexible molding. She slowly ripped away the adhesive backing and applied the bendy trim over her pencil lines, then used scissors to cut the ends when she was ready to move onto the next shape. “It was basically like one big sticker,” she says.
Step 3: Seal the Deal

To hide any visible gaps, Yen coated the edges of the molding with caulk and then went over them with a sanding block, ridding the surface of any putty residue. Finally, she swathed them in white chalk paint (no primer necessary). “I wanted a matte, softer finish so that it would accentuate the molding,” she says. As the doors were drying, she propped them up near a wall and, in that very moment, another genius idea struck her: These doors would also make chic room dividers. But that’s a project for another day.
Step 4: Double Up on Your Hardware


Embellishing is nice and all, but if you really don’t want bifolds to look like bifolds, add four knobs to the fronts instead of just a single pair. Yen added two dainty brass knobs to each side, creating the illusion that they all swing open rather than slide.
Step 5: Hit the Track
When it came to mounting the doors, Yen called in her contractor. Her fear? That they wouldn’t sit flat if she were to attempt to lock them in place herself. The splurge was worth it: Her staring contest with her clothes is finally over.