We may earn revenue from the products available on this page and participate in affiliate programs.
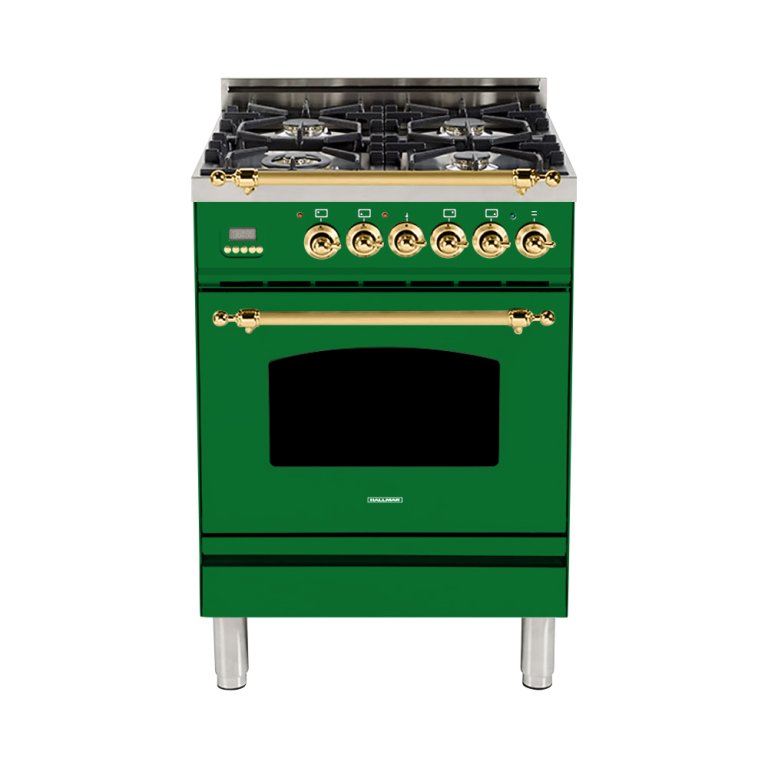
Dee Murphy’s kitchen starts and ends with the floor. The original space, a classic 1920s kitchen, featured gray linoleum flooring that kick-started the whole renovation. In about six weeks, as part of the One Room Challenge, Murphy gave the small room a serious facelift: Rustic, white terracotta tiles in lieu of classic subway tiling, a forest green range in place of a standard stove, and an assortment of vintage-looking trinkets were all incorporated to create an inviting, European vibe. There’s even a vintage rug for an extra bit of character, proving that the divisive kitchen style can work in a small space.
With features like floor-to-ceiling cabinetry and vertical-lined shiplap drawing the eye up, the charming kitchen defies its tiny size. And while Murphy is hard-pressed to pick a favorite corner (she says it’s a toss-up between the built-in cabinet/desk nook and the stove area), the whole room is the perfect, cozy spot for family gatherings and casual entertaining alike. “When I’m here cooking, I feel transported into another space and time…and I can’t believe it’s mine!” she says.
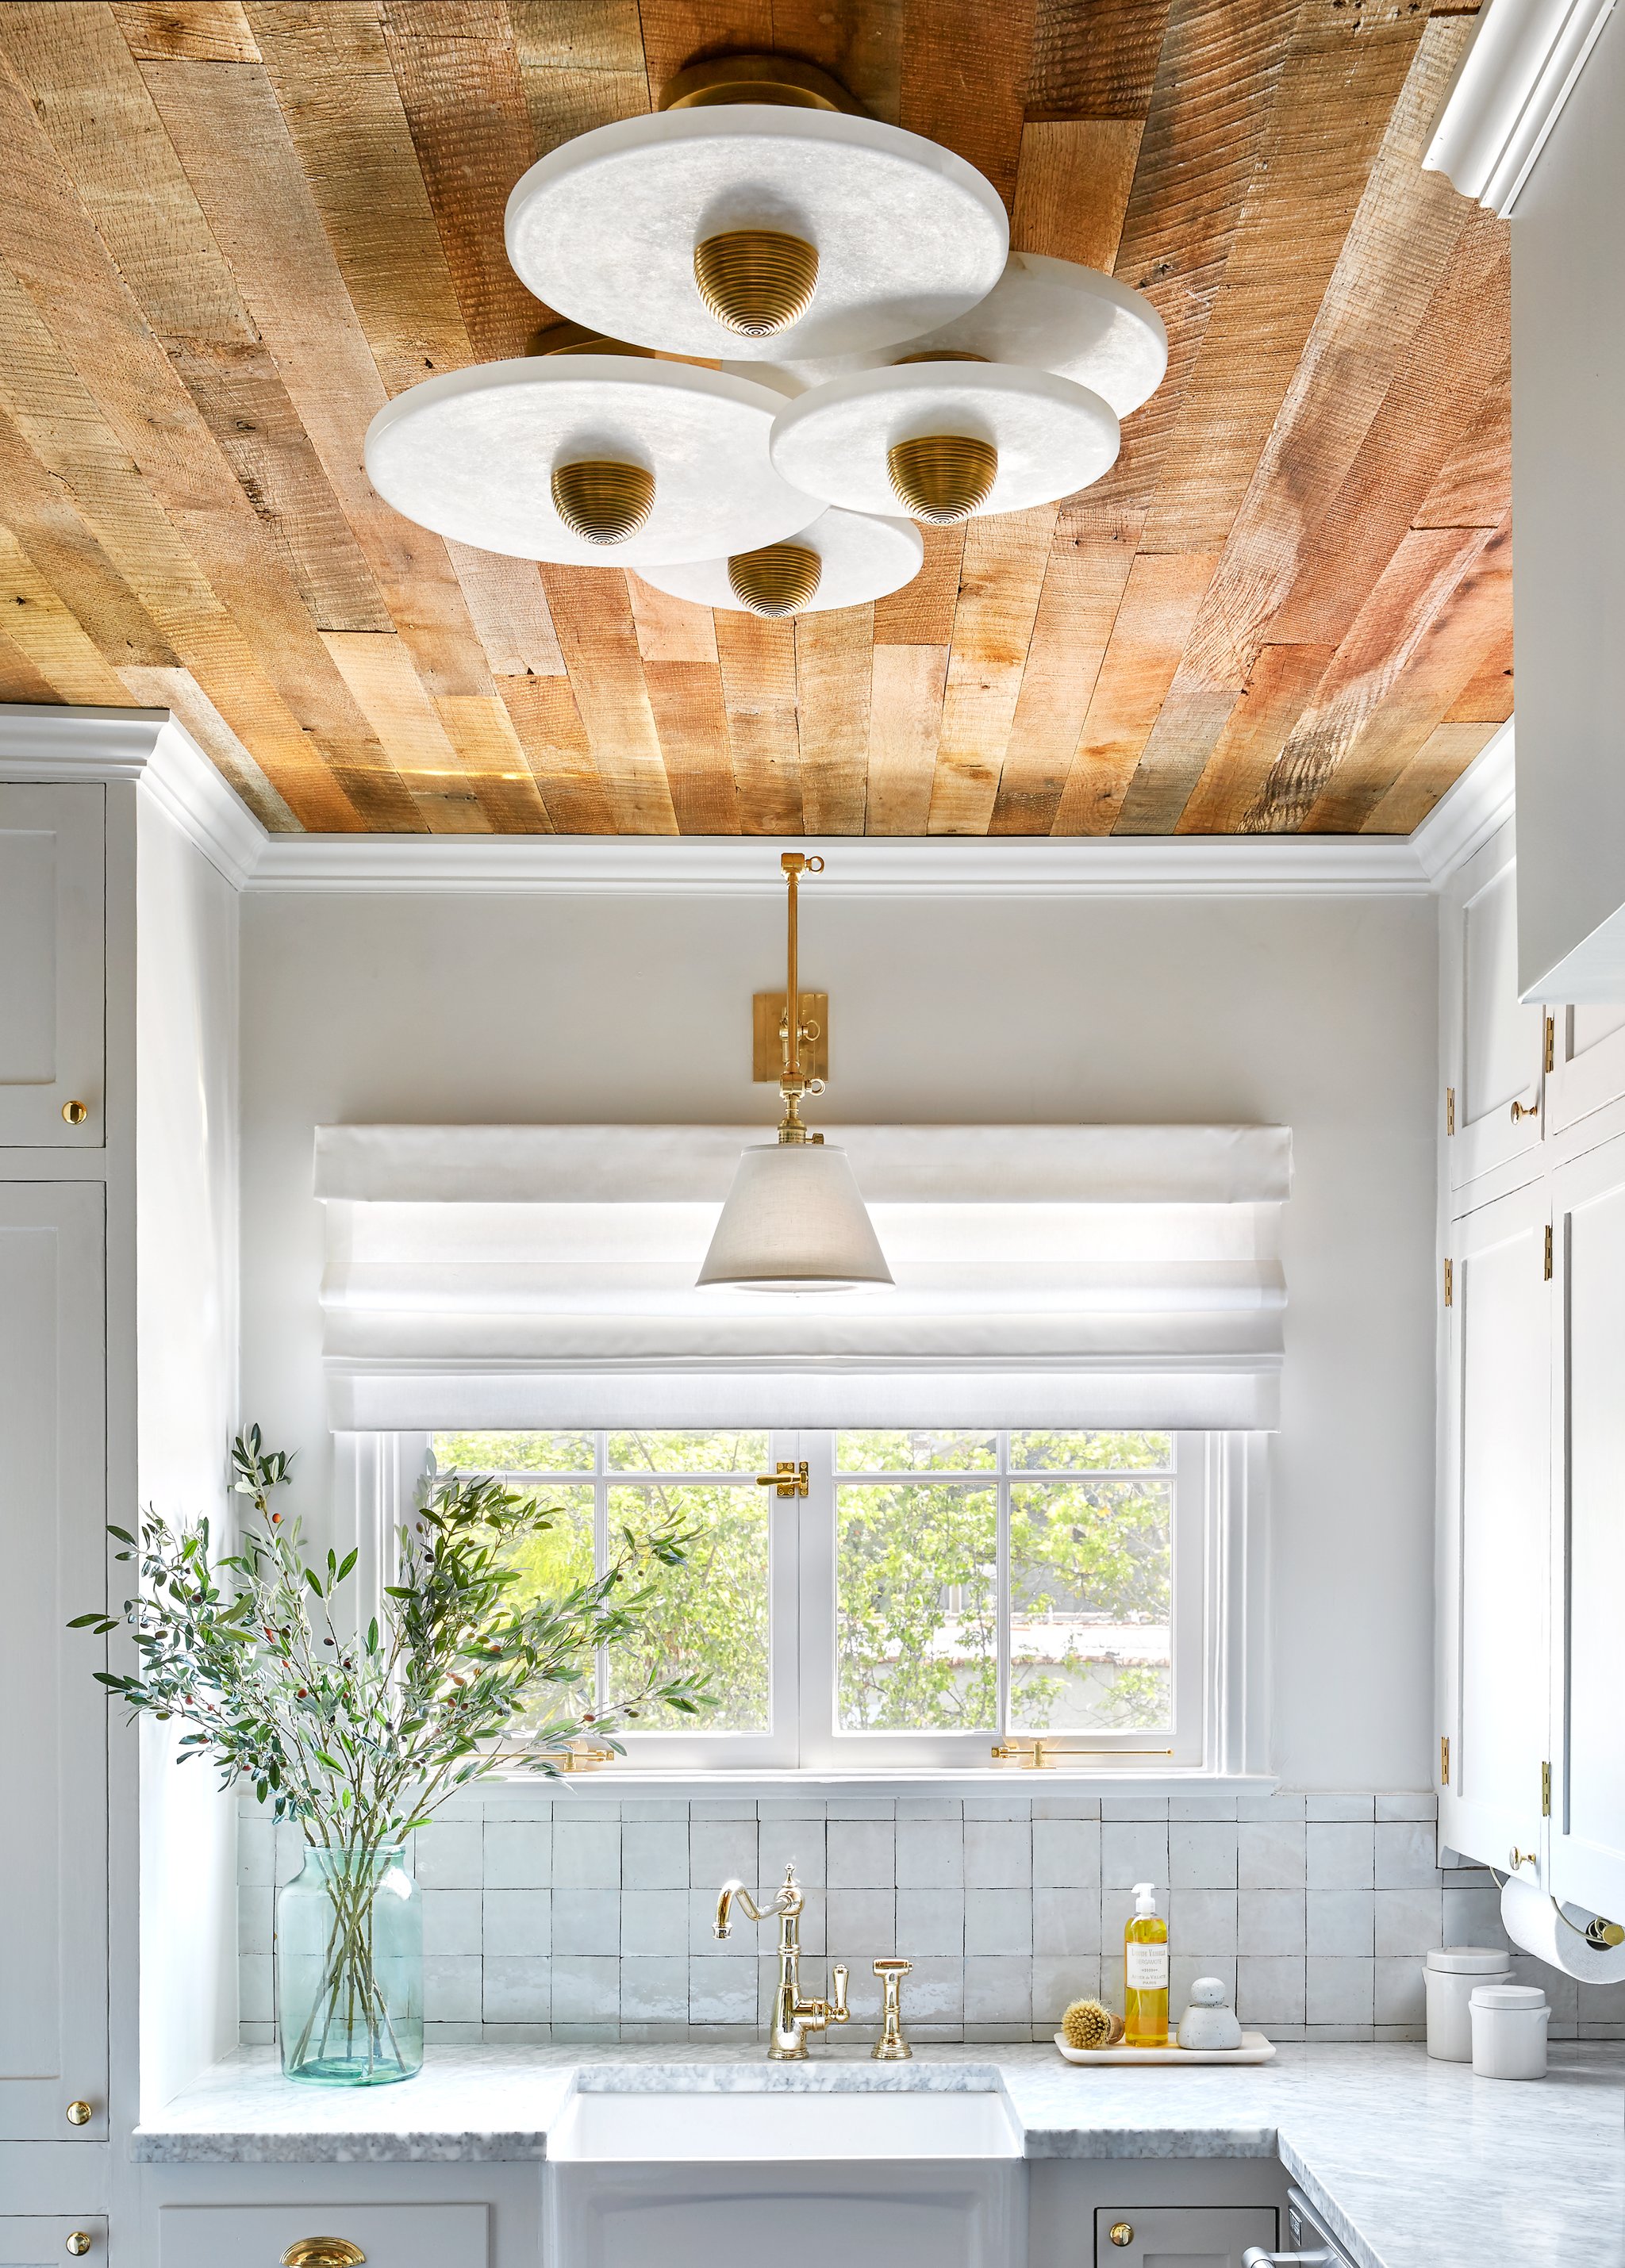
We have a favorite part, too, and it has to do with a different type of floor; specifically, what happens when you put your floors on the ceiling. The hardwood-esque ceiling treatment steals the show, creating an unexpected twist that simultaneously heightens the room and adds a final rustic touch. We spoke to Murphy to get the lowdown on this unique design, which might just make you reconsider your next weekend project.
Consider it an alternative to heavier-lift projects
Maybe you’re coveting a wood beam ceiling—Murphy was in the same boat. However, given the placement of her cabinets, the beams were out of the question; this wood treatment mimicked the same European country–kitchen style she was after, minus the hassle. “The moment it was in, it was like fireworks went off,” she says. “It really did just add instant warmth to the room.”
Do your homework


Start by narrowing down the type of wood you want, then filter it even more by picking the specific tone. Murphy wanted something in a medium-warm tone and went to Ross Alan Reclaimed Lumber to get everything precut to the exact size. She recommends getting as specific as possible with the details and dimensions you need and allowing for extra time; after everything was in place, the install itself took about six hours.
Know when to go pro
Given that she recruited the help of professional installers, Murphy was able to circumvent challenges like having a lopsided ceiling or crooked cabinetry. However, it all depends on your level of crafting expertise. “There are some pretty amazing DIY people out there! If you’re really confident, you could install it yourself,” says the designer. However, she still advises having the wood precut, so all you have to do is worry about adhering it to the ceiling.
Don’t sweat the small stuff


Where other unique ceiling treatments, such as wallpaper or even paint, can be temperamental in a room like a kitchen, you don’t have to worry about that with wood. Murphy opted to leave her reclaimed wood unfinished for that quintessential natural look. Even without a protective coating, she says things like cooking splatters and humidity aren’t an issue for the new ceiling. Consider it a worthy investment for the messy chef.
Embrace the versatility
The beauty of a reclaimed wood ceiling is how truly versatile it is. “When people come over, it’s one of the first things they comment on; it works for any aesthetic,” says Murphy of the room’s crowning glory.
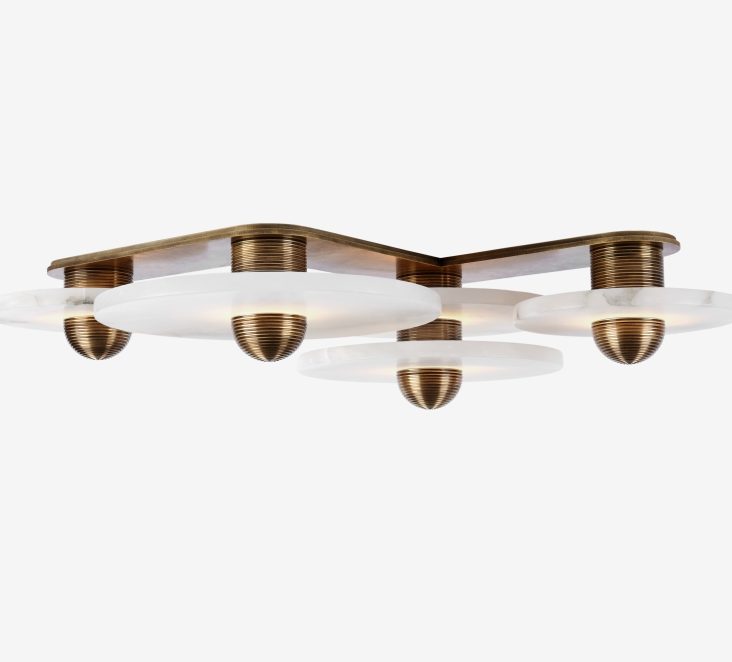
Keep your design pared back, emphasizing the unusual ceiling by surrounding it with neutral accents, or try a more maximalist approach. For the latter, Murphy recommends some funky lighting and bold cabinetry colors. “A gorgeous color next to the wood, like a blue or green, would be fantastic,” she says. “Or if you wanted to go with a warm color, yellow [would] just be really bright and bold.” Hey, if you want to get the look of a rustic Tuscan villa, sunny yellow walls and wood accents are one way to do it. Step it up a notch by opting for limewash for the ultimate old-school charm.
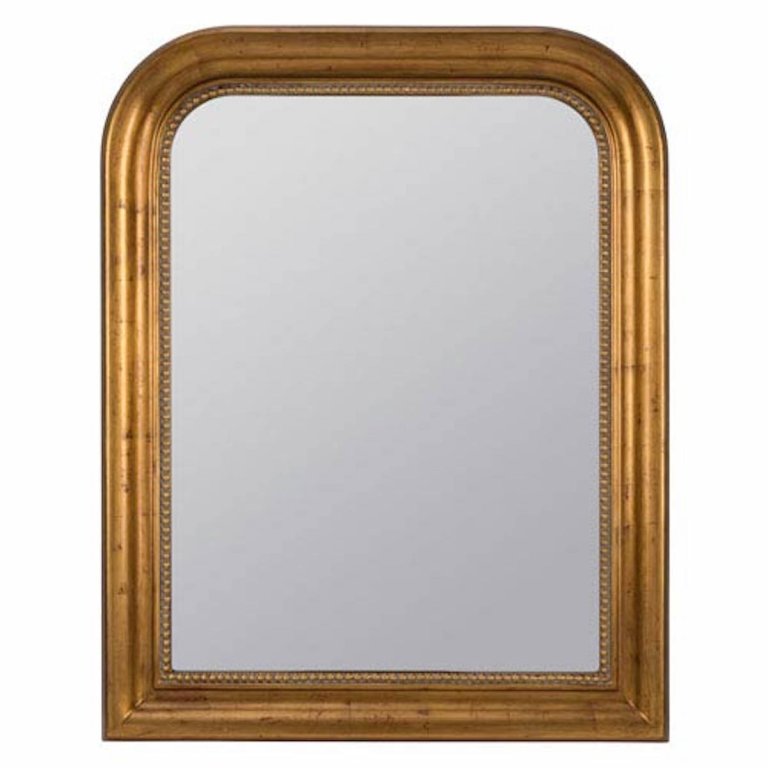
Get the Look