We may earn revenue from the products available on this page and participate in affiliate programs.
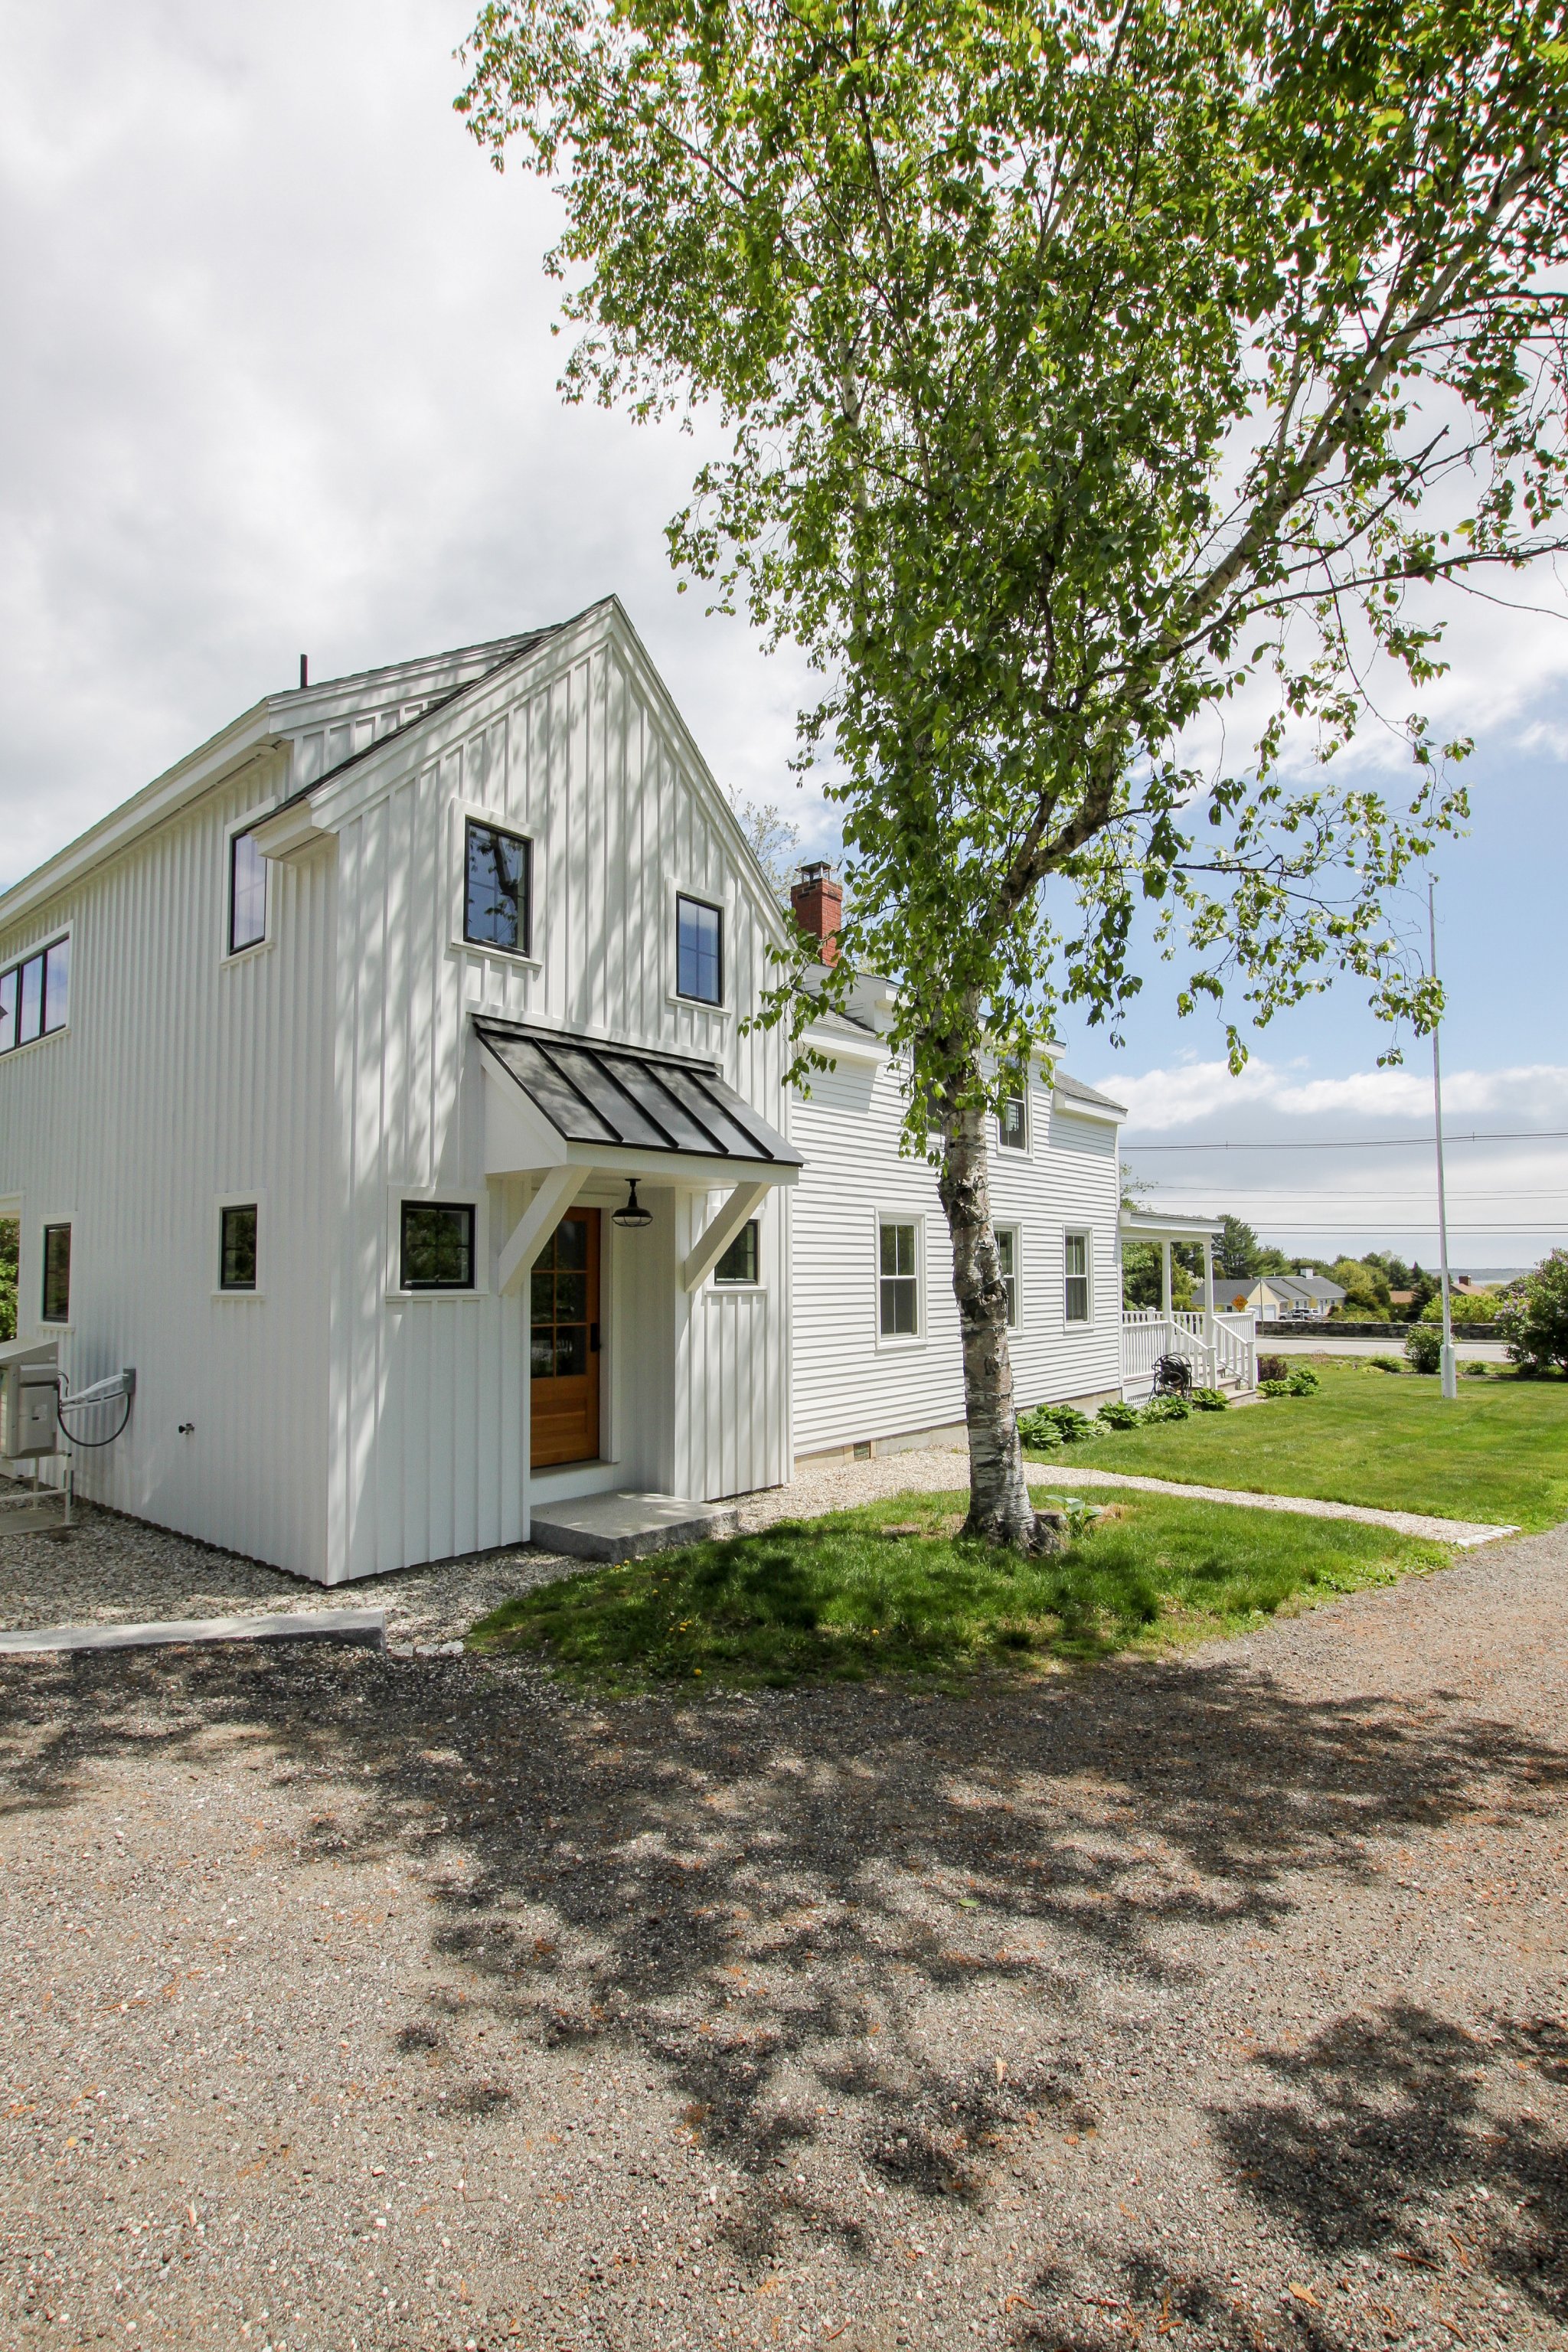
Times were a lot simpler in 1729. So simple, in fact, that building codes were “not a thing,” as artist and two-time renovator Sarah Madeira Day generously points out. “In 2019, building codes are a thing—a very trickything,” she adds. Day is speaking from personal experience. She and her husband, Wes, have been restoring a 290-year-old house in their hometown of Portland, Maine, with their daughter, Elle, and dog, Hartley, in tow. Since purchasing the oceanside property in 2016 (for a mere $357,500!), they’ve documented each phase of the renovation on their blog, This Maine House.
“It’s the best intentional accident we’ve ever made,” says Day of the fateful (and freezing) winter day they decided to put in an offer below asking price, half expecting to get shot down. Three years and $200,000 later, a ton has changed—including their perspective on remodels.
We asked Day to give us a taste of what it’s really like to take on a project of this scope and, most important, what it means for your wallet. Check out her top four lessons learned, below.
Tackle Your Projects in Order of Necessity


Have two separate must-have lists running: one that includes the things your home needs to function and another with changes that will make living there more enjoyable. Tackle the former first. “We started with the necessities: electrical, plumbing, heat, walls, layout, and flooring to make the existing home more functional and sound,” says Day. Don’t forget to add on 20 percent to your projected final cost. “Soft costs,” or expenses that are critical but often unforeseen, like termite damage or faulty wiring, often account for 15 to 35 percent of a total renovation cost.
Once you’ve checked the essentials off your list, reassess your budget to see what room you have to squeeze in your nice-to-haves. For the Days, this was when they brought on an architect and builder to map out a two-story addition for the back of the house. The bonus 700 square feet of space would include a laundry room, entryway, half-bath, and master suite.
Prepare to Play a Game of Tetris
Back to that 1792 business. Remember how building codes were “not a thing”? Tacking on a new expansion to the original house, which was composed of small rooms, narrow hallways, and steep stairs, quickly turned into a jigsaw puzzle. “An old structure is generally grandfathered into code, meaning if it was existing and not greatly altered, it doesn’t need to fit current building requirements. However, a new structure does,” explains Day.
Let’s say you’re lengthening a hallway to attach an addition onto your preexisting house. If the old portion is 6 inches narrower than the building requirements for the new segment, you have a tough decision on your hands. “You can either create two different-size hallways in the same run (really weird but an option),” suggests Day. “Or you can take down the walls in each room attached to said hallway and rebuild it to increase the width throughout.” The Days’ renovation was essentially a series of these tiny but crucial adjustments.
Look for the Silver Lining in Repairs (There Might Just Be One)
When the Days decided it was time to break into the living room ceiling after signs from a leak in the bathroom upstairs started to appear, they made a deal. “Wes specifically told me, ‘If I take this whole ceiling down and there is nothing good underneath, you have to put it back,’” she recalls. “I was like, ‘Done.’ Meanwhile, I was terrified because I had no idea what we would find.”
Lo and behold, there were gorgeous wood beams hiding out on the other side of the drywall. “I did a mic drop and left the room,” says Day. While it’s easy to spend a small fortune on repairs in an older home, you won’t necessarily have to shell out on character if you know where to look.
Take on the DIYs You Don’t Think You Can Handle
No prior reno experience? No problem. For the Days, the most rewarding and cost-effective DIYs were the unknown ones that (almost) brought them to tears. “Our backyard was an enormous project,’” recalls Day. She’s not just talking about planting a few new beds and trimming the hedges; the couple dug out and leveled the ground, redirected the draining, built a retaining wall, and more, without the help of hired hands.
“At one point, I sat down like our 3-year-old and said, ‘I’m not helping anymore because I don’t want to.’ Wes, like the grown-up he is, sat down with me until I got back up,” she says. “That rainbow of emotions is what DIYs are all about.”