We may earn revenue from the products available on this page and participate in affiliate programs.

produced & styled by ANNA KOCHARIAN photography by MICHAEL WILTBANK
As far as party decor goes, florals are practically a requirement, especially during the warmer months. From the typical centerpiece posey to the extravagant wall-to-wall display, it seems as if there are no finite number of ways to show off our favorite, seasonal blooms. As we are no strangers to the flower garland trend, we took on the challenge of coming up with a few more versatile uses for one – going beyond its typical one night hurrah. Take a peek at just three of the many ways we would style a vibrant spring garland plus, a simple DIY for you to recreate the look at home!
for the garland
WHAT YOU’LL NEED
- any sort of floral filler (we used italian ruscus – lemon leaves and eucalyptus leaves work as well!)
- flowers, preferably one sort that is available in contrasting tones (we used sweet pea)
- floral tape
- a thin wire
- wire clippers

STEPS Before you begin, consider the shape you would like the garland to take. We opted for a display that would be cinched at the center and expanding out towards the ends of the garland.

Set two of the lengthiest filler greens in a line, conjoining the tips of the stems at about one inch in length from the bottom. Secure the two ends with the wire and cover with the floral tape if needed.
Start building out the garland by adding in fillers, equal in size, to each respective side. We found it to be helpful to divide the total number of fillers and earmark an equal number of pieces for each side, before securing them in place.

*Fake a longer garland by wiring together two lengthy pieces for the base!
Once you have the general shape of the garland set, fill in extra greens wherever there may be an empty hole. Cover up any obtrusive wires with the floral tape.
Add in the florals of your choice, concentrating most of them towards the center of the garland. Secure in place with the wire. Filter in leftover strands towards the end of the garland for an added pop of color and depth.

MIRROR Hardtner by Lamps Plus lampplus.com
MIRROR, MIRROR, ON THE WALL… Wall mirror feeling a bit too boring? It’s nothing an ornate floral garland can’t fix! Place the garland at either top corner of the mirror, allowing the filler leaves to effortlessly drape over the sides. Now that is how a proper vanity should look like!
bonus tip: Recreate this look over the bathroom vanity using eucalyptus leaves for an insanely fragrant and soothing effect, post-shower!

THE BRIDAL SHOWER Throwing an elegant bridal shower or brunch? Pass on the tablecloth and show off the natural beauty of your table’s surface! Set the garland at the center of the table for an elevated take on a classic centerpiece. Outfit the table with clean cut dinnerware of a muted palette.
Bonus points for linen napkins that borrow a common hue from the florals used in the garland!


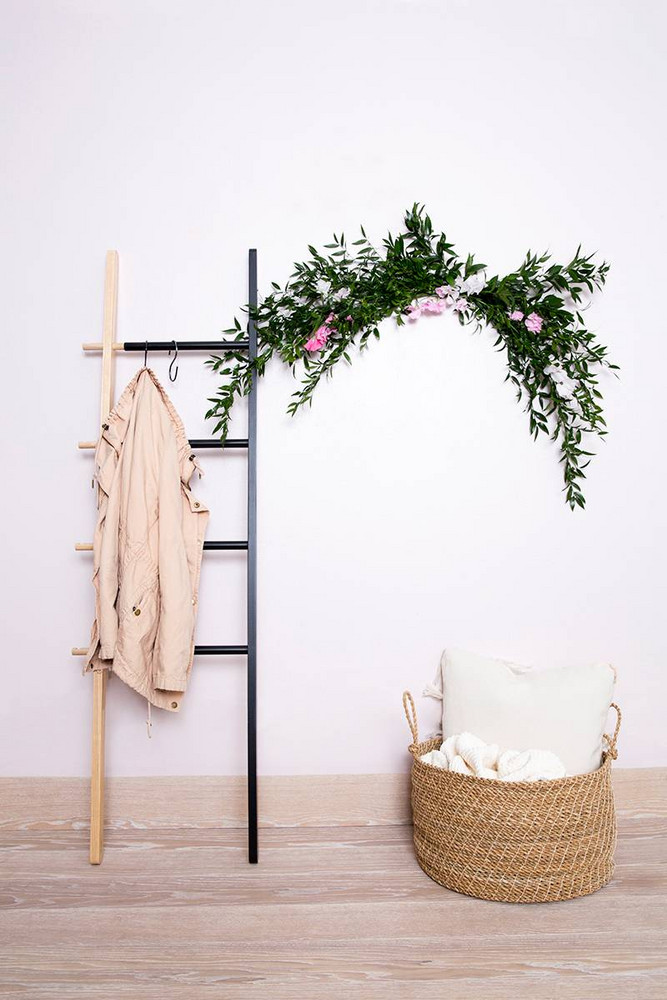
THE ENTRY ADDITION Create an uplifting element for the standard entryway with a healthy dose of green, especially when entertaining! Not only does it emulate the aesthetic of the fete, it establishes a welcoming note that is simply unique.
Simply affix the garland to the wall using nails or thumb tacks, evenly dispersed along the length of the piece.
For the entertainer: Pair the look with a welcome sign, pointing to the direction of the party!


Craving a few more ideas? Try the garland out as a backdrop for a photo booth, a bright green addition to the bar cart or cocktail bar, over the door, on the railings of your stairs, or on an entry console… the possibilities are endless!