We may earn revenue from the products available on this page and participate in affiliate programs.
At WildCraft Studio School, anything is possible—and has been since Chelsea Heffner founded the crafting hub, now a staple of Portland, Oregon’s art scene, in early 2013. Which means even as the non-profit educational center, like so many small businesses, is dealing with the challenges the COVID-19 pandemic has brought, Heffner has still managed to find a bright side. At home with fewer distractions, “so many people turned naturally to making things,” she notes, “whether it’s dusting off the sewing machine, pulling out the yarn and knitting needles, or just simply drawing.”
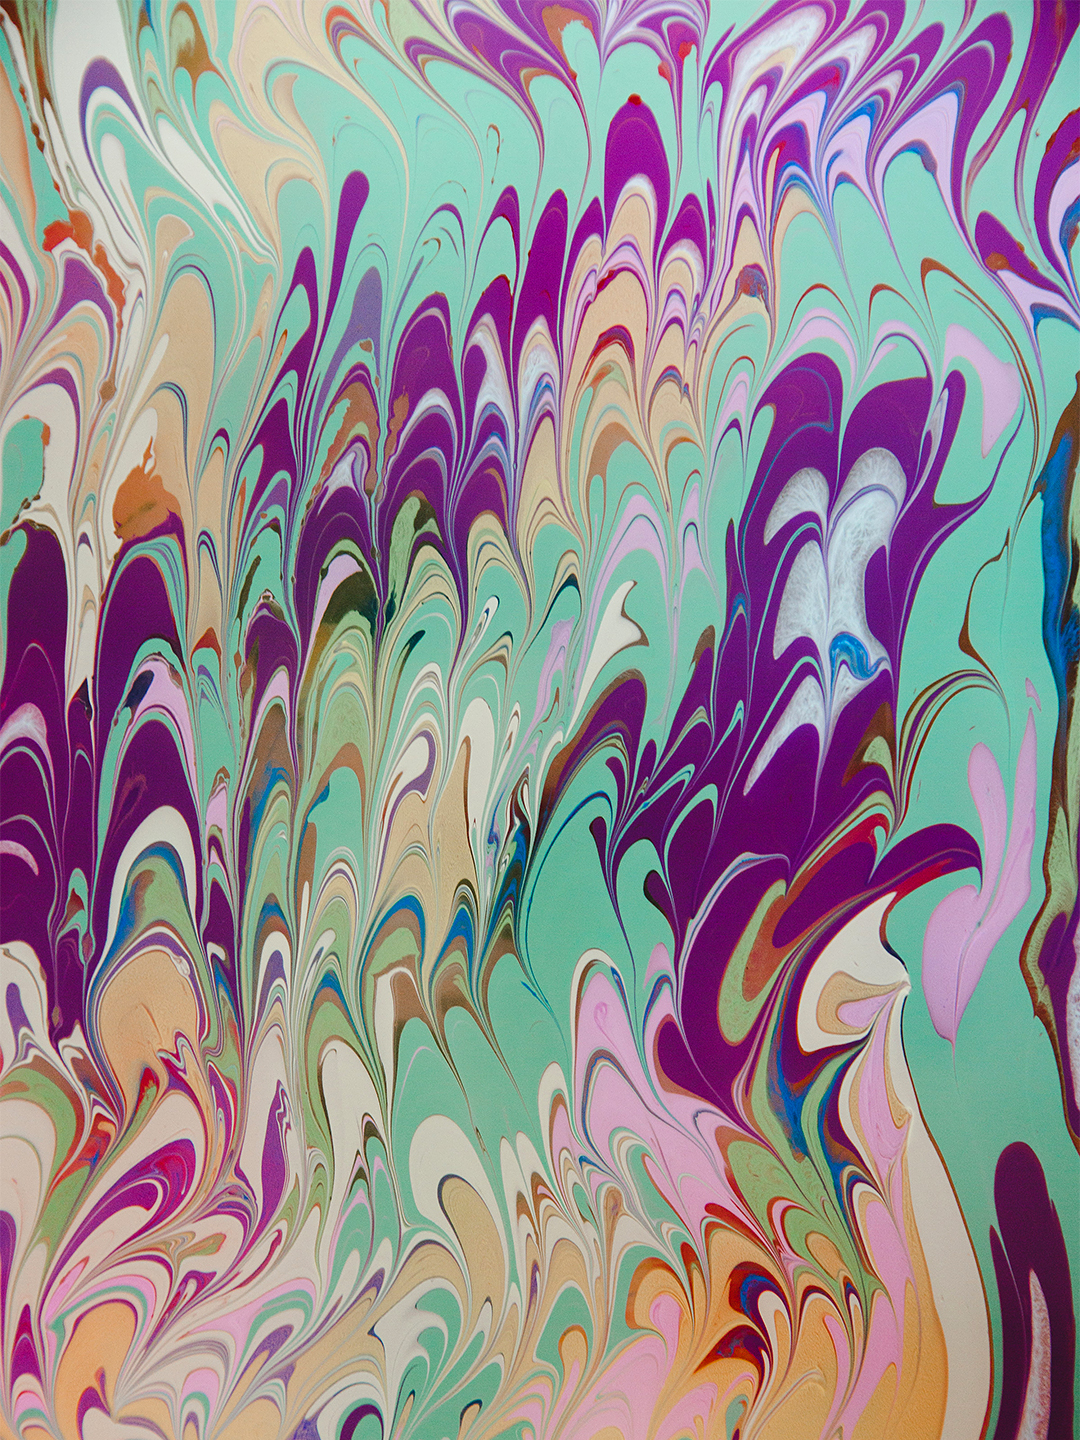
So, Heffner and her colleagues—teachers she found on Instagram who coach participants through everything from ceramics making and basket weaving to mushroom foraging and clam digs—are using their unique power to spread creativity to introduce a project you’ve most likely never tried before: fabric marbling. Order supplies straight to your doorstep, follow WildCraft’s instructions, and before you know it, you’ll have an artist-grade pillowcase, t-shirt, or sheet set. Heffner says it best: “A silver lining in this situation: returning to the self as a source of inspiration.”
The Supplies
- Methocel
- Household ammonia (clear)
- Alum
- Acrylic craft paints (Heffner likes this brand)
- Natural fiber fabrics* (made of finely woven cotton or silk)
- 2 large buckets or pots
- Tray or container that’s large enough to fit your fabric laid out flat
- Measuring spoons
- Whisk or large spoon
- Gloves
- Dust mask
- Newspaper or scrap paper
- Small mixing cups
- Eye droppers
- Toothpicks
- Paint brushes
- Comb or fork
*Pre-wash the fabrics with a neutral fabric detergent and rinse well to wash out any remnants that could prevent the paint from sticking.

Step 1: Prepare Your Marbling Solution
Combine 1 tablespoon ammonia per gallon of warm water into your bucket and stir. Use as many gallons of water as it takes to fill your bucket. Slowly add 1.5 tablespoons of Methocel per gallon of water, stirring constantly and vigorously with a whisk or spoon until the Methocel is dissolved and appears clear. Let the mixture sit at least 30 minutes, until bubbles begin to rise and the solution sets.
Next, pour an inch or two into your tray and skim the surface to remove any bubbles, film, and dust particles by dragging a strip of newspaper from one end of the container to the other.

Step 2: Prepare Your Fabric
Don a dust mask and in another large, clean bucket dedicated to crafting, mix together 8 tablespoons alum per gallon of warm water until dissolved (you’ll need enough warm water that your fabric can move around loosely). Wearing gloves, dip the fabric into the alum solution, swish around, and soak it for 20 minutes. Gently squeeze the fabric and lay it flat or hang to air dry, stretched if possible to avoid big wrinkles (small ones will not affect the print). Do not iron it—heat can weaken the alum-soaked fabric, leading to scorching or future shredding.

Step 3: Float The Paints
Choose your paint colors! Once you’ve got those on deck, thin the paints so they will float on the surface of the mixture. Beginning with a dime-size drop of paint, mix in a very small amount of water to thin the paint to the consistency of whole milk in a mixing cup.
With an eye dropper, gently drip the paint onto the solution. The paint should spread out into a circle, and some may sink to the bottom—that’s okay, as long as most of it stays on the surface. (If too much seems to be descending, thin the paint a little more.) Keep adding paint to the surface, hue by hue, until you are happy with the proportion and saturation of the colors.


Step 4: Create Your Pattern
Anything goes when it comes to the design, from concise, repeated manipulations to something abstract and free flowing—that’s a part of the fun! Use toothpicks, a comb, or other items to carefully make swirls and shapes in the paint.


Step 5: Apply the Design to Your Textile
Using both hands, lay the middle of the fabric down into the paint mixture—with larger pieces, it is best to have an extra set of hands—and let the ends roll out onto the surface so no air is trapped underneath. (Trapped air will create white spots.) Leave the fabric alone for 5 seconds before peeling it off surface so it doesn’t fold onto itself.

Step 6: Rinse
Immediately after Step 5, use a sink or rinse bucket filled with clean water to remove the alum and excess solution from the textile. Don’t worry, the color will stay put! Lay the fabric flat or hang to air dry, then iron the back side to set your pattern.

Step 7: And Repeat!
The marbling mixture can be used over and over again, even as it becomes cloudy—just skim the top with another strip of newspaper until you’ve removed all of the surface paint. If you’re planning to reuse it in the next few days, seal with an airtight cover. Once you’re fully finished with it, slowly pour the solution down the drain while running hot water to avoid clogs.
More Crafting Stories: Get a Custom Craft Supplies Care Package Delivered to Your Front Door Kickstarter’s New Campaign Is the Sign It’s Time to Start That Side Project You Don’t Have to Spend Hours Painting to Brighten Up a Room