We may earn revenue from the products available on this page and participate in affiliate programs.
A blank white wall is the least intimidating feature in a home—until you go to paint it. You don’t have to be Van Gogh to turn it into something special (or simply cover it with a solid color, for that matter), but you should arm yourself with some basic skills. Because what many first-timers don’t realize is that the most common painting mistakes happen before you even pick up a brush.
Every choice you make, from picking out the finish to purchasing blue tape, will ultimately affect how smoothly the process goes. All of this prep work might seem like a nuisance, but skipping an essential step can cost you time and money, especially if you’re using a special finish or painting over new Sheetrock. We took our most pressing beginner questions to a handful of interior designers and industry experts; avoid a DIY gone wrong by following their top tips.
Sample, Sample, Sample

Testing out your options isn’t just a matter of figuring out which hue you like best, but understanding how the light and other existing colors in the room will alter the paint’s undertones. As we were recently reminded by Orlando Soria, a light gray can look blue if you have a yellowish ceiling that’s reflecting onto the walls. Live with small doses of your choices for a few days before making the final decision.
Know Your Finishes
There are certain finishes (flat, high-gloss, eggshell, semigloss, satin) that look better in certain rooms and on certain surfaces than others. For instance, it’s best to avoid using flat paint on the walls in a high-traffic area; it’s often harder to clean and soaks up light rather than reflecting it. Essentially, the higher the sheen, the more defects it will show. “My rule of thumb is: Flat on the ceiling, eggshell on the walls, and satin or semigloss for doors and trim,” says Jacquelyn Clark of Lark and Linen.
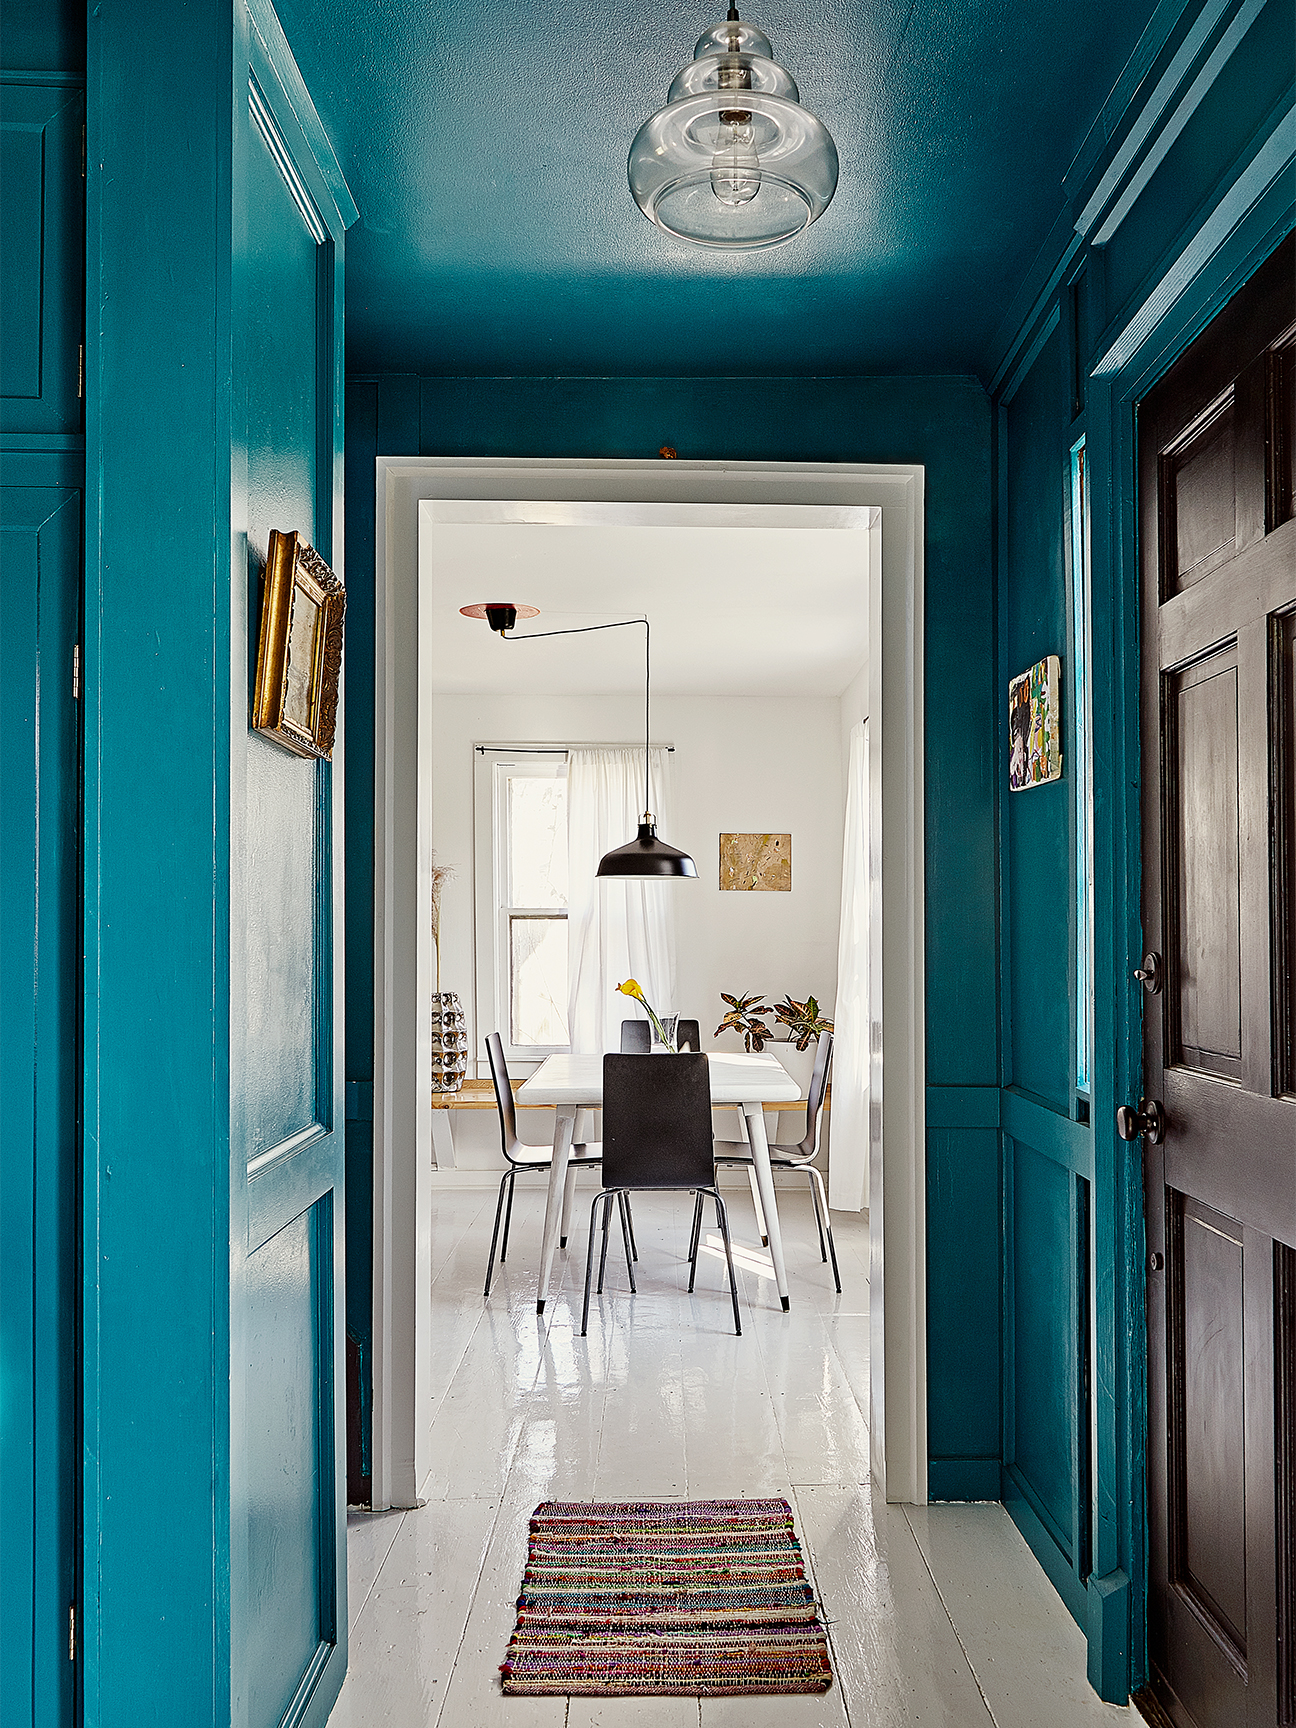
Save Your Boldest Swatches for Furniture

Choosing the right paint color is as much about personality as it is scale. Neon green sounds cool in theory, but will you still be into it once it’s covering all four walls? Odds are, probably not. “I think the biggest mistake I see people making with paint is picking colors that are far too saturated,” shares Clark. If you’re on the fence, fall back on a soft pastel, like lavender or muted yellow, for the whole room and save the electric blues and hot pinks for when you want to breathe new life into an old shelving unit.
Clean Your Canvas
Once you’ve removed the necessary items from the room, like picture frames, doorknobs, doors, and nails, and protected furniture and flooring with plastic sheeting, don’t forget to prep your surface. Clean the walls with warm water and dish soap to remove dust and surface debris. Once they’re thoroughly dry, patch any cracks, holes, or other imperfections. Allow the compound to dry completely, then sand those areas so they blend evenly with the surface. Finally, put painter’s tape along the trim and where the walls meet the ceiling.
Invest in Quality Tools

Little known fact: Not all bristles are created equal. While it’s tempting to save on tools (especially if you’re dropping $200-plus on the cans), purchasing hardworking brushes will save you money in the long run. “A quality brush will apply more paint quicker and give you a good, clean, straight line. Not to mention, it will last a lifetime if you take care of it,” explains Mike Mundwiller, a field integration manager at Benjamin Moore.
For applying water- and latex-based finishes, Jessica Barr, a national sales and development trainer at Behr Paint, suggests using brushes made of nylon and polyester. Natural-bristle versions, made from animal hair, are best for oil-based paints, as they hold more paint and ensure a smooth finish. Angled options that are one-to-two inches wide work best for trim, notes Barr, while a four-inch one is best for large, flat surfaces.
Always Prime

The mud that’s used on the seams of drywall absorbs paint differently, which can lead to a blotchy look if you don’t create a consistent surface first. A sealer-primer will help fill in those porous gaps, while an all-in-one primer is great for general repainting.
Dip for Full Coverage
If you’re painting four walls, use a roller to save time. The technique is all about finding a middle ground: Excessive dunking can lead to runs and wasted paint, while not enough will result in noticeable patches. “Move your roller through the paint about 10 to 15 times, making sure you have allowed the paint to saturate the roller fabric completely,” suggests Barr. Take another dip for every two-by-two-foot section. To fix errant drips, wait until the excess liquid has dried, lightly sand it, and reapply.
Switch Up Your Strokes

For a perfectly smooth surface, Barr suggests sticking to rolling out your paint in one-foot-wide W’s. For each letter, fill the area around and inside the W to create a solid square, then repeat. Each letter should be around one foot wide.
If your walls could talk, they’d tell you to grab a brush and get started.
This story was originally published on September 9, 2018.
See more paint stories like this: If Picking Paint Stresses You Out, Read This The Only 9 White Paints Worth Considering Amazing Paint Color Combinations Inspired by Our Travels