We may earn revenue from the products available on this page and participate in affiliate programs.
“Something I learned early on is that the zero in zero waste shouldn’t be taken literally,” explains Julia Watkins, author of the upcoming book, Simply Living Well, and a total pro on the art of paring back. She started her new lifestyle four years ago, after reading Bea Johnson’s Zero Waste Home. “Trying to do it with a family can be challenging. I had to balance our well-being with my environmental values.”
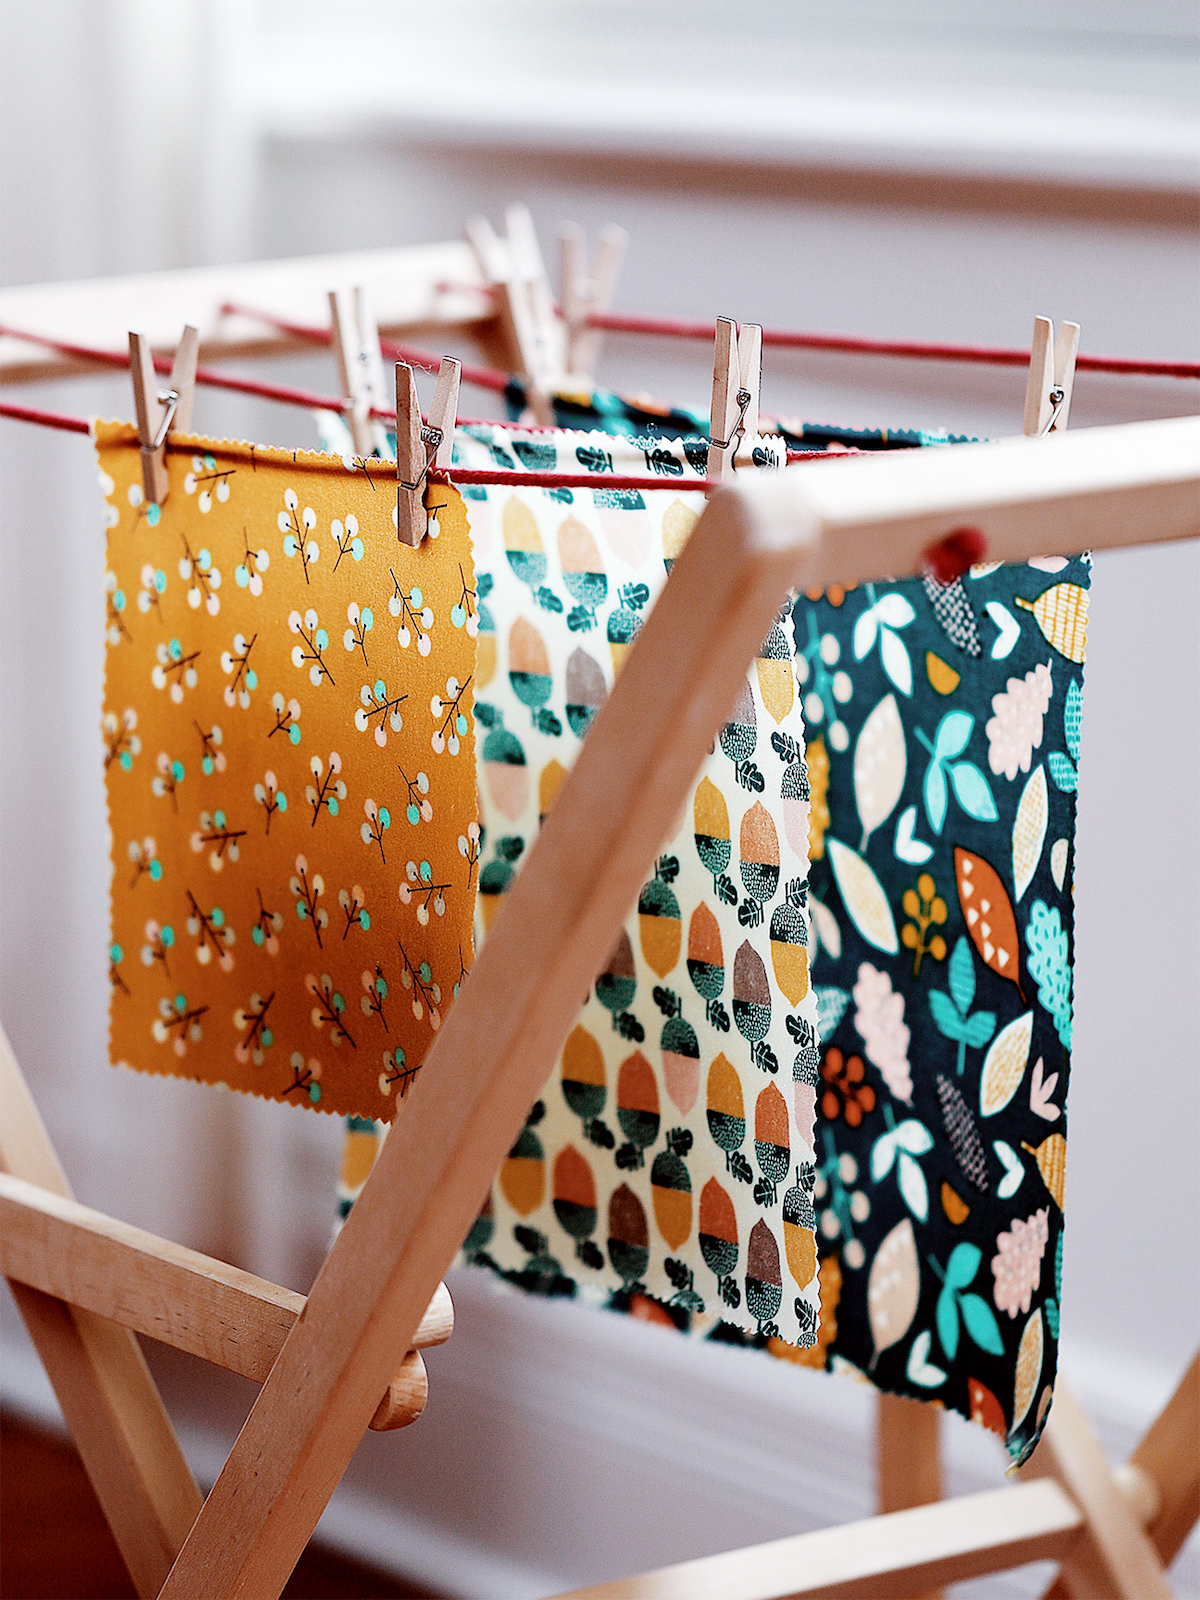
It’s small swaps like the ones she documents in Simply Living Well that she’s found to be the most useful. While flipping through the pages, we found one such idea we’re bookmarking to help us in our quest to cut back on kitchen plastic. Three words: DIY. Beeswax. Wraps.
The idea for these cloth container covers came about when Watkins was brainstorming practical gift ideas for her mother-in-law. For any meal prepper (or midnight stress baker), they’re a lifesaver: Not only do they effectively eliminate the need for plastic wrap or tinfoil, but they can dramatically reduce the clutter in your Tupperware cupboard. Just keep your leftovers in the serving dish and pop one of these over the rim.
While you could buy premade beeswax wraps, this project gives you complete creative control over color and pattern—they’ll be front and center in your fridge, after all. Plus, if you have excess fabric lying around, it’s the perfect way to use it up.
Watkins’s book doesn’t come out till April 7 (preorder it now), but we got the scoop on how to make these wrappers early, just in time for spring dinner parties. (They’re ideal for protecting your dishes before guests arrive, as well as for sending extras home with your friends, the ultimate thanks-for-coming gift.)

The Supplies:
- 100 percent cotton fabric (this DIY makes three different-size wraps, so you’ll need enough for one 8-by-8-inch square, one 11-by-11-inch square, and one 14-by-14-inch square)
- Iron
- Scissors or pinking shears
- Measuring tape
- ¼ cup powdered pine resin
- ¼ cup grated beeswax
- 4 tsp jojoba oil
- Paintbrush
- Baking sheet
- Compostable parchment paper
- Kitchen tongs
- Used newspapers
- Clothespins and clothes drying rack
Step 1: Do the Prep Work
Wash, dry, and iron the fabric. Cut out the three different-size squares; for a neat edge (and to prevent fraying) you can use pinking shears in lieu of scissors, but it’s not necessary. Preheat the oven to 225 degrees Fahrenheit.
Step 2: Mix It Up
In a bowl, combine the pine resin, beeswax, and jojoba oil.
Step 3: Lay Out the Goods
Line a baking sheet with the parchment paper, and place one fabric square on it. Sprinkle about one-third of the wax mixture evenly all over the fabric. Bake for 10 to 12 minutes, until the topping has melted.
Step 4: Brush It Out
Remove the sheet from the oven and smooth the existing beeswax mixture evenly over the fabric. (It will stick to the brush, so be sure to use something you don’t mind reserving for future beeswax projects.) Pop it back in the oven for a couple of minutes, to allow the wax to melt evenly.
Step 5: Let It Cool
Take the tray out of the oven. Lift the fabric with kitchen tongs, and allow excess beeswax to drip onto the parchment paper. With newspapers underneath to catch any droppings, use clothespins to hang the wrap on the drying rack to dry and cool. Repeat this process with the remaining squares.
To Use:
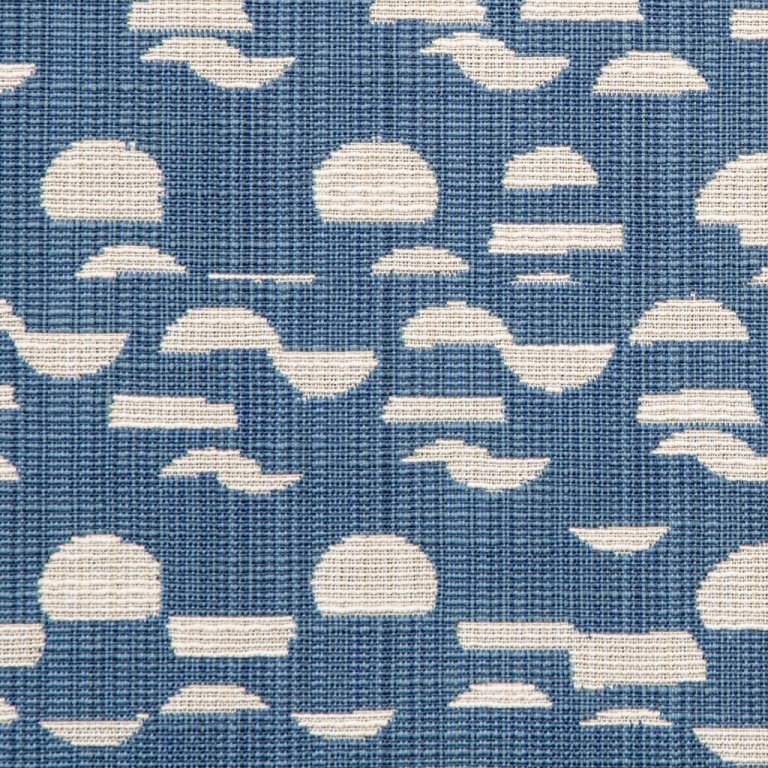
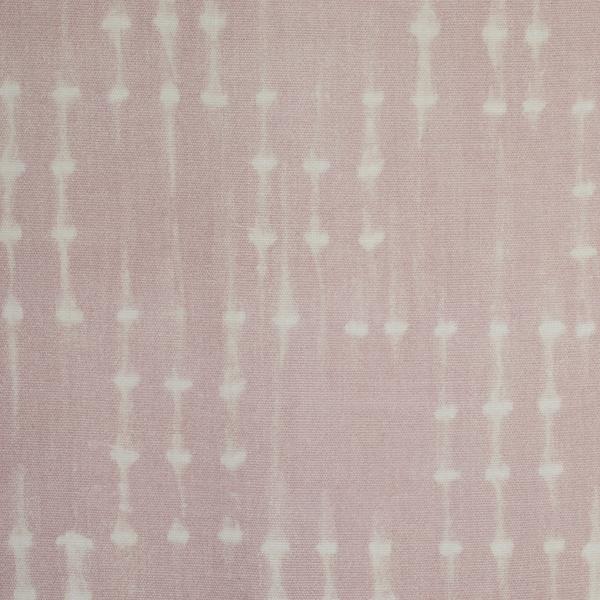
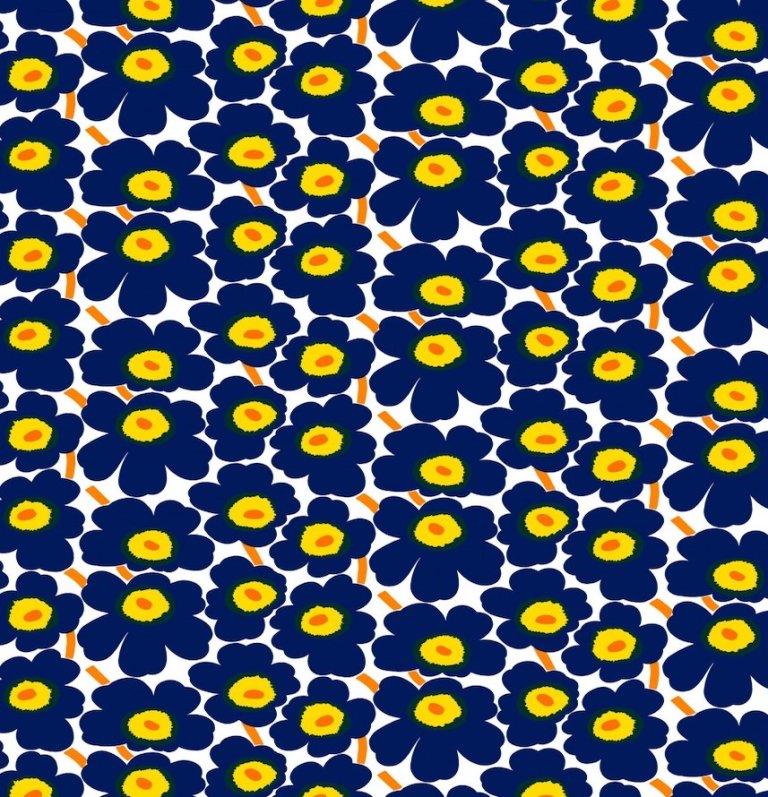
With the pressure and warmth of your hands, mold the wrap around food and containers. To clean, hand-wash in cold water with mild soap; hang over a dish rack to dry. Once the wraps are worn out, make a new set and toss the old ones in the compost heap. But first, shop our favorite fabrics:

See more easy DIYs: Found: A Velvet Headboard DIY That Doesn’t Involve Channel Tufting I’m No DIY Pro, But This IKEA Hack Took Me 10 Minutes Flat Upgrade Mismatched Planters With This Simple DIY