We may earn revenue from the products available on this page and participate in affiliate programs.
Even though our closets hold some of our most important possessions, we inevitably end up neglecting them. So we’re asking clever homeowners and renters to share their time-tested organizing methods that really (really!) work in our new series, Reclaim Your Closet.
Interior stylists like Benjamin Reynaert don’t have a choice but to bring their work home with them. All the things they lug to photo shoots—trays, table linens, taper candleholders—have to go somewhere in the off-hours, and that somewhere is usually their house. For Reynaert, it’s a sunny corner of his Wilmington, Delaware, kitchen. “I don’t have a giant Martha Stewart–like warehouse where I can just keep everything, so I have to store pieces throughout my house,” he says.
Reynaert’s freestanding prop closet isn’t the giant IKEA Pax unit you might expect. Actually, it’s a large antique wood cabinet—and the inside is fully customized. “It’s easier to find an old piece that you love and fit it to your needs,” says Reynaert. Below, the tabletop-obsessed creative breaks down how he made the freestanding furniture work for him.
Start With an Old Canvas

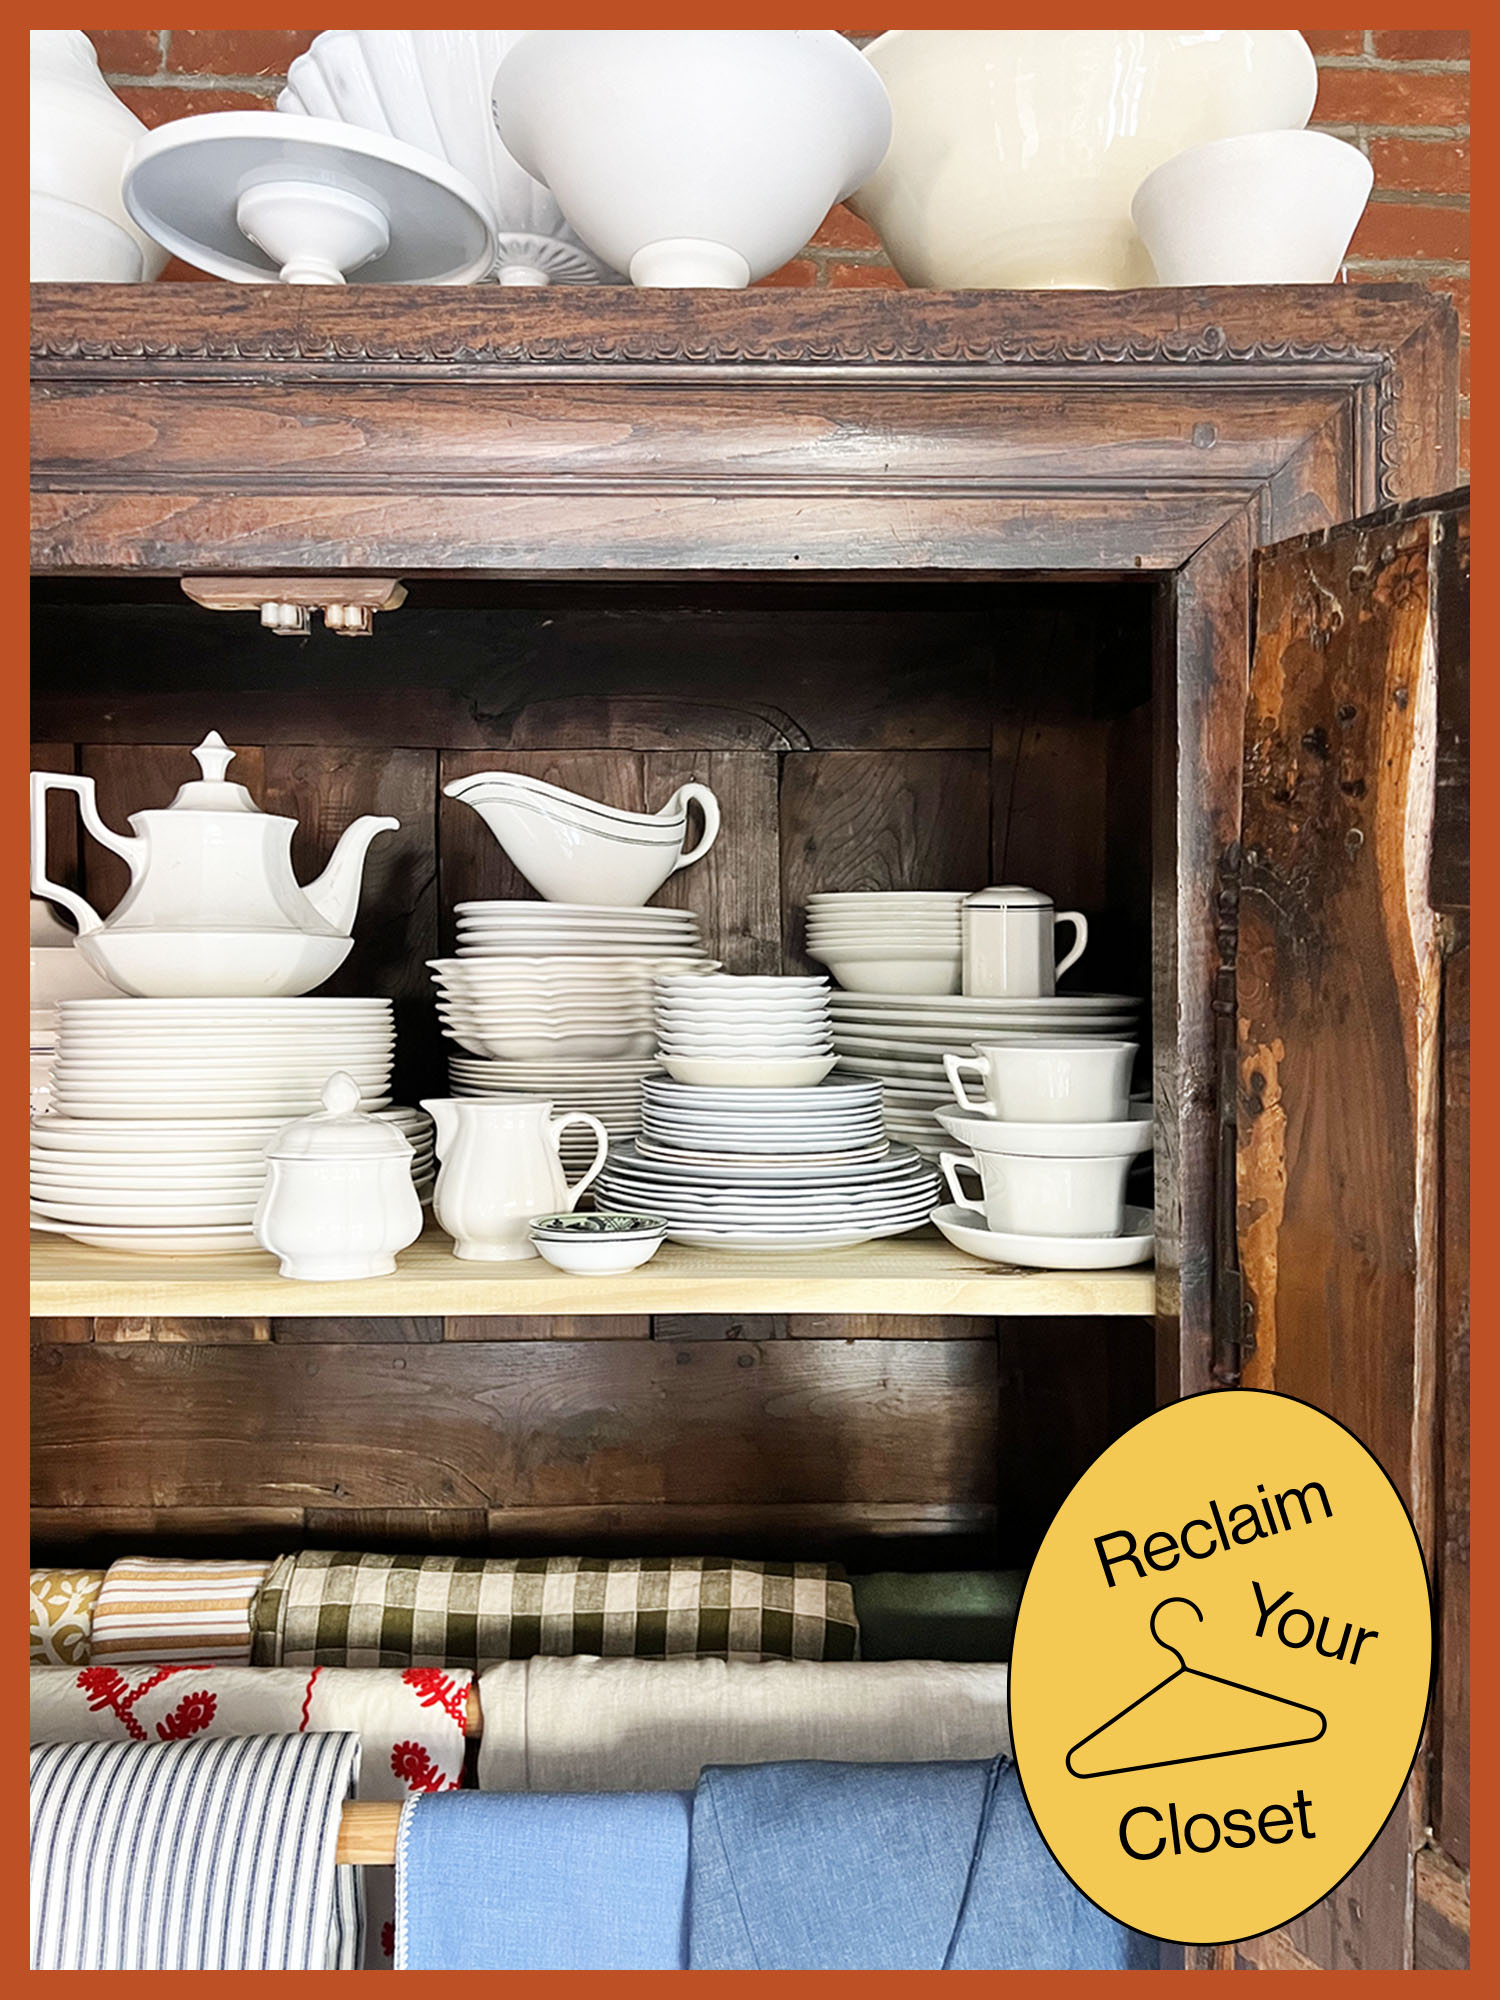
I got this antique solid wood cupboard from my partner Luis’s mom. It was once in his childhood home in Tijuana, Mexico. I’ve always wanted a freestanding piece of furniture to go in this space. It’s about 6.5 feet tall, 4 feet wide, and hollow on the inside. I am accepting it for what it is, and I think that’s part of the charm.
Personalize the Interior

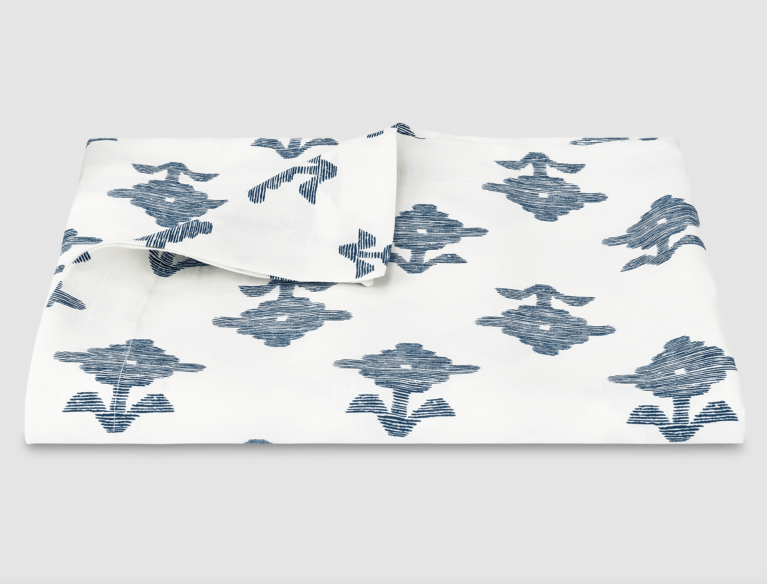
I went to Home Depot and asked them to cut a piece of pinewood to make a shelf (the cupboard already had two little supports for it on the sides). Then we asked a friend of ours who has a lathe to cut rails with half circles in them so we could slot in 3-inch-thick wood dowels, which I also bought at the hardware store. I loved the idea of having all of my tablecloths in one place, ready to go, so I could easily pull them out and throw them down on the table without having to go through a folded stack. Plus, when they’re hanging, it’s a little less work to have to steam them or iron out any creases.

They’re organized by pattern and then color: The right side is for solids; the left is for patterns. The blues are in the front—I love the cornflower Matouk with the whipstitch on the edge—warmer reds are in the middle, and earthy hues like browns, yellows, and greens are in the back. I think it’s nice to have a couple of go-to graphics like a check and a simple stripe, too, and then something more organic such as an allover floral. There is also a piece of French ticking mattress in the front that I use all the time.
Stack Dishes From the Outside In


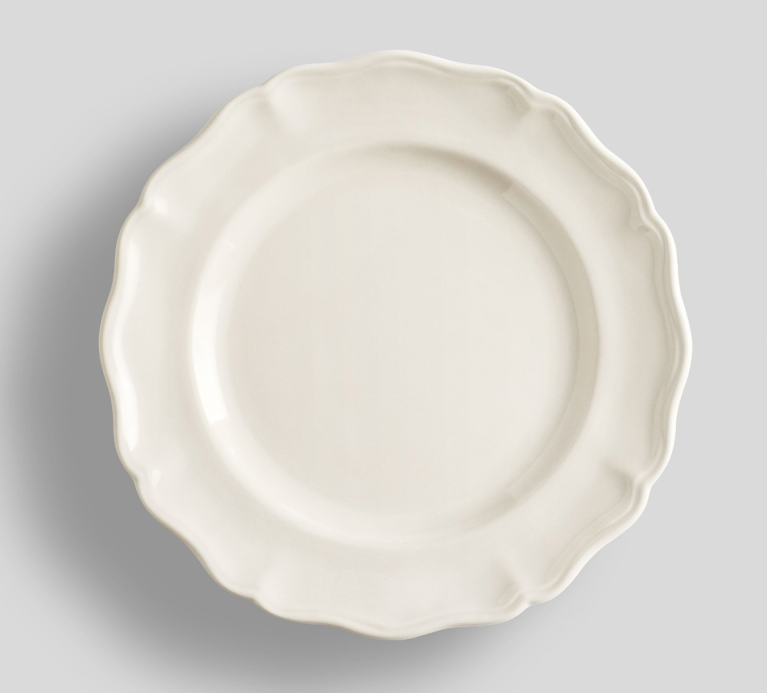
I have a lot of white ironstone I’ve collected from the U.K., which I use a lot for photo shoots; they’re not distracting and look pretty when stacked. I put the pedestals and footed things up top and dishes and teacups on the shelf inside, situating the lidded casserole dishes to the left and plates to the right. When like objects are together, you know where to grab things from.
Change It Up

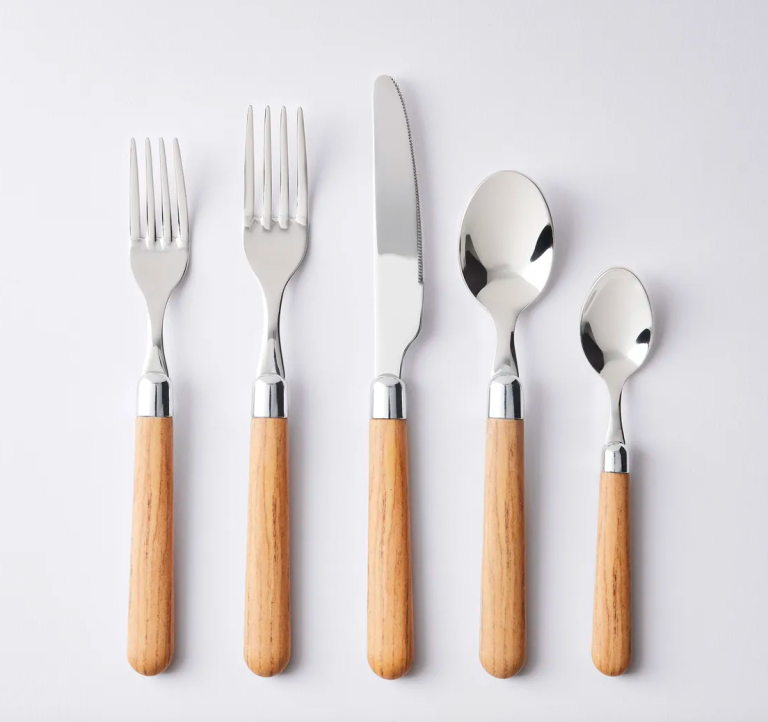
I’ll sometimes utilize the cabinet for miscellaneous items I’ve collected for upcoming photo shoots like wood cutlery, pour-over coffee beakers, or spools of twine. I stack the higher things (or the pieces I know I won’t use as much) in the back so I can see them. To me, a vintage solution is nicer than building custom cabinetry. When you’re at an estate sale or antiques store, always look for cabinets—don’t be afraid to open the doors and peek inside.