We may earn revenue from the products available on this page and participate in affiliate programs.
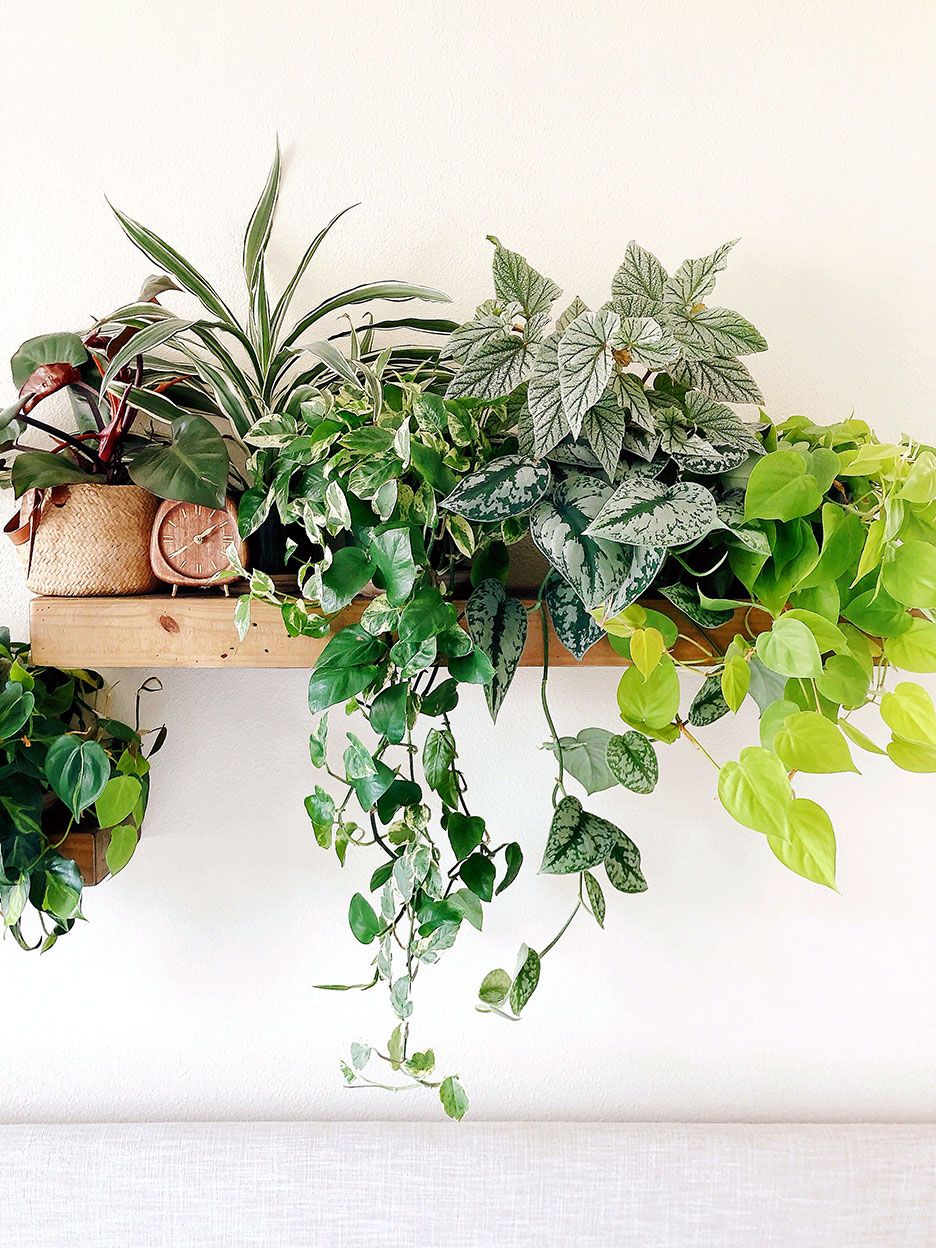
Native to the rain forest where it grows under a canopy of soaring trees, the tropical pothos plant has adapted to low-light conditions, making it a stellar choice for a city apartment. But if you don’t keep a watchful eye on its fast-growing tendrils, it may quickly overwhelm your walls and bookshelves. Just like people, pothos need a haircut every once in a while. The only difference is that their trimmings don’t have to end up in the trash.
“I feel bad just throwing the leaves away,” says San Francisco–based plant lover Yushan Cheng, who has close to 100 plants in her home (a good chunk of which are pothos and vining philodendron).Luckily, they’re one of the simplest species to clone from the clippings. While propagating pothos in water is a popular method, Cheng is a fan of growing her cuttings directly in soil because it makes the transition to a larger pot down the road easier. “When you go from one environment (water) to a totally new one (soil), the plant can get stressed out, leading to root rot,” says Cheng. Ahead, she gives us the dirt on multiplying your pothos in soil.
The Supplies
- A mature and healthy pothos
- Scissors
- A plastic bag
- A small plastic pot/container
- Perlite
- Peat moss
Step 1: Make Your Cut
Identify a stem with a lot of nodes on it (the point where the buds originate). “You want one with bigger, stronger leaves,” notes Cheng. Using sharp pruners, make two cuts: one that’s a half inch above the node and one that’s a half inch below the node—that way you have enough space to stick it in the soil. Repeat the process until you have eight to 12 cuttings.
Step 2: Replant It
Grab your plastic pot with drainage holes (terracotta ones are porous and end up absorbing the water your green baby needs to grow) and fill it with equal amounts of Perlite and peat moss. This will help the air circulate and the soil retain moisture.

Pre-water the soil until it feels moist to the touch. Dip your cuttings into a dry powder rooting hormone (an optional step) before sticking them into the dirt about 1 inch deep so they’re secure.
Step 3: Create a Thriving Environment

Put the potted trimming inside a large clear bag. “I’ll blow some air into it before zipping it up,” adds Cheng. It may sound strange, but this creates a humid, greenhouse-like environment where the plant can thrive. Seal the pouch and place it somewhere in your space that gets medium light. You won’t need to water your cuttings often (whenever the soil feels dry to the touch is fine), but Cheng does suggest refreshing the air in the bag every three to four days.
Step 4: Give It a Home

Once you see new leaves sprouting and can feel that the plant is rooted in its small pot (this takes about four weeks), it’s time to transfer it to something larger where it can really flourish. Once your growing bud has found its forever home, you can start to train it to climb up the walls and onto the ceiling for indoor jungle vibes.
See more stories like this: Everything You Need to Know About Your Yucca Plant Everything You Need to Know About Watering Your Air Plants Why Does No One Talk About This Important Plant-Care Trick?


