We may earn revenue from the products available on this page and participate in affiliate programs.
Designer Gina Gutierrez, of Gina Rachelle Design, drew up seven different kitchen layouts for her client, Lisa, an aesthetician living in the Bay Area, before settling on the right one. The part they kept getting stuck on? The supporting wall that divided the 150-square-foot space and the living room. Gutierrez played around with the idea of a partially open floor plan with a peninsula, among other arrangements, but when the homeowner gave her the green light to spend a little more, the choice became clear: They would call in a structural engineer, install a beam, and open everything up.
“With only one window in there, the space was actually quite dark,” recalls Gutierrez (and the linoleum floors weren’t helping the mood either). Once they decided to take down the wall, the designer scrapped the L-shape layout and mapped out a new arrangement with a small island that seats three. “I tried to think of that ‘cooking triangle,’ between the sink, the refrigerator, and the cooktop, to maximize workflow,” she says. In a matter of nine weeks, the designer addressed all the homeowner’s wants and needs: new appliances, tons of storage, quartz countertops, and, of course, uninterrupted views.
The Affordable Cabinetry


After receiving quotes for custom cabinets in the $17,000 range, Gutierrez decided to go with IKEA frames with Semihandmade doors (around $8,000). “Because we had already expanded her budget with opening up that wall and doing structural work, this was one place I knew we had to save,” she recalls. Gutierrez’s biggest piece of advice when it comes to installing the retailer’s cabinetry is to call in an expert who’s familiar with the pieces (she used a local company called 365 Furniture Assembly for the job).
The Island That Doesn’t Soak Up Square Footage

Measuring five feet by three feet, the island is on the smaller side, but Gutierrez admits she’s gone even tinier than this on other projects. “The most important thing is that there’s ample walking room around it,” she says. Ideally, you want 36 inches on each side of the structure. In this space, Gutierrez gave Lisa a little bit more wiggle room (there are 45 inches between the range and the counter).
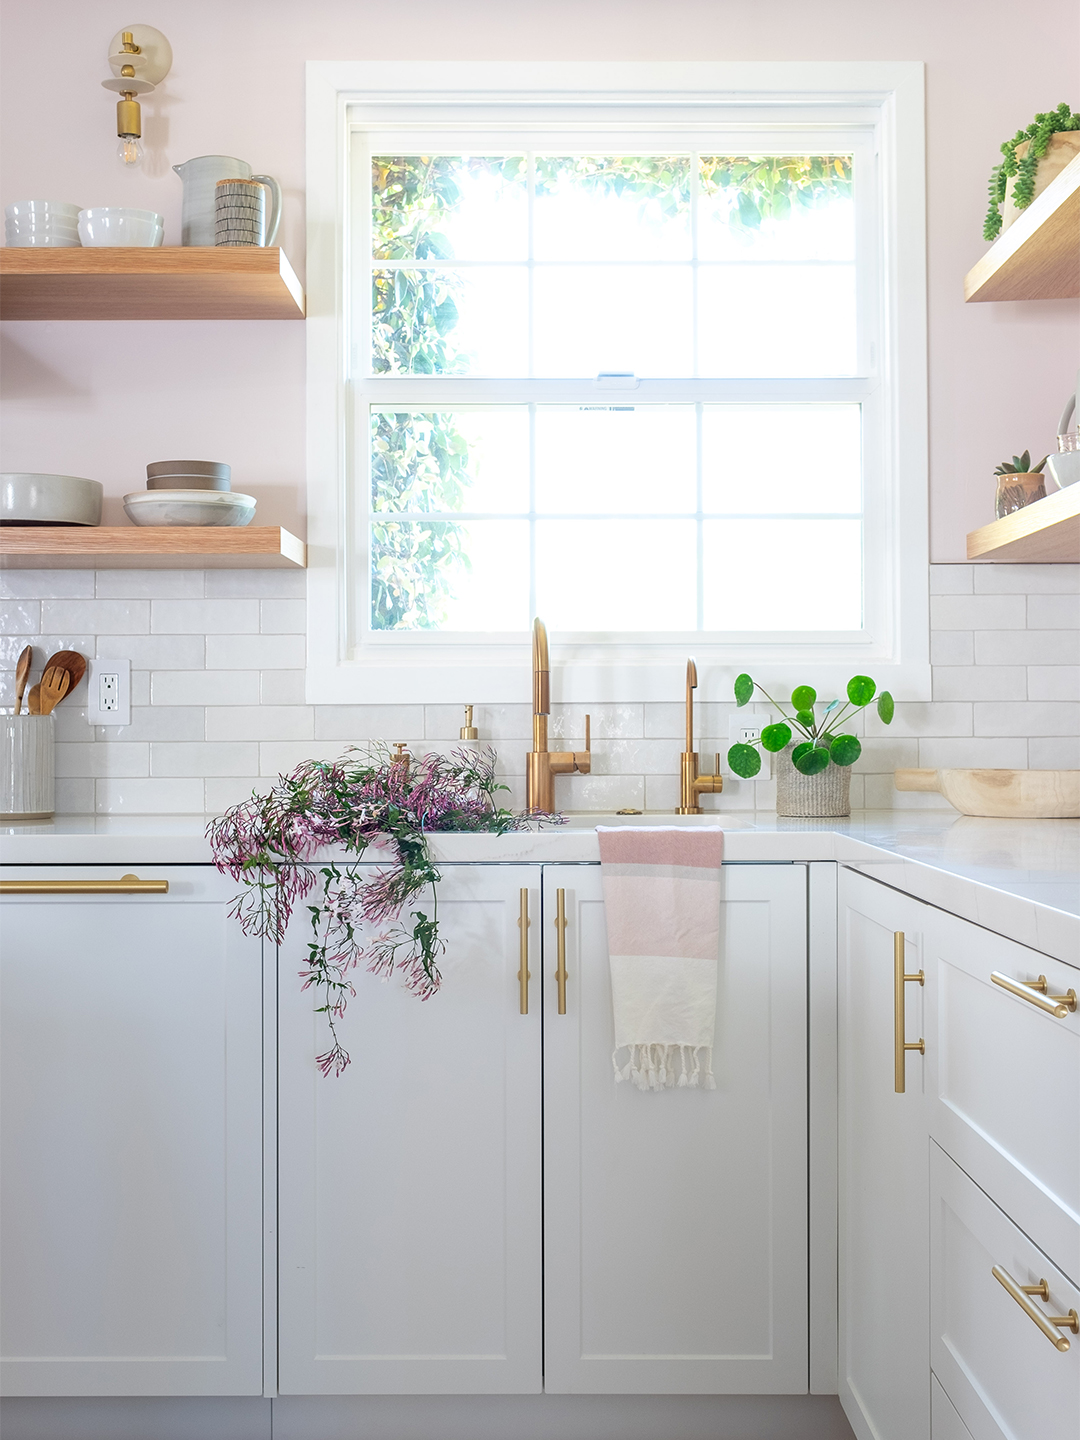
The Textural Tile
The glossy, earthy white subway backsplash Gutierrez landed on only looks expensive. The Bedrosian tile cost $7 per square foot. To really stretch their budget, the designer only took the feature up to the open shelves on either side of the stove.
The Chef-Worthy Range

Matching appliances wasn’t a priority for the homeowner, so Gutierrez was able to play around more with where they splurged and where they saved. She stuck with a basic KitchenAid refrigerator and a Bosch dishwasher (now concealed behind a cabinet panel next to the sink) so they could spend more on the Wolf range. “That was one of her big dream items,” says the designer.
The pair considered covering up the vent and adding an oak wood slab over the hood but ultimately held back on taking the detail a step further. “Just having the stainless steel was an upgrade,” she says.
The Seamless Organization

When Gutierrez was still in the planning phase, she thought about all the finishing details, like how the utensils would be divided and even where the trash can would go. “I love to hide the garbage and recycle bin within the island,” she says. Drawers within drawers and dedicated nooks for baking sheets and cutting boards is one way she builds organization into a kitchen from the get-go. Now every tool has a home.
Pull Up a Seat
It’s hammer time: Follow @reno_notebook for easy rental updates, clever DIYs, and tips to nail your next project.