We may earn revenue from the products available on this page and participate in affiliate programs.
It’s pretty amazing how a single can of paint can transform a space, and when it comes to your kitchen in particular, it might be the most budget-friendly yet impactful tool you can use in DIY renovation. Changing the color of your cabinets can make a somewhat outdated countertop look a bit more stylish and it can brighten up an otherwise dim space. But it’s not as simple as just pulling out a roller brush and going to town.
If you have wood cabinets, it’s possible to paint them yourself—a process that you can complete over a few days with plenty of drying time in between—but you don’t want to cut corners here. This kitchen renovation might be simpler than installing a new backsplash, but it does leave room for mistakes. The details are key: If your cabinets have already been painted, you might need to use a paint thinner to strip down the layers before you repaint. And if they’re laminate, a bonding primer is necessary to make sure your new coats actually stick.

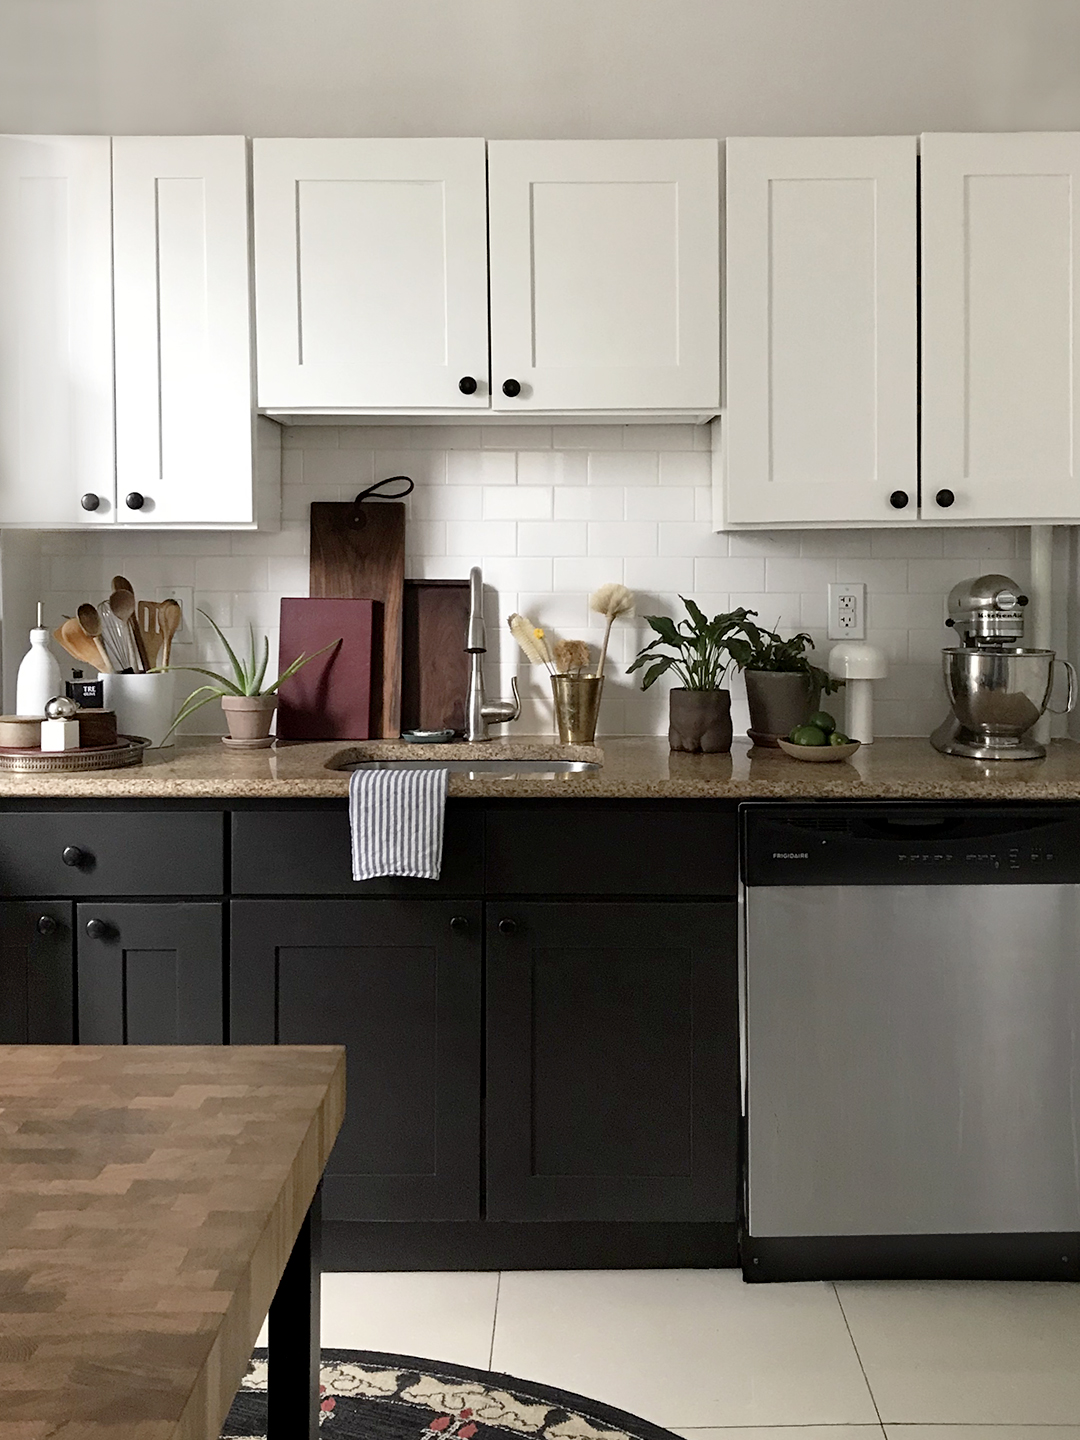
If you take it step-by-step, you can successfully transform your kitchen with just a little bit of elbow grease (especially if you do decide to invest in a very helpful hand sander). Here, contributing editor Elaina Sullivan walks us through how she painted her wood kitchen cabinets herself with a budget of $300.
What You Need

- Screwdriver and/or drill: Phillips and/or flathead depending on your cabinets hardware
- Drop cloth and plastic tarp
- Clorox wipes or all-purpose cleaner
- Sanding paper/sponge or hand sander
- Painter’s tape
- Paint with primer (like Benjamin Moore Aura in satin or semigloss—the amount you need depends on the number of your cabinets; for this project, less than a full gallon was needed per color)
- Paint thinner (optional)
- Bonding primer (optional)
- Paint trays
- Paintbrush
- Small roller brushes and handle
- New hardware (optional)
Prep


1. Empty cabinets. 2. Tape around all the surfaces of the cabinetry that won’t be painted and hang a plastic tarp to protect your countertop and backsplash from splatter. 3. Unscrew doors and drawers to remove them. 4. Lay doors fronts on a flat surface on top of construction paper or drop cloth workstation. 5. Unscrew hardware. If you’re using new hardware, make sure it has the same dimensions as your existing. If you’re planning to install new hardware that doesn’t match the existing hardware holes, close up the existing holes using wood filler and drill new ones before applying the paint. 6. Wipe down surfaces with Clorox wipes or all-purpose cleaner to remove grime.
Prime


7. Sand down all surfaces (doors as well as the inside of the cabinetry) that will be painted using a medium-grit sandpaper or a hand sander. Using the hand sander, it took about 15 minutes to sand all surfaces in this project, versus the couple of hours it would have taken to do by hand. 8. If your cabinets are laminate, skip the sanding and apply a bonding primer to help your paint stick. If your cabinets are already painted, after sanding you may need to use a paint thinner to strip the existing paint before painting the primer. 9. Wipe or vacuum surfaces to clean off the sanding dust.
Paint

10. Starting with the doors and drawers, cut into the detailed areas with a brush. 11. Roll on the first coat of paint in the direction of the wood grain and let it dry completely.

12. Apply paint to the cabinetry using the same technique: Use a small roller for larger surface areas and a brush to cut into corners and details, starting from the back of the cabinets. 13. Wait for the first coat to dry and apply additional coats as needed. For this project, it took three coats to turn the cabinets from orange to white. Allow cabinetry and doors to fully dry before putting them back together.
Finish

14. Reassemble doors. 15. Screw in hardware—and you’re done!
It’s hammer time: Follow @reno_notebook for easy rental updates, clever DIYs, and tips to nail your next project.