We may earn revenue from the products available on this page and participate in affiliate programs.
Geneva Vanderzeil lives in a state of flux—and that’s by design. As a DIYer, creative director, and author, she appreciates how there’s always a part of her Brisbane, Australia, address that’s mid-project. “I’ve always believed a home should evolve with you,” Vanderzeil says.
In the near-decade since she and her husband, Ben, a designer, moved in with their two daughters and rescue dog, they have personalized their kitchen and watched it evolve into a space that eventually inspired another cycle of change. “We built this green kitchen seven years ago using Kaboodle Kitchens’ paint your own Alpine cabinet doors,” she says. “I loved them, but after years of family life, the paint was showing wear, the timber benchtops had dulled, and the grout in the backsplash felt dated.” Vanderzeil didn’t want to tear everything out and start from scratch, though. She just wanted to do a refresh that felt impactful.

“There’s so much joy in finding the potential in what you already have—it’s something I talk about a lot in my work and in my book, New Again,” she says. “Smaller projects are also less wasteful, more affordable, and a lot more approachable if you’re building your DIY confidence.” Here’s how she made the details do the heavy lifting.


Go Your Own Way
Vanderzeil likes to poll her Instagram audience for suggestions on her projects, and the colors under consideration for her cabinetry were no different. But there was a slight problem with the results. “Blue came out on top, but almost every other painted space in our house is already blue,” she says. Instead of following suit, Vanderzeil went rogue.
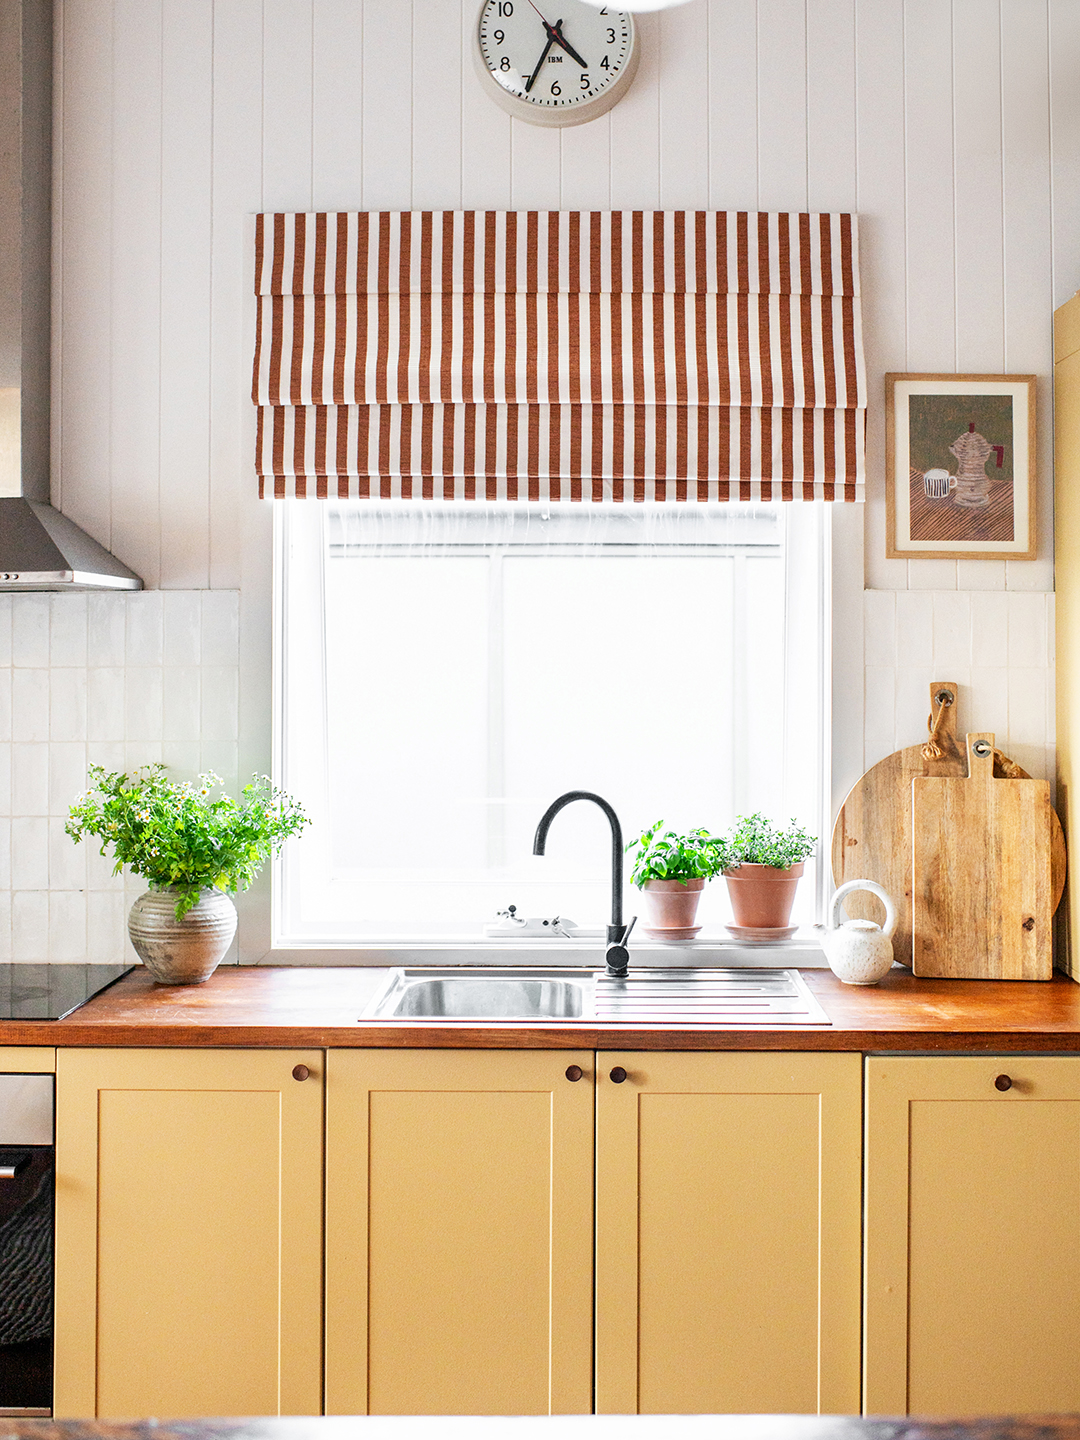
“I decided to take a risk with this warm, yellow-toned neutral called Sinking Sand by Dulux,” she says. “Halfway through, I even considered switching to burgundy, but I’m so glad I stuck with it. It instantly brightens the kitchen and makes it feel happy and inviting.” After sanding the cabinets down by hand and waiting for a water-based primer coat to dry, Vanderzeil used the Bosch Universal Spray tool to apply this water-based enamel paint that can handle lots of use. When the cabinets were back in place, she installed new knobs as the finishing touch.
“Don’t underestimate the impact of a great door knob,” she says. “I swapped ours for beautiful wooden ones from Kethy, and they instantly made the kitchen feel elevated.”

Add Storage On Your Terms
As part of the cabinet transformation, Vanderzeil sought to add more storage for items her family reaches for every day. The solution was simple: Bring in a HAVSTA cabinet from IKEA, and place it at the end of the counter. “We actually installed it upside down so it had moulding at the top, then added tongue-and-groove panels at the back for texture,” she says. “It’s made a huge difference in storage and in balancing out the proportions of the space. It now feels like it’s always been part of the kitchen.”
The behind-the-scenes of painting this cabinet was slightly different than the rest. “I sanded with fine-grit paper on my orbital sander, then applied Zinsser BIN shellac primer and let it fully cure,” she says. “After, I did two coats of water-based enamel paint using the spray gun. That made the process so much quicker and smoother, turning what normally takes hours into about 20 minutes.”

Work Smarter, Not Harder
When it came time to regrout the tiles, Vanderzeil used a trick she learned from her husband. “Instead of regrouting, I grouted over the existing dark grey grout using white grout,” she says. “I applied it with a small applicator, pressed it into the lines, and cleaned the tiles once it had set slightly. When Ben was building restaurants, they’d often just grout over existing lines to change the color. If your grout still looks dingy after cleaning, it’s worth trying.”
Re-staining the countertops took a little more elbow grease, and Vanderzeil made it happen with Feast Watson Prooftint in Oak, followed by the brand’s Kitchen Timber Oil. Her tip for sanding down the countertops beforehand? Start with medium-grit paper, and then switch to fine-grit. “If you can, attach a wet vac to your sander to minimize dust,” Vanderzeil notes. “And always test your stain on a hidden section first.” When you’re used to working on projects, you know that prep is everything.