We may earn revenue from the products available on this page and participate in affiliate programs.
At first, spray-painting kitchen cabinets sounds like a makeshift solution for dated fixtures—only advisable as a last resort. However, maybe you’ve just been focusing on the wrong tools. Instead of using aerosol cans, have you thought about trying a paint sprayer?
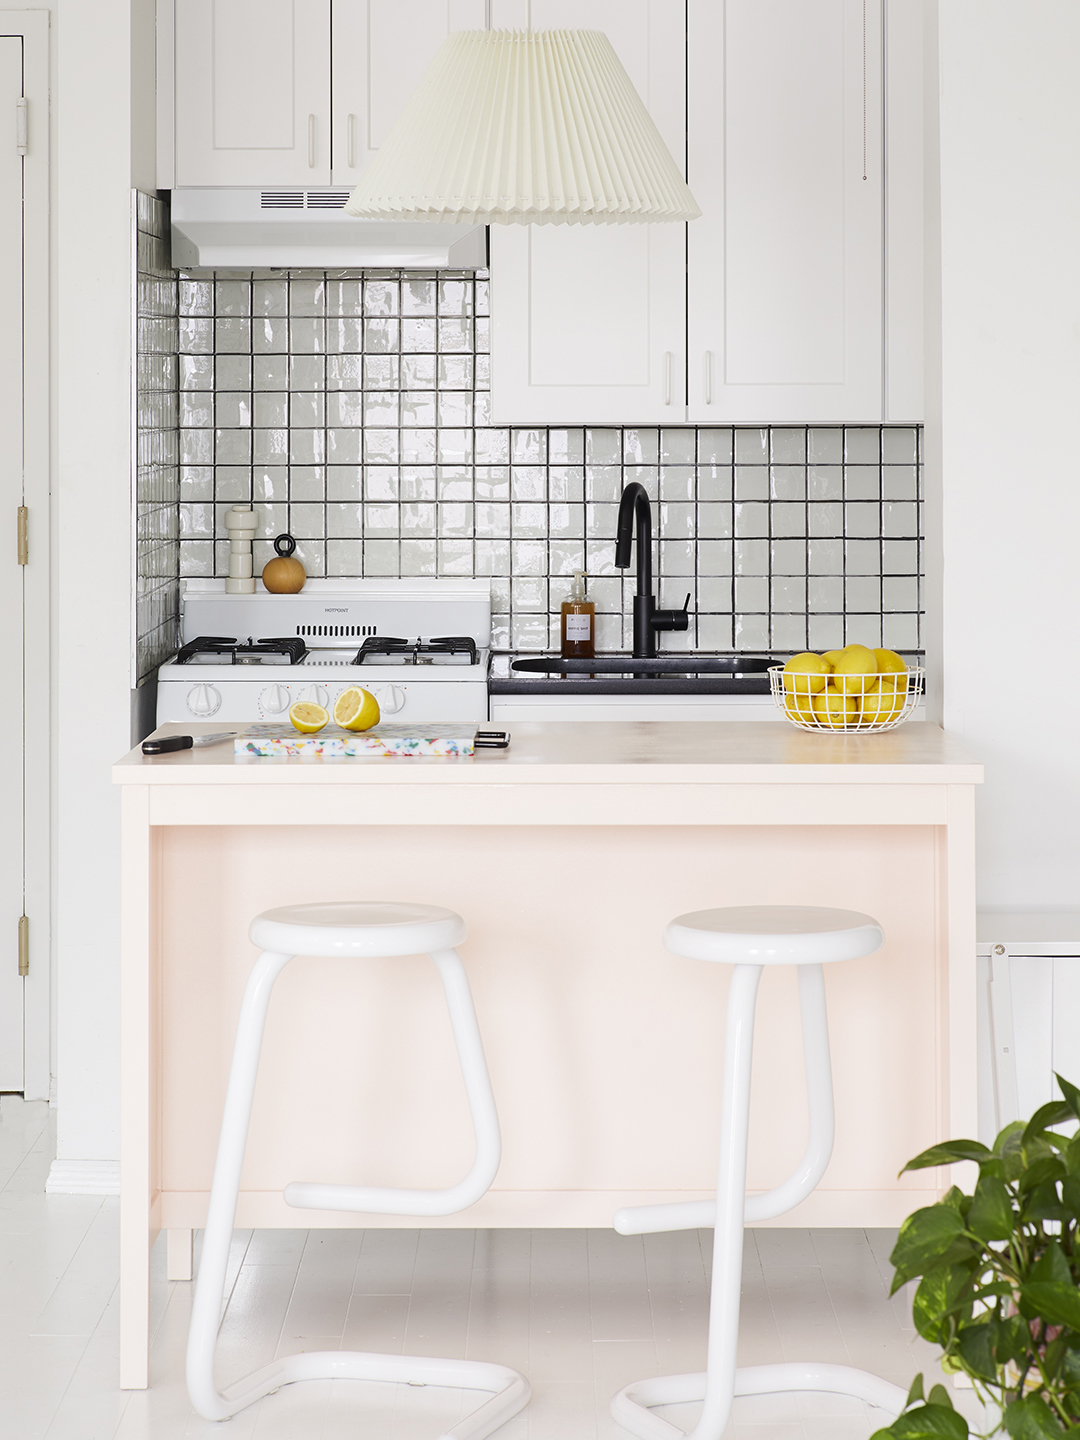
Designer Jen Levy went this route when it came time to give her kitchen island a facelift. “I wanted it to have a high-gloss finish, and I actually first tried using a roller,” she explains. “I quickly learned that this type of paint doesn’t look so great when you apply it that way.” Unsatisfied with the stroke marks and less-than-perfectly-smooth varnish, she bought an $89 stationary sprayer from Home Depot and got to work.
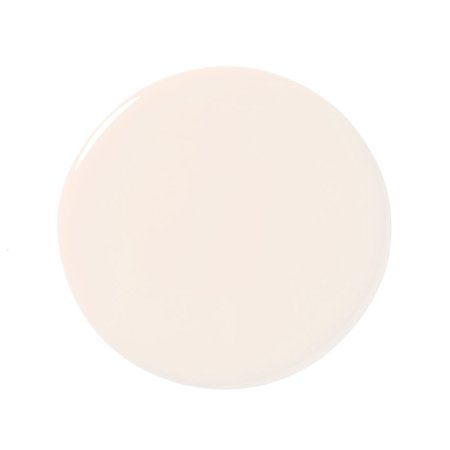
Once you get over the physical hurdle of carting around a six-foot-long air hose (though Levy says it’s not as difficult as it looks), the process is a cinch. Levy chose Behr’s Pink Sea Salt for a rosy accent and ended up being super-pleased with the smooth coat. Plus: no chipping. A total victory.
That said, there are a few important things to consider before trying this at home.
- Overestimate on paint. The good news is, you can use pretty much any regular interior paint for this—but the sprayer requires more than you would think. Levy bought a quart for her island project, but in retrospect could have used ¾ of a gallon. “It goes on much thicker with the spray than with a brush. It’s also more time-consuming, because it covers a small area at a time,” she warns.
- Cover up. Levy made a “spray booth” around the island, with drop cloths taped to the ceiling, to keep the floor and nearby furniture from getting hit. “It looked like a scene out of Dexter,” she jokes. While there’s less overspray than you’d get using regular aerosol cans, it doesn’t hurt to overprepare.
- Set the scene. Do not forget your primer! The paint needs something to stick on to. “Most cabinets, my island included, are made from a composite laminate material that’s very flat and smooth,” she says. To make sure the pink adhered well, she took time to carefully sand and prime the surface—check out our full guide on prepping cabinets for paint for more info.


Once your cupboards are fully cleaned, sanded, and primed, you’re good to go. Here’s how Levy spray-painted her kitchen cabinets in three easy steps.
The Supplies
- Paint
- Paint sprayer
- Drop cloths or plastic tarp
Step 1: Create a Safety Net
Hang your drop cloths around the area you’ll be painting—make sure to hide any decorative pieces or furniture that could get in the way.
Step 2: Set It Up
Fill the sprayer with paint. Plug it in and carefully turn it on.
Step 3: Spray Away
Making sure you’re holding the hose about six inches away from the cabinets to avoid drips, begin slowly painting the cabinets. (You can test the distance and technique on a piece of cardboard beforehand to get a feel of how the tool works before officially starting.) Let it fully dry overnight before attempting a second coat.
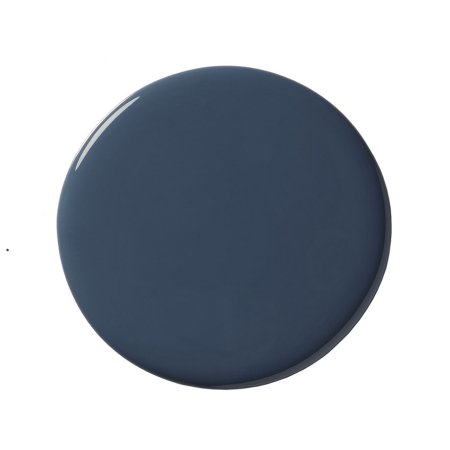
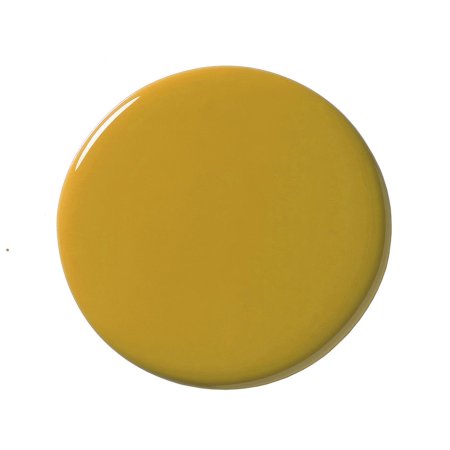
Feeling stuck on the right color for you? Shop our picks, below:
See more ideas for your kitchen cabinets: So You’re Thinking About Painting the Kitchen Cabinets Yourself Two Design Pros Always Notice This Kitchen Cabinet Lighting Mistake 5 Kitchen Cabinet Makeovers That’ll Inspire You to Pick Up the Paintbrush


