When Your Landlord Says Paint Is Out of the Question, Try Contact Paper for Cabinets
All you need is one weekend and $15.
Updated Sep 19, 2023 10:03 AM
We may earn revenue from the products available on this page and participate in affiliate programs.
Who says you have to completely demo your kitchen (not to mention your budget) to make it yours? In our new series, The No-Reno Kitchen, we’re highlighting total transformations that prove the power of paint, fixtures, and a little elbow grease.
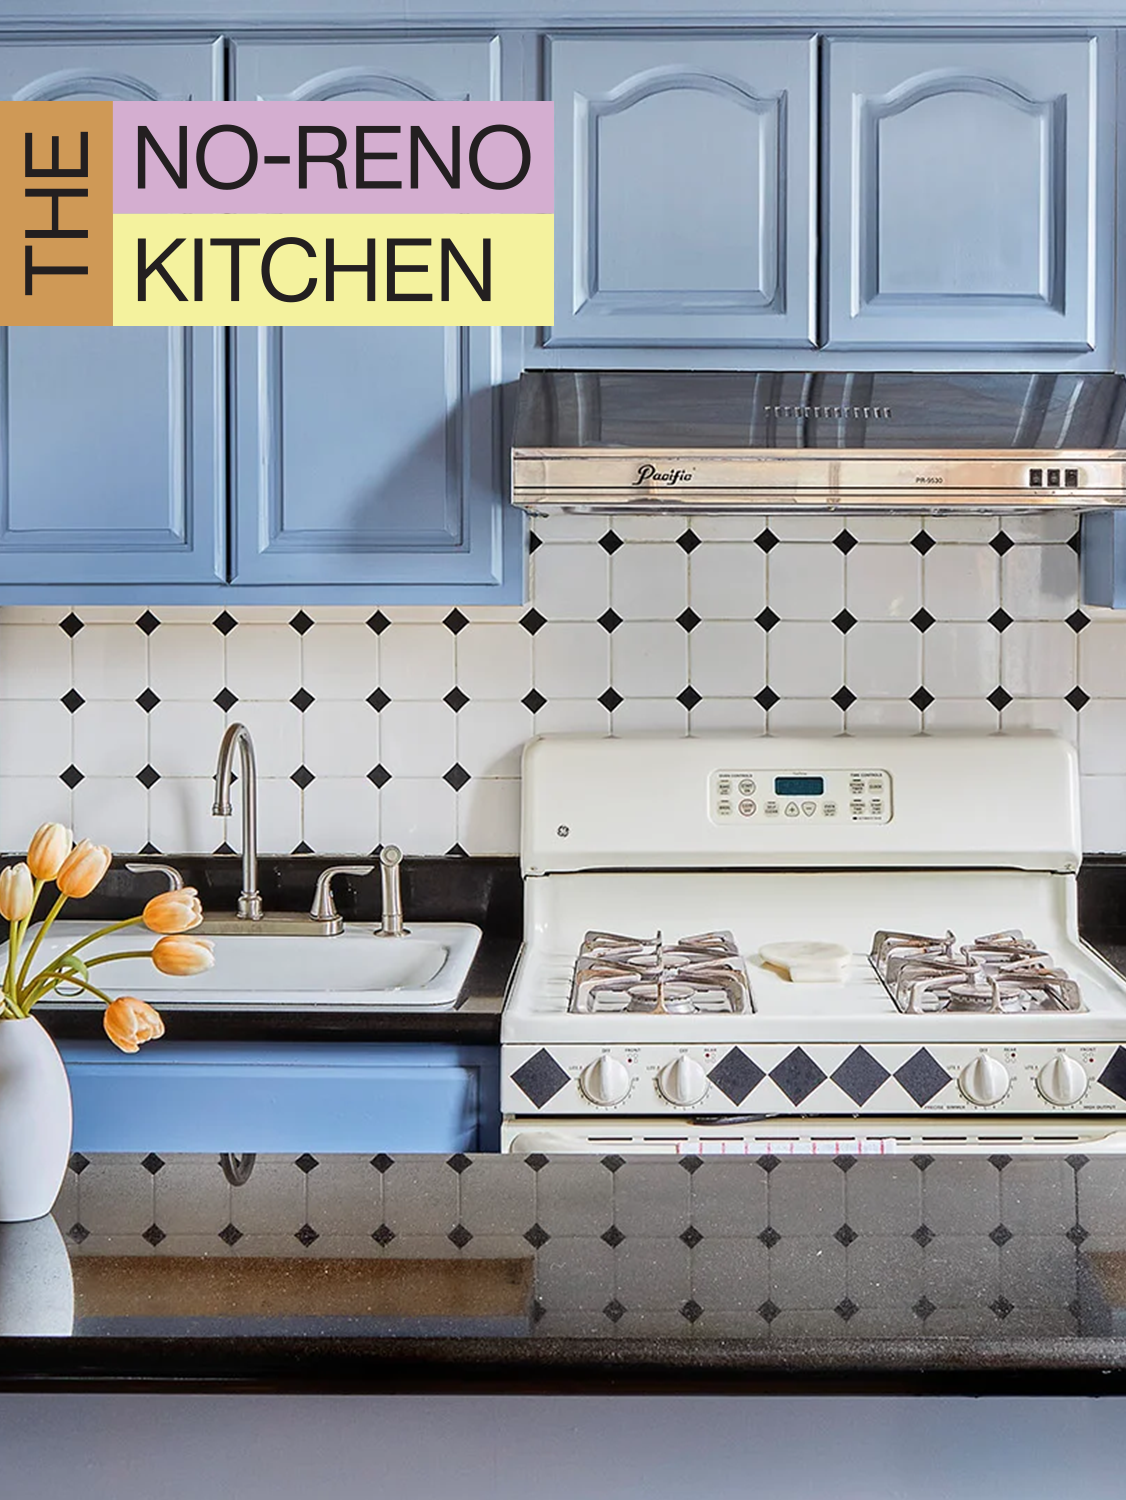
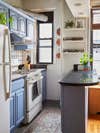
It used to be that if you lived in a rental with dated wood cabinets, there was nothing you could do. You were simply stuck with them. No longer. Madeline Scalzi, a New York–based creative and TikTok-er, found a nonpermanent way around landlords’ restrictions. “I had always wanted blue cabinets, but painting was out of the question,” says Scalzi. Familiar with the trend of covering old countertops in removable vinyl, Scalzi had a lightbulb moment: Why not use contact paper for cabinets?
The DIY process admittedly took a bit of trial and error—the fronts’ grooves needed to be worked around—but 10 cabinets and a lot of patience later, Scalzi is a pro. Almost a year has passed and they’re still in good shape. Yes, there’s some sagging behind the stovetop where it gets hot, but that’s nothing another pass with a hair dryer can’t fix. For less than $15 and a weekend of work, here’s how to give Scalzi’s rental-friendly kitchen upgrade a go.
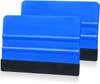
The Supplies
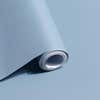
- Contact paper (Scalzi covered 14 cabinets using 6 rolls)
- X-Acto Knife (and extra blades)
- Smoothing tool (foam edged if possible)
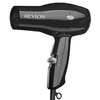
- Hair dryer
- Dish soap
Step 1: Smooth It Over
Before you jump in, it’s important to have a smooth foundation. Start by removing each door from its hinges (put the screws somewhere you’ll remember them!) and giving it a quick cleaning. An all-purpose cleaner is totally fine; you just want to make sure any dust and dirt is gone.
Step 2: Size Them Up

Measure each of the cabinet fronts, and trim a slightly larger rectangle (about an inch all around) for each door. It helps to work one door at a time so there’s no confusion about which paper belongs to which front.
Step 3: Start From the Bottom
Working from the bottom to the top of the cabinet (smoothing away from you) is easiest. It allows more control over the paper and ensures all the air bubbles have somewhere to escape. Grab your first sheet and remove the backing. Gently lay it on top of its coordinating cabinet, lining up the corners. Use the smoothing tool to press the paper firmly into the surface, helping the glue to adhere. Push up and out in long strokes.
Pro Tip: Bring the Heat
If you’re finding the paper to be stiff and troublesome to lay flat, use a hair dryer periodically to make the paper more flexible—it melts the adhesive backing. If you’re still having trouble, don’t be afraid to peel and try again.
Step 4: Move It and Groove It
If your door fronts have carved panels like Scalzi’s, it will take some finessing to get the paper to lay correctly (it won’t naturally settle into the ridges without a little intervention). Use an X-Acto knife to cut a slit along the center of each of the four sides of the panel. Then use your fingers to smooth down the edges of each slit toward each other, so the contact paper molds to the curves rather than tents over them. The edges won’t meet, but don’t worry about the gaps!

Step 5: Mind the Gaps
“Don’t be afraid to patchwork the seams,” stresses Scalzi. “It won’t look weird at the end.” Measure the length and width of each gap and cut thin pieces of contact paper (like fettuccine!) slightly larger. (If you’re working with an arched panel, you may need to cut multiple smaller strips to follow the curve more easily.) Apply the strips to cover the gaps, smoothing each from center to edges to avoid air bubbles.
Step 6: Frame It Up
Cut a piece about an inch larger than the frames on all sides and apply from where the wood meets the countertops and smooth downward using the foam-edged tool. Wrap the excess contact paper in toward the cabinet’s interior for full coverage.
Step 7: The Cutting-Room Floor
Flip your completed door over and run the knife along the outer edges to trim off any overhanging paper. Now it’s just a matter of rinsing—cleaning the adhesive residue off your knife with dish soap to make starting the next front easier—and repeating.
The Goods

This story was originally published in October 2021. It has since been updated.