Just Two Years After the Initial Reno, This First-Time Homeowner Redid Her Kitchen Again
The evolution of one artist’s happy place.
Updated Feb 14, 2022 11:37 AM
We may earn revenue from the products available on this page and participate in affiliate programs.
When faced with a white wall or blank piece of paper, lettering artist, illustrator, and muralist Lauren Hom dives in, no problem. But when it came to renovating her Detroit kitchen, she was surprisingly stumped. “It was the first time I could do stuff to my space without having to contact a landlord or building manager,” says Hom (she and her partner, Tom, were longtime renters before they moved to the Midwest from Brooklyn). “It felt like a really big task,” she adds. “You have that moment where you’re like: Am I allowed to do this? Am I going to mess this up?”
But there was no question in Hom’s mind that their kitchen needed a drastic makeover. Her first impression of the space? It looked like an afterthought, “like someone just slapped barely enough of a kitchen onto one wall,” she recalls. After reminding herself that she had nothing to lose (including no security deposit), in 2019 she ripped off the Band-Aid and picked up a paintbrush (plus a few other tools). “From there, it was totally fine and fun,” says Hom. Fast-forward to a few months ago, and the artist decided to give her space a second upgrade, because after living with the first reno for more than a year, she realized there was a lot that could be improved upon. Ahead, the creative behind Hom Sweet Hom walks us through both iterations and shares why it’s totally okay to change your mind.
Phase 1: Fresh Color (and Countertop)
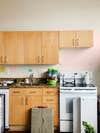
To start out, Hom swapped out the old, dark granite countertop for clean, white laminate. Then she painted the cabinets a light teal and covered half of the wall in pink paint to boost the mood in the room. Her mistake? She didn’t sand the cupboards before painting them. “When I do a mural, I’m not too worried about flaking, but cabinets are so different,” she says. It didn’t take long before the surfaces started to chip. Plus, she painted them while the doors were on their hinges, so if you looked closely, you could see the inconsistencies and brush streaks. “I was so eager to make over the kitchen that I disregarded the prep work,” she says. “It looked very DIY.”
Phase 2: A New Home for the Fridge
“I had never really thought about rearranging appliances because I wasn’t able to do that in any of my other apartments,” shares Hom. Initially the refrigerator was situated by the window, where it was not only visually intrusive but blocking the natural light. When it struck Hom that, yes, she could relocate the appliance, she shifted it to the other end of the space.
Phase 3: The Cabinet Addition
During the first revamp in 2019, Hom had mounted open shelves where the fridge used to be, but it didn’t take her long to realize she’s just not an open-storage kind of person. “I love to shove things behind cabinet doors,” she says—the dust was also not her thing. She searched for flat-panel upper cabinets on Lowe’s website and found simple stock ones that fit perfectly in the nook. To fill the gap below, the artist purchased an all-in-one lower cabinet from IKEA. The storage unit doesn’t exactly match the depth of the other cabinets (it’s about a quarter inch off), but to the naked eye it was good enough.
Phase 4: Painting, Part Two
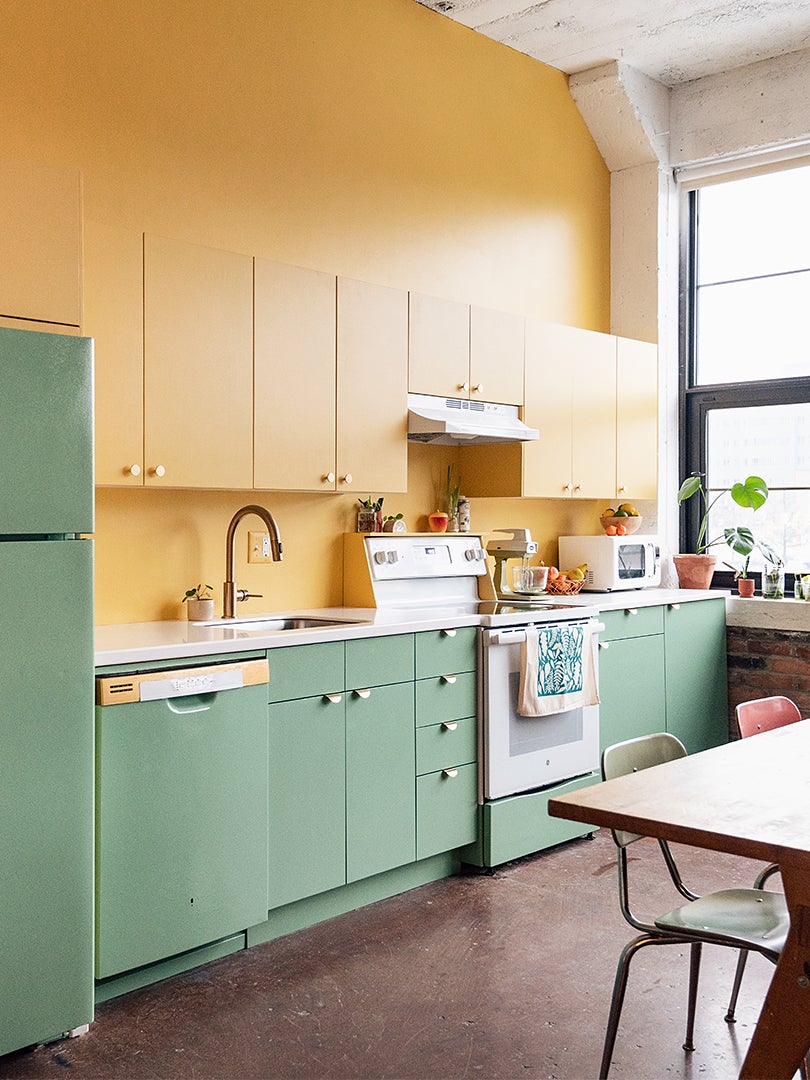
It’s not that Hom necessarily disliked the hues she had chosen for the kitchen two years ago. She decided to go with new colors simply because she had a lot of leftover paint from a mural she had recently completed (the shades are OMGreen and Golden Hour). “I love making the most out of what I already have,” she says.
Hom took the doors off the hinges and sanded every inch with 120-grit sandpaper before applying the paint. This go-round, she took the top color up to the ceiling to really accentuate the loftlike space’s height. Everything but the walls (which got an eggshell finish) were topped off with a clear polycrylic gloss from Minwax to prevent chipping.
Phase 5: Don’t Forget the Appliances
Hom now adheres to the philosophy that paint will stick to most surfaces if you sand it and prime it properly in advance—and that includes dishwashers, oven drawers, and refrigerators. (Everything except for the main body of the oven got swathed in OMGreen). “The dishwasher front was plastic, so it was easy to scuff up with sandpaper,” she says. To get a truly smooth canvas on the fridge, she took a putty knife and popped off the metal brand logo in the corner. “I’ve also seen a hack where you can go behind it with dental floss and it’ll come right off,” she notes. Lastly, Hom added another IKEA stock cabinet above the fridge and sandwiched the appliances with two tall plywood boards to make it look built in.
Phase 5: Practical Ledges
To make her boring white cooktop a little more special, Hom topped it with a flat shelf constructed out of scrap wood and wood glue, that way she could display spices and succulents. Around the corner, she tackled a more intense woodworking project: tall, curved open shelves that now hold her prettier cookware. “It was nice to know I can do this. I’m totally capable,” says Hom. “The kitchen gave me a lot of confidence.”


