I Used Peel-and-Stick Subway Tiles to Transform My Rental Kitchen
A brand-new backsplash in 20 minutes.
Updated Sep 20, 2018 1:59 PM
We may earn revenue from the products available on this page and participate in affiliate programs.
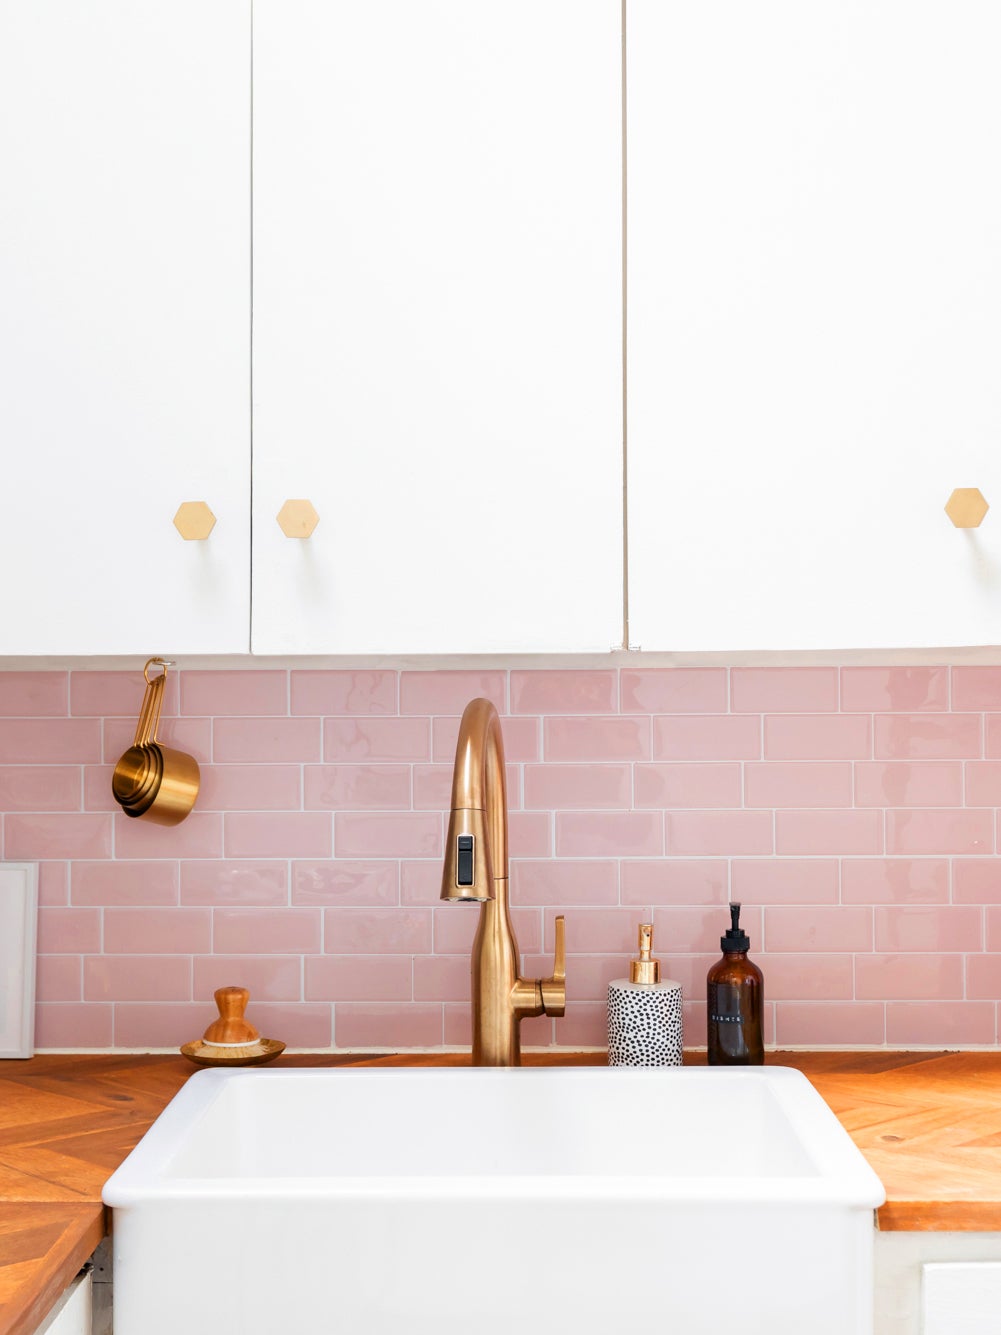
Youtuber and pro DIYer Alexandra Gater had a long list of affordable upgrades she wanted to make to her tiny Toronto kitchen: swap out the plastic-y counters for herringbone butcher block, add a farmhouse sink from IKEA, replace the grimy stovetop burners. Her landlord was on board as long as the new additions were neutral. So when it came time to tackle the “weird wood vinyl” backsplash, Gater planned to have her contractor install white ceramic subway tiles. “I figured it was the way to go. But I love color, especially pink,” she says. She came up with a better, still rental-friendly compromise: peel-and-stick tiles.
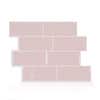
If Gater was going to go faux, she at least wanted it to look legit. “I was wary of tiles that felt like stickers or decals,” she shares. Having used Smart Tiles for her bathroom facelift, Gater knew the brand’s product could withstand moisture. She landed on the company’s millennial pink Metro Ava option. The adhesives have a gel-like finish, giving them an authentic shine. “I could have color without it being permanent, and that’s why they’re so great,” she says.
Catch the vlogger’s full kitchen reno tutorial below, then follow her three steps for this 20-minute (!!) backsplash hack.

Step 1: Measure Your Space
Before you put your order in, scope out how much surface area you want to camouflage. There’s no hard math involved; Gater used the calculator on Smart Tiles’s website to figure out how many sheets she would need. Buy more tiles than you think (they’ll come in handy later!).
Step 2: Prep the Walls
Clean the walls with mild soap and a damp rag beforehand to ensure a smooth finish. “These tiles will go on top of just about any material,” says Gater.
Step 3: Follow the Leader
The strips that Gater used feature roughly eight tiles each, so you’ll get full coverage pretty fast. For precise edges, the DIYer recommends using a very sharp X-Acto knife and a ruler to cut off excess pieces. After you’ve trimmed your sticker and peeled off the backing, apply the strip at the bottom corner of the wall and work your way across, left to right, and up. If there’s a gap left over at the end that you need to fill, you’ll want it near the top where it’s less noticeable. While there are directions included in the box, interlinking the grout lines will feel fairly intuitive; simply layer the white seams on top of one another.
Step 4: Fill in the Gaps
Remember those extra tiles we told you to order? When Gater completed her backsplash, she had a few choices: Take the additional tiles around the corner so they covered the entire L-shaped kitchen, trim them into small strips to fill the one-inch gap at the top, or wrap them behind the refrigerator. She thought the latter would look the most realistic, so she left the second wall white and filled in the upper border with pink paint. “I didn’t think it was necessary to tile the whole kitchen, especially because I was going for such a bold color,” she says. “Sometimes an accent backsplash is all you need!” Especially when it’s commitment-free and your landlord will be none the wiser.
See more stories like this: The Backsplash DIY That’s the Answer to Our Rental-Kitchen Prayers Do Your Rental Bathroom a Favor and Buy These Peel-and-Stick Tiles 12 Ways to Rethink Your Kitchen Backsplash