


Introducing Domino’s new podcast, Design Time, where we explore spaces with meaning. Each week, join editor-in-chief Jessica Romm Perez along with talented creatives and designers from our community to explore how to create a home that tells your story. Listen now and subscribe for new episodes every Thursday.
Every Good Shade Garden Has This Feature Next to It
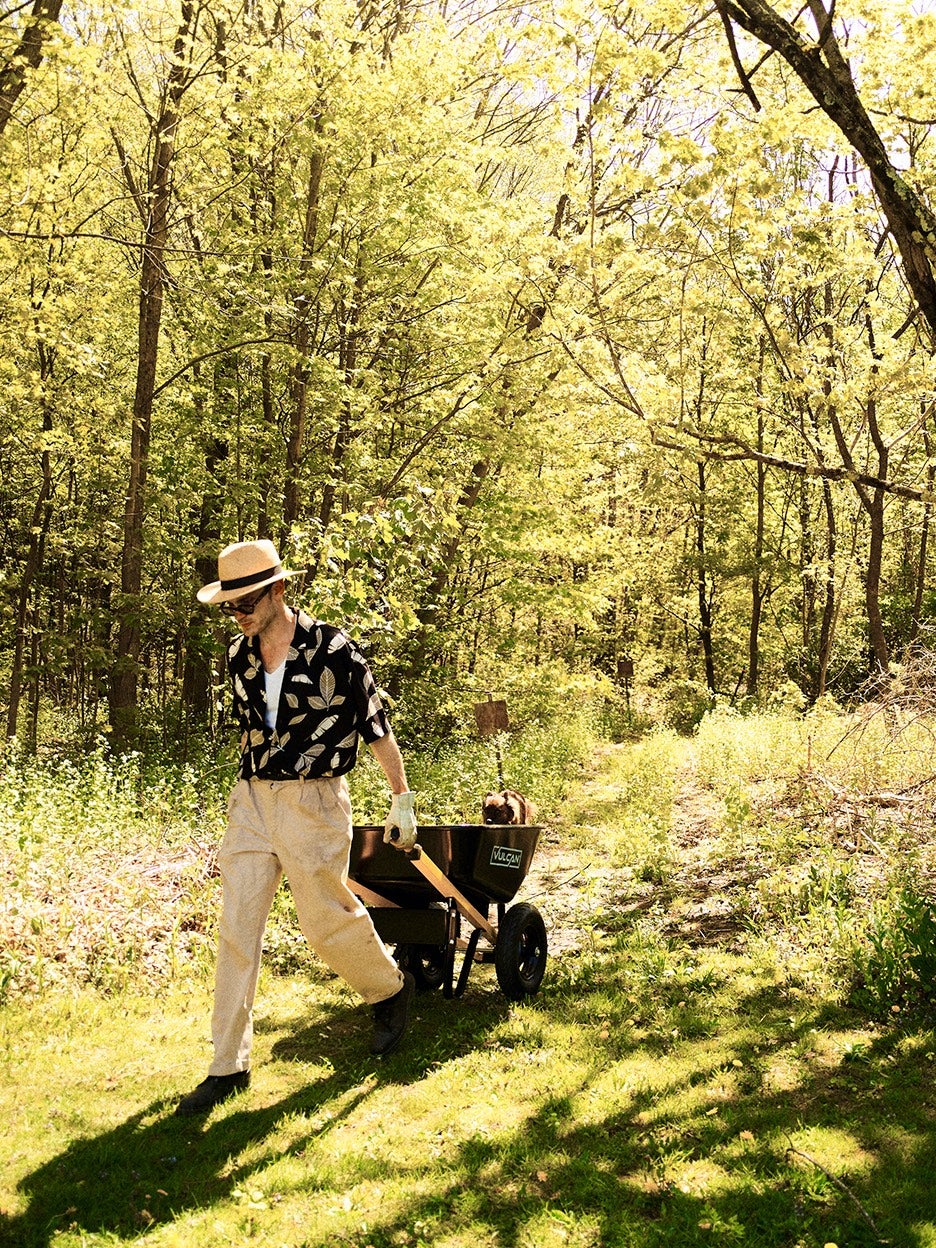
Before you plant, prep.
Updated Oct 11, 2018 5:33 PM
We may earn revenue from the products available on this page and participate in affiliate programs.
To create something beautiful, you must invite chaos. This is a secret all designers (including me) keep, and it’s this thought that was running through my mind on a sunny afternoon in late May as I surveyed the peaceful scene unfolding at the front of my Stockbridge, Massachusetts, house. It was business as usual, with robins, bumblebees, and a stray earthworm flopping about on the lawn—they had no idea the mess we were about to make. It was here where the process of prepping our shade garden site began.
Step 1: Dig Deep
Creating the space for a garden is crucial to the growing of one, and oftentimes this involves pulling up huge chunks of lawn. When initially planning your beds, there are a few things to consider: proximity to the house, access for maintenance, and future landscaping plans. If you don’t have gutters, make sure to pull your beds in front of your drip line (the spot where the water pours down from the roof during rainstorms) and always call 811 prior to digging so you know the location of any major utilities.
For our beds, I mapped out the perimeter with bamboo stakes and hot pink nylon string based on my initial plans. (It helps to use a bright, hyperpigmented color in all lawn work to easily distinguish it from anything green.) Always double check that corners and right angles are a true 90 degrees, otherwise your Versailles-inspired diamond can quickly become a Seussian trapezoid. To remove the sod, we used an old-fashioned shovel, starting with sharp cuts along the string lines and working our way inward (though you can always rent a sod cutter from your local hardware store, as well).
Step 2: Hardscaping Isn’t Hard
We chose to leave our beds unedged to save on cost, so in our case the only hardscaping necessary was a simple 40-square-foot gravel patio. Because what good are gardens if you don’t make space for yourself to be in them? I wish people opted for gravel more often—it’s cheap, allows rainwater to permeate, and is super-easy to work with. Start by installing the border of your patio, because gravel will go everywhere if it’s not hemmed in by something. I used interlocking steel edging, but brick, stone, and lumber are other options.
After digging down to a depth of 4 inches and installing the edging, even out the ground by raking a 2-by-4 plank across the top, checking it with a level, then compacting it to create a firm, even base. We rented a plate compactor to have this process move as quickly as possible, but you can also use a hand tamper. Next, add 2 inches of ¾-inch crushed stone and stone dust, then compact that too, ensuring the pieces have enough contact with the ground to create a stable surface. Next, apply a barrier of landscape fabric to help with weed suppression. For the final layer, I chose ¼-inch marble chips. Since our town used to be an old marble quarry and the base of our facade is already sheathed in it, it was a no-brainer. I find local materials look best because, well, they’re meant to be there already.
Step 3: The Dirt on Dirt
Did you know that it takes about 500 years to form 1 inch of topsoil? That is to say, soil is important when you’re making a garden. There’s a very simple at-home test you can do with soap and water to determine what kind you have, and if you plan on growing anything edible you should always send yours off to a lab to test for heavy metals, which are unfortunately very common, especially in major cities.
My soil is sandy loam, so we opted to add roughly 3 inches of compost and till it into the dirt by hand to ensure that new plantings will have an organically rich, moisture-retentive base to spread out in. (To find out what yours is, do a quick Google search of your soil test results for recommended amendments.) There is a world where you don’t have to amend your soil, but be aware that it will often limit your plant choices to ones that will only thrive within existing conditions. If that’s your cup of tea, then you do you. It’s gardening—there’s no right answer.
By the end of day two, passersby may begin to give you odd looks, remorsefully glancing at what had once been your pristine facade. At least, that was our experience—we had undoubtedly made a mess. But it was the perfect condition for planting.