The Hero of My Last-Minute Homeschooling Room? This $20 Organization Tool
Sarah Sherman Samuel on setting up her space just in time.
Updated Oct 11, 2018 11:03 PM
We may earn revenue from the products available on this page and participate in affiliate programs.
Designer and Domino columnist Sarah Sherman Samuel takes us behind the scenes of her latest project in a monthly series that tackles the nitty-gritty of remodeling—from sourcing materials and fixtures to DIYing a kitchen island.
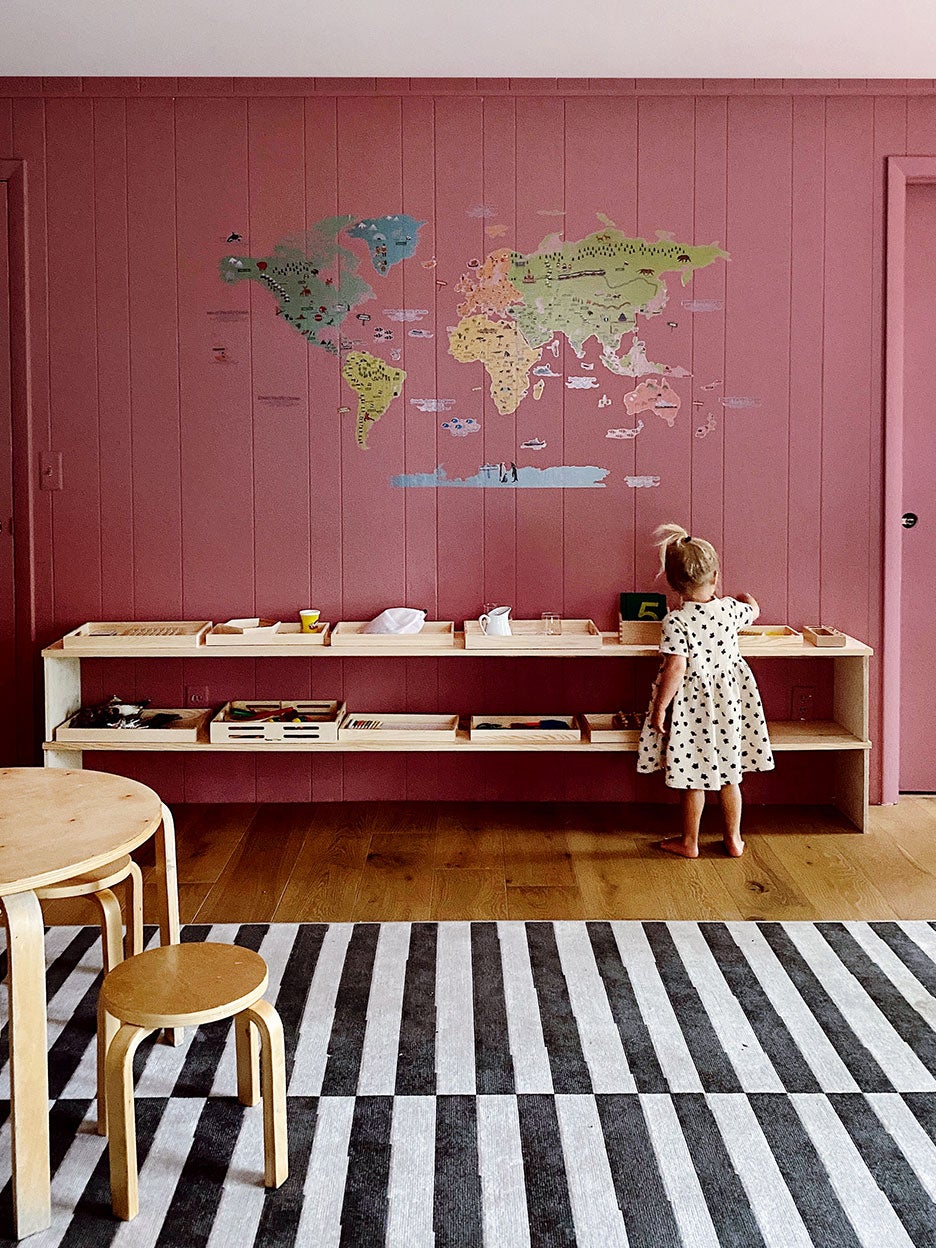
This room has had many past lives. Originally it was my office, with plain white paneled walls and new flooring; then we used it as a guest room. Back in the spring when COVID hit, we decided to start turning it into an at-home learning room for my kids Archie (5) and Clover (2 ½). We started in April…then the day-to-day of homeschooling took over, as did summer vacation, so we pretty much left it unfinished for a few months. We picked it up again last week right before school started.
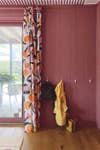
What I’ve learned is that it’s okay to use a classroom space while it’s still “in progress”—don’t worry about it being perfect. I still want to add a baseboard and finish the ceiling border (more on that later), but for now it works. A large part of that is thanks to the minimal clutter. My trick is limiting the materials they have to work with in the first place, which both cuts down on cleanup time and is better for younger children because it doesn’t overwhelm them with choices. They can experiment with whatever’s in front of them; the bulkier things are tucked away in an IKEA cabinet I upgraded with green Semihandmade fronts. With additions like wall hooks for storage and a stick-on globe decal, the floors stay clear.
My kids are on a half-day schedule, meaning they only spend a couple of hours in here and then have an outdoor portion of their classes, and it’s been going smoothly so far. There are a few additions I’ve brought into the room that have really made a difference; here are three standouts:
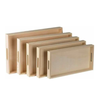
The Do-It-Yourself Trays
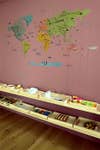
Archie goes to a Montessori school (we’re starting Clover, too), and one of the main tenets of the program is having materials that are easy to reach for your children—it’s all about encouraging autonomy. They say to walk around on your knees to get the perspective of kids to figure out where to place things, so that’s what I did, and I came up with the idea for tray shelving to house all their activities. I shopped our garage to find scrap wood to build the shelving unit, and picked up 15 trays from Amazon to finish it off.
Each tray has its own activity; the idea is that kids learn to take the tray to a table or a floor mat, do the “work,” and then put it all back on the shelf. Ours is a rotating display. Today we have Playdough with little tools and a cleaning caddy with a spray bottle and rags, so they can wipe off the surface when they’re done. The pouring activity is a big one for kids: We filled various glass jars with dried beans and lentils, and they learn to pour them into a pitcher without spilling.
The Art Table
Okay, this isn’t at all Montessori related, but I love having a big space for them to have their art days, where they can draw and not have to worry about staying inside the lines. They have free rein to get creative on this surface. It’s actually two benches that my dad made in his workshop that I joined together. All the scribbles stay relatively contained.
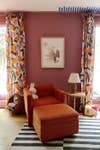
The Splashy Walls
Most of our house has white walls, and we wanted to do something in this room to create a different environment. I had paint left over from the dresser I spray-painted in my daughter’s bedroom (Sherwin-Williams Audrey’s Blush), so I used that. The focal point is the ceiling border, which is currently only half done. I was inspired in part by dentil molding; eventually I want to paint the whole surface pink, but for now I like the little detail. I used painter’s tape to do the stripes, and all in all it was an easy project—just time-consuming! Be sure to take the tape off before everything dries completely, and work in batches. It’s nice to use color to delineate the area as a fun environment; plus both my kids helped with the painting. It was a team effort.

As told to Elly Leavitt.