If You Have 15 Minutes, You Can Organize Your Kids’ Art Supplies
Just in time for back to school.
Updated Sep 20, 2018 12:48 PM
We may earn revenue from the products available on this page and participate in affiliate programs.
Why is it that your kids’ art supplies are always so hard to tidy up? Bundles of yarn defiantly intertwined, half-open jars spilling glitter everywhere, that one rogue marker whose origins remain unknown…it’s a nightmare. But it doesn’t have to be. Professional organizer Shira Gill (@shiragill) knows how to get it done—and according to the expert, it won’t take more than 15 minutes.
“If your crafting station or your children’s art supplies are beginning to gather dust, it’s time to reevaluate and start fresh with a little editing session,” she says. “Organized clutter is still clutter!” Set aside a chunk of time this weekend, blast your favorite playlist, and get started. Who knows? You might just find a buried treasure that’s perfect for that DIY headboard you’ve been planning.
Step 1: Start With a Clean Slate
The most important thing to do in any decluttering project is to figure out what to keep and what to get rid of. Gill recommends laying everything out on the floor or a bed so you can assess the damage. “Consider how often you use the supplies, and make sure the items you keep are truly worth the real estate they take up,” she explains. “If you’re feeling stuck, ask yourself: Would I buy this item for full price today? Would I take this item with me if I moved? Could it be more useful to someone else right now?”
And don’t just toss the supplies that didn’t make the cut! Do Mother Earth a favor and donate them to a local charity, school, or nonprofit.
Step 2: Divide and Conquer
Separate the frequently used supplies from the specialty tools. “It’s generally handy to have scissors, pens, pencils, tape, and paper easily accessible, whereas a stamp collection or watercolor kit can be stowed away for occasional use,” offers Gill.
Step 3: Make Little Groups
Next, zone items by both type and usage. For example, bundle all gift wrap together, all markers, all tape dispensers…you know the drill.
Step 4: Choose the Best Homes for Your Collection
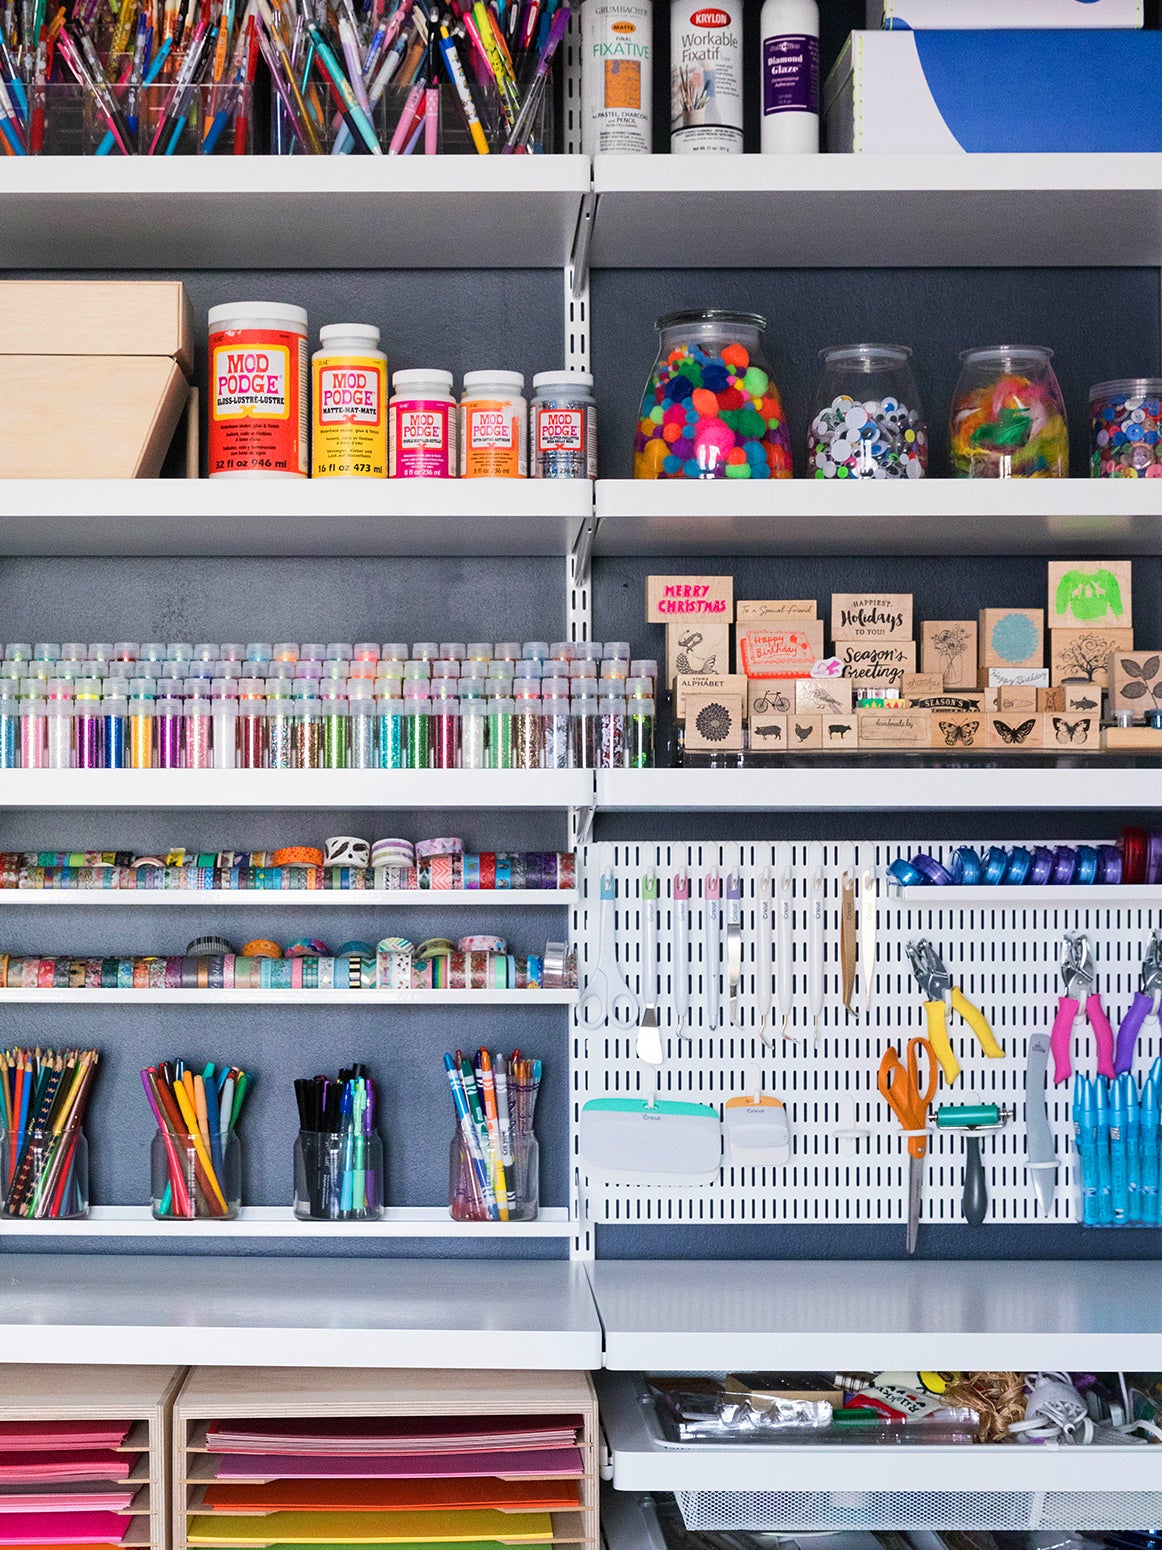
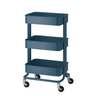
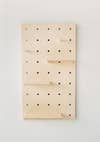
If your art station is on the smaller side, maximize vertical space with a wall-mounted storage system or even pegboards. “Rolling carts or modular units with drawers work well for bulkier items, like fabric, stuffing, and yarn,” says Gill. She suggests using prime tabletop space for the items you use daily, and relegating the things you’ve deemed “specialty supplies” to harder-to-reach shelves.
Step 5: Add Finishing Touches
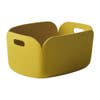
Now for the fun part: Styling everything! “Streamlined storage will keep crafts looking cohesive and stylish—ditch the bulky packaging and decant staples into uniform bins, baskets, and jars,” says Gill. Try Mason jars or even washed-out jam containers for things like pencils, confetti, and pom-poms. (Psst: Keep reading till the end to shop a few of our favorite storage items.)
Oh, and don’t forget labels. If you opt for a ton of opaque boxes, it will end up being difficult to remember which one houses the colored paper and which one holds the fabric. Digging through everything and making a mess will just land you right back where you started—no, thanks.

See more organization tips: You’re Only 10 Minutes Away From a Tidy Nightstand An Organizing Pro Reveals the Best Hangers for Clutter-Free Closets It’s Time to Upgrade That Ugly Plastic Laundry Hamper