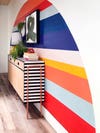
This One-of-a-Kind Striped Credenza Began as a $10 Goodwill Buy
Racheal Jackson thrifted the piece with “no purpose in mind.”
Updated Oct 12, 2018 7:31 AM
We may earn revenue from the products available on this page and participate in affiliate programs.
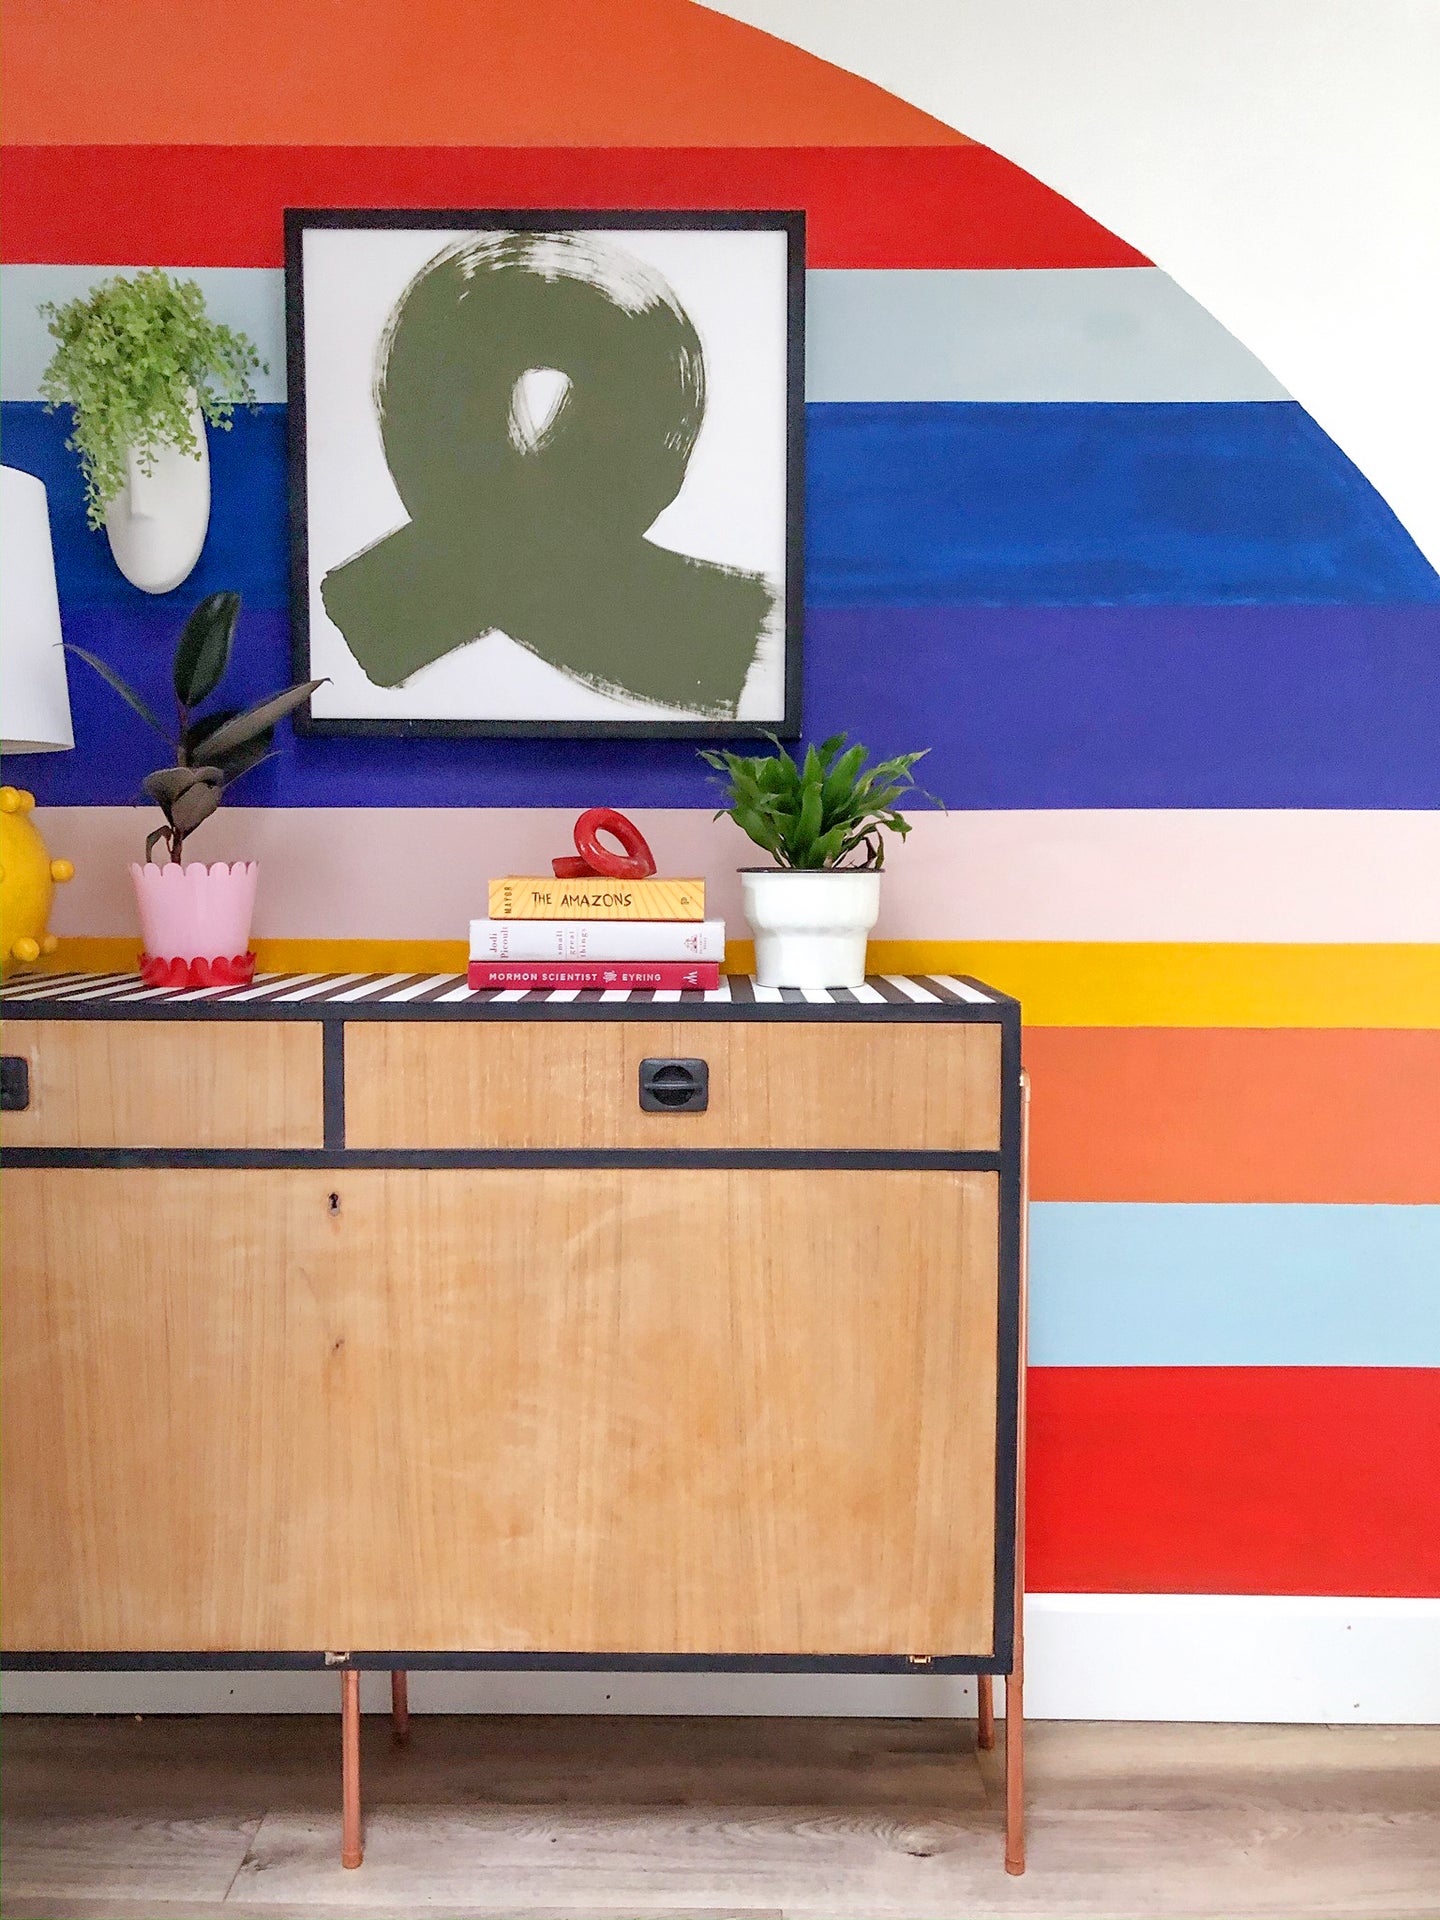
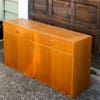
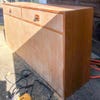
Racheal Jackson bought her mid-century credenza with “no purpose in mind.” The Portland, Oregon–based muralist behind Banyan Bridges was at Goodwill (not unusual for the DIY’er, who refers to the thrift store as her and her husband’s weekday date spot) when she spotted the piece for $10. “I couldn’t just leave it there,” recalls Jackson. But without a proper place in her home to put it, the chest sat in the garage for a whole year—long enough for Jackson to lose track of the key that opens the bottom drawer.
It wasn’t until she began working on a studio renovation for her dad that the idea came to her. Construction had slowed down at his place, but the artist was antsy to get started on decorating. At the same time, Jackson had been playing around with black-and-white stripes for other clients’ projects. With a touch of chalk paint and a few copper pipes to make the frame, Jackson turned the plain wood piece into a bold work of art. “It’s very Beetle Juice–ish,” she laughs. You can catch the play-by-play on her Instagram highlights and follow her DIY steps below.
The Supplies
You don’t have to have any construction experience to pull this off—you just need enough room to spread out with your arsenal of supplies. Here’s what you’ll need:
- A sander
- Two cans of different colored Chalk Paint
- Painter’s tape
- One-inch-thick brush
- One can of matte lacquer
- Two 10’ copper pipes
- A variety of copper connectors
- A tubing-cutter
- Sharpie
- Ruler
- Liquid nails or a blow torch for welding
Step 1: Refine the Wood
In order to bring out the grain of the wood and give it a natural look, Jackson went over the areas she wasn’t planning on painting with an electric sander. “It helps ground the bold patterns,” says the artist. She used a damp cloth to wipe away the debris.
Step 2: Paint the Base
Jackson started by covering the sides and top of the credenza with her lightest color (white) and waited for it to dry.
Step 3: Lay Down Your Stripes
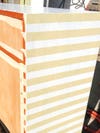
To make things as simple as possible, Jackson let the width of the tape determine the spacing of the stripes (around one-inch) and eyeballed even placement it as she applied them. She started at the bottom of one of the sides and went up and around until she got to the bottom of the other.
Step 4: Apply the Darker Coat
Using Annie Sloan’s Athenian Black, Jackson went over the three surfaces (tape and all!) with the second color. Once it was no longer wet, she pulled back the strips to reveal the white lines. She also painted the drawer handles and borders black to make them pop.
Step 5: Seal the Paint
The brilliant part about Chalk Paint is that it doesn’t require any sanding or priming. That said, it looks best when it’s finished with a sealer. Jackson used a matte lacquer, also from Annie Sloan, but she says could have also chosen a finishing wax.
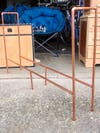
Step 6: Cut the Copper
Jackson bought two 10-foot-long copper pipes at The Home Depot, each for $8. Using a tubing cutter, she made each of the six legs 7 ½ inches tall. The simple-to-use tool costs around $15 and doesn’t require any extra power—she simply rotated it around the metal until she felt the bar coming loose.
Step 7: Connect the Frame
One major lesson Jackson learned from this project: Don’t use superglue to hold copper pipes together. That’s how the DIY’er sealed the frame the first time around, but the connectors came apart not long after. She’s planning on applying a stronger adhesive, like Liquid Nails, or sealing the joints with a blow torch.
When Jackson first set out on this DIY, she thought it would take roughly two hours—it ended up being around 10 (!). “I guess I’m just a slow painter; I get lost in the details,” she laughs. “I was also super into my audiobook.” Random thrift store finds have met their match.
See more stories like this: A Real Malachite Table Costs Thousands, But You Can DIY It for $50 Emily Henderson’s Stylist DIY’ed the Most Luxurious Headboard A (Surprisingly Simple) Bath Mat Project to DIY This Weekend