I Totally Transformed My NYC Rental Kitchen for $7,500
In two weeks flat.
Updated Oct 10, 2018 5:09 PM
We may earn revenue from the products available on this page and participate in affiliate programs.
With our New Year’s resolutions freshly penned, January at Domino is all about change—the demo and construction kind. Welcome to Renovation Month, in which we pull back the curtain on the highs (mood-boarding!) and lows (finessing the budget—again) that come with creating the home you’ve always wanted, whether that involves a top-to-bottom remodel or a rental kitchen facelift. Sign up for our newsletter so you don’t miss a thing.
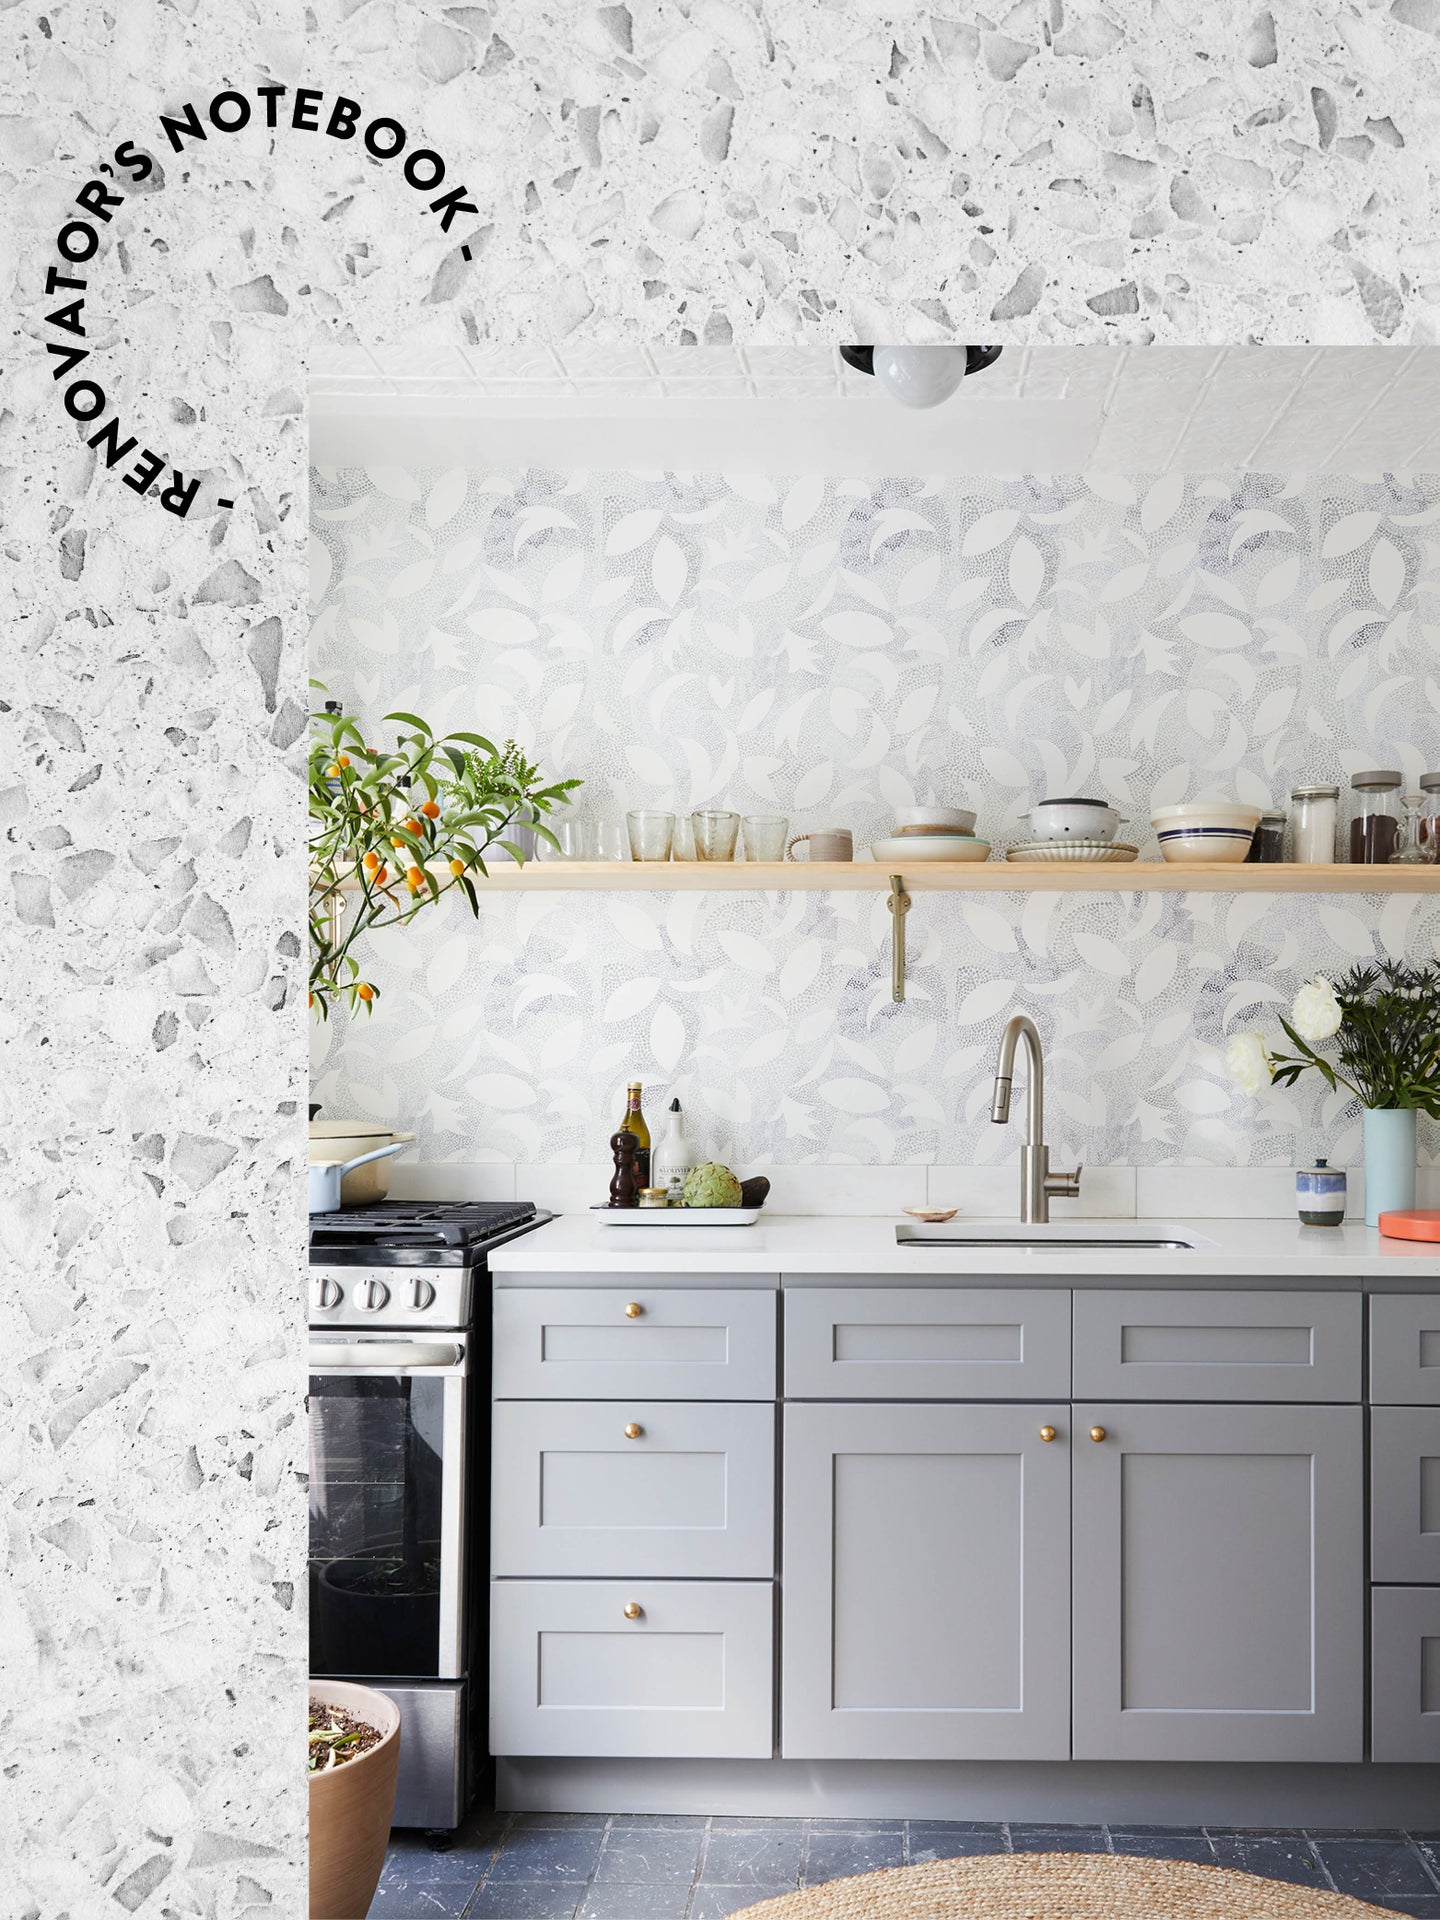
When guests come over to designer Kate Hamilton Gray’s 500-square-foot Brooklyn apartment, they’re greeted first by her, then by her refrigerator. By most standards, having to walk through the kitchen to get to the living room and bedroom is an unconventional setup. But in New York City, the blueprint isn’t all that unusual for a one-bedroom rental. What bothered Gray most wasn’t that the heart of the home is also her entry—it was the wonky cabinetry, drab gray floors, and dated backsplash that irked her.
Convincing her landlord to make some updates to the space was a nonissue: The owner of the two-story building is a good friend who saw the value in investing in the property, as long as Gray would oversee and manage the makeover. “I live on my own, so I had free rein to be playful,” she says. “It was a good opportunity to just go for it.”
“Going for it” doesn’t even begin to describe the project, which she pulled off in just two weeks (!) for $7,500 (including $2,000 for labor). The tin ceiling and floors were the only features Gray saved during the demolition phase. What came after was a whole lot of wallpaper, salvaged countertops, and a few clever DIYs. Here, she reveals what she learned from designing her dream kitchen in less than a month.
Don’t Overthink the Layout


We didn’t move any plumbing or make changes that required permits, which saved us time and money. Simply by taking out the upper cabinets, we opened up the small area. I wanted to take advantage of that wall while also getting as much counter space as possible, so we moved the fridge to the opposite corner and installed preassembled cabinets from a local place in Brooklyn that cost $1,200. Truth: They were cheaper than IKEA cabinets!
Anything Can Be a Pantry
The thing I debated the most was having a bigger pantry. But I wanted the room to feel as big as possible, so I ultimately prioritized that over maximizing storage space. Having a sparse kitchen has kept me in check. I like to keep the shelf and counter tidy, and I don’t buy any nonessential appliances or cookware. I keep dry goods in the deeper drawers by the stove and fresh food and nuts in the fridge.
In the corner where I had considered putting a full-height pantry, I mounted a floating $90 IKEA cabinet and added vintage knobs to it that I found in London. I use the top drawer as a catchall for keys and store extra cooking supplies below.
Fix Up a Drab Floor With a Splash of Paint

I thought about replacing the original floor tiles, but at the end of the day it seemed gratuitous—they get dirty pretty fast. Instead, I freshened them up by painting them a slightly darker gray and adding splatters of white to make the marks that were already there seem purposeful. The final touch: a large, soft sisal rug.
Save Any Materials You Get Your Hands On
I salvaged this Caesarstone counter from an old work project (my client wanted to replace it with marble). I had it in my former apartment tucked behind the sofa for the longest time. I knew I would find a place for it someday—it’s a traditional size in that it has a sink cutout with 24 inches on either side (the dimensions of a standard dishwasher or cabinet). I try not to be a hoarder, but it was one of those things that I couldn’t let go of. Typically, this surface would cost around $40 per square foot.
Skip the Hardware Store

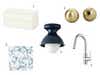
The cabinet pulls was a fun DIY: The knobs are actually made from lamp parts that I bought for a total of $100. I attached the brass balls to a threaded nipple (basically a ribbed pipe that connects to fittings) and screwed a nut onto the other side to secure it. They are the perfect size—not to mention a lot cheaper than traditional handles.
Bring on the Wallpaper

Rebecca Atwood is not only a good friend of mine, but she also lives in the apartment below me. I knew that I was going to do an open shelf across the whole wall to open things up, so I wanted to have some fun with a print from her collection. The installation cost $400. The backsplash is made of five-inch-high marble tiles (another score from an old project; they’d cost about $15 per square foot IRL). I’ve had a few cooking splatters, but so far there are no stains (I wipe any grime off with a sponge). I have the same attitude toward wallpaper as I do marble: Even though it’s this pristine thing, it should be a part of your life. The marks that develop over time make it more interesting.
See more stories like this: We Transformed an Old Porch Into a Laundry Room for $6K Why We Decided Against IKEA Cabinets for Our $48K Kitchen Remodel It Cost Us $25K to Turn an Old A-Frame Into a Scandi-Inspired Getaway